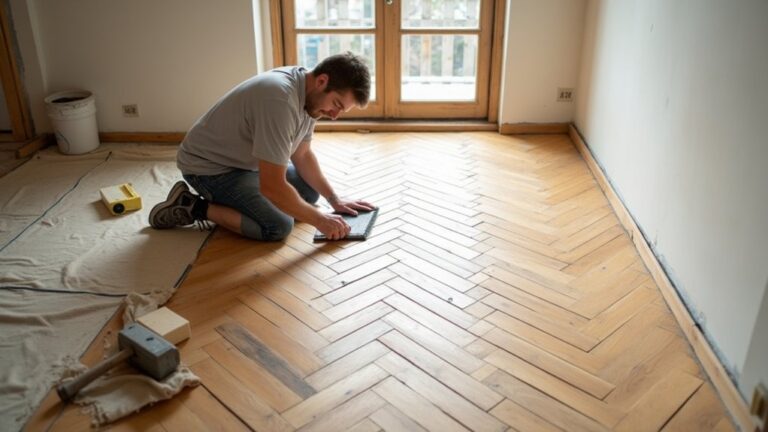
On a Victorian terrace in Leeds, you can lift one board and find three eras of paint like tree rings. You start by checking for spring, rot, and moisture at the skirting line, because heritage floors forgive little. You plan dust control, choose gentle stripping, and keep any repairs in reclaimed timber with matching thickness. Then you sand only as far as you must and pick a breathable, low-sheen finish that lets patina show—but the real question is what you do before the first pass.
Key Takeaways
- Inspect boards for sound tongue-and-groove edges, consistent thickness, and reject rotten or delaminated timber before starting.
- Plan dust control and safety: seal the room, use HEPA/M-class extraction, and wear P3 respirator, ear defenders, and knee pads.
- Remove paint, wax, or varnish with sharp scrapers and low-heat or heritage gel strippers; avoid blowtorches and neutralize residues.
- Fix squeaks and gaps properly: re-fix boards with lost-head nails or slotted screws, and pack gaps with tapered timber slivers.
- Sand minimally from 40–60 to 80 then 100–120 grit, vacuum between passes, and finish with breathable oil, shellac, or low-sheen sealer.
Check If Your Floorboards Are Worth Restoring
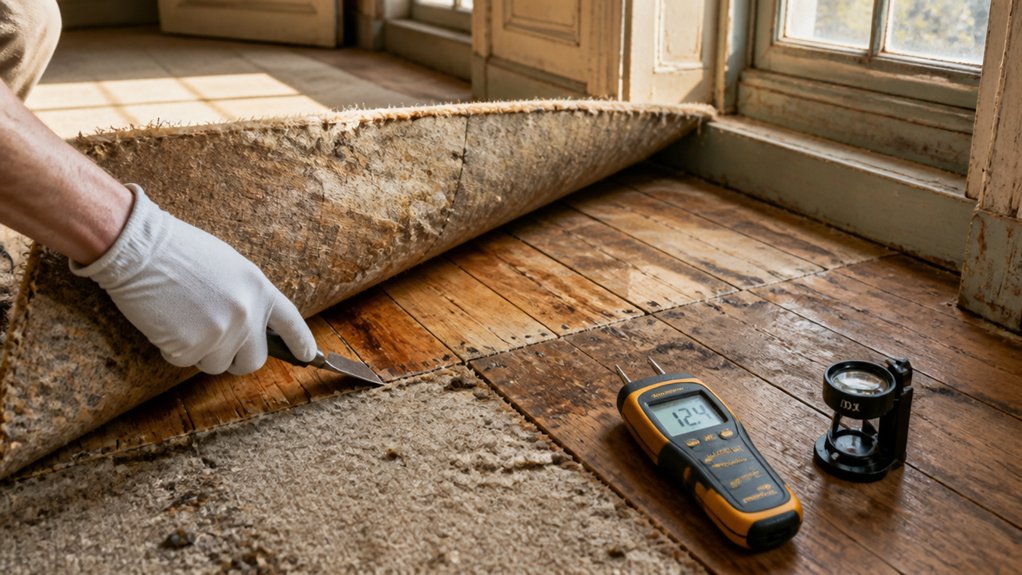
Before you hire a sander or start lifting boards, check whether your original floorboards are actually good candidates for restoration.
In UK terraces and cottages, look for tight-grained pine, oak, or elm with consistent thickness, sound tongue-and-groove edges, and minimal spring underfoot. Note any cupping, deep splits, beetle flight holes, or black staining around old hearths and radiators; these can signal moisture or structural failure rather than patina.
Lift a threshold strip to inspect joists, ventilation gaps, and past bitumen or adhesive that may complicate material preservation.
If boards carry distinctive saw marks, wide Victorian widths, or early square nails, their historical significance usually justifies careful repair over replacement.
Reject boards that are rotten through or heavily delaminated.
Plan the Job: Tools, Dust Control, Safety
Where do you start when a floor’s worth saving but the work could fill the whole house with dust? You plan like a conservator: map the rooms, clear thresholds, and protect skirtings and architraves with low-tack tape and corrugated card.
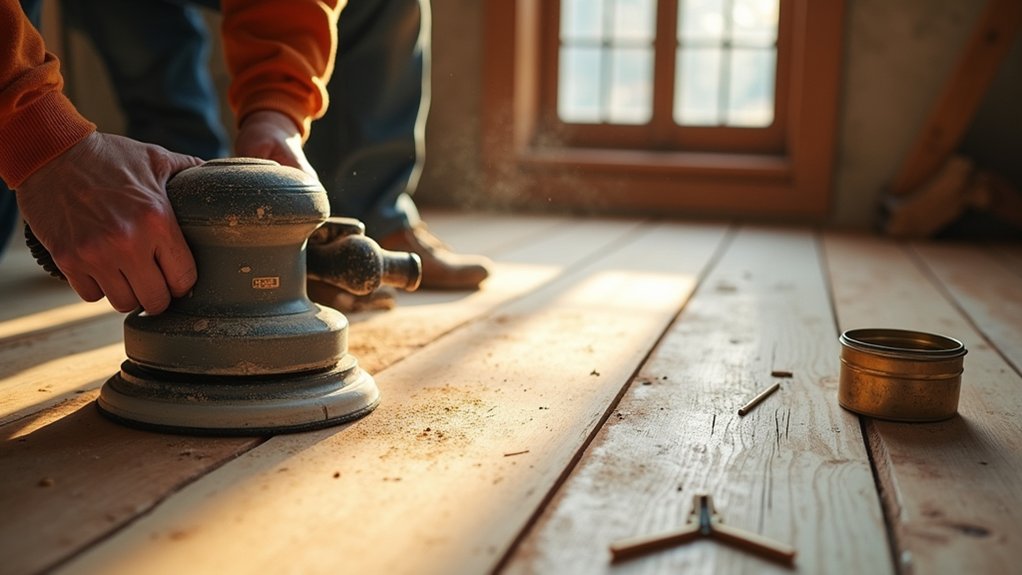
Choose tools that respect old timber—sharp cabinet scrapers, a punch, pry bar, and a sanding system with HEPA extraction.
Prioritise tool maintenance: check bearings, belts, and pad condition, and keep blades honed to avoid tearing soft Victorian pine.
Set up dust containment: zip-door the work zone, seal vents, run an air scrubber, and vacuum with an M-class unit between stages.
Keep safety simple—P3 respirator, ear defenders, knee pads, and RCD protection on leads.
Strip Paint and Old Finish Safely
With your work zone sealed and extraction running, you can tackle the messiest part: removing paint, shellac, wax, and varnish without scarring historic boards.
Start with a careful scrape using a sharp cabinet scraper held low, working with the grain.
For paint removal, soften layers with a low-temperature heat gun or an alkaline, heritage-suitable gel stripper; avoid blowtorches and aggressive sanding that hollows soft pine.
Neutralise chemical residues per the manufacturer’s sheet, then wipe with clean rags and white spirit only where wax is present, keeping fire risk in mind.
Keep safety precautions tight: gloves, goggles, FFP3 mask, and frequent vacuuming with a HEPA unit.
Bag waste, label it, and follow local council guidance for hazardous disposal.
Fix Loose Boards, Gaps, and Squeaks First
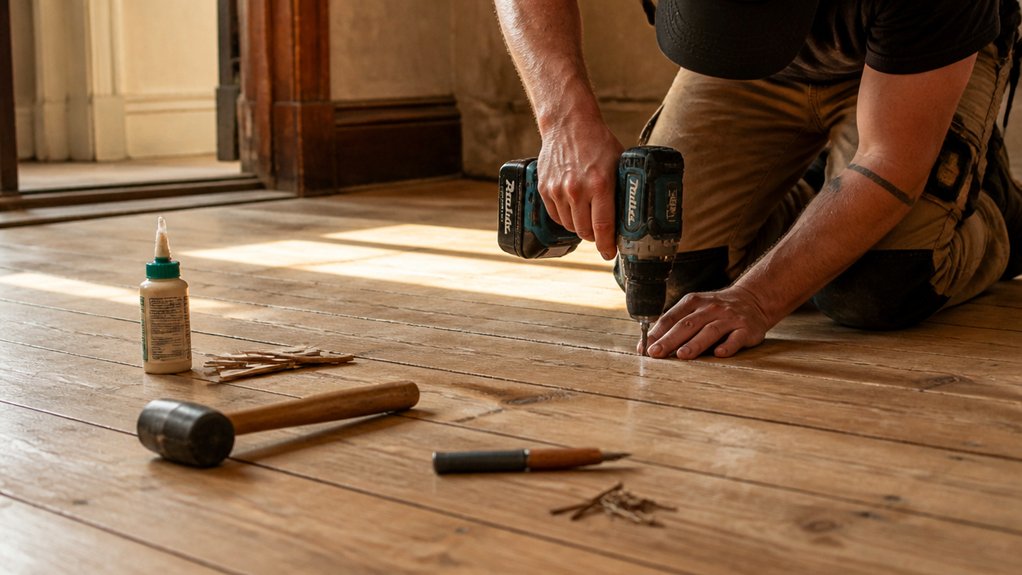
Once you’ve stripped back the surface, deal with movement in the floor straight away, because sanding and finishing will only lock in squeaks and widen gaps. Walk the room and mark springy boards with chalk, then lift them carefully to check joists, old cut nails, and broken tongues.
Re-fix loose boards into joists with lost-head nails or traditional slotted screws, punched just below the face; avoid modern ring-shanks on Georgian pine. Dust talc into squeak lines, and pack stubborn gaps with tapered timber slivers cut with the grain, not filler, for Historical accuracy.
Keep repairs tight around Decorative inlays and borders, and don’t force boards sideways. Replace split sections with reclaimed matching timber, acclimatised indoors.
Sand Floorboards: Grit Order and Restraint
Although it’s tempting to start with a brutal cut, you’ll get a flatter, more authentic finish if you sand in a measured grit sequence and stop as soon as the boards look clean, not “new”.
Start with the least aggressive grit that levels paint scabs and ridges—often 40 or 60—then step to 80 and finish at 100–120.
Keep the machine moving with the grain, and edge-sand only what the big sander can’t reach.
Vacuum between passes so grit doesn’t score soft pine.
Use a scraper lightly on corners to protect original arrises.
- Test a small bay first and set your grit order from results
- Watch nail heads, repairs, and earlywood for tear-out
- Practise restraint: preserve patina, not perfection
Get a Heritage Finish: Tone, Seal, and Sheen Choices
Before you crack open a tin of varnish, decide what “heritage” means for your room: warm tone that flatters old pine, a seal that won’t choke the grain, and a sheen that looks lived-in rather than showroom.
Start with Color matching: take an offcut or a hidden board, test stains in daylight, then compare to skirting and joinery so the floor reads period-correct.
For Historical accuracy, favour breathable finishes—hardwax oil or traditional shellac—over thick polyurethane that plasticky-seals character and slows future repairs.
If you need durability for a busy hall, choose a low-build waterborne lacquer in matt.
Keep sheen down: matt or soft satin hides cupping and dents, while gloss screams modern and spotlights every ripple.
Tint lightly, seal thinly, buff evenly.
Conclusion
If your boards have earned their wrinkles but stay sound, you can bring them back without rubbing away their story. You’ve planned for tidy dust control, lifted tired coatings with a kinder touch, and quietened the chatty patches with reclaimed fixes and discreet slivers. You’ve sanded with restraint, letting the grain speak. Now seal in that mellow tone with breathable oil, shellac, or a low-sheen sealer, and let the patina do the talking.
About the Author