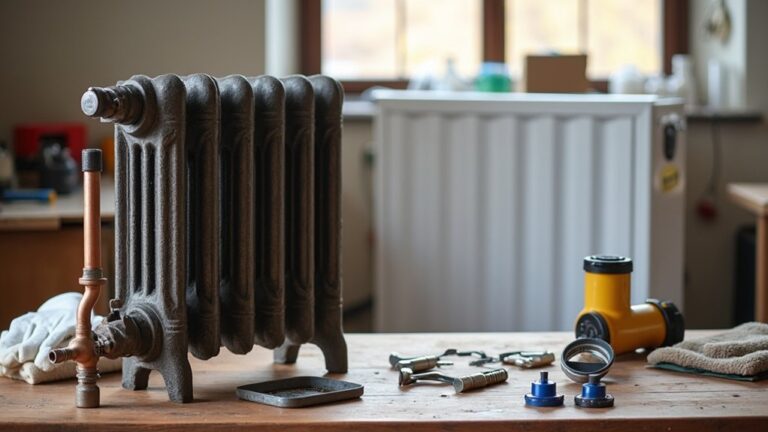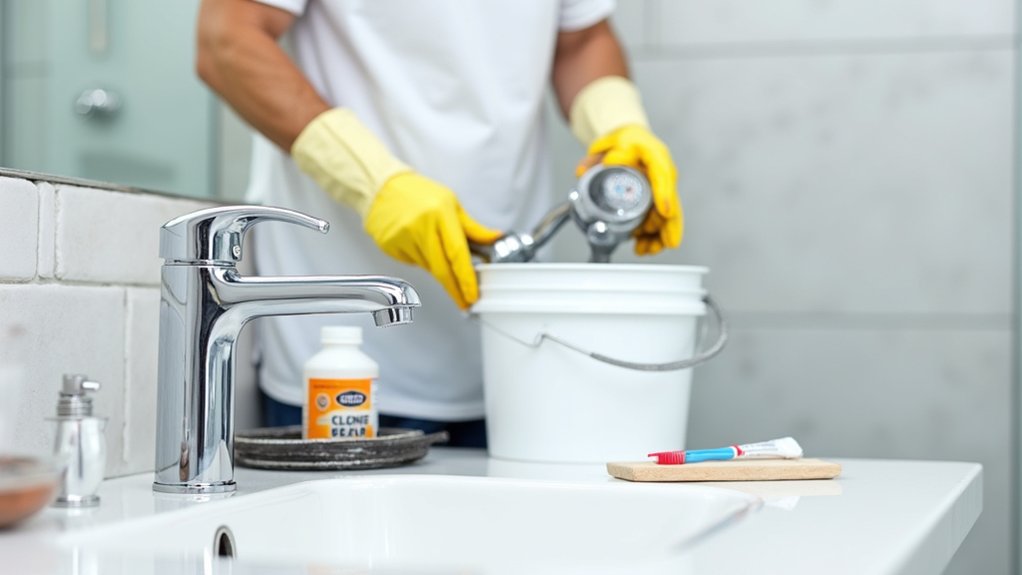
If you want a bathroom that stays smart-looking and trouble-free, you’ve got to treat maintenance like a routine, not a rescue job. You can spot leaks at the toilet base, trap, or shower seal before they stain ceilings or swell skirting. Keep grout sealed, refresh tired silicone, and make sure the extractor fan actually shifts moist air outside. The checklist is simple, but the order matters—miss one step and you’ll pay for it later…
Key Takeaways
- Wipe and dry taps, shower glass, and vanity surfaces after use to prevent limescale, soap scum, and mold.
- Control humidity by running the extractor fan 20 minutes after bathing and keeping external vents clear.
- Inspect grout and silicone weekly for cracks, gaps, or mold; repair promptly to prevent water ingress.
- Descale showerheads and clean aerators monthly; remove hair from drains to prevent slow drainage and blockages.
- Detect leaks early by checking joints and toilet cisterns with dye tests, and fix drips using fresh washers and PTFE tape.
Bathroom Maintenance Checklist (Daily, Weekly, Monthly)
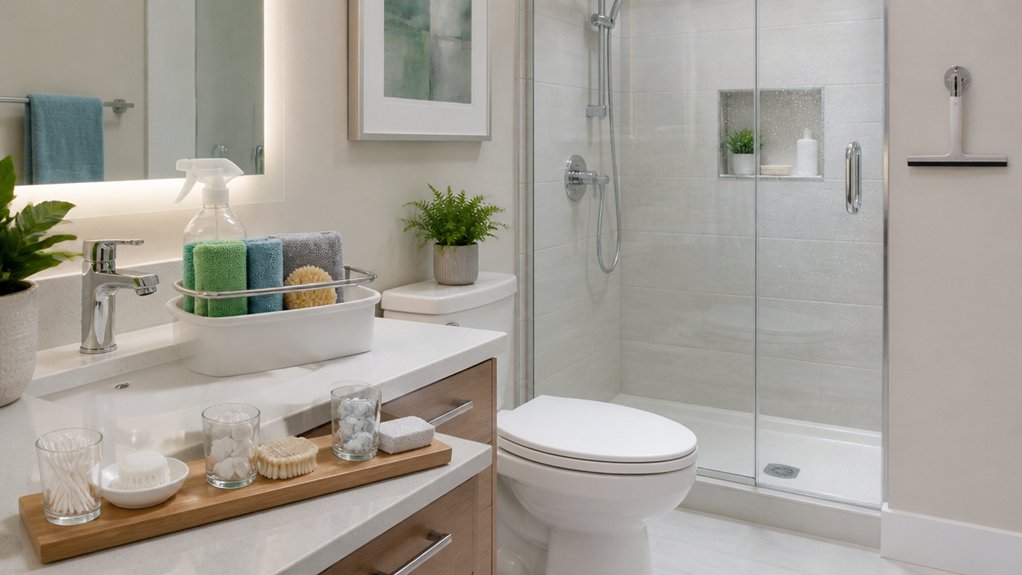
Although bathrooms cope with more moisture and daily wear than almost any other room, a simple checklist keeps yours looking sharp and working properly. Daily, you’ll wipe down taps, shower screens, and vanity fronts to stop limescale and soap bloom dulling your Bathroom decor; squeegee glass and run the extractor for 20 minutes after bathing.
Weekly, you’ll clean grout with a pH-neutral cleaner, disinfect touchpoints, and wash bathmats at 40°C. Check silicone edges for mould and re-dry corners.
Monthly, you’ll descale showerheads in white vinegar, clear hair from trap covers, and vacuum radiator fins. You’ll also review water conservation: fit aerators, shorten flush volumes where adjustable, and track your meter for usage spikes.
Bathroom Maintenance: Find Leaks Fast (Toilet, Sink, Shower)
You’ll spot bathroom leaks fastest when you check the toilet, basin, and shower in a tight routine that protects your finishes and your water bill.
Drop a dye tablet (or food colouring) in the cistern to catch silent toilet leaks. Then run your hand around the pan base and isolation valve for dampness.
Under the sink and around the shower tray, inspect trap joints, taps, and silicone lines for weeping, staining, or soft grout so you can reseal or tighten before it spreads.
Toilet Leak Detection Tips
When your toilet starts wasting water, it rarely announces itself—so a quick, design-minded check keeps the room looking sharp and your bills under control.
Lift the lid and inspect the Toilet tank: the waterline should sit just below the overflow tube. If it’s higher, adjust the float to stop silent topping-up.
Next, run a dye test: add a few drops of food colouring, wait 10 minutes, and don’t flush. Colour in the bowl confirms the flush valve is passing.
You’ll usually fix it with a clean and Flapper replacement, choosing the correct size for your cistern.
Check the fill valve for hissy refill cycles and tighten any loose supply nuts by hand, then a quarter-turn with an adjustable spanner.
Sink And Shower Leak Checks
Sorted the loo? Now move to the basin and shower before damp marks ruin your finish. Under the sink, run a dry tissue around trap joints, isolation valves, and the waste; any smear means a slow drip. Check the tap body and flexi tails for verdigris, and tighten only a quarter-turn to avoid cracking chrome.
In the shower, do a Sealant inspection: press the silicone at corners, the tray upstand, and around the screen channels. If it lifts, gaps will wick water behind tiles. Look for hairline grout fractures and darkened grout lines.
Test the waste by blocking the outlet, filling the tray, then releasing; watch the ceiling below if accessible. For Leak prevention, re-seal with mould-resistant sanitary silicone and keep ventilation brisk.
Repair Bathroom Caulk and Grout to Stop Water Damage
Once you’ve checked for leaks, you’ll want to catch failing caulk early—look for lifting edges, mould staining, or hairline gaps around the bath, shower tray, and basin.
Strip back the old bead cleanly, dry the joint, then reapply a smooth line of sanitary silicone so the finish stays crisp and watertight.
If grout lines are cracked or powdery, rake out the weak sections and repoint before water tracks behind tiles and damages your plasterboard.
Spot Failing Caulk Early
Where does water first sneak behind your bathroom’s finishes? Usually at the junctions: bath-to-tile lines, shower trays, basin upstands, and around taps.
Build a quick Caulk inspection into your weekly wipe-down: look for hairline splits, lifting edges, pinholes, or a dull, chalky surface. Press lightly with a fingernail—sound sealant stays elastic; failing caulk dents, crumbles, or pulls away.
Check nearby grout at the same time. Grout deterioration shows as darkened joints, powdery gaps, or tiles that stay damp after you’ve ventilated. Pay attention to corners and high-splash zones, especially in hard-water areas common across the UK.
If you spot mould returning within days, or a persistent musty smell, you’ve likely got a leak path forming.
Remove And Reapply Caulk
If you’ve found splits or lifting edges, remove and reapply the caulk straight away to keep water from tracking behind tiles and trays. Cut the old bead with a sharp knife, then lift it using a scraper; for stubborn sections, use a silicone remover gel.
Clean the joint with isopropyl alcohol, dry it fully, and mask both sides for crisp, design-led lines.
Choose caulk types to suit the zone: sanitary silicone for showers and baths, hybrid polymer for paintable edges, and acrylic only for low-splash trims.
Match Caulk color to your scheme—white for classic suites, clear for glass, or colour-matched for grout-tones.
Gun a smooth continuous bead, tool it once, and leave it to cure 24 hours.
Repair Cracked Grout Lines
Although grout looks rock-solid, hairline cracks let spray and cleaning water wick behind tiles, risking blown plasterboard, damp patches, and loose ceramics. Treat it like a finish detail, not an afterthought: crisp joints keep your scheme sharp and your substrate dry.
Start by raking out any loose grout with a grout saw or oscillating tool, keeping the blade central so you don’t chip edges. Vacuum dust, then wipe with isopropyl alcohol and let it dry fully.
For crack filling, mix a colour-matched polymer-modified grout to a peanut-butter consistency and press it firmly into joints with a rubber float. Tool smooth, wipe diagonally with a damp sponge, and buff haze after it firms up.
After curing, apply grout sealing to splash zones, especially around showers. Recheck annually.
Test and Clean Your Bathroom Fan and Ventilation
Because a well-ventilated bathroom protects paintwork, grout, and joinery from lingering moisture, you should test and clean your extractor fan and ventilation routes as part of your regular maintenance.
Aim for Airflow optimization to keep the room crisp and extend fan lifespan, especially in UK homes with tighter draught-proofing.
- Check the pull-cord or isolator switch works, then run the fan for 60 seconds and listen for rattles.
- Hold a single sheet of toilet paper to the grille; it should cling firmly if extraction’s strong.
- Vacuum the grille and housing, then wipe with a barely damp microfibre; don’t soak the motor.
- Inspect the duct run in the loft for kinks, crushed flexi-duct, or loose foil tape.
- Confirm the external wall/soffit louvre opens freely and isn’t clogged with dust.
Bathroom Maintenance Cleaning to Prevent Mold and Mildew
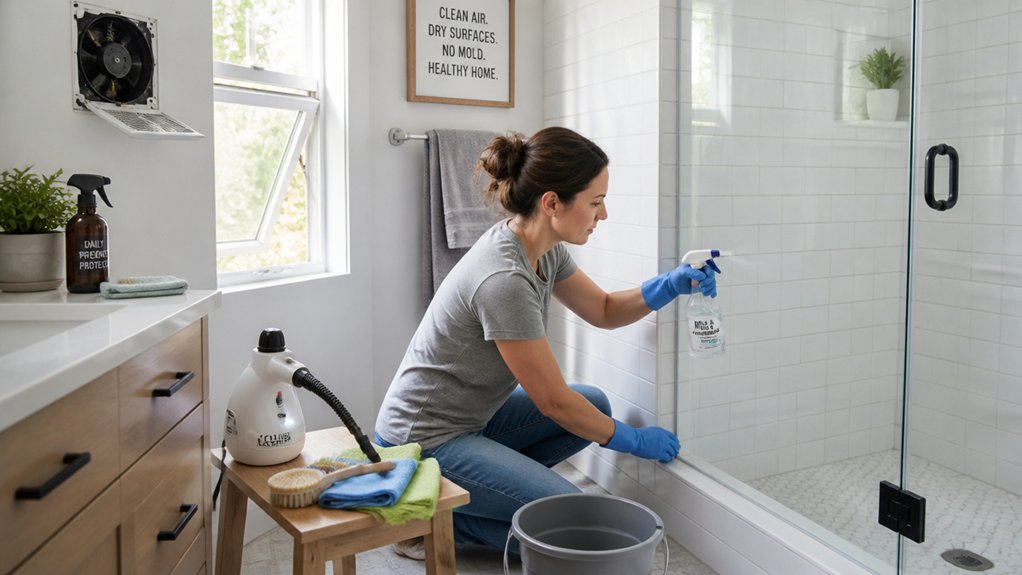
Where does mould start in a bathroom—on the tiles, or in the invisible film left behind after every shower? Treat that film as the problem: it feeds spores and dulls finishes. After bathing, squeegee glass and tiles, then wipe silicone and grout lines with a microfibre cloth.
Weekly, clean with a pH‑neutral bathroom spray to protect chrome, lacquered brass, and matte finishes; rinse well and dry to stop residue.
For Mold prevention, target corners and behind bottles: remove clutter so surfaces dry quickly.
For Mildew control, mist a 1:1 white vinegar and water mix onto grout, leave 10 minutes, scrub lightly, then rinse.
Keep towels off radiators to improve airflow, and launder bathmats at 60°C.
Fix Common Bathroom Drain, Faucet, and Toilet Issues
Keeping surfaces dry and clean stops spores, but everyday bathroom problems usually announce themselves at the fixtures: a slow drain, a dripping tap, or a toilet that won’t stop running. Tackle them fast to protect finishes and keep your Bathroom decor looking sharp.
- Lift the pop-up plug and pull hair with a plastic zip tool; flush with hot water, not caustic chemicals.
- Unscrew the tap aerator, rinse limescale, and refit with a fresh washer to stop drips.
- If the toilet runs, replace the fill valve seal and set the float so it shuts off cleanly.
- Check the cistern for leaks; a new flush valve costs less than wasted bills.
- Use PTFE tape on threaded joints and isolate via the service valve before repairs.
These Water saving tips cut splashes, stains, and UK water costs.
Conclusion
Stay ahead of bathroom wear and tear with simple, design-led habits. You’ll keep finishes crisp by wiping down, descaling, and spotting leaks early around the loo, basin, and shower. Reseal tired caulk, touch up grout, and clear drains before water finds a path. Test your extractor fan and improve airflow to stop mould taking hold. Think of maintenance as your bathroom’s silent architect—protecting tiles, fittings, and your water bill.
About the Author