You don’t start by swapping parts—you start by proving where the water’s coming from, because a misdiagnosis can violate basic plumbing best practices and waste money. You’ll check for stains, soft drywall, and musty odors, then do a quick shutoff test at the fixture to isolate supply versus drain leaks. With a flashlight, wrench, and a few standard seals on hand, you’re set—but the first fix depends on one small clue you might miss.
Key Takeaways
- Spot leaks early using odors, stains, bubbling drywall, loose tiles, swollen toe-kicks, or intermittent toilet refilling.
- Perform a shutoff test by closing stop valves and watching the water meter; movement indicates a supply-side or hidden branch leak.
- Isolate drain leaks by running water briefly and inspecting joints and the ceiling below, then dry fast with fans to prevent mold.
- Fix dripping faucets by shutting off valves, disassembling the handle, and replacing washers or cartridges, then reassemble and pressure-test.
- Stop toilet and under-sink leaks by replacing faulty flappers, adjusting fill valves, tightening slip nuts, and renewing PTFE tape, washers, or drain seals.
Find the Bathroom Leak (Signs + Shutoff Test)
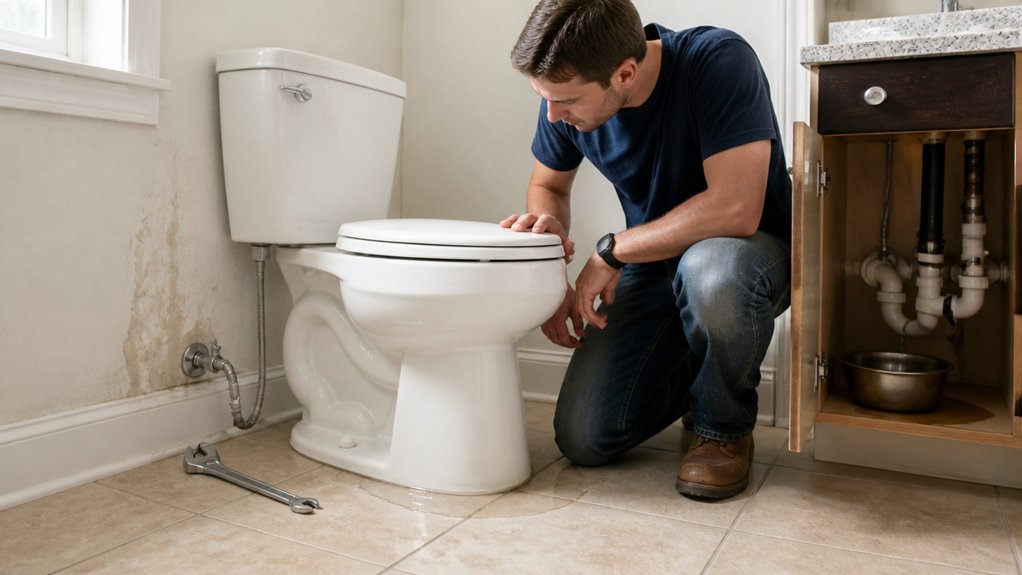
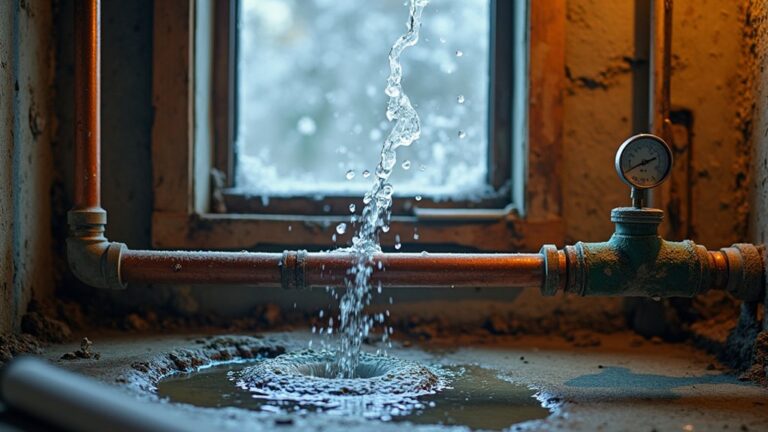
Before you pick up a wrench, confirm you’ve actually got a bathroom leak by watching for the early, code-conscious red flags: persistent musty odor, bubbling or soft drywall near the tub/shower, loose or lifting tile, staining at the ceiling below, swollen vanity toe-kicks, or a toilet that intermittently refills without use.
Next, protect finishes and indoor air: run Bathroom ventilation continuously, then isolate the leak with a shutoff test. Close the fixture’s stop valve (toilet, sink) and note the water meter; if it still moves, shut the home’s main and recheck. No movement points to a fixture-side leak; continued movement suggests a supply line or hidden branch.
For drains, run water briefly, then stop and inspect joints and the ceiling below. Act fast for mold prevention: dry, document, and limit wet time.
Tools and Parts for Common Bathroom Leaks
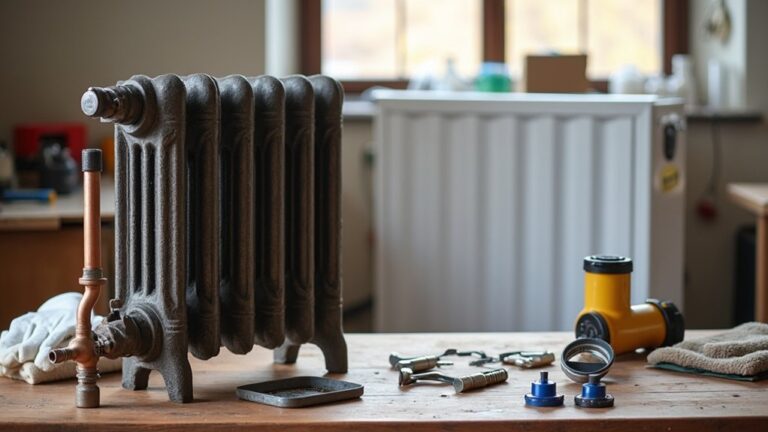
A well-stocked leak kit lets you fix most bathroom drips cleanly and to code without chewing up finishes: keep an adjustable wrench and smooth-jaw pliers, a basin wrench for faucet nuts, screwdrivers/hex keys, a utility knife, a small inspection mirror and flashlight, plus a wet/dry vacuum and fan for fast dry-out.
Add a stud-safe moisture meter, disposable gloves, and painter’s tape to protect trim. Stock PTFE tape, pipe dope rated for potable water, rubber slip-joint washers, supply-line gaskets, and a 1-1/4 in. trap washer set.
Keep a quality silicone sealant (mildew-resistant) and backer rod for tile sealing at tub or vanity joints.
For Bathroom venting checks, carry a manometer or smoke pencil and spare vent cover screws. Finish with brass caps and shutoff tags.
Fix a Dripping Faucet Leak (Washer or Cartridge)
With your leak kit staged and finishes protected, you can tackle the most common bathroom nuisance: a faucet that won’t stop dripping, usually caused by a worn washer in a compression valve or a failing cartridge in a modern valve body.
Shut off the stop valves, then open the faucet to relieve water pressure and confirm isolation. Plug the drain, lay down a towel, and remove the handle and trim without marring plated surfaces.
For compression styles, pull the stem, replace the rubber washer and screw, and refresh any O-ring.
For cartridge valves, extract the cartridge straight, match it exactly, and reinstall with silicone grease.
Reassemble, restore water pressure slowly, and check for leak prevention at the spout and under-handle seepage.
Fix a Running Toilet Leak (Flapper or Fill Valve)
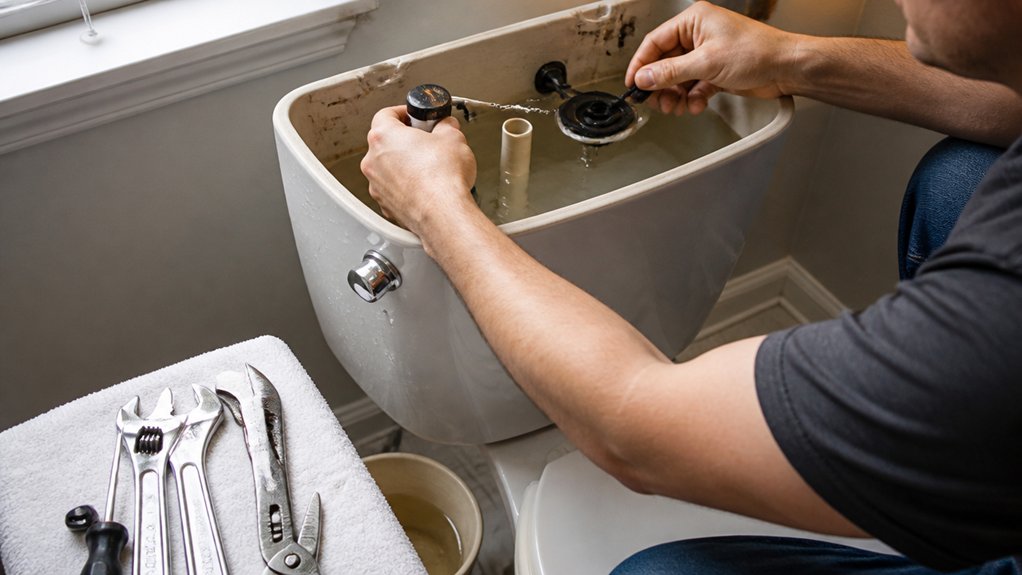
Start by confirming the tank’s water level is stable and the supply valve is fully open. Then inspect the flapper for warping, mineral buildup, or a misaligned chain that prevents a clean seal.
If the flapper checks out, fine-tune the fill valve so the shutoff line sits about 1 inch below the overflow tube. Also, ensure the refill tube is clipped above the overflow rim to meet code-conscious backflow practices.
With those two checks, you’ll stop the silent waste, protect your finishes, and restore that quiet, high-end feel between flushes.
Diagnose Flapper Issues
Why does your toilet keep “running” even after the tank refills? Start by removing the lid carefully and listening for a faint hiss. Drop a few dye tablets or food coloring into the tank; if color appears in the bowl within 10 minutes, your flapper isn’t sealing.
Check the flapper’s rim for mineral scale, warping, or soft, gummy rubber, then wipe the seat clean with a non-abrasive pad. Confirm the chain has slight slack; if it’s too tight, it holds the flapper open, too loose and it won’t lift cleanly. Replace cracked or mismatched flappers with a code-listed part.
Good Bathroom venting supports mold prevention by keeping humidity down.
Adjust Fill Valve Settings
Once you’ve ruled out a leaking flapper, dial in the fill valve so the tank stops at the correct waterline and doesn’t trickle into the overflow tube. Shut off the supply, flush to empty, then turn the stop valve back on slowly to manage water pressure and avoid hammer.
Check the manufacturer mark or set the water level 1 inch below the top of the overflow tube, per common plumbing code guidance.
On a float-cup valve, squeeze the clip and slide the cup; on a float-arm style, turn the screw for precise valve adjustment.
Restore flow, let the tank refill, and listen for silence after shutoff. If it still creeps, clean the valve cap screen and re-test.
Fix a Leaky Showerhead (Tape and Tight Connections)
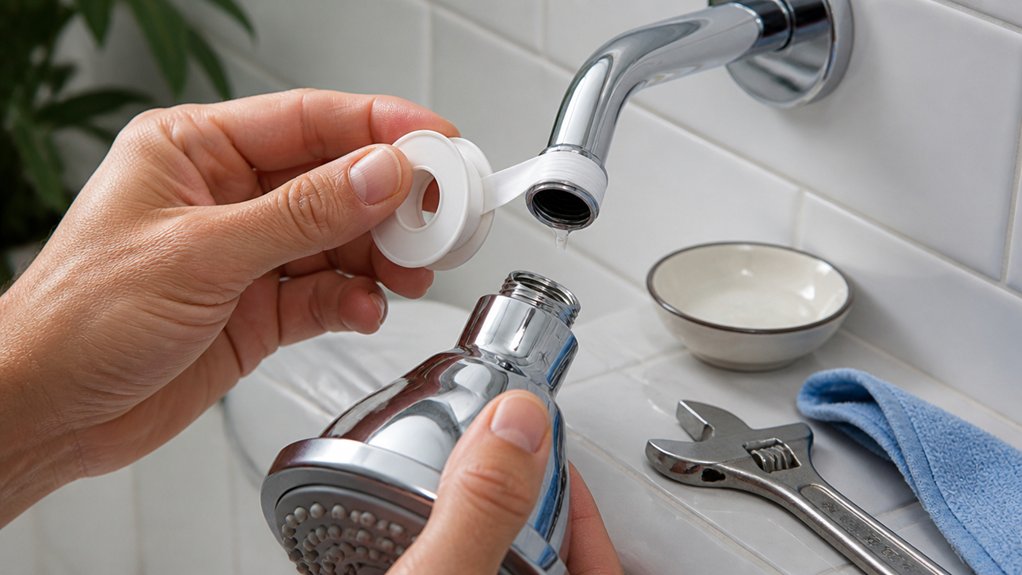
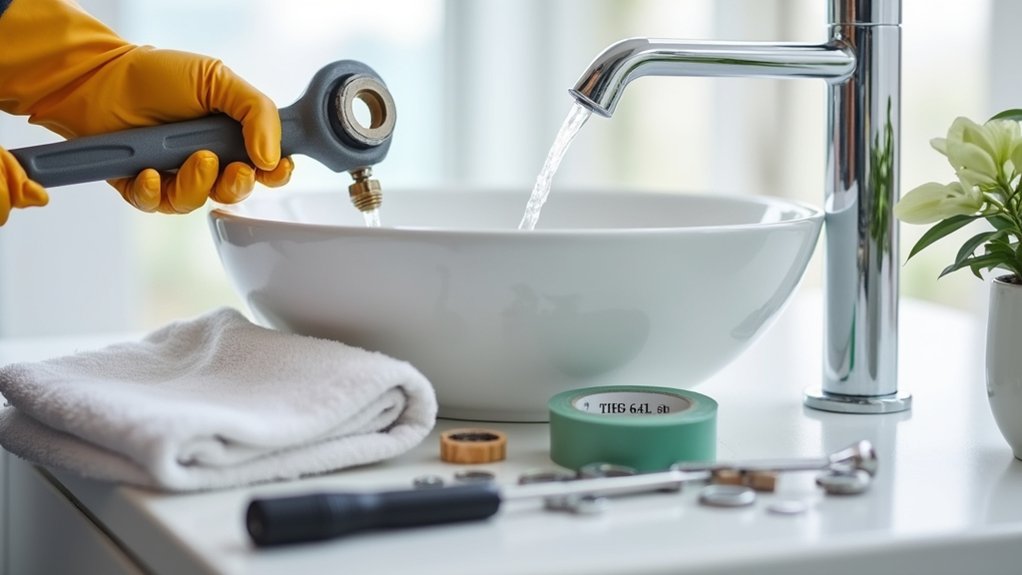
If your showerhead drips between uses or sprays erratically, you can often fix it by tightening the connections and sealing the threaded joint with PTFE (Teflon) tape.
Shut off the shower valve, cover the drain, and protect finishes with a cloth. Use an adjustable wrench on the shower arm flats, turning the showerhead counterclockwise.
Clean old tape and mineral grit, then perform a careful Plumbing tape application: wrap PTFE tape clockwise 3–5 turns, keeping it smooth and within the threads.
Thread the head on by hand to avoid cross‑threading, then snug it a quarter‑turn with the wrench—don’t overtorque per manufacturer guidance.
Restore water and check for weeping. If leaks persist, plan a Showerhead replacement with a WaterSense‑rated model.
Fix Under-Sink and Tub Leaks (Supply Lines, P-Trap, Drain Seals)
Because under-sink cabinets and tub access panels hide slow drips until they damage finishes, you should start by pinpointing whether the leak comes from the supply lines, the P-trap, or the drain seal, then fix the exact joint with the right gasket, washer, or sealant—not brute force.
Shut off the stop valves, relieve water pressure, and lay a tray.
For supply lines, check compression nuts and braided hoses for kinks, pipe corrosion, or weeping at the ferrule; replace the line if stained or brittle.
On the P-trap, snug slip nuts hand-tight plus a quarter turn, align the trap arm, and renew beveled washers.
For drain seals, pull the stopper, clean soap film, and reseal with plumber’s putty or silicone rated for wet areas per code.
Test with tissue and a full basin.
Conclusion
You’ve tracked the leak, shut off the supply, and repaired each weak point—faucet, toilet, showerhead, and drains—then tested before restoring full pressure. Keep fittings snug, seals clean, and tape properly applied so you stay within safe, code‑minded practice. If you spot corrosion, damaged threads, or persistent moisture, don’t force it—replace the part or call a licensed plumber. A small drip is a silent tax; stop it, and your bathroom runs like a well‑tuned suite.
About the Author