Replacing a radiator is like swapping a pressure valve on a working machine—you can’t rush it. You start by confirming your system type and measuring what’s there, because fit and pipe centers must match. You isolate the valves, shut the heat off, and drain with control to avoid spills and airlocks. You support the unit, cap pipework, and keep seals tight to prevent leaks. Next, you’ll need to decide what to do about the valves and brackets…
Key Takeaways
- Confirm system type, radiator size, heat output, and valve/thread compatibility before buying parts or starting work.
- Shut off heating, let the radiator cool, and protect floors with trays and rags for inhibitor-treated water spills.
- Isolate TRV and lockshield valves, note lockshield turns, then drain via bleed valve into a bucket or hose.
- Remove the old radiator with support, cap pipes, mount new brackets level, and connect valves using two spanners to avoid twisting.
- Refill slowly, bleed radiators low-to-high, pressurize to about 1.0–1.5 bar, then run heating and check every joint for leaks.
Identify Your Heating System and Radiator Fit
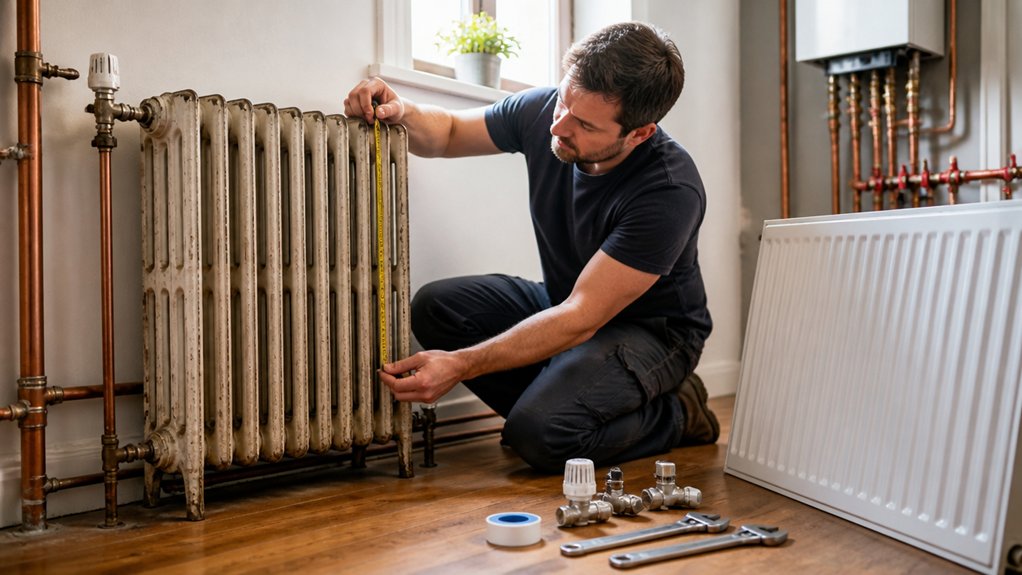
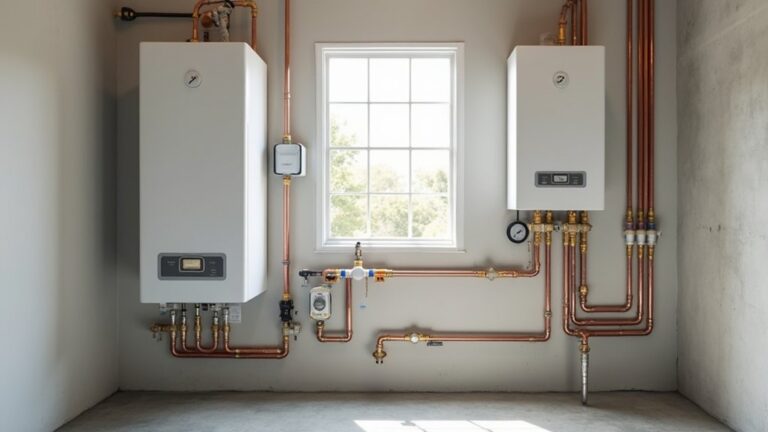
Before you buy a replacement radiator, confirm what type of heating system you’ve got—hot-water (hydronic), one-pipe steam, two-pipe steam, or electric—because the connection points, operating pressure/temperature, and required clearances aren’t interchangeable.
Check the boiler or panel label, note whether you’ve got an air vent, steam trap, or electric feed, and match the Heating system type exactly to avoid code and insurance issues.
Measure the existing unit’s height, length, depth, and pipe center-to-floor and center-to-wall offsets, then verify you can maintain manufacturer-specified side/top clearances and safe access to shutoffs.
Evaluate Radiator material (cast iron, steel, aluminum) for weight, corrosion compatibility, and floor loading; confirm the new unit’s output fits the room without blocking egress.
Choose Compatible Valves and Brackets for Radiator Replacement
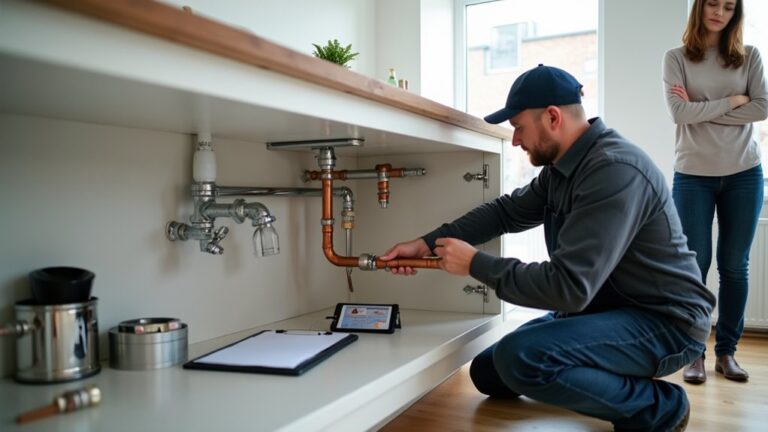
Before you buy a replacement radiator, you’ll match the valve type and size to your existing pipework (TRV or manual, angled or straight, and the correct thread/connection) so you don’t create leaks or noncompliant fittings.
You’ll also confirm the bracket style and load rating suit the radiator’s width, height, and weight, and that fixing points align with sound wall structure and required clearances.
If anything’s uncertain, you’ll measure twice and choose certified components to keep the swap safe and space-efficient.
Match Valve Type And Size
Although radiators often look interchangeable, you’ve got to match the existing valve type and connection size exactly to prevent leaks, poor balancing, or a failed fit at the wall and floor penetrations.
Identify your radiator valve types first: manual, thermostatic (TRV), or lockshield, plus whether the body is straight or angled and the tail is male or female.
Measure the pipe and valve threads (common sizes include 15mm, 1/2″ BSP, or 3/4″). Confirm the radiator tapping matches the valve tail and that the union nut and olive seat properly.
Don’t mix metric and imperial fittings without approved adapters.
Valve size matching should keep pipe centers and clearance unchanged, protecting flooring and keeping shutoff access code-compliant.
Select Proper Bracket Fit
Since the new radiator’s brackets set its height, projection, and fixing points, you need a bracket kit that matches the radiator’s make/model and its declared wall clearances so it can hang level without shifting under load.
Verify the bracket load rating equals or exceeds the radiator’s filled weight, and fix into suitable structure (studs, masonry anchors) per local guidance.
Keep required clearances for convection and pipe access, especially in tight alcoves, and confirm the bracket spacing matches the radiator’s hanger centers.
- Check wall type and select approved fixings for that substrate.
- Measure floor-to-bracket height to maintain skirting and valve alignment.
- Confirm projection preserves radiator aesthetics and avoids door swings.
- Match brackets to historical radiator styles without forcing nonstandard holes.
Gather Tools and Parts for Replacing a Radiator
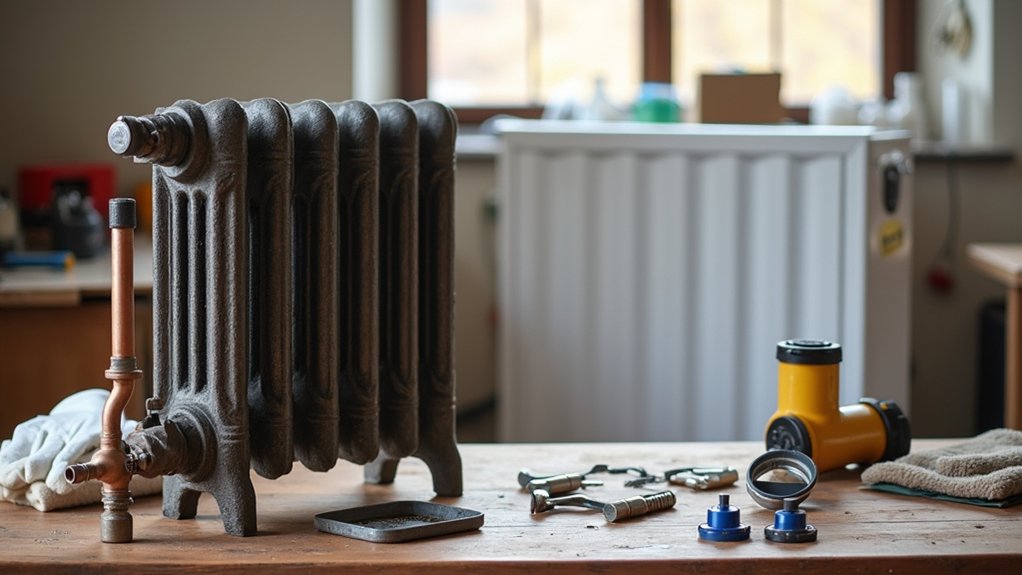
Before you drain or lift the old unit, you’ll stage a tight essential-tools checklist—adjustable spanners, radiator key, pipe cutter, PTFE tape, level, catch pan, and PPE—and confirm you can isolate the system per local code.
You’ll also verify the correct replacement parts: matching radiator size/output, compatible valves and tails, brackets/fixings, bleed valve, and the right adapters for your pipework.
Lay everything out within arm’s reach so you don’t leave an open system unattended or scramble in a confined space.
Essential Tools Checklist
To keep the job safe and code-friendly, you’ll want every tool and replacement part staged in a clean, well-lit work area so you’re not scrambling once the system is drained. Plan for tight clearances and protect finished floors; smart staging also helps you preserve radiator design goals and maintain heating efficiency after reassembly. Keep manuals and local plumbing/heating rules within reach, and verify your shutoff points and venting method before you touch a wrench.
- Two pipe wrenches (or wrench and backup), adjustable spanner, and hex keys
- Torque wrench, level, tape measure, and marker for alignment and pitch
- PTFE tape, pipe dope rated for hydronic service, and new union gaskets
- Drain hose, bucket, drip tray, rags, and nitrile gloves for spill control
Correct Replacement Parts
With your work area staged and spill control ready, focus next on matching replacement parts to your exact radiator and piping setup so you don’t end up forcing misfit threads or creating leaks. Confirm system type (steam or hot water), inlet/outlet size, valve orientation, and thread standard. Buy a new shutoff valve, union, and tailpiece that match; replace any corroded bleeder, air vent, or steam vent at the same time.
Choose the correct brackets or floor feet to meet load and clearance limits, and verify your wall anchors comply with local code for masonry or stud walls. Measure for required pitch and pipe offsets before ordering elbows.
If you’ll finish the unit, pick low‑VOC Radiator paint and ensure Decorative covers don’t block airflow or service access.
Turn Off Heating and Isolate the Radiator Valves
Although it’s tempting to dive straight into undoing fittings, you’ll work more safely and avoid accidental leaks by shutting the heating off at the programmer/thermostat and letting the radiator cool fully, then isolating it at both valves.
Turn the TRV to 0 (or frost setting off if fitted), then close the lockshield valve with a spanner, counting turns so you can reset it later for heating efficiency.
If you’re in a flat or shared system, check any local rules and notify building management where required.
Keep the work area clear to protect finishes and radiator aesthetics, and avoid strain in tight spaces.
- Switch boiler off and confirm no call for heat
- Let the radiator cool; don’t rush hot metal
- Close TRV fully; cap if a manual valve
- Close lockshield; note turns and valve position
Drain the Radiator Cleanly (Avoid Spills and Airlocks)
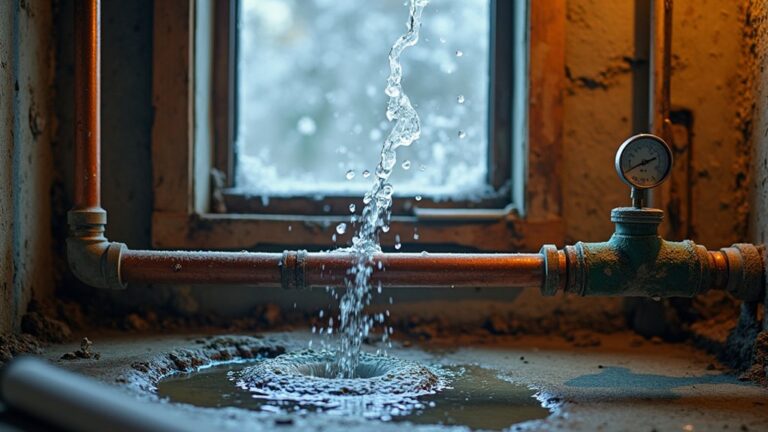
Once both valves are shut and the radiator’s cold, you can drain it in a controlled way that protects floors, avoids messy gushes, and reduces the chance of pulling air into the system.
Lay an absorbent pad and a low tray under the drain point, then fit a radiator drain key or open the union bleed point slowly.
Crack the bleed screw at the top to let in air gently; you’re balancing flow, not venting hard, so you don’t encourage airlocks upstream.
Keep the hose end below water level in a bucket to limit splashing and oxygen ingress.
Work within local disposal rules: collect inhibitor‑treated water, don’t tip to surface drains.
Clean drips immediately to preserve radiator aesthetics during antique radiator restoration.
Remove the Old Radiator and Cap Pipework
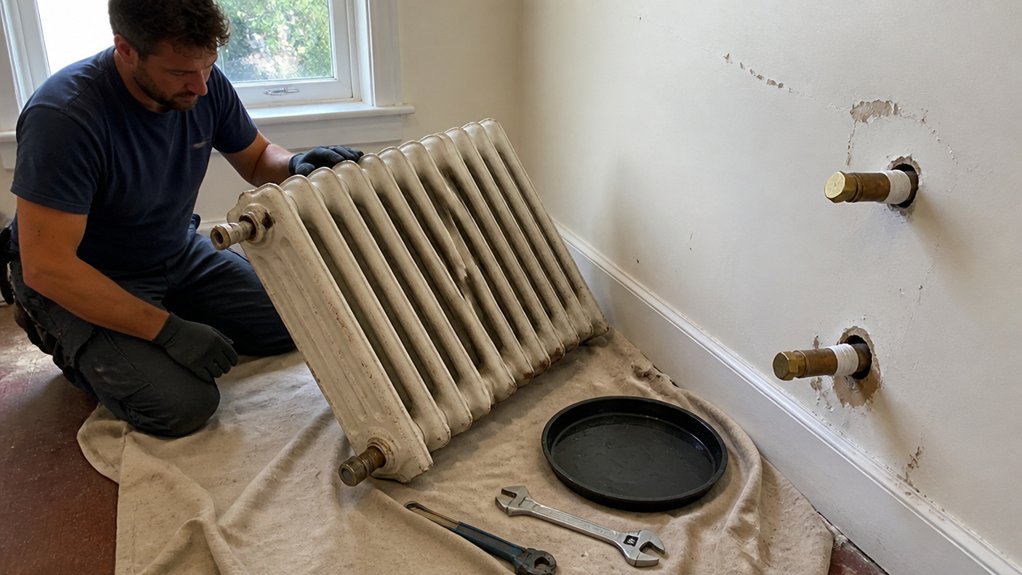
Before you lift anything, protect the pipework and the room: place a rigid board and absorbent pads under the valve tails, then support the radiator’s weight while you undo each union nut with two spanners (one holding the valve body, one turning the nut) so you don’t twist copper runs or crack old solder joints.
Tilt the radiator away from walls to avoid scuffing Radiator paint and to clear decorative covers without snagging. Keep it upright, then carry it to a drain point.
- Verify both valves are fully closed and the lockshield setting noted.
- Catch residual water from each tail; don’t rely on “dry” pipework.
- Fit temporary caps or compression stop-ends immediately; PTFE as specified.
- Wipe joints, check for weeps, and label capped pipes for later testing.
Mount the New Radiator, Connect Valves, and Level It
When you’re ready to hang the replacement radiator, mark out the bracket positions from the centreline and valve centres. Then fix brackets into solid structure (masonry plugs or studs as appropriate) so the load is properly supported and compliant with the manufacturer’s instructions.
Check clearances to skirting, sockets, and pipe exits so you’re not forced into tight offsets later, preserving radiator aesthetics.
Offer the radiator onto brackets, confirm it’s seated, then fit the tail pieces using the specified sealing method (PTFE, fibre washer, or jointing compound per valve type).
Align and connect the TRV and lockshield to the pipework without twisting the radiator; use two spanners to counter-hold.
Level it with a slight vent-side rise if specified.
Respect insulation considerations around external walls.
Refill, Bleed, Pressurize, and Leak-Test the System
After you’ve mounted and connected the radiator, refill the heating circuit in a controlled way so you don’t trap air, shock old joints, or miss a slow seep. Open the filling loop slowly, watch the gauge, and keep an eye on every compression nut and tailpiece.
Bleed each radiator from lowest to highest until water runs clear, then top up again. Bring system pressure to the manufacturer’s cold-fill target, typically 1.0–1.5 bar, and recheck after 10 minutes.
- Close bleed valves before pressurizing to avoid misting.
- Wipe joints dry, then check again for fresh wetness.
- Verify TRVs open fully to restore energy efficiency.
- Confirm valves sit square for clean radiator aesthetics.
Finally, run the boiler, vent once more, and log any drops for follow-up.
Conclusion
You’ve now replaced your radiator with a methodical, safety-first approach: you identified the system, matched valves/brackets, isolated and drained cleanly, capped pipework, mounted and levelled the new unit, then refilled, bled, pressurised, and leak-tested. Keep checking every joint under pressure and confirm TRVs and lockshields operate correctly. Follow your boiler manual and local plumbing rules, and don’t rush—one missed seal can flood your home like an ocean.
About the Author