
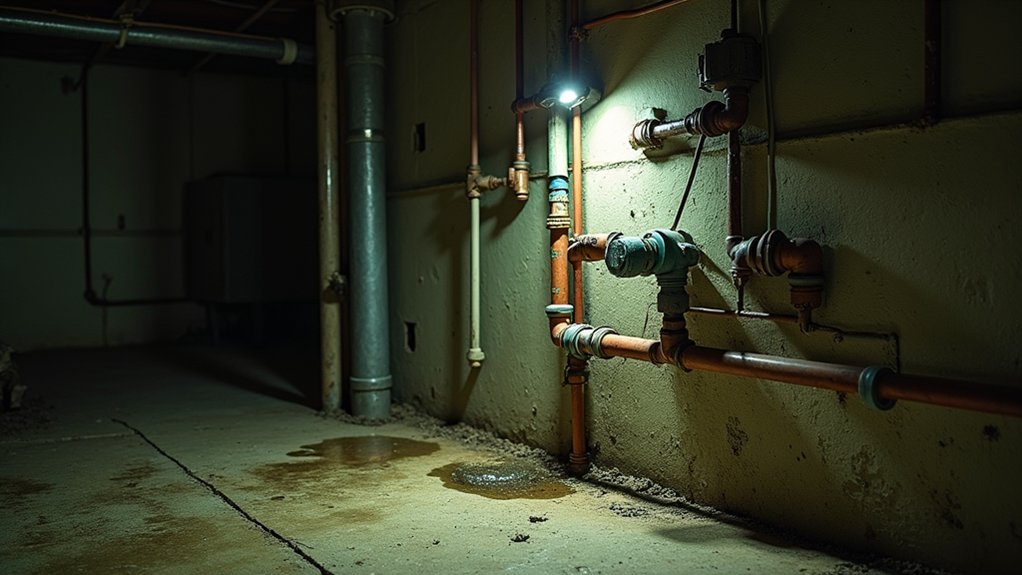
Is it really true that a few small plumbing niggles mean your whole pipework’s on its last legs? You can usually tell by looking for patterns, not one-off faults: repeated leaks, rust-tinted water, pressure drops across several taps, or banging and whistling when you shut a valve. If you’re also spotting damp patches or a creeping water bill, you’ll want to check specific areas first, because the next signs can confirm it.
Key Takeaways
- Frequent leaks, rusty/cloudy water, persistent airlocks, or rising bills often indicate system-wide pipe deterioration, not a single repair.
- Pressure drops or surges across multiple taps suggest restricted or failing pipework rather than a localized valve or fixture issue.
- Banging, whistling, or vibrating pipes when taps shut off can signal widespread layout flaws, loose runs, or pressure problems needing replacement.
- Damp patches, moldy smells, or water staining under floors and cupboards point to hidden leaks that commonly justify a full upgrade.
- If pipes are old galvanised steel, lead, early plastics, or 30–50-year copper, replacement is often safer than repeated repairs.
Signs You Need a Pipework Upgrade
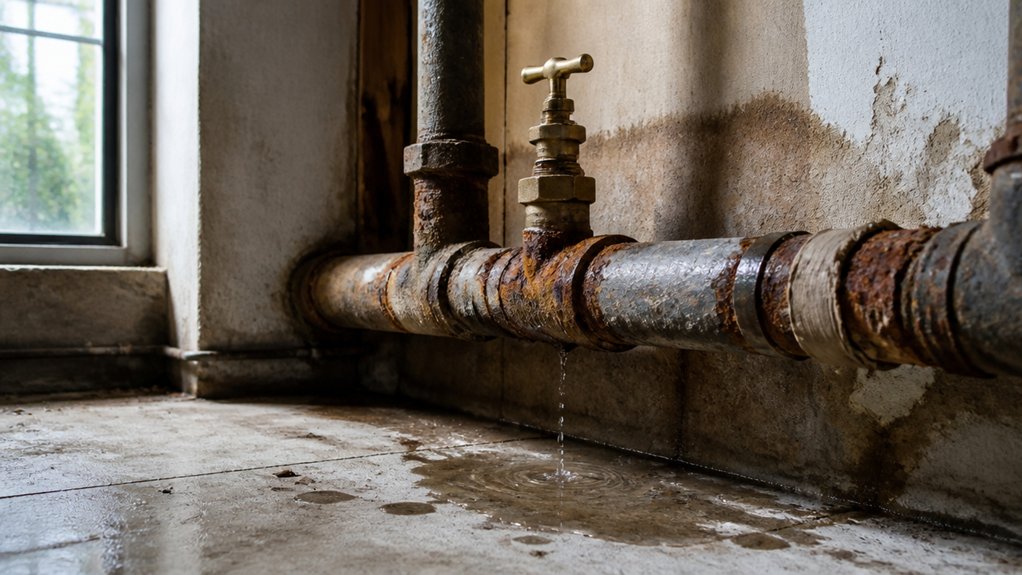
If your plumbing’s started to feel unreliable, it’s often your pipework—not just the fixtures—that’s reaching the end of its life. Watch for recurring leaks, rusty or cloudy water, and frequent airlocks that keep returning after bleeding.
If your water pressure drops at multiple taps, or surges when another outlet runs, you may have narrowed, corroded, or poorly sized pipes.
Listen for banging, whistling, or excessive vibration when you turn taps off; that can point to loose runs or failing joints.
Check under floors and in cupboards for damp patches, mould, or a persistent musty smell.
In winter, repeated frozen sections suggest inadequate pipe insulation and vulnerable routing.
Also note rising water bills without obvious appliance faults.
Repair or Pipework Upgrade? A Quick Decision Guide
When plumbing problems keep coming back, you need a quick way to decide whether a targeted repair will do or whether a full pipework upgrade makes better sense. If the issue is isolated—one leaking joint, a single faulty valve, or a localised burst—book a repair and ask for pressure testing to confirm it’s contained.
Choose an upgrade when you’re calling a plumber repeatedly, leaks crop up in different rooms, or you’re renovating and walls are already open. Factor in Historical plumbing: older layouts, hidden bends, and undocumented changes can make piecemeal fixes risky and costly.
Also weigh performance goals—better flow, fewer blockages, and easier future maintenance. If you upgrade, specify Eco friendly materials and insist on clear drawings, isolation valves, and a workmanship guarantee.
Pipe Materials and Ages That Fail Most Often
Material and age usually explain why “one-off” repairs turn into repeat call-outs, so check what your pipework is made from and roughly how old it is.
If you’ve got galvanised steel (common pre-1970s), expect Pipe corrosion, internal scaling, and declining flow; once sections start failing, more leaks often follow.
Lead supply pipes (often pre-1970) can deform and need replacement for safety and compliance.
Older copper generally lasts well, but aggressive water, poor workmanship, or mixed metals can trigger pitting and pinhole leaks after 30–50 years.
Early plastic (some 1970s–90s) may suffer from brittle fittings or UV damage during past storage.
Modern copper and quality plastic score highest for Material durability, especially when correctly sized and protected.
Where to Inspect Pipework (Kitchen, Bathroom, Loft)
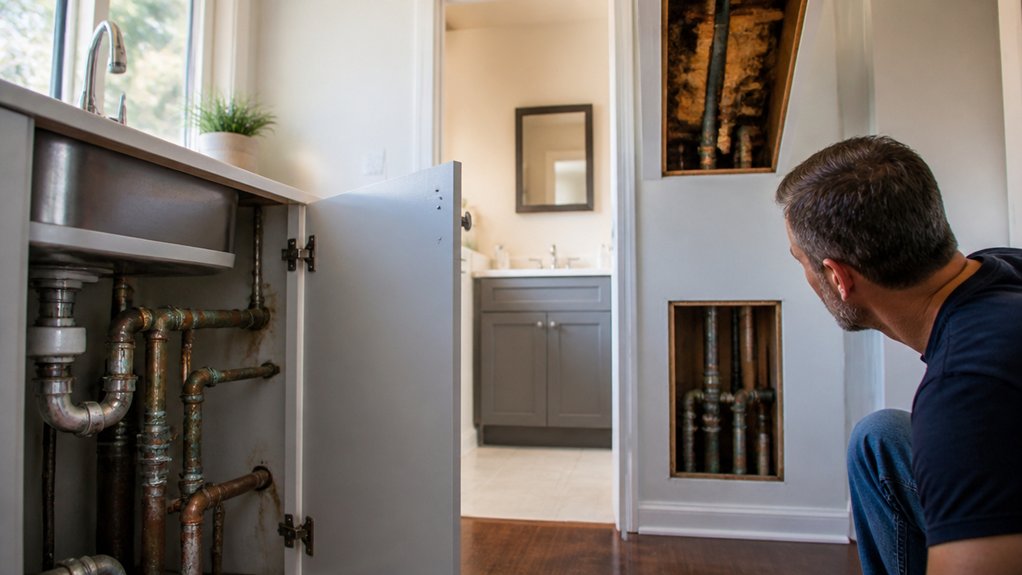
Although pipe failures can show up anywhere, you’ll spot the clearest warning signs by checking the areas where pipework is most exposed and most used: under the kitchen sink (including the stopcock and any dishwasher feeds), around the bathroom basin, WC and shower/bath connections, and in the loft where the cold-water storage tank and distribution pipes run.
Look for green staining, white limescale, rust marks, damp cabinet bases, or swollen chipboard. Turn taps on and off to note water pressure changes and listen for hammering or hissing that suggests restriction or leaks.
In the bathroom, check silicone lines, compression joints, and the pan connector for seepage.
In the loft, inspect for drips, corrosion, and missing pipe insulation, especially near eaves where freezing risk is highest.
Pipework Upgrade Costs, Timeline, and What to Expect
If the warning signs point towards a full re-pipe, you’ll want a clear picture of what it’ll cost, how long you’ll be without parts of your plumbing, and what disruption to expect. In the UK, costs vary with property size, access, and materials, but your plumber should itemise Pipe installation, making Budget planning straightforward.
Most homes take 2–5 days, with water shut-offs in stages, so you can still use a tap or loo at set times. Expect lifted floorboards, boxed-in pipe runs opened up, and patch repairs afterwards—ask who makes good. To keep stress down, agree working hours, dust control, and a daily plan before work starts.
- Hearing walls opened can feel daunting, but it’s temporary.
- Short outages test patience; schedule showers and kettle fills.
- A tidy finish restores comfort and confidence.
Conclusion
If you’re seeing repeat leaks, rusty or cloudy water, noisy pipework, or pressure swings across several taps, you can’t ignore the warning signs. Like a domino line, one weak section often triggers the next. Check visible runs in the kitchen, bathroom, and loft, and note damp, mould, or musty smells under floors and in cupboards. When issues are widespread or your pipe material is ageing, you’ll save hassle and cost by upgrading.
About the Author


