
You don’t walk into a viewing hoping to “feel” a deal—you set clear yield, budget, and risk limits first, then run a fast online check on comps, days on market, and local demand. You show up with a tape measure, torch, and camera, and you prioritise big-ticket risks like roof condition, damp, and electrics before you even judge finishes. Then you pressure-test rent and costs against benchmarks—because one missed detail can flip the numbers…
Key Takeaways
- Define your buy box: location, property type, condition, yield targets, and non‑negotiable deal breakers before booking viewings.
- Verify market reality online: recent sold comps, rent comps, days-on-market, local risks (flood/permits), and demand drivers within 0.5–1 mile.
- Arrive prepared with tools: tape/laser measure, moisture meter, flashlight, camera, and a room-by-room checklist for consistent documentation.
- Walk a fixed route and test everything: layout flow, light, damp, roof/gutters, electrics, windows, water pressure, and safety red flags.
- Underwrite immediately after: confirm rent roll and costs, estimate repairs, stress-test financing, and offer or walk away based on evidence.
Set Your Property Viewing Deal Criteria

Before you book a single viewing, set clear deal criteria so you can screen properties fast and avoid emotional decisions. Define your target area, property type, and minimum condition so you don’t waste travel time.
Set hard numbers: maximum purchase price, required gross yield, and a buffer for repairs and voids.
Align Property financing with the deal: your deposit range, borrowing limit, and acceptable interest rate stress test.
Decide your walk-away triggers, like short lease terms, legal title issues, or unworkable layouts.
Build an Investment strategy checklist that fits how your community invests: cashflow first, value-add, or long-term appreciation.
Share the criteria with your partner or mentor so you stay accountable and consistent.
Run a 10‑Minute Pre‑Viewing Check Online
Before you book the viewing, spend 10 minutes online to verify comparable sales data and sanity-check the asking price against recent closes.
Next, map local market trends—days on market, price-per-square-foot, and inventory—so you know whether you’re negotiating in a buyer’s or seller’s market.
Finally, check risks and permits by scanning flood/fire maps, code violations, and permit histories to spot red flags before you step inside.
Verify Comparable Sales Data
How do you know the asking price lines up with reality? You run a quick Comparable analysis before you ever book the showing.
Pull 3–6 closed sales within 0.5–1 mile, ideally from the last 90–180 days, and match beds, baths, square footage, lot size, and condition. Skip active listings; you want executed deals, not hope.
Then do sales verification. Cross-check the sold price and closing date across at least two sources (MLS feed, county records, or a reputable data portal). Note concessions, price cuts, or abnormal terms that can distort the headline number.
Calculate price per square foot for each comp, toss clear outliers, and average the rest. You’ll walk in with numbers your investor circle trusts.
Map Local Market Trends
Next, map rent direction fast: scan 5–10 current rentals and note price per bed, concessions, and time on site.
Save a one‑page snapshot so you’re speaking the same numbers as other serious buyers.
This Market analysis keeps your Investment strategies aligned with today’s velocity, not last quarter’s headlines.
Check Risks And Permits
Where do deals quietly go sideways—right before you even step inside? In 10 minutes online, you can flag issues that crush returns.
Start with the city parcel viewer: confirm lot size, setbacks, and zoning regulations match your intended use (ADU, duplex, short-term rental).
Next, pull permit history: look for open permits, failed inspections, or unpermitted additions that trigger retrofits.
Check code enforcement and liens; a single notice can delay closing by weeks.
Then scan FEMA flood maps, wildfire zones, and state databases for environmental hazards like underground tanks or nearby industrial sites.
Finally, verify utility access and easements in public records.
You’ll walk in with the investor crowd: informed, calm, and hard to surprise.
Check Tenant Demand Around the Property Viewing
Before you commit to a viewing, scan the local market to quantify tenant demand, not just “feel” it. Pull recent letting data: average days on market, achieved rent vs asking, and price-per-room for comparable stock within a 0.5–1 mile radius. Check listing volumes and reductions to gauge rental appetite, then sanity-check with vacancy signals like “available now” density and short-term incentives.
Next, map demand drivers you’ll recognise as an investor: transport nodes, major employers, universities, hospitals, and retail clusters. Validate with footfall at peak commute hours and evening activity.
Finally, talk to two local letting agents and ask the same questions: enquiries per listing, tenant profile mix, and seasonal swings. You’ll view with your tribe’s evidence, not hope.
Bring the Right Tools for a Property Viewing
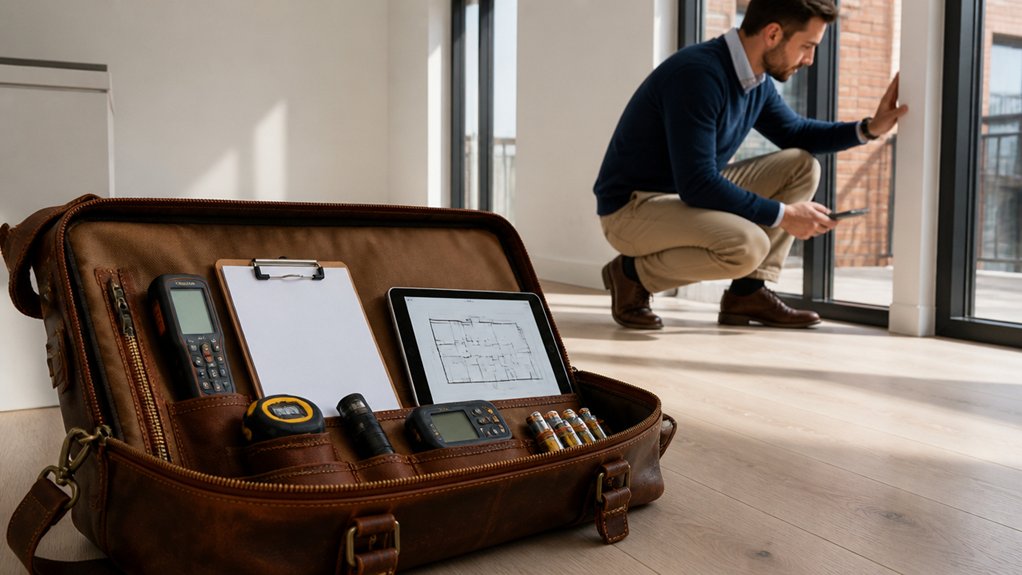
You’ll get better decisions when you show up with a tape or laser measure, a checklist, and a note app so every room size and defect is captured consistently.
Bring photo documentation gear—your phone with a wide-angle option, charged battery pack, and good flashlight—to log condition, meters, and serial plates for later comparison.
Add safety and access essentials like sturdy shoes, gloves, a mask if needed, and the right keys or lockbox code so you don’t lose time or take avoidable risks.
Essential Measuring And Note Tools
Although agents often provide floor plans and spec sheets, you’ll make better decisions when you verify key dimensions and record what you see in real time. Carry measuring tools: a laser measure for room lengths, a 5m tape for trims and window reveals, and a small level to spot sloped floors.
Note ceiling heights, radiator clearances, and stair widths—these numbers drive renovation cost ranges and furniture fit.
Use consistent note taking techniques so your data compares across viewings. Open one template with fields for room sizes, condition grades (A–D), damp/odour flags, and immediate capex items. Time-stamp each observation, label it by room, and capture exact phrases from the agent.
When you review later, you’ll sound like the investors you’re aiming to join.
Photo Documentation Equipment
When you document a viewing with the right photo kit, you create a time-stamped, room-by-room record you can audit later instead of relying on memory. Use a smartphone with gridlines on, HDR enabled, and a wide‑angle lens attachment to capture full wall lengths and sightlines. Pair it with a compact tripod so your “before” shots match angles across visits, improving comparability.
Add a 3D scanning app or LiDAR-capable device to generate measured walkthroughs you can share with contractors and lenders, reducing scope gaps.
For exterior context, use Drone photography to record roof planes, drainage paths, and adjacent land uses; log altitude and direction for repeatability.
Store everything in a named folder structure (date_address_room), and sync to your team’s workspace so you stay aligned.
Safety And Access Essentials
A solid photo record tells you what the property looked like; the right safety and access kit lets you capture it without getting stuck outside, slipping on a wet step, or guessing at hazards. Pack nitrile gloves, a P100 or N95 mask, safety glasses, and boot covers to control dust, mold, and debris exposure.
Carry a bright headlamp (200+ lumens) and a small flashlight for crawlspaces, attics, and dim panels. Bring a non-contact voltage tester, a moisture meter, and a laser measure so your notes match the site.
For property accessibility, keep a multi-bit screwdriver, tape measure, and a sturdy step stool for attic hatches.
Follow safety protocols: don’t enter confined spaces alone, and stop if you smell gas. Log concerns immediately.
Spot Big Repair Risks First (Roof, Damp, Electrics)
Before you get distracted by décor or staging, scan for the three defects that most often trigger five-figure surprises: roof failure, damp ingress, and unsafe electrics.
Start outside. For Roof inspection, sight along the ridge for sagging, check missing tiles, flashing splits, and overflowing gutters; these point to rot and leaks. Ask the agent the roof’s age and last repair invoice—serious sellers have paperwork.
For Damp detection, smell for mustiness, scan for tide marks, bubbling paint, and salt deposits. Then check external ground levels and blocked air bricks.
Finally, electrics: look for an old fuse box, mixed sockets, scorch marks, and DIY spurs. If any red flags appear, price in a specialist survey so your investor circle respects your numbers.
Walk Room‑by‑Room: Condition, Layout, and Light
Once you’ve cleared the big-ticket risks, walk the property in a fixed loop (front door → reception rooms → kitchen → bedrooms → bath → back out).
Score each room on three variables: condition, layout efficiency, and natural light.
Use a simple 1–5 scale and note only defects that move cost or usability: cracked plaster, tired flooring, sticky windows, weak water pressure, dated fixtures.
For layout, test real-life flows: can you open doors fully, carry groceries to the kitchen, and place a bed without blocking wardrobes?
Sketch quick dimensions and plan furniture placement to spot dead space.
For light, check window size, aspect, obstructions, and internal shadows; switch on Interior lighting to see how it compensates.
Snap consistent photos so your team can compare rooms objectively.
Confirm Rent, Costs, and Comps With the Seller
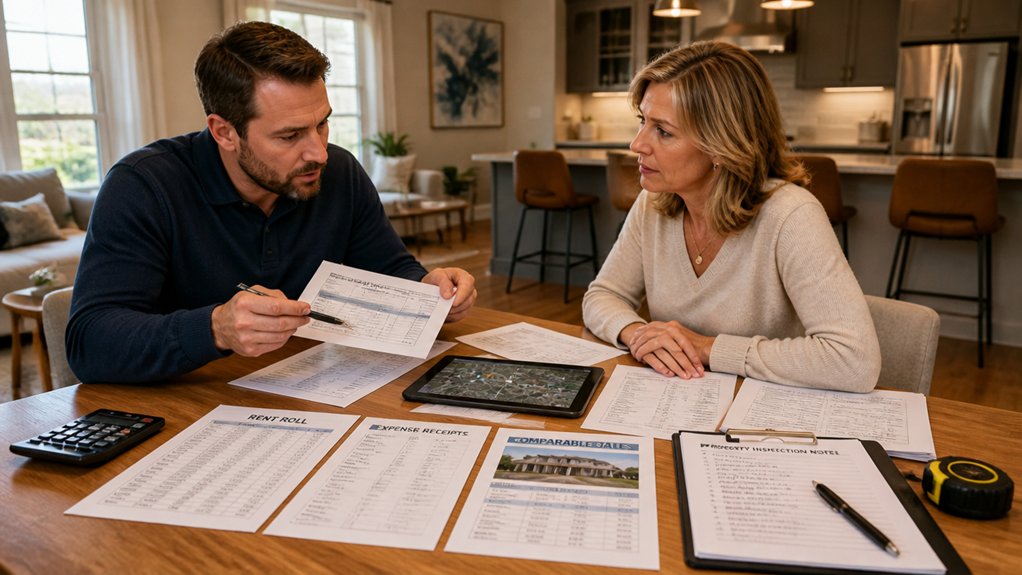
With your room-by-room scores and photos in hand, shift the conversation to the numbers that decide whether the deal works: rent, running costs, and local comps. Ask the seller to state current rent, lease term, deposit, arrears, and any concessions.
Then move to Financial verification: request the rent roll, last 3–6 months’ bank statements or rent receipts, and copies of leases.
For costs, confirm annual property taxes, insurance premium, HOA/strata fees, utilities paid by owner, maintenance history, and any upcoming assessments.
Press for Seller transparency on vacancy, tenant issues, and recent repairs.
Finally, validate comps: ask which nearby units they’re benchmarking, the exact addresses, bed/bath, condition, and achieved rents—not asking prices.
Record everything in your worksheet.
After the Viewing: Offer, Renegotiate, or Walk Away
After you’ve verified rent, costs, and comps, you can reduce the deal to a simple decision tree: make an offer if the numbers clear your minimum yield and risk thresholds, renegotiate if a specific shortfall (repairs, vacancies, below-market rent, or missing documentation) has a priced fix, or walk away if the gap can’t be closed without optimistic assumptions.
Use Offer strategies that protect downside: anchor to your underwritten NOI, capex budget, and DSCR, then set a deadline and contingencies.
Apply Renegotiation techniques with evidence: contractor quotes, rent rolls, utility bills, and lender feedback.
You’ll fit right in with disciplined buyers when you document every adjustment and keep a “no” number. If the seller won’t meet it, you exit cleanly and keep your pipeline moving.
Conclusion
You’ve set clear criteria, scanned stats fast, and stepped in prepared. Now you’ll decide with disciplined data, not dreamy doubt. If the roof’s risky, damp’s detected, or wiring’s worrying, you’ll price repairs precisely or pass. If layout, light, and local demand align, you’ll confirm comps, cash flow, and costs, then negotiate numbers confidently. Keep your process consistent, your notes meticulous, and your limits locked—profit comes from patient, practical property picks.
About the Author