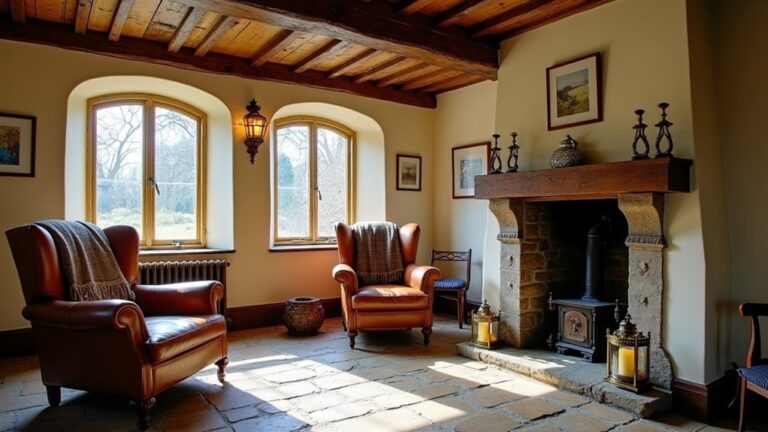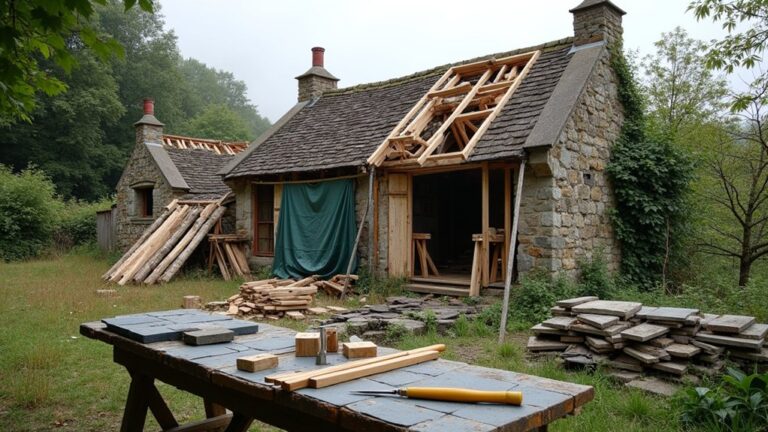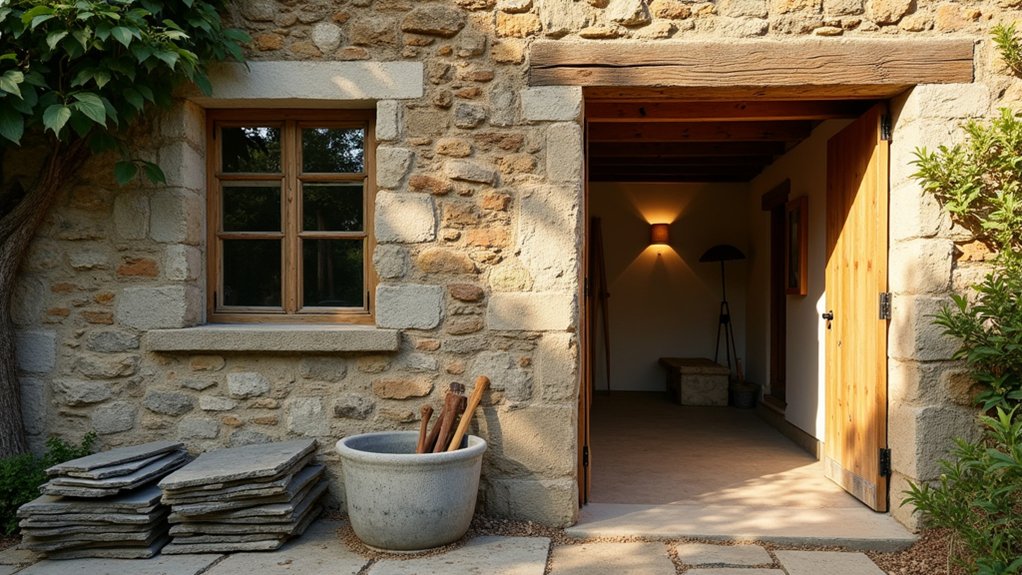
Mist hangs in the rafters as you step onto uneven flags and listen for the quiet drip that tells you where the cottage is failing. You start with a proper survey, then plan a phased order of works that protects fabric and budget alike, with permissions handled early. You tackle the roof and drainage first, stabilize stone and lime mortar, then bring in discreet insulation, heating, and services that won’t trap moisture. But one early decision will shape every finish that follows…
Key Takeaways
- Survey roof, stonework, floors, and ventilation to diagnose moisture, structural movement, and safety issues; photograph defects and map water pathways.
- Plan a phased scope and budget early, locking heating, insulation, ventilation, and plumbing decisions; secure listed-building, planning, building control, and drainage approvals.
- Stop water ingress first: repair slates and lead flashings, test with hose checks, and improve gutters, grading, and French drains to divert moisture.
- Stabilize structure with compatible repairs—stitch cracks, reset stones, renew lintels, and selectively underpin—prioritizing discreet interventions over wholesale replacement.
- Upgrade comfort sensitively: restore windows and doors with seals, add breathable insulation and controlled ventilation, then install efficient heating, electrics, and plumbing via minimal routes.
Survey Your Stone Cottage and Spot Red Flags
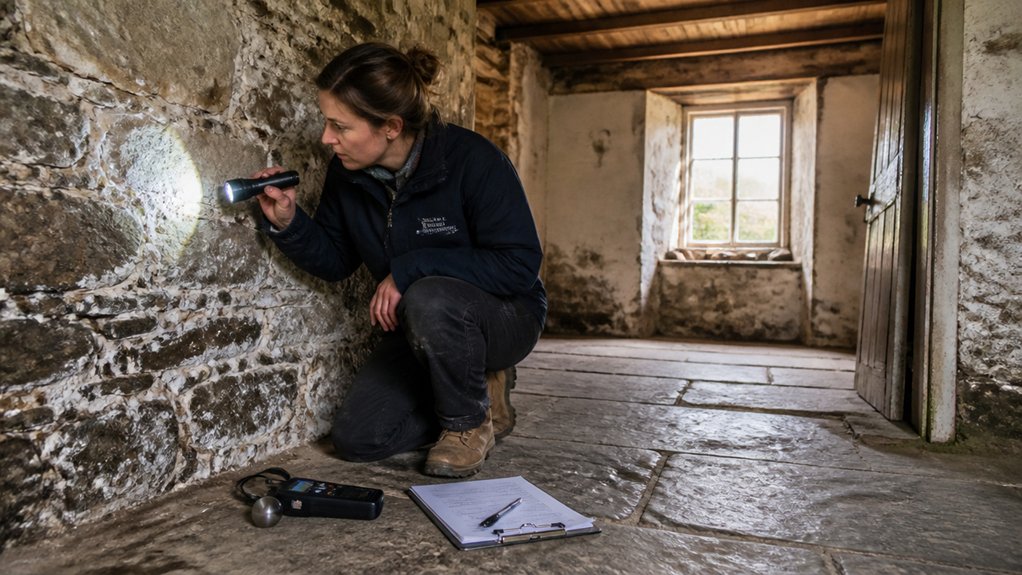
Before you fall for the charm of thick walls and weathered lintels, walk your stone cottage like a surveyor and look for the quiet failures that can turn a “simple refresh” into a structural campaign.
Start outside: check rooflines for sag, slipped slates, and failed flashings; trace gutters and downpipes to see where water splashes back onto masonry. Inspect stone faces for delamination, bulging, and hard cement pointing that traps moisture.
Inside, follow the scent of damp—salts, tide marks, and powdery plaster signal rising moisture or leaking services. Test floors for spring and unevenness, and note cracking above openings that hints at lintel decay.
In lofts and cellars, confirm ventilation, beetle activity, and safe electrics for tenant safety. Photograph everything for Historic preservation.
Plan the Order of Works, Budget, and Permissions
Once you’ve logged the defects, turn that evidence into a phased plan that protects the cottage’s fabric while still delivering modern comfort. Sequence works from least invasive investigations to essential structural and services upgrades, then finishes.
Lock decisions early on heating, insulation approach, ventilation, and plumbing routes so you don’t chase changes through stone and lime later. Build a budget with a 15–25% contingency, and price specialist trades: lime, stone repair, timber conservation, and bespoke joinery for practical-luxury results.
Map procurement lead times for windows, kitchens, and reclaimed flooring. Confirm permissions: listed-building consent, planning, building control, and any ecology or drainage sign-offs.
Keep Interior decor and landscaping design in the same master schedule so external levels, paths, and lighting align with thresholds and room layouts.
Repair the Roof First (and Stop Water Ingress)
You start at the top: trace every damp stain and musty patch back to its source. Then inspect the rafters, underlay, gutters, and valleys for slipped slates, failed mortar, and hairline gaps.
You keep the cottage’s character by reusing sound slates where possible and matching any replacements in size, thickness, and tone.
You finish by renewing lead flashing and neatly dressing it into joints so water can’t track in again.
Identify Leaks And Damage
Because water exploits every hairline crack, the roof has to become your first diagnostic target when restoring a stone cottage. Start inside: trace tide marks on rafters, sniff for musty pockets, and run a moisture meter along ceilings and chimney breasts.
Outside, inspect from ground and ladder: look for slipped lines, sagging ridges, and staining that telegraphs hidden paths.
- Map water’s route: wet insulation, dark timbers, and salt bloom on stone show where it travels, not where it enters.
- Check junctions: valleys, parapets, and abutments fail first, especially after freeze‑thaw cycles.
- Protect the fabric: keep Roof insulation dry, and delay Exterior paint until the masonry’s moisture readings stabilise and you’re confident ingress has stopped.
Replace Slates And Flashing
A sound slate roof stops most stone-cottage problems before they start, so swap cracked or delaminating slates with matching reclaimed pieces (same size, thickness, and colour) and re-fix with copper nails rather than bright zinc that’ll fail early.
For Slate replacement, work from eaves to ridge, keeping the original lap and gauge so the roof reads authentically and sheds water fast.
Next, prioritise flashing installation at chimneys, valleys, and abutments. Strip back failed lead or torn membrane, then dress new code-compliant lead to the right thickness, with neat welts and a properly chased, sealed step into the masonry.
Add discreet soakers under each course where needed. Finish with breathable underlay repairs, tidy ridge details, and a final hose test to confirm you’ve stopped ingress before touching interiors.
Stabilize Stone Walls, Lintels, and Foundations
Before any finishes go in, stabilize the cottage’s stone walls, lintels, and foundations so the building carries its loads the way it was meant to.
Start with a careful survey: map cracks, bulges, and out‑of‑plumb faces, then sequence work so you don’t chase movement later.
You’ll preserve character by repairing, not replacing, and by choosing compatible materials and discreet detailing for a calm, luxurious result.
- Respect the masonry: pin and stitch where needed, repoint locally, and use concealed ties for stone wall reinforcement without flattening the wall’s texture.
- Secure openings: reset slipped stones, renew bearing pads, and repair or replace failing lintels with matching stone or sympathetic steel.
- Support below: underpin selectively, grout voids, and monitor settlement for measured foundation stabilization.
Fix Stone-Cottage Damp: Drainage, Lime, Ventilation
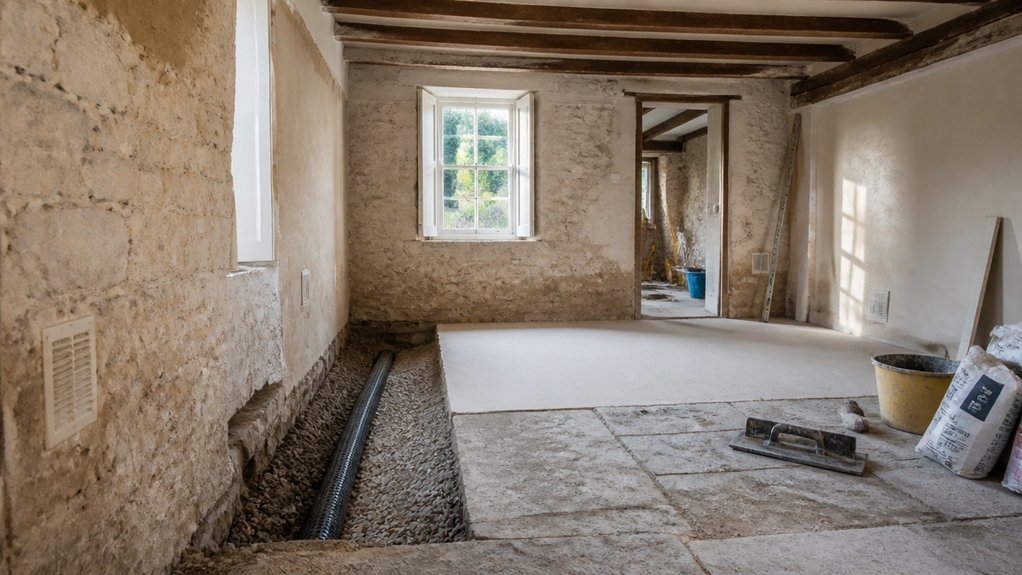
You’ll beat stone-cottage damp by starting outside: correct the grading, clear or add French drains, and keep rainwater moving away from the walls.
Inside, you’ll swap cementy, moisture-trapping fixes for breathable lime mortar and lime plaster so the stone can dry naturally.
Then you’ll tune ventilation—trickle vents, discreet extractors, and a measured heat baseline—so the cottage stays crisp, sound, and quietly luxurious.
Improve Drainage And Grading
Although stone walls can breathe, they can’t shrug off standing water, so start your damp fix outside with drainage and grading. Walk the perimeter after heavy rain and map where water pools, then reshape the ground so it sheds moisture away from the footings. Keep changes subtle to protect historic thresholds and mature planting schemes, but be decisive: moisture follows the easiest path.
- Set finished ground levels at least 150 mm below internal floors, and maintain a gentle fall away from walls for the first 2–3 m.
- Upgrade garden drainage with French drains, clean gravel, and inspection points, routing discharge to a lawful outfall.
- Use landscape grading to create discreet swales and stone-edged channels that read as traditional features, not modern interventions.
Use Lime And Ventilation
Once you’ve pushed surface water away from the footings, tackle what’s already in the fabric by pairing breathable lime with steady ventilation. Strip cement renders and gypsum where they’re trapping moisture, then specify Lime plaster with sharp sand and proper curing time. You’ll let salts migrate harmlessly and the wall dry from within, preserving stone edges and original tool marks. Finish with limewash for a soft, light‑lifting sheen that suits heritage rooms.
Next, keep humidity predictable. Install discreet Ventilation systems: a demand‑controlled MEV for everyday living, or a balanced MVHR if you’re tightening the envelope. Duct through cupboards or roof voids, use humidity sensors in kitchens and baths, and maintain gentle background air changes without drafts.
Insulate a Stone Cottage Without Causing Damp
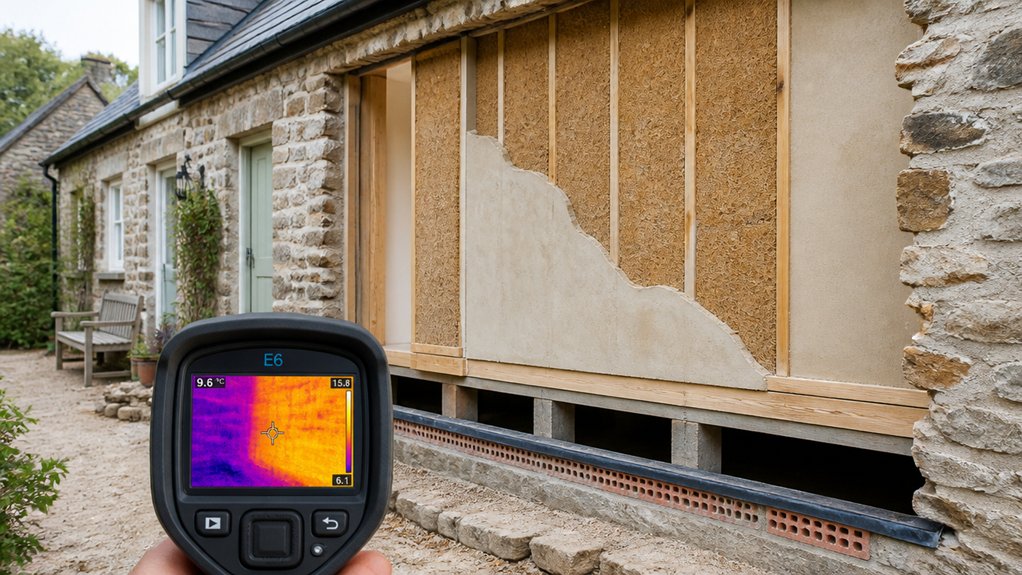
To insulate a stone cottage without inviting damp, you need a system that respects how the walls naturally manage moisture rather than trapping it behind modern barriers. Choose breathable layers, keep junctions continuous, and let the fabric dry to both sides where possible. You’ll protect stone preservation and maintain exterior aesthetics while achieving quiet, even warmth.
- Start with diagnostics: map salts, cold bridges, and rain exposure so you don’t “insulate over” a moisture path.
- Use capillary-open materials: wood fibre, cork, or calcium silicate internally, finished with lime plaster; avoid foil-backed boards and vinyl paints.
- Detail for durability: insulate reveals, floor edges, and eaves; seal air leaks, then manage humidity with controlled extraction and steady heating.
Upgrade Windows and Doors Without Losing Character
When you upgrade windows and doors in a stone cottage, you’re really tuning comfort, security, and draught-proofing without flattening the building’s proportions or craftsmanship.
Start with window restoration: keep original timber where it’s sound, splice in matching seasoned wood where it’s not, and retain wavy glass if possible. You’ll get discreet performance by fitting brush seals, overhauling pulleys, and adding slimline double glazing only where sightlines stay fine.
For door preservation, repair frames before you replace anything; cottages rely on deep reveals and hefty thresholds. Rehang doors on refurbished ironmongery, add a concealed drop seal, and upgrade locks to insurance grade.
If you must replace, commission like-for-like joinery with traditional mouldings and painted finishes.
Plan Heating and Hot Water for a Stone Cottage
You’ll want heat that feels effortless while respecting thick stone walls and original finishes, so you can weigh options like discreet underfloor heating, compact radiators, or a high-efficiency heat pump paired with a retained stove.
You’ll also plan hot water with equal care—considering a well-insulated cylinder, smart controls, and solar thermal or heat-pump integration to cut running costs without visible compromise.
If you size everything to the cottage’s heat loss and room use, you’ll get steady comfort, quiet operation, and period character that still reads authentic.
Heating System Options
Although thick stone walls feel timeless and reassuring, they behave very differently from modern insulated construction. So your heating and hot water plan needs to respect the building’s breathability while delivering dependable comfort.
Choose systems that warm steadily, avoid harsh bursts, and keep original fabric dry.
- Low-temperature emitters: Pair a heat pump or efficient boiler with Underfloor heating in discreet zones, and use slim radiators elsewhere for gentle, even warmth.
- Room-by-room control: Fit thermostatic valves and zoning so rarely used bedrooms sit cooler while living spaces feel luxurious.
- Heritage-led detailing: Prioritise careful Radiator placement away from damp-prone external walls, route pipework through reversible voids, and keep ventilation uncompromised.
You’ll get comfort that feels modern, yet looks authentically cottage.
Efficient Hot Water Solutions
Steady, breathable heating only works as well as the hot water system that sits beside it, so plan both together to avoid short cycling, wasted energy, and damp-friendly temperature swings.
Start by sizing demand: showers, baths, guest rooms, and kitchen draw-offs, then choose storage that supports low-flow heating and peak hot-water loads.
If you’ve rooflines or outbuildings that can take discreet collectors, Solar thermal can preheat a well-insulated cylinder, cutting boiler runtime while keeping pipe temperatures stable.
Keep the cylinder inside the insulated envelope, fit anti-scald valves, and insulate all primary runs.
Where space is tight, a Tankless heater suits a secondary bathroom or annex, but you’ll need adequate gas supply, flue routing, and water pressure.
Add a timed recirculation loop for comfort without constant losses.
Rewire and Replumb Neatly (First-Fix Essentials)
Once the walls are opened and access is easy, run your new wiring and pipework with the same respect you’d give the original stonework: planned, minimal, and tidy. Keep chases shallow, avoid random drilling, and use existing voids so the cottage’s fabric stays calm and legible.
Prioritise Electrical safety with modern consumer units, RCD protection, and clearly labelled circuits, but hide disruption by routing cables in straight, serviceable runs.
- Map every route before you cut: future you’ll thank you during upgrades.
- Separate wet and dry zones: clip pipes and cables neatly, and sleeve crossings.
- Choose durable plumbing fixtures early: set pipe centres, isolation valves, and access panels so fitting feels effortless.
Test, photograph, and document everything before you close up.
Choose Breathable Interior Finishes That Suit Stone
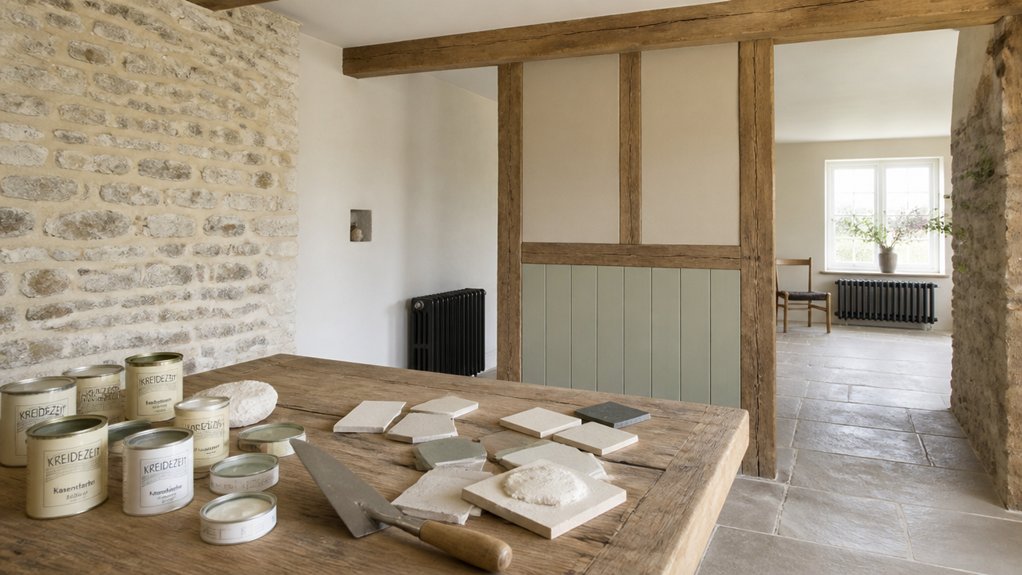
Because stone walls manage moisture differently from modern studwork, you’ll get the best long-term comfort by choosing interior finishes that let them breathe rather than trapping damp behind a hard, sealed skin.
Specify lime plaster over cement; it flexes with settlement, wicks moisture, and keeps edges crisp around reveals. Use clay paints or limewash instead of vinyl emulsions, and choose mineral primers that won’t block pores.
Where you need lining, fit wood-fibre boards or insulated lime systems, then skim in lime for stone compatibility.
Keep skirtings and architraves slightly proud to allow airflow, and detail junctions with lime caulk, not silicone.
Finish floors with breathable oils or soap, and reserve waterproof coatings for wet rooms only.
This balanced palette feels quietly luxurious.
Conclusion
You’ll know you’ve done it right when the cottage feels calm in a storm. A client once told you, “After we fixed the roof, the walls stopped crying”—and their moisture readings fell from 24% to 12% in a month. That’s your metaphor: stop the leak, and the house exhales. Keep lime, ventilation, and drainage working together, then layer in discreet warmth, tight-but-traditional joinery, and neat services. You’ll live modern, without erasing history.
About the Author