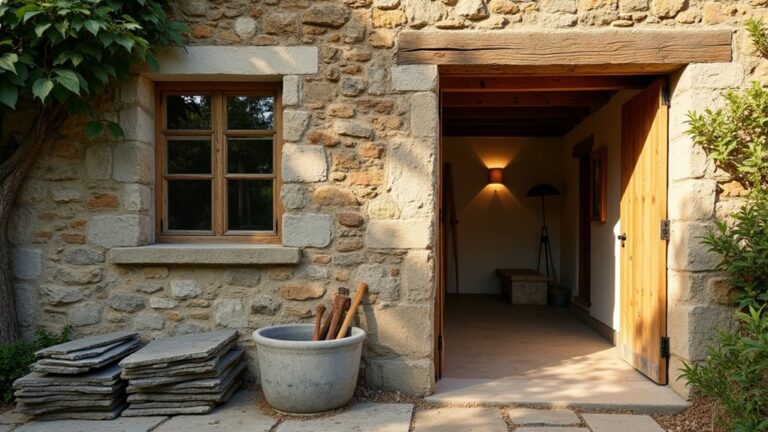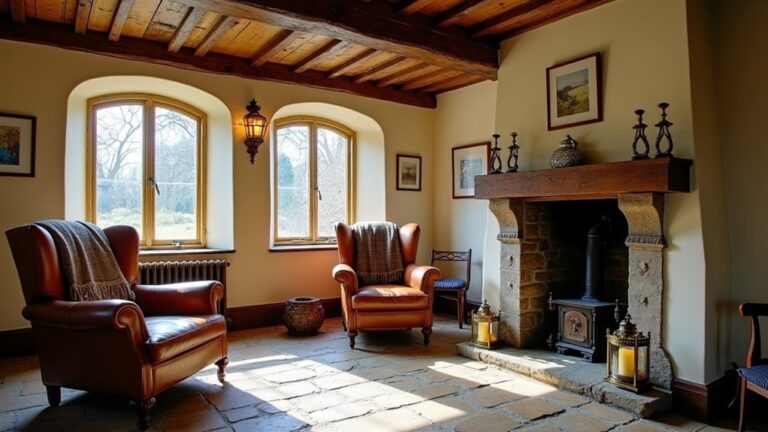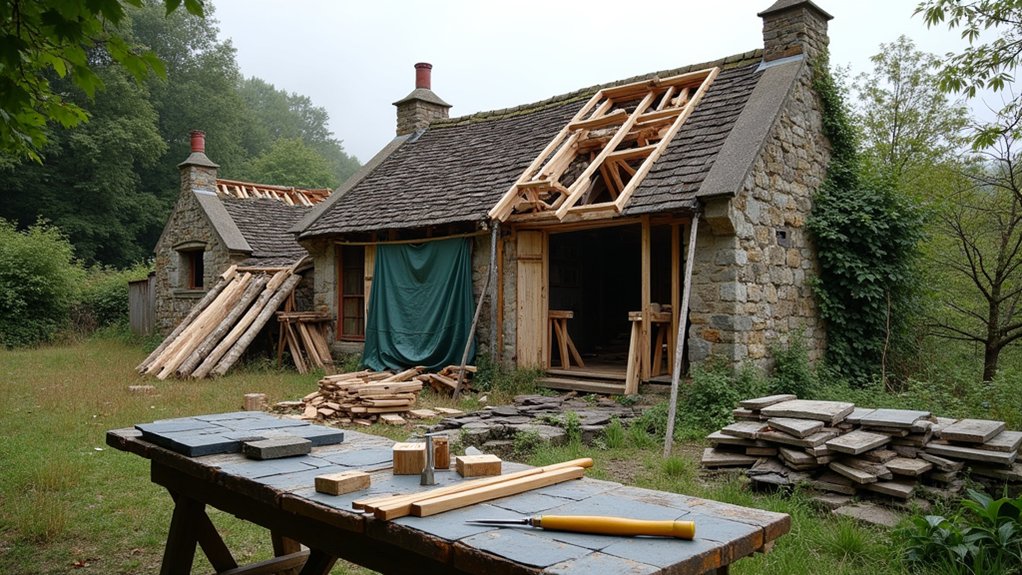
You don’t need a huge budget or a full-time crew to bring a neglected rural cottage back, but you do need a method. You start by walking every room and the perimeter, logging cracks, sagging lines, damp tide marks, and any suspect wiring, then you confirm what’s structural with the right surveys and permissions so you don’t breach local building rules. Next, you make access safe and plan materials storage to save space—because the first hidden failure usually shows up when you lift the floor.
Key Takeaways
- Document all damage with photos, floor plans, measurements, and moisture readings to separate cosmetic defects from structural and safety hazards.
- Commission measured, structural, drainage, and utilities surveys, then confirm planning permission, listed consent, and building regulations requirements before design.
- Secure the site with fencing, welfare, service isolation, and asbestos/lead/mold testing, and run daily safety briefings under CDM principles.
- Stabilize structure first—foundations, loadbearing walls, roof timbers—then fix damp sources with gutters, drains, ventilation, and lime-based masonry repairs.
- Upgrade utilities and insulation carefully to protect historic fabric, sequence room-by-room finishes, and budget with 15–25% contingency and staged cash flow.
Walk Through the Cottage and Log Damage
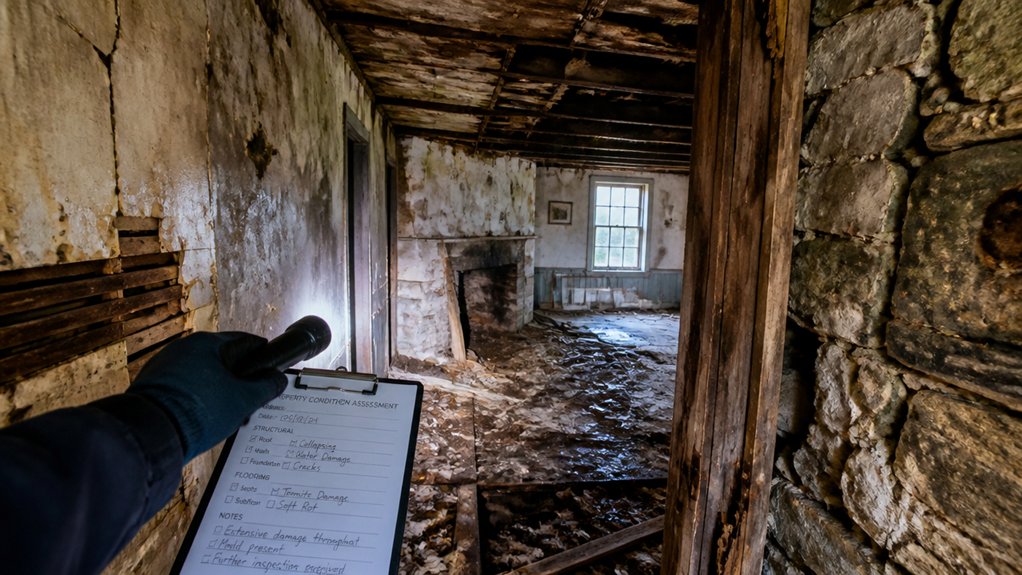
Before you move a single board, walk the cottage room by room and log every issue in a consistent, verifiable way: photograph each elevation and corner, mark locations on a simple floor plan, and record measurements for cracks, deflection, damp staining, and rot so you can separate cosmetic wear from structural risk.
Tag each entry with date, weather, and room ID, and keep files backed up for insurers and building control.
Check ceilings for sag, floors for bounce, and joinery for worm; note active leaks versus historic marks.
Use a moisture meter and write readings at skirting height and mid-wall.
Flag hazards: asbestos-like boards, loose electrics, open flues.
Measure openings to plan space-efficient storage, interior décor, and furniture restoration staging zones.
Decide If the Cottage Is Worth Saving
Next, you’ll decide if the cottage is worth saving by confirming structural integrity—foundation bearing, wall plumb, roof span, and any rot or settlement—against applicable code and permit constraints.
You’ll then price a repair-to-compliance scope (structural, moisture control, utilities) and compare it to the finished value and your budget cap.
If the numbers or compliance hurdles don’t pencil out, you’ll save space and cost by shifting to partial salvage or a full rebuild plan.
Assess Structural Integrity
How do you know whether that weathered cottage is a charming restore—or a money pit that can’t meet today’s standards? Start with a structural survey: check foundations for settlement, damp, and frost heave; probe sills, joists, and roof timbers for rot, insect damage, and undersized spans.
Verify lateral stability by inspecting bracing, cracked masonry, and racked openings. Map moisture sources—failed gutters, rising damp, poor drainage—because they drive ongoing decay and mold risk.
Compare existing conditions to local building code triggers for substantial renovation, and note any constraints for historic preservation. Use minimally invasive openings to confirm hidden conditions and limit environmental impact.
If key load paths are compromised or repair access is unsafe, pause and consult a licensed engineer.
Compare Costs Vs Value
Once you’ve mapped the cottage’s structural faults and moisture drivers, put hard numbers against them to see whether repairs buy you safe, code-compliant space—or just escalating risk.
Build a scope and price it line-by-line, then compare against post-rehab value, rental yield, and replacement cost.
If Historical preservation applies, factor in consent fees, heritage-grade detailing, and limits on altering openings, insulation, and rooflines.
Use Material selection to control lifecycle cost: breathable lime, treated timber, and corrosion-resistant fixings often beat cheap, non-compatible mixes that trap damp.
Prioritise space-optimising upgrades that also satisfy egress, fire separation, ventilation, and U-values.
- Cost per m² vs local comps
- Mandatory code upgrades you can’t skip
- Structural contingency (10–20%)
- Salvage value if you walk away
Plan Surveys, Permissions, and Your Budget
Before you commit to drawings or demolition, line up the surveys, permissions, and cost controls that will govern what you’re legally allowed to rebuild—and what you can afford to finish. Start with a measured building survey, drainage and utilities searches, and a structural engineer’s report to confirm what can be retained.
If the cottage sits in a conservation area or is listed, get guidance on Historical preservation early, including materials, window proportions, and repair-first requirements. Commission ecology, flood, and contamination checks to quantify Environmental impact and mitigation.
Then map approvals: planning permission, listed building consent, and building regulations (Part A, B, L, and F). Set a room-by-room schedule, prioritise space-saving storage and services routes, and build a budget with 15–25% contingency, staged cashflow, and tender comparisons.
Make the Cottage Site Safe to Work
Although the cottage may look stable from the lane, you need to make it demonstrably safe under CDM principles before any strip-out or temporary works start. Treat it as a controlled site: restrict access, document hazards, and brief everyone daily. Protect Historical preservation features by isolating fragile joinery, fireplaces, and floor finishes from traffic, dust, and moisture.
- Set up secure perimeter fencing, a signed single entry, and a visitor log.
- Arrange welfare: water, toilet, first-aid, lighting, and a tidy, space-optimised storage bay.
- Isolate services: lock off electric, cap water, confirm no live gas, and label all points.
- Control risks: asbestos and lead testing, pest and mould management, plus safe routes that respect landscaping design and protected trees.
Shore Up Foundations, Walls, and Roof
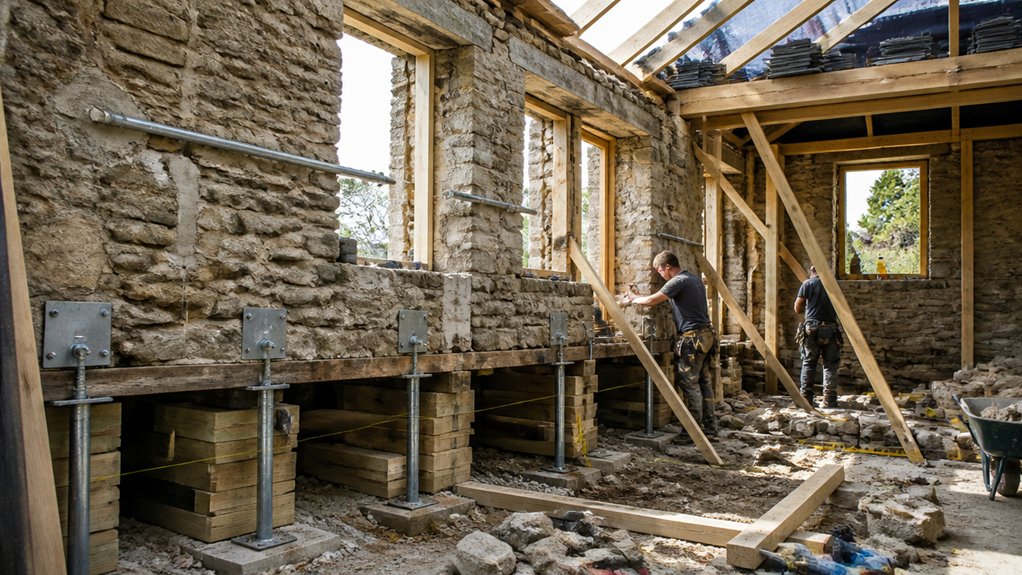
If the cottage has sat through decades of settlement and patch repairs, you’ll need to stabilise the foundations, loadbearing walls, and roof structure first so every later task stays compliant and predictable. Start with a surveyor’s report and any required building-control notifications, then set tolerances for plumb, level, and deflection.
For Foundation stabilization, install temporary needle beams and props before you excavate in short bays; underpin only where movement is confirmed, and tie new concrete to existing footings with dowels.
For Wall reinforcement, stitch cracks with helical bars, add discreet piers, and replace failed lintels to restore load paths without stealing floor area.
In the roof, brace rafters, sister weakened members, and add straps to walls; keep openings framed to code.
Document each stage for approvals.
Fix Cottage Damp: Drainage and Ventilation
You’ll start by tracing moisture at the source—rising damp, penetrating rain, plumbing leaks, or condensation—so you can match the remedy to what building guidance and breathable fabric constraints allow.
Then you’ll regrade and drain: keep finished ground below the damp-proof course, fall surfaces away from walls, add gutters and downpipes to a lawful outfall, and use slim French drains where space is tight.
Finally, you’ll boost controlled airflow with clear sub-floor vents, trickle vents, and correctly ducted extract fans in wet rooms, balancing ventilation rates with heat loss.
Identify Moisture Sources
Where’s the damp really coming from—groundwater, rain splashback, plumbing leaks, or moisture you’re generating indoors? Start by mapping symptoms room by room and timing them after storms, cooking, bathing, or heating cycles. You’ll stay regulation-aware by documenting findings before invasive work and keeping electrics isolated in wet zones.
- Check humidity: log RH with a hygrometer for humidity control; target 40–60% and note spikes.
- Inspect surfaces: look for tide marks, salts, and blistered paint; assess existing moisture barriers and their continuity.
- Test plumbing: pressure-test lines, trace staining, and verify trap seals and overflows.
- Review ventilation: confirm extract rates, clear air paths, and blocked vents behind tight-fit furniture.
Improve Site Drainage
Once you’ve pinned down the moisture sources, tackle what’s happening outside: poor site drainage can keep the base of the walls wet no matter how good your internal ventilation is.
Regrade to fall away from the cottage (typically 1:60 minimum) and keep finished ground at least 150 mm below the damp-proof course or internal floor level where required.
Clear gullies, add leaf guards, and extend downpipes into sealed drains or a soakaway sized to local rainfall and percolation tests.
Use rainwater harvesting but route overflow to the soakaway, not against foundations.
Install a shallow French drain only if you can discharge legally and avoid undermining footings.
Finish with soil stabilization—geotextile plus compacted gravel—to stop muddy splashback.
Enhance Airflow Ventilation
Why does damp linger even after you’ve improved drainage? Because moisture still forms indoors from cooking, bathing, and cold surfaces, and it can’t escape. You’ll fix it by creating natural airflow paths that meet building regs and don’t steal floor area.
- Open existing vents, then clear obstructions under floors; keep a continuous air gap to prevent rot.
- Add trickle vents to window frames or install wall vents high/low for cross‑flow without drafts.
- Fit an extractor fan in kitchen and bath, ducted outside with backdraft shutters; size it to the room volume.
- Seal only the right places: draught‑proof doors, but don’t block chimneys or air bricks.
These ventilation strategies keep humidity down while protecting historic fabric.
Treat Rot, Woodworm, and Failing Masonry
Although the cottage might look sound at first glance, you’ll need to tackle rot, woodworm, and failing masonry early so defects don’t spread into adjacent timbers or compromise load paths. Start by tracing moisture sources, then open up only what’s necessary to expose bearing ends, wall plates, and joist pockets.
Probe suspect members, cut back to clean, sound wood, and splice like-for-like, keeping structural continuity. Apply boron-based timber preservation where active larvae or high risk exists, following label rates and ensuring ventilation allows drying.
For masonry restoration, rake out loose joints by hand to avoid brick damage, then repoint with compatible lime mortar, not hard cement. Stitch cracks with stainless helical bars where required, and replace spalled units sparingly, maintaining original coursing and openings.
Upgrade Cottage Electrics, Plumbing, and Heating
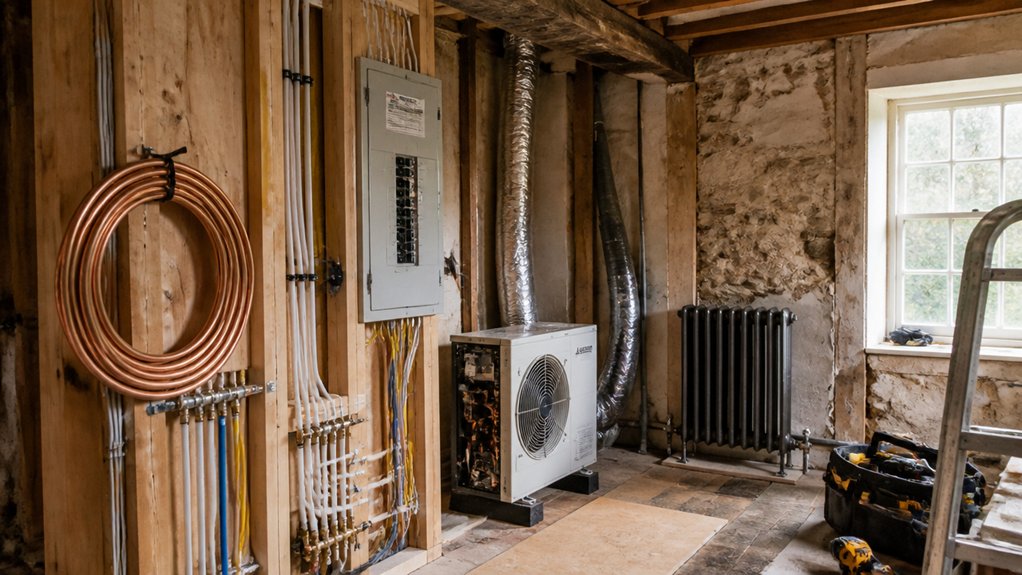
Before you close up floors and ceilings, map out new electrics, plumbing, and heating as a single coordinated layout so you don’t clash runs, overload joists, or waste service space. Plan routes through cupboards, boxed corners, and raised thresholds to keep services accessible and minimize cutting into historic fabric.
For cottage wiring, size circuits to modern loads, add RCD/RCBO protection, and keep junctions in approved, reachable enclosures.
For plumbing upgrades, replace buried lead or corroded steel, add isolation valves, and pressure-test before covering.
Choose a heating system that suits room-by-room zoning and low-flow emitters, and confirm flue, condensate, and ventilation clearances meet code.
- Survey existing runs and earthing/bonding
- Set service zones and drill limits
- Install, label, and test
- Document as-built and certificates
Add Insulation and Finishes Without Trapping Moisture
With your electrics, plumbing, and heating routes fixed and documented, you can insulate and finish the cottage in a way that boosts comfort without turning walls and floors into moisture traps.
Choose breathable systems for solid stone: wood fibre or hemp-lime with lime plaster, not foil-backed boards that block drying.
Where Building Regs demand a vapour control layer, place it warm-side, tape every seam, and keep it continuous around joists and reveals.
Use thermal barriers that fit tight to reduce convection, and install moisture barriers only where risk justifies them, like damp-prone floors.
Add a ventilated service cavity to protect airtight layers while saving depth for sockets.
Maintain ventilation rates, include a humidity sensor, and leave inspection hatches for future checks.
Conclusion
You’ve logged every defect, proved the cottage is worth saving, and lined up surveys, permits, and a contingency budget. You’ve secured access, managed hazards, and stabilised foundations, walls, and roof to code. You’ve beaten damp with drainage and ventilation, treated rot and woodworm, and repaired masonry using compatible materials. You’ve upgraded electrics, plumbing, and heating to compliant standards, then insulated with breathable layers. Done right, it’s stronger than a fortress, yet still authentic.
About the Author