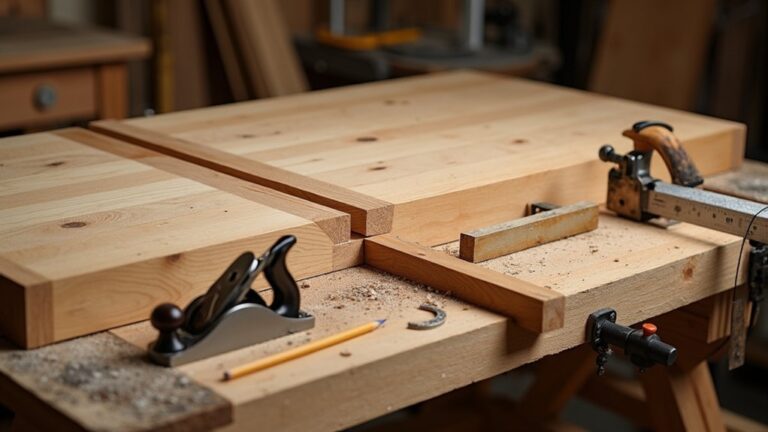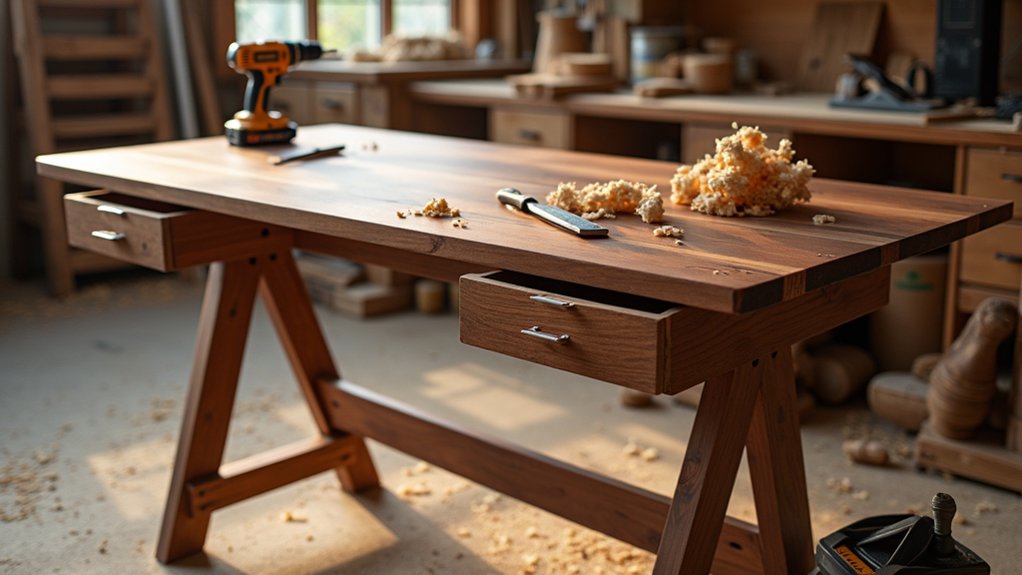
You start by fixing the desk’s footprint, ergonomic height, and cable route, because you can’t hide poor planning under a good finish. Choose kiln-dried oak, walnut, or beech from a reputable UK timber merchant, then pick straight, consistent boards and let them acclimatise indoors. Once you’ve jointed, glued, and flattened the top, you’ll need a base that stays rigid yet allows seasonal movement—your fastening choice decides whether it lasts…
Key Takeaways
- Measure the room precisely, tape out the footprint, and set desk height to suit elbow level and chair ergonomics.
- Select kiln-dried, FSC/PEFC hardwood (25–30mm thick), acclimate indoors 1–2 weeks, and reject boards with warp or checks.
- Design for function: plan monitor depth, lighting, and cable management using grommets, trays, and rear gaps for plug access.
- Build a rigid base with stretchers and rails; use movement-friendly joinery like drawbored joints and figure‑8 fixings or Z‑clips.
- Prepare and finish well: sand 120–240 grit, remove dust fully, and apply three thin coats of water-based varnish, de-nibbing at 320 grit.
Plan the Desk Size, Height, and Cable Layout
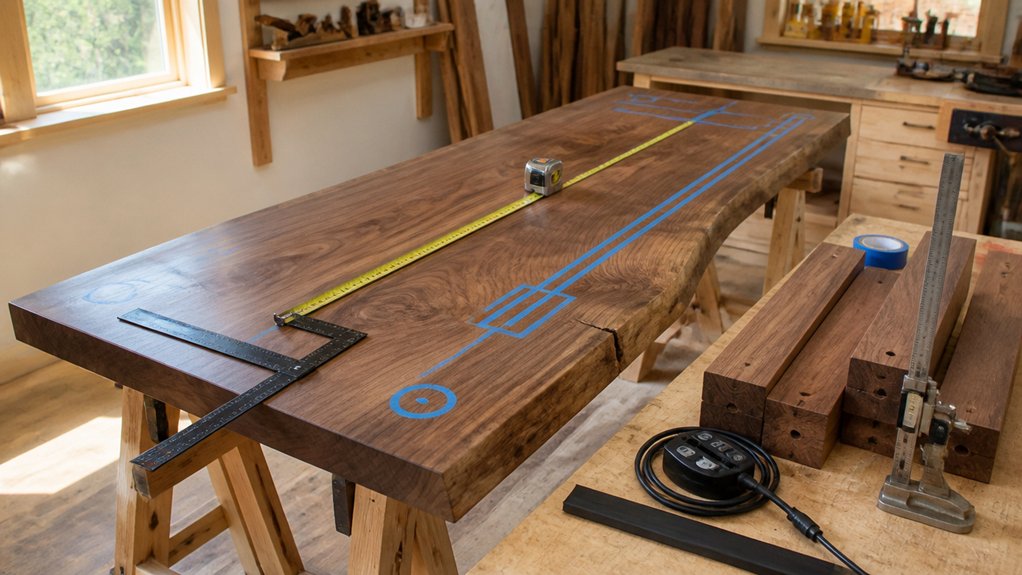
Before you buy timber or cut a single board, pin down your desk’s footprint, working height, and where every lead will run. Measure your room in millimetres, note skirting boards, radiator clearance, and door swing. Then tape out the top on the floor to confirm reach and chair movement.
Set height for workspace ergonomics: aim around 720–750mm for a standard chair, or match your elbow height with forearms level.
Decide monitor position early; it drives depth (600–800mm) and lighting considerations, so you don’t face glare from a window or block a pendant.
Plan cable routes: grommet positions, an under-top tray, and a rear gap for plugs, keeping strain relief and UK sockets accessible.
Choose the Best Timber for a Desk Top
How do you choose a desk top timber that won’t cup, dent, or look tired after a year of daily use? Start with species and cut.
In the UK, European oak gives superb wear resistance and a crisp grain, while ash offers springy toughness at a lighter look. Walnut feels premium but marks more easily, so pair it with a hardwax oil.
If you want stability and value, consider beech or sycamore; both machine cleanly and finish evenly.
Aim for 25–30mm thickness for a solid feel and better screw purchase.
Prefer kiln-dried hardwood at 8–10% moisture content for centrally heated homes.
For Eco friendly options, look at FSC or PEFC labels and ask your merchant about Sustainable sourcing. Avoid tropical exotics without clear certification.
Pick Straight Boards and Acclimate the Timber
Although you can buy beautiful hardwood off the rack, you’ll save yourself a lot of planing and future movement by choosing boards that are straight, calm, and properly acclimated to your home. Start your board selection at the rack: sight along each edge and face for bow, cup, twist, and crook, and reject anything that fights you. Check for end checks, pith, wild grain, and knots where fasteners or joinery will land, and pick boards with consistent colour if you want a uniform top.
Before cutting, bring the timber into the heated room where the desk will live. Stack it on stickers with airflow, keep it off concrete, and leave it for a week or two. That simple timber seasoning step helps the moisture content settle to UK indoor conditions.
Glue Up and Flatten the Timber Desk Top
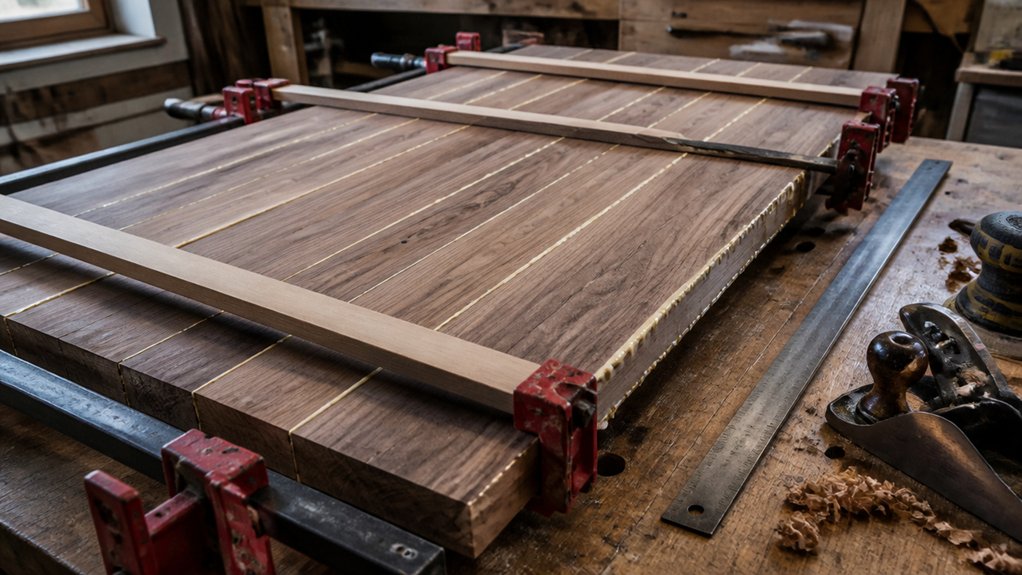
Once your boards have acclimated, you can glue up the desktop as a single stable panel by jointing the edges dead square, arranging the grain for balance (alternate growth rings and avoid stacking all the cathedral grain the same way), and doing a dry clamp-up to confirm you’ve got even squeeze-out and no wind.
For glue, use a D3 PVA in a warm UK workshop, spread a thin, continuous film, and clamp from both faces to keep it flat. Use cauls wrapped in packing tape, and check alignment with a straightedge. Wipe squeeze-out after it gels, not when wet.
Next day, scrape joints, then flatten: start with a jack plane across the panel, then with the Timber grain. Finish with a No.7 or a wide drum sander, keeping color matching consistent.
Build a Desk Base: Trestle, Apron, or Cabinets
Now that your timber top’s flat and true, you’ll choose a base that suits your space: a trestle for clean lines and easy legroom, an apron frame for stiff, traditional support, or cabinet units for storage and cable control.
You’ll set out joinery and hardware to match the load—think stout mortice-and-tenon or loose tenons for trestles and aprons, and square, well-braced carcasses on cabinet bases.
You’ll also plan how the top fixes to the base with UK-available figure‑8 fasteners or slotted buttons so seasonal movement doesn’t split your boards.
Choosing Trestle Base Style
If you want a desk base that feels light, assembles neatly, and still holds steady under a pair of monitors, a trestle design is hard to beat. You’ll get excellent Trestle stability by choosing a wider stance (around 650–750mm between feet) and a solid stretcher set low to resist racking on uneven UK floors.
Pick timber that suits your room and workload: European oak gives crisp edges and durability; ash stays springy and bright; tulipwood paints smoothly for a contemporary look.
For tactile comfort, ease the arrises with a 3–5mm roundover and sand to 180–240 grit. Keep proportions tidy—legs around 60–80mm thick look balanced under a 25–35mm top—so the base adds aesthetic appeal without feeling chunky.
Building Apron Frame Support
Although a trestle base keeps things visually light, an apron frame gives your desk top a rigid perimeter so it won’t sag or rack when you lean in on a keyboard tray or run a dual‑monitor arm.
You’ll mill straight-grained oak, ash, or beech to 18–22mm thickness, then cut rails to sit just inside the top’s overhang, allowing for seasonal movement.
Use haunched mortise-and-tenon joints at the legs for dependable structural reinforcement, and dry-fit square before glue-up.
Add a central stretcher if you’re spanning over 1200mm.
Fix the top with figure‑8 fasteners or elongated screw holes so it can breathe.
If you want a decorative apron, ease the lower edge with a small roundover or chamfer.
Keep it consistent and clean.
Designing Cabinet Base Units
An apron frame gives you a stiff perimeter under the top; cabinet base units go further by adding enclosed storage and a heavier, more planted stance. You’ll need to set your carcase widths around chair clearance and legroom, keeping the knee space generous and the plinth setback so your toes don’t catch.
Build boxes from 18mm birch ply or MR MDF, then face them with matching oak, ash, or sapele lippings for durability. Use adjustable feet to level on wonky UK floors, and tie cabinets with a stretcher to stop racking.
Plan Storage solutions: drawers for stationery, a deep bay for a PC tower with ventilation slots, and a rear cable chase.
Check Ergonomic considerations: keep drawer tops below thigh height and allow a pull-out keyboard shelf only if it won’t cramp posture.
Join the Desk to Allow Movement and Stay Rigid
When you marry the top to your trestle, apron, or cabinets, you’ll want movement-friendly fixings—figure‑8 fasteners, Z‑clips, or elongated screw slots—so the timber can shift without splitting.
You must allow for seasonal expansion and shrinkage in UK humidity, especially with solid oak or ash tops, by keeping the fixing points restrained in one direction and free in the other.
At the same time, you’ll keep the desk rigid by tying the base together with well-fitted rails, corner blocks, and a proper stretcher so it resists racking under daily use.
Choose Movement-Friendly Fasteners
Because solid timber shifts across the grain with seasonal humidity, you need fasteners that lock the desk frame square while letting the top slide a few millimetres without splitting or cupping.
Choose movement friendly fasteners such as figure‑8 desktop fixings or Z‑clips (tabletop fasteners) set into a shallow kerf in the rails; both keep a firm pull-down while allowing controlled slip.
If you’re using a plinth or apron, fit elongated screw slots with penny washers, and drive Spax or Reisser screws just snug, not crushed.
For flexible mounting on a steel subframe, use threaded inserts in the underside and bolts through slotted holes, plus nylon washers to prevent squeaks.
Keep fixings evenly spaced, pre-drill accurately, and avoid glue between top and frame.
Allow Seasonal Wood Expansion
Movement‑friendly fasteners only do their job if the joinery also gives the top somewhere to go, so build the desk to stay square while the timber moves. With Seasonal wood, expect the top to swell across the grain in a damp British winter and shrink in a heated summer office, especially in oak, ash, or beech.
Fix the top to aprons with slotted screw holes or figure‑8s so screws can slide; keep the slot across the grain, not along it. Use a tight centre fixing and let the outer fixings float, spacing them evenly.
If you’re adding a breadboard end, peg the middle hole tight and elongate the outer holes to allow wood expansion without splitting.
Finish both faces to slow moisture swings.
Maintain Racking Resistance
How do you keep a solid‑timber desk feeling rock‑steady without trapping the top as it expands and contracts? You build racking resistance into the base, then let the top float.
Fit a full-width rear stretcher and a lower front rail in straight-grained oak or ash, glued and drawbored into the legs for a mechanical lock. Add a discreet diagonal brace or a thin plywood back panel screwed to elongated holes; it stops side-to-side sway without fighting movement.
Fix the top with figure‑8 fasteners or Z‑clips, again in slotted rebates. Keep your joinery square, and check for twist before tightening.
Decorative accents, like chamfered braces, can hide strength. Ergonomic considerations: stiffen where knees knock, not where legs need room.
Sand and Finish the Timber Desk for Daily Wear
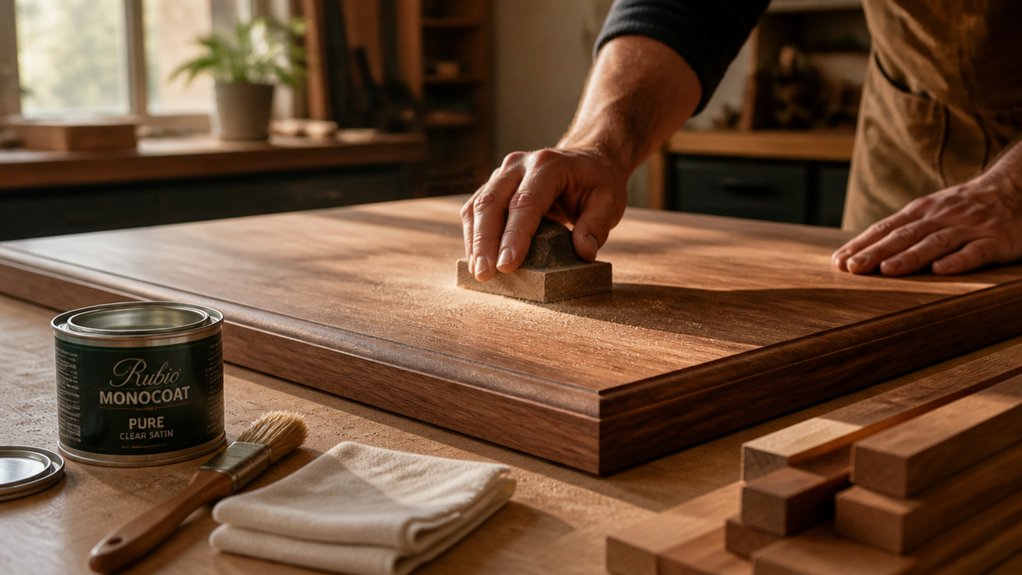
Once you’ve got the desk dry-fitted and any glue has fully cured, sand the timber methodically so it’s smooth to the touch without rounding over crisp edges or blurring joinery lines. Start at 120 grit, work through 180, then finish at 240 on faces; stop earlier on edges to keep them sharp.
Use a cork block on flats and hand-sand with the grain to avoid cross-scratches, especially on oak and ash. Do thorough Dust removal: vacuum, wipe with a slightly damp microfibre, then tack cloth.
For Varnish application, choose a hardwearing, low-odour water-based floor varnish for UK interiors. Apply thin coats with a quality synthetic brush or foam roller, de-nib at 320 grit, and add a third coat to the top.
Conclusion
You’ve measured to the millimetre, routed cable runs, and left room for timber movement—because nothing says “solid” like letting wood shift. You’ve picked kiln-dried oak, walnut, or beech, acclimated it in the spare room, then glued and flattened a top that’s supposedly “natural” yet dead straight. The base stays rigid with proper joinery and sensible fixings. After careful sanding and water-based varnish, that crisp edge looks effortless—hard-won, daily-proof, and very British.
About the Author