You don’t start a Victorian hunting lodge revival with glossy finishes or quick swaps; you start by listening to the fabric that’s still doing its job. You map damp paths, probe joints, and lift boards only where you must, then you match what you find with reclaimed slow-grown timber, like-for-like stone, and lime mortars that breathe. The tricky part isn’t the showy repairs—it’s what the building’s been hiding.
Key Takeaways
- We began with a conservation brief, prioritizing public rooms and repair-over-replacement decisions based on evidence from detailed condition surveys.
- We matched original materials precisely: slow-grown softwood, lime putty, linseed paint, hand-cut slate, and traditional mortars for breathable, authentic repairs.
- We reused reclaimed timber and like-for-like stone, matching saw marks, growth rings, quarry seams, and tooling to preserve historic shadow lines.
- We restored walls and joinery with lime plasters, careful crack stitching, and sash-window repairs, improving function while keeping original profiles and fabric.
- We tackled hidden defects using hot-lime repointing, joist-end splices, ventilation restoration, and reversible modern upgrades concealed behind skirtings and roof voids.
How We Planned the Victorian Hunting Lodge Revival
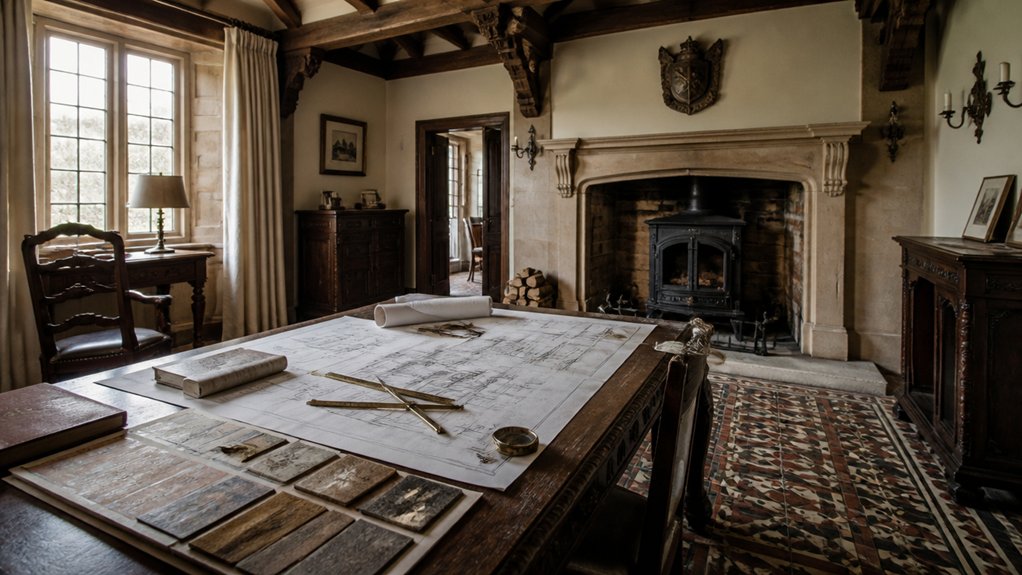
Although the lodge’s romantic silhouette survived, we didn’t start with sketches—we started with evidence. You set a conservation brief that respects the Victorian interior’s hierarchy: public rooms first, service routes second, bedrooms last.
You choose repair over replacement, then rank each element by craft risk—joinery, plaster, tile, ironwork—so scarce skills land where they matter. You specify like-for-like materials: slow-grown softwood, lime putty, linseed paint, hand-cut slate, and traditional mortars sized to the original.
You plan reversible upgrades, hiding Modern technology behind skirtings, within hearth cheeks, and in roof voids so it doesn’t bully the fabric. You schedule mock-ups, approve samples under natural light, and lock details before ordering, protecting budget and authenticity.
Victorian Hunting Lodge Survey: What We Checked First
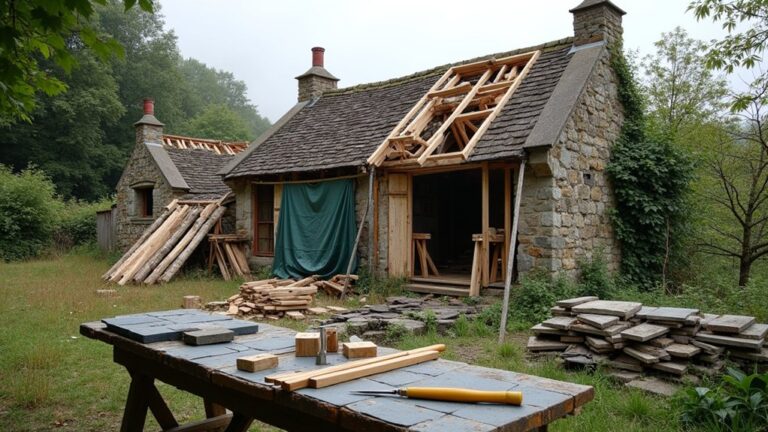
Before you lift a chisel or order a slate, you walk the lodge like a Victorian clerk of works and let the building tell you where it’s failing. You start outside: rooflines, lead flashings, chimney pots, and gutters, noting slipped slates, lime mortar loss, and staining that maps water paths.
You probe stone and brick for spalling, salts, and cement patches that trap moisture and betray Victorian architecture.
Inside, you read the smell and feel: damp at skirtings, draft lines around sash frames, and spring in floors that hints at rot. You lift a corner of carpet, check hearths and flues, and photograph every crack with a scale.
You log original fabric versus later repairs, because historical preservation begins with evidence, not assumptions.
Reclaimed Timber That Matched the Lodge’s Originals
Once you’ve logged what’s sound and what’s failed, you can’t patch a Victorian lodge with anonymous softwood and call it honest work.
You source reclaimed timber with the same species, density, and cut the original joiners chose: slow-grown Scots pine for boarding, oak where it carried load, larch where weather bit hardest.
You read the old saw marks, count growth rings, and match widths so shadow lines stay true.
Then you air-dry, de-nail, and square it by hand, keeping patina where it’ll show and clean arrises where joints must lock.
You reuse pegs, splice only to sound heartwood, and treat with linseed, not plastic.
The result sits beside Victorian furniture and respects Historical landscaping outdoors.
Victorian Lodge Stonework: Matching Repairs, Not Pastiche
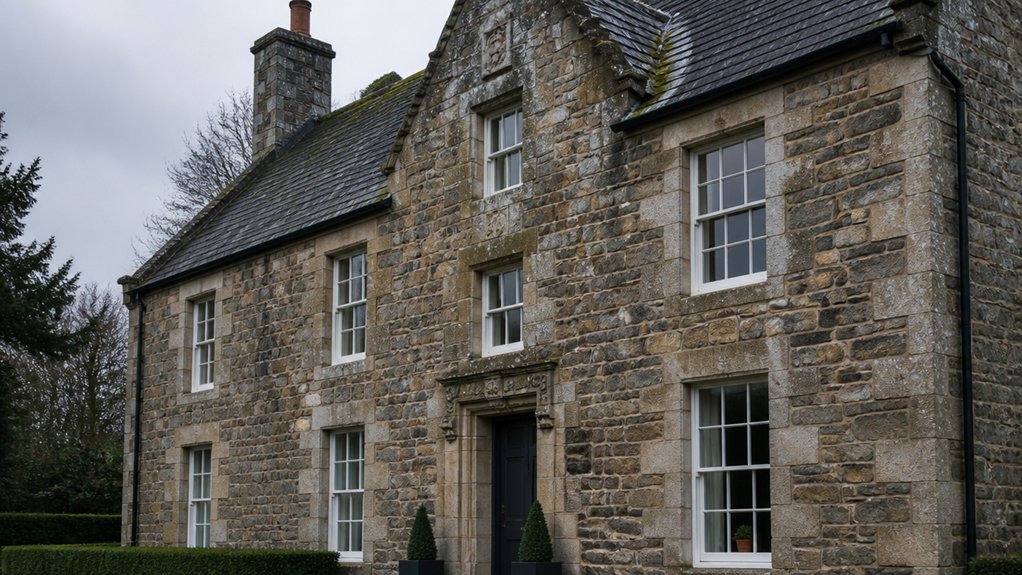
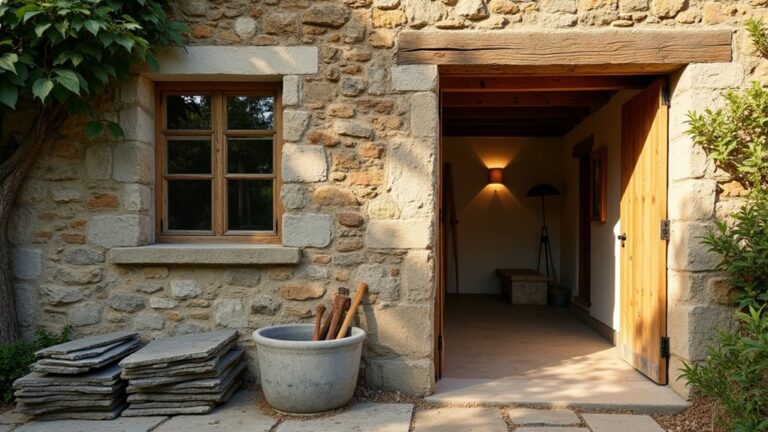
Timber may set the lodge’s bones and joinery, but the stonework gives it weight, weather, and age, so your repairs must read as the same hand—not a modern imitation. You study quarry marks, tooling lines, and bed faces, then cut and set replacements so joints fall where they always did.
You respect Victorian craftsmanship by matching stone type, grain, and iron staining, while using Modern technology only to verify, not overwrite, the evidence.
- Map defects and movement before lifting a chisel
- Source like-for-like stone from the closest viable seam
- Recreate the original arris, draft, and pick finish
- Lay to the existing courses; don’t “improve” proportions
- Use discreet pins and scans where structure demands it
Lime Plaster Repairs for Breathable Victorian Walls
You’ll keep the lodge’s walls working as intended when you choose a lime mix that matches the original—fat lime or feebly hydraulic, with the right sand and hair for the job.
You’ll cut back to sound edges, wet down, then pack cracks and hollows in measured coats so the plaster cures by carbonation, not haste.
You’ll finish with a modest, open-textured float and limewash so vapour can pass and the Victorian fabric can breathe.
Choosing Compatible Lime Mixes
How do you choose a lime mix that won’t fight a Victorian wall? You start by reading the building’s intent: soft, vapour-open, and forgiving.
Match the original plaster’s strength and porosity, so moisture can move out, even where you’ve added modern insulation and threaded contemporary lighting through voids.
- Specify lime putty for slow, workable set on sheltered internal faces
- Choose feebly hydraulic lime where exposure demands quicker early strength
- Grade sands to the original: sharp for body, fine for finish
- Keep cement out; it locks salts and drives decay into brick and lath
- Trial panels, then adjust fatness, aggregate, and fibre to suit the room
You’ll get a repair that carbonates evenly, takes a traditional wash, and stays compatible with timber, brick, and old finishes.
Repairing Cracks And Hollows
Because Victorian lime plaster moves with the seasons, cracks and hollows usually signal fatigue, moisture, or failed keys rather than mere surface blemish.
You start by sounding the wall: tap for drummy areas, then cut back to firm edges with a knife, keeping the arris undercut so new work locks in.
You clear dust, lightly mist, and press in a coarse lime base to re-form missing keys, using laths or stainless screws with washers where the original has let go.
You stitch wider cracks with lime and hemp, not gypsum, so the wall still breathes around Modern insulation upgrades.
You cure slowly, protecting from draughts, to preserve adhesion and support long-term energy efficiency without trapping salts.
Finishing For Maximum Breathability
Once the cracks are stitched and the keys bite again, the last act is to finish the repair so it behaves like the old lime—porous, forgiving, and quick to shed moisture. You keep the wall open, not entombed; Victorian fabric wants to breathe, especially where modern insulation nudges dew points inward.
- Dampen the substrate so new lime carbonates evenly, not too fast.
- Float a fine lime putty skim; avoid gypsum that locks salts.
- Rule it straight, then lightly sponge to close only the surface.
- Limewash in thin coats, letting each dull before the next.
- Keep synthetic sealants off edges and junctions; they trap damp.
You’ll feel it in the trowel: a soft, chalky drag that signals moisture can still move.
Restoring Victorian Lodge Sash Windows for Comfort
You start by evaluating the original sash window frames, checking the joinery, glazing bars, and timber for rot, bowing, and failed putty.
You then restore the sashes with new cords, serviced pulleys, and balanced weights so they run true and hold their line.
Finally, you tighten comfort with discreet draught-proofing—brush seals, staff beads, and renewed parting beads—so the lodge stays warm without losing its Victorian character.
Assessing Original Window Frames
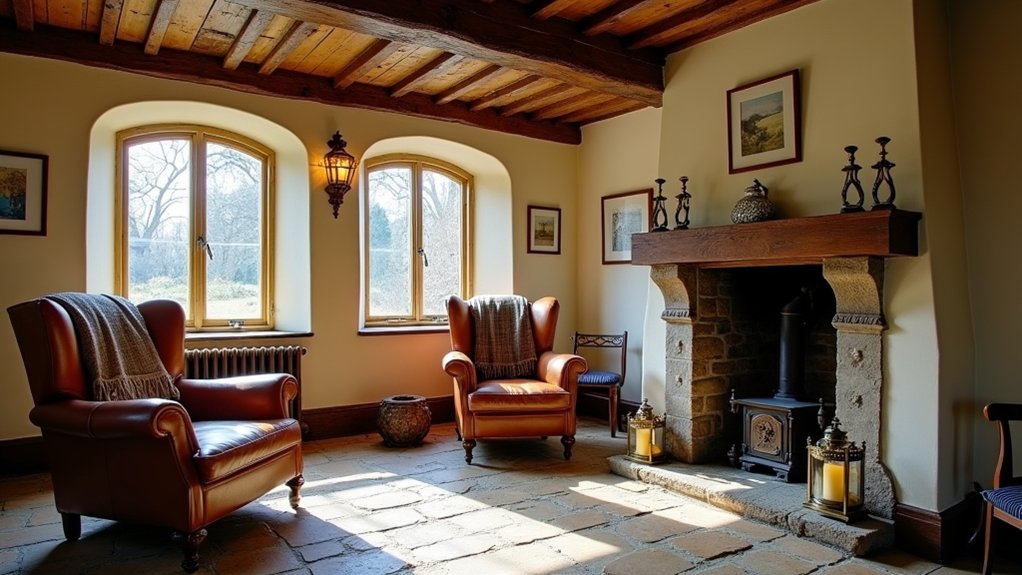
Although a Victorian lodge sash window may look serviceable from across the room, the frame often tells the truer story up close. You read it like joinery: slow-grown pine, hand-cut mortises, and paint layers that record hard winters.
Before you consider modern glazing for energy efficiency, you test what’s truly sound, because the frame carries the load and sets the seal.
- Probe sills and lower rails for soft end-grain and fungal scent
- Check meeting-stile alignment and reveal gaps with a thin rule
- Inspect putty lines and glazing rebates for splits and past repairs
- Look for ironmongery stains that flag trapped moisture
- Measure jambs for bowing, loose joints, and failed pegs
You keep what’s honest, mark what needs splicing, and plan repairs in matching timber.
Restoring Sashes And Cords
Sound frames give you the confidence to turn to the moving parts: the sashes and the cord-and-weight system that makes a Victorian window feel light in the hand. You lift each sash free, label it, and set it beside Victorian textiles to prevent bruising the meeting rails.
You strip paint only where it gums the channels, then true the edges with a sharp plane so timber runs square without chatter. You splice in matching slow-grown pine at worn horns and renew staff beads to the original profile.
In the boxes, you unhook frayed cords, weigh the iron counterweights, and re-cord with waxed cotton, tying traditional figure-eight knots. You lubricate pulleys, check alignment, and rehang the sashes to glide again, catching warm reflections from Antique lighting.
Enhancing Draught Proofing
Once the sashes run true, attention shifts to the thin, persistent draughts that slip through nineteenth-century tolerances. You don’t smother the window; you tune it, keeping breathability while stopping cold air that rattles past staff beads and meeting rails. You rout crisp channels and bed brush pile into timber, then ease the parting beads so they guide, not bind.
At the box, you seal weight pockets with lime putty and paper, and you renew the sash-to-frame line with discreet compressible seals. The room settles: flames steady, Victorian furniture stops creaking with temperature swings, and views over historic landscaping stay clear.
- Brush-pile carriers set flush to rails
- New parting beads in quarter-sawn pine
- Hemp and linseed-oil putty at junctions
- Tightened staff beads, lightly waxed
- Repaired pulleys, no whistling gaps
Breathable Finishes: Paints, Oils, and Stains We Used
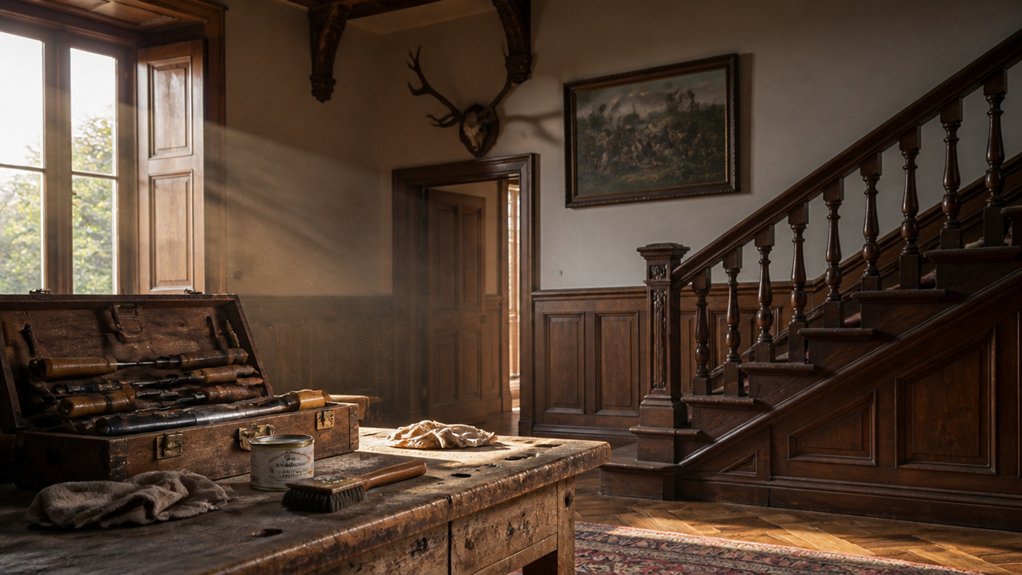
Because the lodge’s soft brick, lime mortar, and seasoned timber need to shed moisture as readily as they take it on, we chose finishes that stay vapour-open rather than sealing the fabric. You’ll find they age gracefully, suit Modern interior trends, and rely on eco friendly materials without falsifying the building’s story.
You start with limewash on masonry: it keys into the pores, softens light, and lets salts migrate harmlessly.
For joinery, you brush on linseed oil paint in thin coats, working it well into mouldings so it binds to the grain, not a plastic film.
You finish floors and panelling with hardwax oil where you want a matt sheen and easy patch repairs.
For darker rooms, you use water-based stains, then wax lightly to lift figure while keeping the surface open.
Hidden Defects We Found: and How We Fixed Them
Although the lodge looked tidy under fresh paint and dust sheets, we kept finding the kind of faults Victorian builders expected you to discover only after you’d started: hairline cracks that ran along lime joints, skirting boards hollowed by beetle, blocked air bricks, and a few joist ends soft where cement repairs had trapped damp.
You treat these Hidden structural issues like a surveyor with a chisel: you open up, read the fabric, then mend in kind, minding Modern material compatibility.
- Rake out cracks and repoint with hot-lime mortar, not hard cement.
- Splice decayed joist ends in matching timber, scarfed and pegged.
- Clear air bricks and reinstate underfloor cross-ventilation.
- Consolidate beetle-eaten skirtings, then dutchman in new oak where needed.
- Lift trapped moisture by removing gypsum patches and replastering in lime.
What We’d Change on the Next Lodge Restoration
If you start a lodge like this again, you’d spend more time up front mapping how the building moves and breathes—lifting a few boards, probing the wall bases, and checking moisture paths—before you let any contractor near it with cement, foam, or gypsum.
You’d write a materials schedule early: lime putty, hair, oak repairs, and breathable paints, so substitutions can’t creep in.
You’d trial Modern insulation only in reversible bays, paired with a vapour-open membrane, then monitor with simple humidity pins through a full season.
You’d sequence joinery before plaster, and keep a dedicated bench for sash cords, glazing putty, and ironmongery.
For Energy efficiency, you’d prioritise draught-proofing, shutters, and secondary glazing over sealing every crack.
You’d also price contingencies honestly, and start sooner.
Conclusion
You’ve taken a draughty, timeworn hunting lodge and made it quietly robust—without sanding off its story. Where modern builds chase speed, you’ve chosen slow-grown timber, hand-cut joints, and stone set back with lime, not cement. New comfort sits beside old patina: eased sashes, warmer rooms, still-breathing walls. You’ve repaired, not reinvented; matched, not mimicked. The result isn’t a museum piece—it’s a working Victorian lodge again.
About the Author