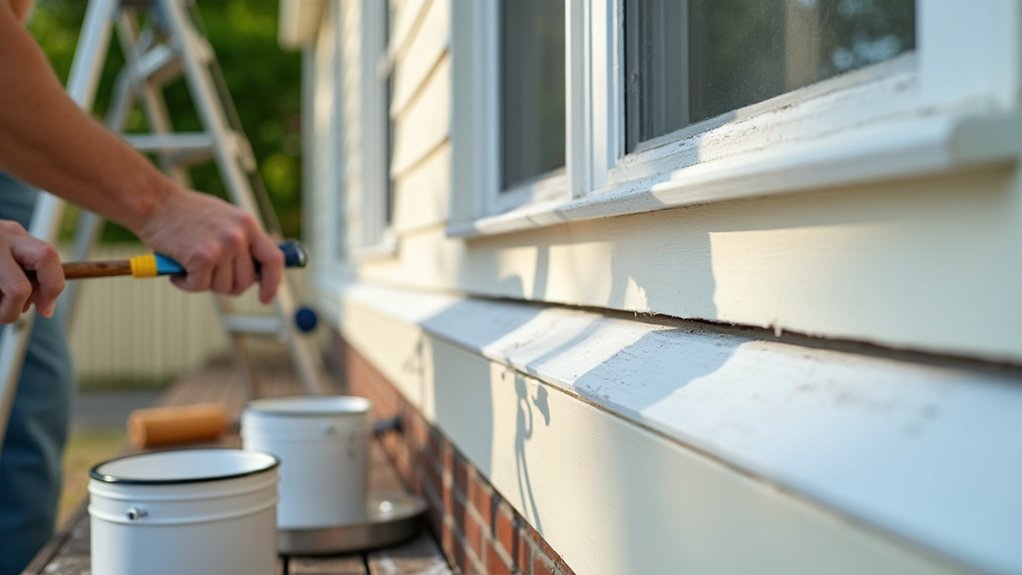
If you want exterior woodwork to last through British weather, you can’t just slap on a fresh coat and hope for the best. You start by checking for rot, loose paint, and open joints, then you wash, scrape, and sand until the surface is sound and keyed. You fill and caulk where needed, prime to suit the timber, and time your topcoats around temperature and rain—but the order you do it in is what makes it hold.
Key Takeaways
- Inspect fascias, sills, joints, and end grain for rot, peeling, and gaps; probe with a screwdriver to confirm sound timber.
- Clean with sugar soap, rinse well, and dry fully; scrape flaking paint and feather edges for a stable base.
- Sand smooth and key glossy areas (80–180 grit), vacuum dust, then fill defects and seal joints with paintable exterior sealant.
- Prime end grain and knots first using the correct primer; de-nib between coats, then apply two even topcoats with light lay-off strokes.
- Paint in 10–25°C, low humidity, and dry weather; avoid sun, wind, rain, and dew, and extend recoat times in dull conditions.
Inspect Exterior Woodwork Before You Paint (Rot, Peeling, Gaps)
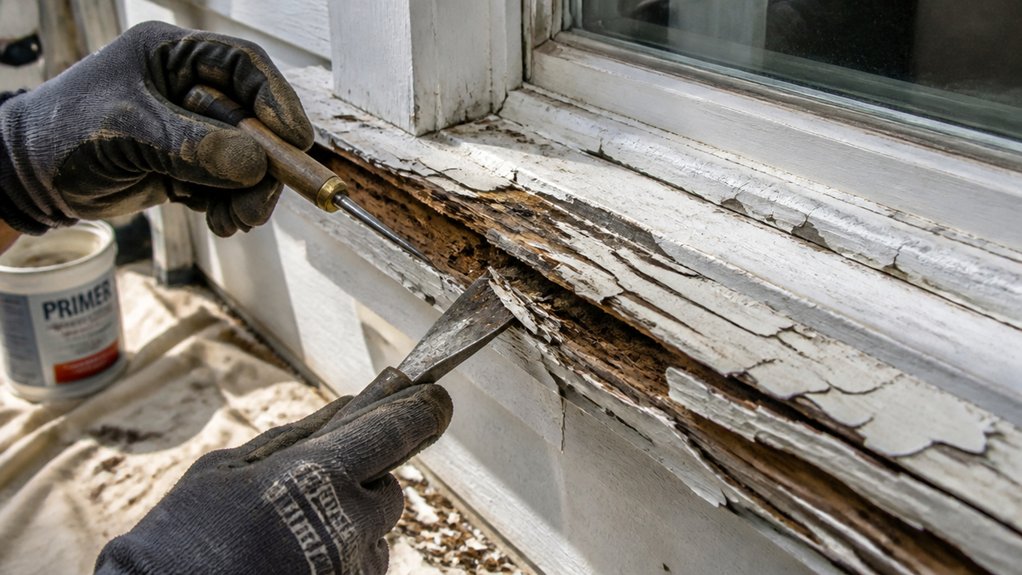
Before you open a tin of paint, take a careful walk round and inspect every bit of exterior woodwork—fascias, soffits, bargeboards, window sills and frames—for rot, peeling paint, and gaps.
Probe suspect areas with a screwdriver; sound timber resists, but rot feels soft and crumbles. Pay special attention to end grain, joints, and the bottoms of sills where water sits.
Note any lifting coatings, flaking edges, or hairline cracks that’ll let rain track behind the film. Check mastic lines and glazing putty for splits, and look for open mitres and popped nails.
Identify whether you can still see wood grain or if previous layers have levelled it. Decide the required paint sheen to match existing work and hide defects.
Prep Exterior Woodwork so Paint Sticks (Wash, Scrape, Sand)
Once you’ve noted any rot, loose coatings and open joints, get the surface clean and keyed so the new paint can grip. Start by washing with sugar soap and warm water; rinse well and let it dry fully (a dry day in the UK isn’t optional).
Scrape back all flaking paint with a sharp scraper, working with the grain and keeping edges feathered rather than ridged. For stubborn patches, use a heat gun cautiously, never scorching.
Sand next: 80–120 grit to smooth, then 120–180 grit to key glossy areas; vacuum dust and wipe with a damp cloth.
While prepping, confirm paint color selection in daylight—strong hues show sanding marks. Practise brush techniques on bare patches to spot roughness.
Repair and Seal Exterior Woodwork (Fill, Caulk, Spot‑Treat Rot)
Although the prep work gets you a clean, keyed surface, you won’t get a durable finish until you’ve stabilised the timber and sealed every route for water.
Rake out loose filler and open cracks with a scraper, then dust off. For small defects, use an exterior two-part wood filler and press it firmly into the wood grain; overfill slightly, then sand flush once cured.
Keep profiles crisp on glazing bars and sills so water can run off.
Run an exterior paintable frame sealant along joints where boards meet, around mitres, and at end-grain checks; tool it smooth so it won’t telegraph through the paint sheen.
If you find soft rot, cut back to sound wood and spot-treat with a liquid wood hardener before refilling.
Prime and Paint Exterior Woodwork (Primer Type, 2 Coats, Technique)
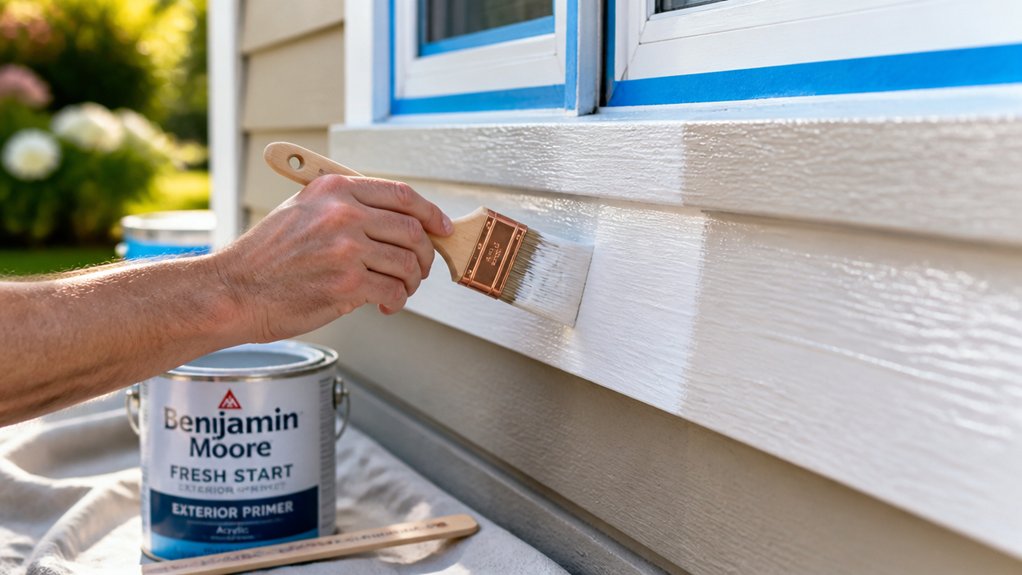
With the filler cured, joints sealed, and any rot hardened, you can lock everything down with the right primer and a proper two-coat system.
Start with primer selection: use an alkyd primer for bare, resinous softwood, or a stain-blocking acrylic for previously painted, sound timber. Prime end grain and knots first, then cover full faces, working it well into arrises.
- De-nib between coats with 180–240 grit for a flat key
- Use a 2–2.5″ synthetic sash brush for frames and beads
- Lay off with light strokes to avoid tramlines and heavy edges
- Keep a wet edge; don’t over-brush as paint tacks up
- Apply two topcoats, cutting in then tipping off for an even sheen
Plan Painting Weather and Cure Times (Temp, Humidity, Rain)
Because exterior paint relies on evaporation and oxidation as much as it does adhesion, you need to plan around the weather rather than the calendar. Aim for 10–25°C, with steady conditions for the full day and overnight; cold timber slows curing and ruins your drying time.
Keep humidity control in mind: above roughly 80% RH, gloss can bloom and waterborne paints may stay tacky. Check the UK forecast for showers and dew, not just rain—paint early enough to skin over before evening damp.
Avoid painting in direct hot sun or on wind-blown elevations where the surface flashes off too fast. Allow manufacturer recoat windows, but extend them after cool, dull days.
Keep gutters clear and cover fresh work if needed.
Conclusion
When you inspect for rot and gaps, wash, scrape, and sand, then fill and caulk, you’re setting the paint up to last. Prime properly—alkyd for resinous softwood, acrylic for sound timber—then lay on two even topcoats, brushing out runs and cutting in neatly. Pick a dry, mild UK day with low humidity, and let each coat cure fully. Can you picture rain beading on a smooth, freshly painted sill?
About the Author