You’ll get a built‑in wardrobe that looks truly bespoke when you plan the internal layout first, then measure every alcove, slope, and wonky wall with care. Choose stable sheet materials, edge them cleanly, and assemble dead‑square carcasses using modern joinery like Domino, biscuits, or confirmat screws. Keep reveals consistent with spacers, clamp for squareness, and spec soft‑close hardware. The real difference comes when you fit doors, then scribe fillers so nothing shows…
Key Takeaways
- Measure wall-to-wall and floor-to-ceiling at multiple points, recording the smallest dimensions and any out-of-square or wall lean.
- Plan internals around real storage needs: hanging heights, double rails, drawers, shoe storage, and accessories, before cutting any panels.
- Choose stable sheet goods like 18mm MR MDF or birch ply, and match hinges/runners to the material for reliable fixing.
- Build square carcasses using factory-edge referencing, dry fits, and modern joinery like confirmat screws, biscuits, or Dominoes with glue.
- Install with scribed fillers and adjustable Euro hinges, setting consistent reveals and fine-tuning alignment for a seamless built-in finish.
Plan Your Built‑In Wardrobe Layout and Internals
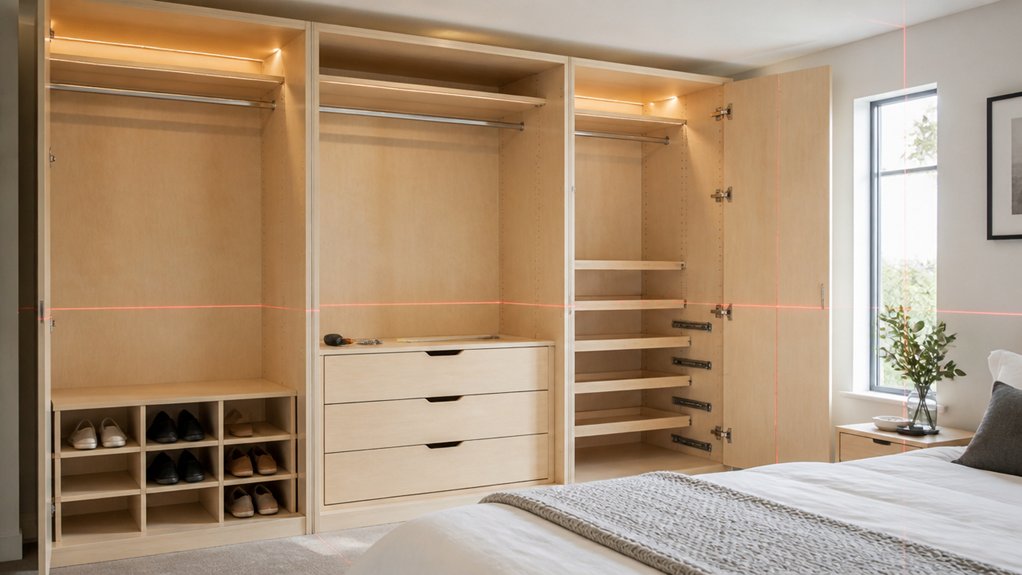
Before you settle on finishes or door styles, map out a built‑in wardrobe layout that matches how you actually live: measure wall‑to‑wall and floor‑to‑ceiling (including skirting boards, coving, radiators, and any awkward alcoves).
Then divide the interior into zones for hanging, folding, shoes, and accessories. Set hanging heights for shirts, coats, and long dresses, and specify double‑hang rails where you can. Mix drawers with pull‑out baskets for knitwear, add a dedicated shoe tower, and include a valet rail for tomorrow’s outfit.
Plan Lighting placement early: run a PIR‑triggered LED strip under each shelf and a vertical channel by the stile to avoid shadowing.
Build in ventilation options with slotted plinths, discreet louvred panels, or breathable backboards to prevent mustiness.
Measure Alcoves, Slopes, and Out‑of‑Square Walls
Although your tape measure might say the space is “standard”, alcoves, sloping ceilings, and Victorian-era wonkiness can throw a bespoke built‑in wardrobe off by centimetres, so measure the reality—not the ideal.
Start by taking alcove dimensions at three heights: skirting level, mid-wall, and near the ceiling, then note the smallest width and depth.
Check plumb with a long spirit level or laser and record how far each wall leans.
Measure floor-to-ceiling in both front corners and the back, then compare diagonals to spot racking.
For loft rooms, map the slope with a story stick: mark heights every 100mm along the run so you can plan slope adjustments accurately.
Photograph each reading and label it, UK-style, in millimetres.
Choose Materials for Built‑In Wardrobe Carcass and Doors
When you choose carcass and door materials for a built‑in wardrobe, you’re balancing stability, finish quality, and budget—not just picking what looks good on a sample board.
For carcasses, 18mm MR MDF suits painted finishes and stays flat in heated UK homes, while MFC offers a wipe‑clean melamine interior popular in rental upgrades. Use birch ply where you want crisp edges, visible grain, and better screw holding for shelf pins.
For doors, budget for the look: MDF for sprayed shaker, veneered ply for contemporary oak tones, or slab MFC for sleek, handleless styles.
Your hardware selection matters: hinges and runners bite best into ply or dense MDF.
Let aesthetic considerations drive edging, grain direction, and sheen levels.
Assemble Square Built‑In Wardrobe Carcasses (Modern Joinery)
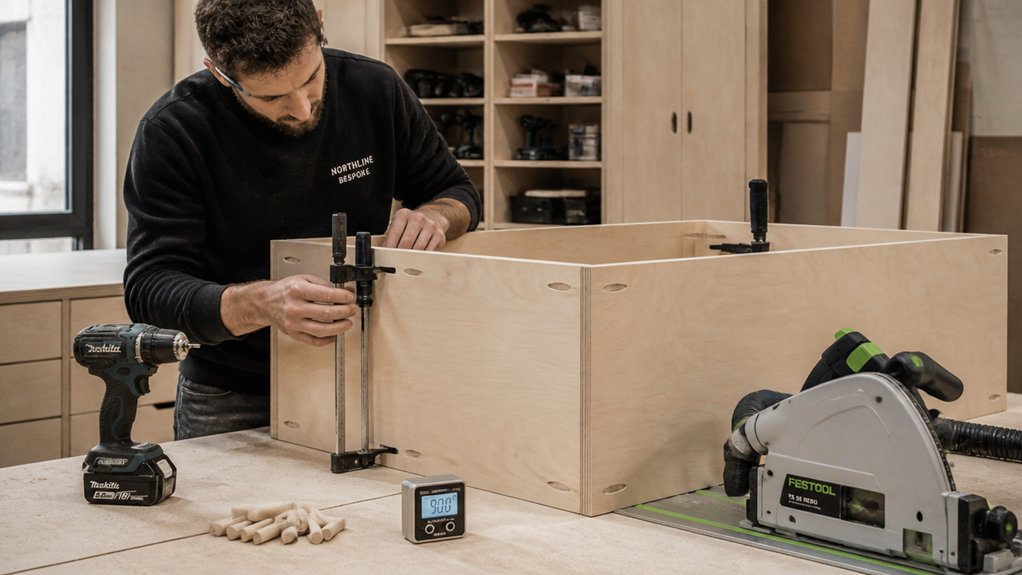
How do you keep a built‑in wardrobe carcass dead square while still building quickly with modern sheet‑material joinery? You set up for repeatability: cut accurately, reference from one factory edge, and dry‑assemble before committing.
Your material selection matters—18mm MFC or birch ply stays stable—so keep panels acclimatised in the room and edge‑band before assembly to reduce handling damage.
Use modern joinery techniques like confirmat screws, biscuits, or Dominoes, but always add glue where it won’t telegraph.
- Clamp to a flat bench and check diagonals every stage
- Use a story stick and spacer blocks for identical shelf positions
- Pilot and countersink to avoid blow‑out on melamine faces
- Fix backs square (rebated or nailed on) to lock the box
Fit Doors, Then Scribe Fillers and Trims Seamlessly
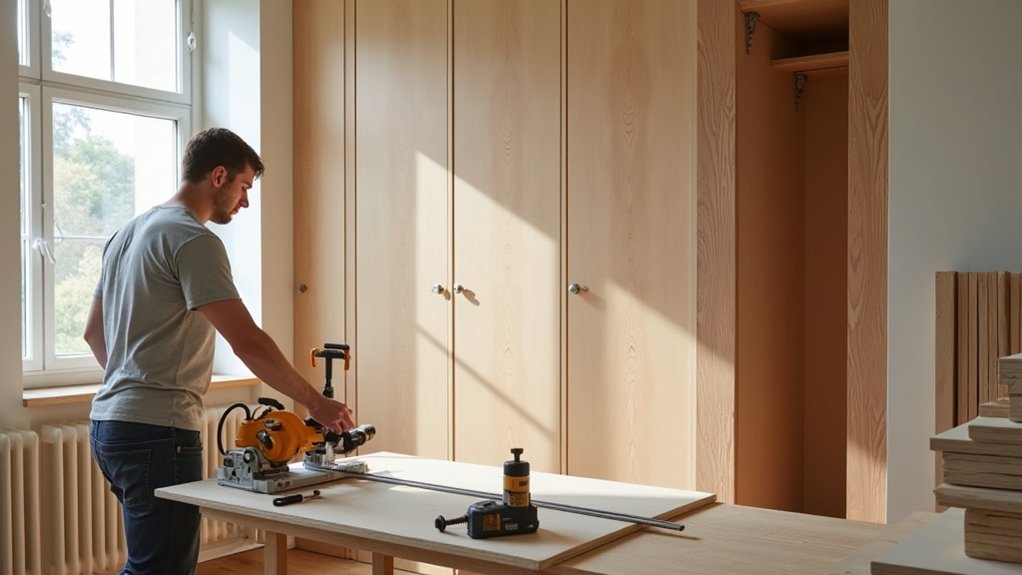
A dead‑square carcass gives you the best possible start, but the finished look comes from getting the doors running perfectly before you touch fillers or trims. Hang doors on 110° soft‑close Euro hinges, then set reveals: 2mm between doors, 2–3mm to the gables, and a clean line to the plinth.
Dial in door alignment with the hinge cams: height first, then depth, then side‑to‑side, checking for twist with a straightedge and a quick paper slip test. Once the doors swing and close without grazing, lock everything down and measure the remaining gaps.
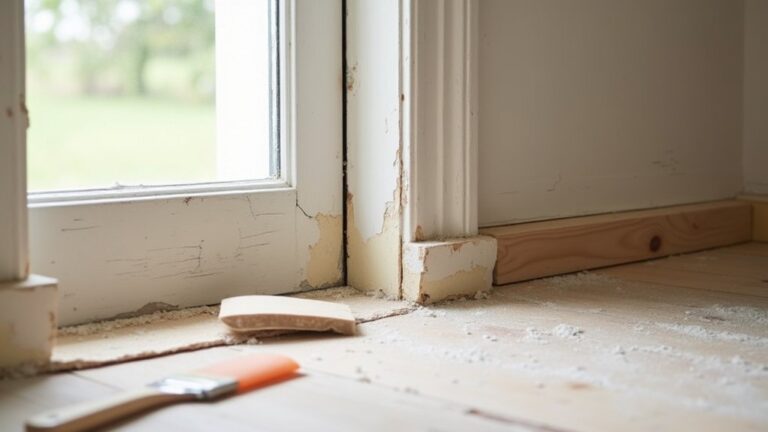
Now tackle filler installation: scribe each filler to wonky UK walls using a compass, cut with a track saw, then plane to a friction fit. Pin, glue, caulk, and finish.
Conclusion
You’ve planned the layout, measured every awkward alcove and out‑of‑square wall, chosen the right boards, and built dead‑square carcasses with Dominoes, biscuits, or confirmats. Now you finish like a pro: hang the doors, dial in soft‑close hinges, then scribe fillers and shadow gaps to those wonky plaster lines. Measure, cut, clamp, check—repeat. When the reveals stay even and the trims melt into the room, your bespoke built‑in looks intentional, modern, and made for Britain’s quirky homes.
About the Author