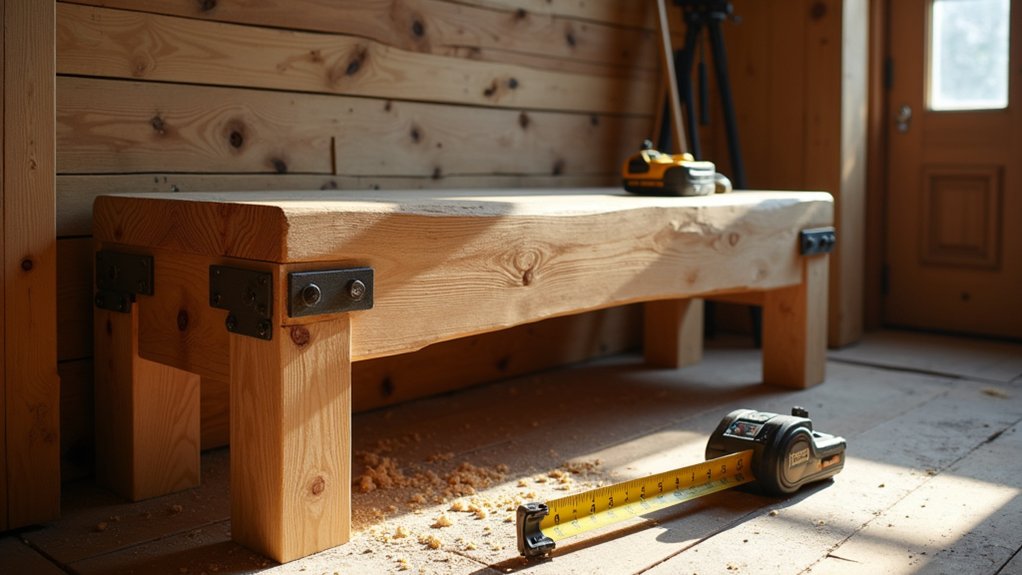
You’ll get a better hallway bench if you start with the space, not the timber. Set your length around 900–1200mm, keep the seat at roughly 430–480mm, and plan for boots, bags, and damp coats. Choose 30–40mm European oak with straight grain and a few honest knots, then cut only what you need. Next you’ll lay out joints and stretchers so it won’t rack when you sit…
Key Takeaways
- Choose a 900–1200mm length, 300–380mm depth, and 430–480mm seat height while keeping a 900mm clear walkway.
- Use kiln-dried European oak (8–12% moisture), 20–25mm thick for slim seats or 30–40mm for a chunky rustic look.
- Create a cut list with planing allowances, mark grain direction, trim defects, and sand parts to 120–180 grit after acclimatizing flat.
- Assemble a rigid base with mortise-and-tenon or tight half-laps, dry-fit square, then glue and clamp, adding stretchers 80–120mm above floor.
- Finish with progressive sanding, optional stain, and hardwax oil or polyurethane, sealing end grain and re-oiling yearly for hallway durability.
Choose Hallway Bench Dimensions and Seat Height
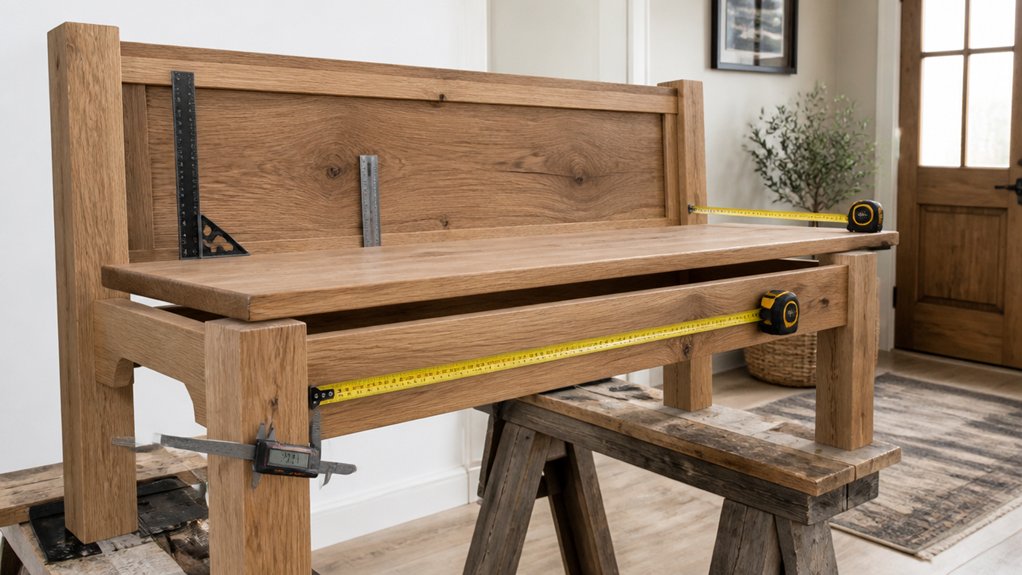
Before you cut any oak, pin down the bench’s overall length, depth and seat height so it fits your hallway and feels comfortable in daily use. Measure the clear walkway first; keep at least 900mm of passage so coats and shopping bags don’t snag.
Aim for a bench length that suits your wall run—often 900–1200mm—without blocking doors or radiator valves. Set depth to 300–380mm for a slim footprint; go deeper only if you’ll add storage options like baskets underneath.
Choose a seat height of 430–480mm so you can sit to tie laces without perching. If it’s part of your Hallway decor, match proportions to your skirting height and nearby console or shoe rack.
Pick Oak Board Thickness, Grade, and Hardware
Once you’ve fixed the size, choose oak that won’t cup or split in a heated hallway: 20–25mm thick boards suit a simple seat, while 30–40mm gives a chunkier rustic look without needing extra under-bracing.
Pick kiln-dried European oak (around 8–12% moisture) and avoid boards with pith, deep knots, or end checks, as they’ll move and telegraph cracks.
Read the Oak grain: straight, even grain stays calmer; wild cathedral grain looks rustic but needs better fixing and sealing.
For a budget-friendly build, choose character grade for visible knots, or prime grade for cleaner lines and less waste.
Plan hardware selection early: stainless or black-coated screws, slotted or washer-head, plus figure-eight fasteners or elongated holes to allow seasonal movement.
Create a Cut List and Prep All Oak Parts
Although you can tweak dimensions later, you’ll save oak, time, and grief by locking in a cut list now. Sketch your bench to suit a typical UK hallway, then list every part with finished sizes and a small allowance for planing. Mark each board for Wood grain direction so the seat looks consistent and parts stay stable. Break down long lengths first, then bring pieces to final width and thickness.
- Label seat, rails, legs, and stretchers with pencil and masking tape
- Trim defects, sapwood, and splits while keeping attractive figure
- Square one face/edge, then plane to thickness; keep offcuts for test pieces
- Ease sharp arrises and dry-sand to 120–180, matching your finish options
Stack parts flat with stickers so they acclimatise before the next step.
Assemble the Bench Base With Simple Joinery
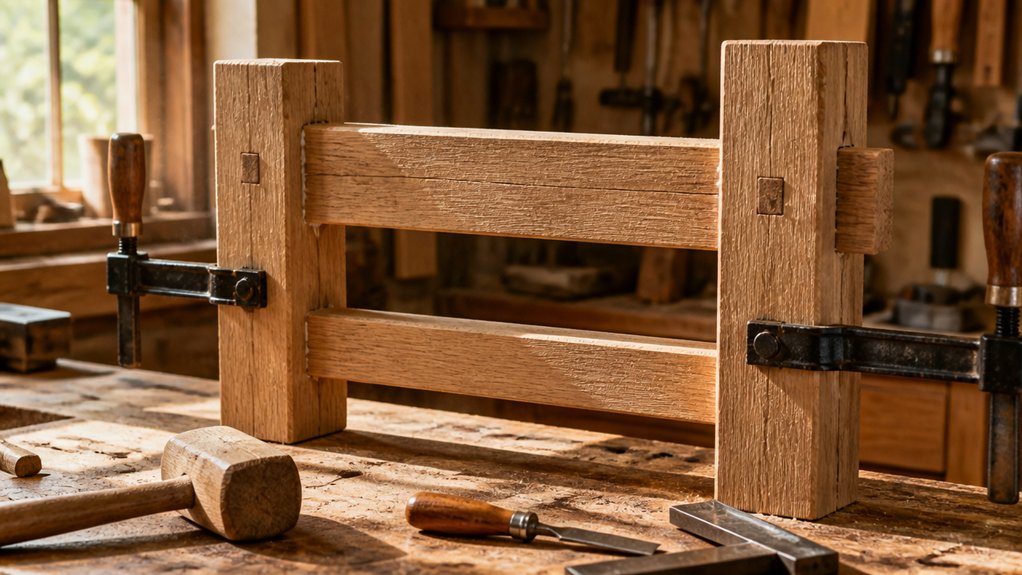
When your oak parts have acclimatised and sit flat, you can start building a rigid base using straightforward joinery that doesn’t waste timber or require specialist jigs.
Lay out the legs and rails on a level surface, mark face sides, then knife your shoulder lines so every cut registers cleanly. Choose simple mortise-and-tenon or tight half-laps as your joinery techniques; both suit rustic oak and minimise hardware.
Use sharp woodworking tools: a tenon saw, bevel-edged chisel, mallet, square, and clamps. Dry-fit each corner, correct twist with light paring, and check diagonals match before glue.
Apply exterior-grade PVA sparingly, clamp to firm pressure, and wipe squeeze-out with a damp rag. Let it cure overnight indoors.
Install Stretchers to Prevent Wobble and Racking
You’ll stiffen the bench by fitting stretchers low between the legs, keeping them clear of skirting boards while using the least extra oak.
Cut tight shoulders and use rigid joinery—mortice-and-tenon or well-glued half-laps with screws only as clamps—so the base can’t twist.
Before the glue grabs, measure corner-to-corner, clamp until the diagonals match, and sight along the rails to catch any racking early.
Stretcher Placement Strategy
To keep your oak bench from wobbling or racking over time, place stretchers where they brace the legs against side-to-side and end-to-end movement. Set the long stretcher low, about 80–120mm above the floor, so shoes can pass under while leverage stays high.
Keep end stretchers aligned to form a rigid rectangle, and centre them so your decorative leg designs still read cleanly in a narrow UK hallway. Dry-fit, then mark everything with a knife line to avoid rework and wasted oak.
Before you fix them, apply finish protection techniques: tape the leg faces and pre-seal hidden edges to reduce glue staining.
- Long stretcher: full length, low
- End stretchers: same height both ends
- Clearance: 10–15mm from skirting
- Symmetry: equal offsets from each leg
Joinery For Maximum Rigidity
Although your stretcher layout sets the geometry, the joinery locks it in, so cut joints that resist both twist and pull-out. Use housed mortise-and-tenon or bridle joints where stretchers meet legs; the shoulder gives bearing and stops wobble.
Keep the tenon short enough to avoid wasting oak, but thick enough to prevent shear. Dry-fit, then glue with D3 PVA for a hallway-friendly bond, and pin with 6mm oak dowels to resist creep.
If you’re tight on tools, cut half-laps with a router plane and reinforce with two screws per joint, plugged with matching end-grain. Add Decorative inlays on the plugs if you like, then seal the joinery edges before Modern finishes go on.
Squaring And Anti-Rack Checks
Once the glue-up starts to grab, racking becomes much harder to correct, so check the base for square before you lock the stretchers in permanently. Measure both diagonals; if they match, you’re square. If not, clamp across the longer diagonal and nudge the legs until it settles.
Dry-fit your lower and upper stretchers, then pin them with screws or drawbore pegs to stop wobble. Keep cuts tight to save oak and avoid filler; any gaps will telegraph through your finish options.
- Diagonal tape lines crossing the frame like an X
- A sash clamp pulling the long corner in
- Stretchers seated flush, no twist at the shoulders
- Light pencil marks for Decorative carvings kept clear of joints
Sand, Stain, and Seal for a Rustic Oak Finish
Before you call the bench finished, take time to sand, stain, and seal the oak properly—this is what gives it that tough, rustic hallway-ready look. Start with 80-grit to level joints, then 120 and 180 for touch; don’t over-smooth or you’ll lose character. Vacuum dust and wipe with a barely damp cloth.
Choose stain sparingly: a water-based oak tint keeps odour low in UK homes; an oil stain pops grain but needs longer drying. Test on offcuts.
For Finish options, hardwax oil is quick, repairable, and suits busy halls; polyurethane varnish resists wet shoes but can look glossier. Apply thin coats, de-nib between, and seal end grain.
Maintenance tips: re-oil yearly, and wipe grit fast.
Conclusion
You’ve sized it for your hall, chosen characterful oak, and cut everything true, so the build comes together fast. You’ve glued up the base, added stretchers to stop racking, and left it clamped overnight. Now sand through the grits, seal the end grain, and finish with hardwax oil or varnish for a hard-wearing, rustic look. When you slide it into place, it’ll feel like it’s always been there—like a Tudor joiner’s Bluetooth jig.
About the Author