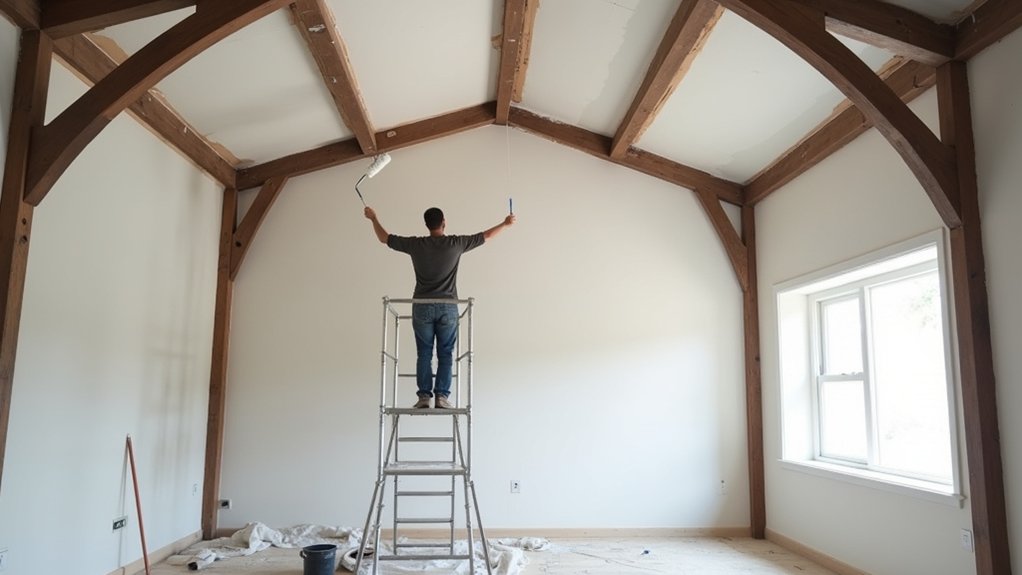
You can’t treat a loft ceiling and exposed beams like standard drywall—height, glare, and wood tannins will punish rushed work. Start by choosing the right paint and primer combo, then plan safe access so you’re not repositioning a ladder every two minutes. Clean, patch, sand, and degloss until the surface feels uniform, then mask fixtures and floors with sharp lines. Next comes the part that decides whether your beams stay crisp or bleed through…
Key Takeaways
- Choose premium acrylic paint and the right primer; use flat/matte on ceilings and matte/satin on beams for durability and glare control.
- Clean thoroughly, treat mildew, patch defects, sand smooth, and degloss sealed areas so primer and paint adhere evenly.
- Protect floors, trim, and fixtures with rosin paper or drop cloths, plus tight painter’s tape masking to prevent drips and scraping.
- Seal knots, sap, and stains with shellac/oil stain-blocking primer, then reprime spots and topcoat within 24 hours to prevent bleed-through.
- Paint in small sections using a “W” pattern and back-roll, keep a wet edge, and work away from windows to avoid lap marks.
Pick the Right Paint, Sheen, and Primer
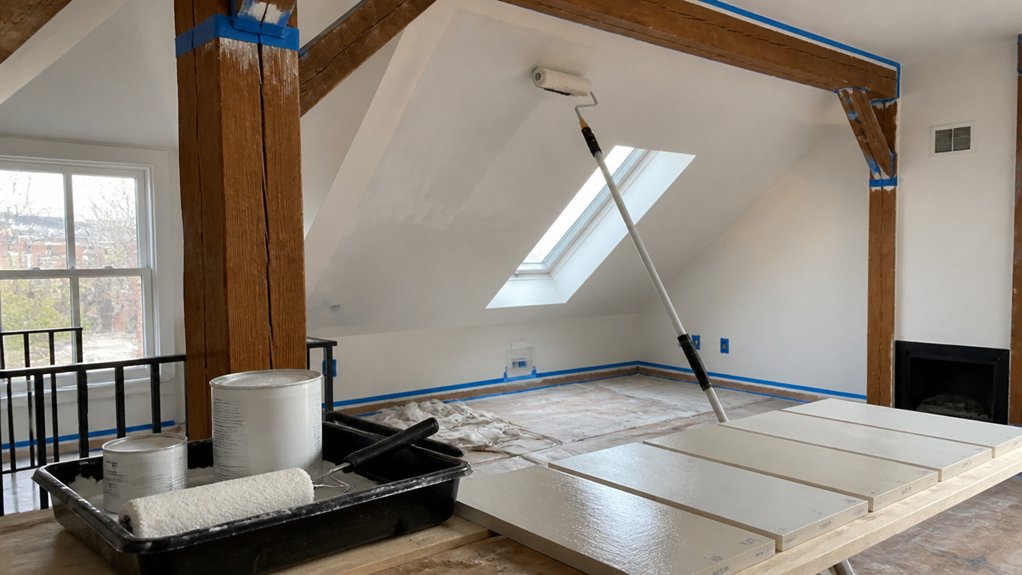
Before you pop open a can, start by matching your paint system to the realities of a loft—big light, big surfaces, and often dusty, previously finished wood.
Choose a premium acrylic for ceilings and beams; it levels well and boosts paint durability under temperature swings. For ceilings, use flat or matte to hide roller texture and glare.
For beams, pick matte or satin: matte keeps an industrial, on-trend look, while satin wipes cleaner without reading “shiny.” Lock in adhesion with the right primer—bonding primer for varnished or stained beams, stain-blocking primer if you see tannin bleed or water marks.
Keep Color coordination tight: test swatches at different times of day, and match whites to your trim’s undertone.
Plan Access and Safety for Loft-Height Ceilings
Because loft ceilings turn a simple paint job into a working-at-height project, you’ll get better results (and fewer close calls) if you plan access and safety as carefully as your color.
Start by measuring peak height and span so you can choose the right access equipment: a multi-position ladder for lower runs, a rolling scaffold for long ceiling passes, or a rented lift for tall gables and beam grids.
Make sure your platform lets you keep your shoulders below the work, not reaching overhead.
Map your path: where you’ll park the scaffold, how you’ll move it, and where cords and hoses run.
Add safety precautions: non-slip shoes, eye protection, a spotter, and a clear drop zone.
Lock casters, level feet, and stage tools in a pouch, not loose pockets.
Clean, Patch, Sand, and Degloss Ceilings and Beams
Once you’ve got safe access dialed in, prep the ceiling and beams like a finish carpenter—not a DIY gambler—so your primer actually bonds. Start surface preparation by vacuuming cobwebs and dust, then wash with a degreasing cleaner (TSP substitute) on a damp microfiber mop; rinse and let it dry fully. Hit mildew with a bleach-free remover so stains don’t ghost through today’s ultra-matte finishes.
Patch nail pops, checks, and seam gaps: use lightweight spackle for drywall, stainable wood filler for beams, and paintable acrylic caulk for moving joints—smart material selection prevents future cracks. Sand repairs flush (120–150 grit), feather edges, and scuff glossy paint or sealed wood with 180 grit or a deglosser. Wipe tack-free and inspect with a raking light.
Mask and Cover Floors, Lights, Ducts, and Hardware
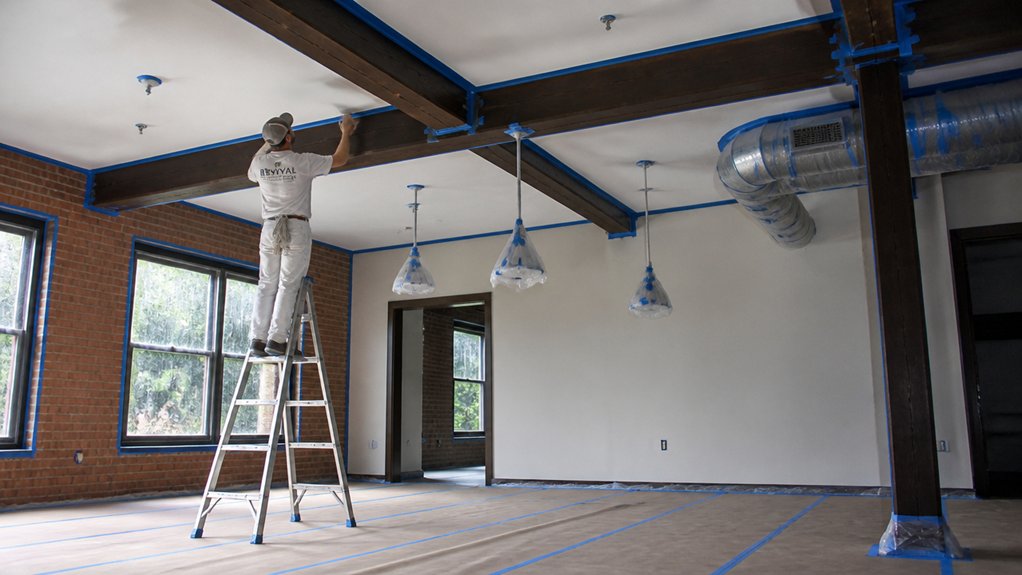
Before you spray or roll overhead, you’ll mask and cover floors and walls with rosin paper or heavy canvas drop cloths, then tape seams tight so paint can’t creep through.
You’ll shield lights, vents, ducts, and sprinklers with plastic and painter’s tape, cutting clean edges for a crisp, modern look.
You’ll also bag hardware and cover switches and brackets so you don’t spend hours scraping drips off metal later.
Protect Floors And Walls
A clean paint job starts with serious protection, so take 10 minutes to mask and cover everything you don’t want speckled—floors, baseboards, light fixtures, ductwork, and any exposed hardware. For Floor protection, roll out heavy-duty rosin paper or canvas drop cloths, then tape seams so they can’t creep while you’re on a ladder. Skip thin plastic on walk paths; it slips and tears fast.
For Wall masking, run painter’s tape along baseboards, window trim, and the top edge of any feature wall that meets the ceiling line. Press tape with a putty knife for a crisp seal, then drape lightweight plastic down the wall if you’re spraying or back-rolling. Keep edges tight, and you’ll spend less time scraping later.
Shield Fixtures And Ductwork
With floors and wall edges locked down, turn your attention overhead—fixtures, exposed ductwork, conduit, and any hardware will catch overspray and roller spatter fast in a loft.
Nail fixture shielding first: kill power, drop pendants if possible, then wrap can lights, junction boxes, and sprinklers with painter’s plastic and low-tack tape, keeping vents and heat sources clear.
For duct concealment, you’re not hiding it—you’re protecting the finish: wipe dust, tape seams, and sleeve runs with plastic so the tape line lands on a straight rib, not a greasy curve.
Before you paint, run this quick checklist:
- Bag fixtures and label covers.
- Mask duct seams, dampers, and hangers.
- Cover conduit, brackets, and bolts with tape tabs.
Block Knots and Stains on Exposed Wood Beams
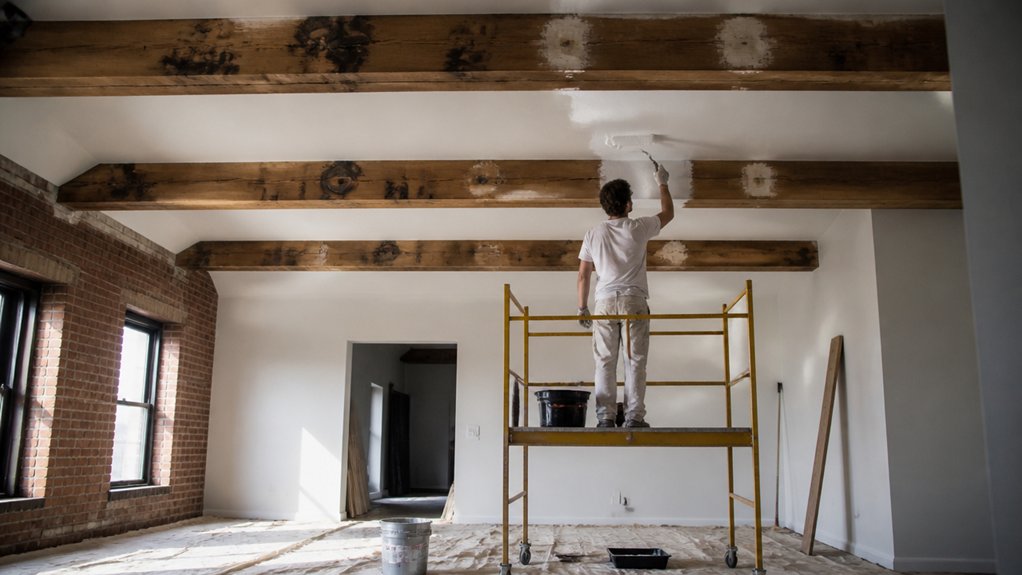
Before you paint exposed beams, you’ll spot-check knots and dark streaks for tannin or sap bleed that can ghost through today’s lighter, matte finishes.
You’ll lock them down with a stain-blocking primer (shellac or oil-based) targeted to the problem areas, not a one-size-fits-all coat.
If sap keeps weeping, you’ll scrape it clean, re-prime, and seal the stubborn spots so your topcoat stays even.
Identify Knot Bleed Risks
Even if your beams look clean and dry, knots can still bleed tannins and sap once fresh paint seals in heat and moisture, leaving amber halos or dark blotches that telegraph through the finish. To spot knot bleed risks early, scan every beam in raking light and mark suspicious areas with painter’s tape so you don’t lose them after sanding.
- Locate high-risk knots: tight, resinous whorls, pitch pockets, and dark “cat’s eye” knots—especially on pine and fir.
- Check for old seepage: glossy spots, sticky residue, or a faint yellow cast around grain lines.
- Test for movement: warm the area with a hair dryer for 30 seconds; if sheen increases or odor sharpens, plan stain blocking there.
Apply Stain-Blocking Primer
Now that you’ve flagged trouble spots, how do you stop those knots and old water marks from ghosting through your finish? You apply a stain-blocking primer designed for resinous wood and tannin bleed.
For loft beams, many pros lean shellac- or oil-based primers because they lock down discoloration fast and dry hard, even in open-grain species.
Scuff-sand the area, vacuum, then wipe with a damp microfiber to clear dust from the wood grain. Cut in knots and stains with a small synthetic brush, then feather outward so you don’t build ridges that telegraph through your topcoat’s paint texture.
Roll broad faces with a mini foam roller for even film build. Let it cure fully, then spot-check for shadowing before moving on.
Seal Persistent Sap Spots
Stain-blocking primer stops most bleed-through, but stubborn knots can still sweat sap and leave shiny amber pinholes that your topcoat won’t hide. Treat these spots like resin leaks, not “just stains,” so your modern matte finish stays even under raking loft light.
- Scrape and solvent-wipe: warm the knot with a hair dryer, then do Sap stain removal using denatured alcohol or mineral spirits; let it fully flash off.
- Spot-seal: brush on shellac-based primer in tight circles, feathering edges; two thin coats beat one thick.
- Lock the pinholes: use Bead sealing with clear, paintable acrylic or knotting compound; tool it smooth, dry, then scuff-sand lightly.
Reprime those patches, then topcoat within 24 hours for best adhesion.
Cut In, Then Roll the Loft Ceiling for Even Coverage
Once your primer has flashed off, start by cutting in the loft ceiling edges and around exposed beams with a high‑quality angled sash brush, keeping a consistent 2–3 inch border so you can blend it seamlessly. Treat this edge brushing like your roadmap: keep a wet edge, feather your strokes, and don’t overload the brush or you’ll leave ridges that telegraph through matte ceiling paint.
Next, switch to a 3/8–1/2 inch nap roller on an extension pole and lock in a repeatable roller technique. Roll in 3×3 foot sections, laying paint on in a “W,” then back‑roll in one direction to level it out.
Work away from windows to spot lap marks, and reload often so coverage stays even.
Conclusion
When you’re done, step back and inspect everything under bright, angled light—loft ceilings love to hide holidays and lap marks. You’ve also made a smart, on-trend upgrade: surveys show paint can deliver up to a 107% return on investment at resale, so your careful prep and crisp beam lines aren’t just cosmetic. Peel tape slowly, touch up fast, and keep leftover labeled paint for future scuffs. Your loft will look taller, cleaner, and intentional.
About the Author