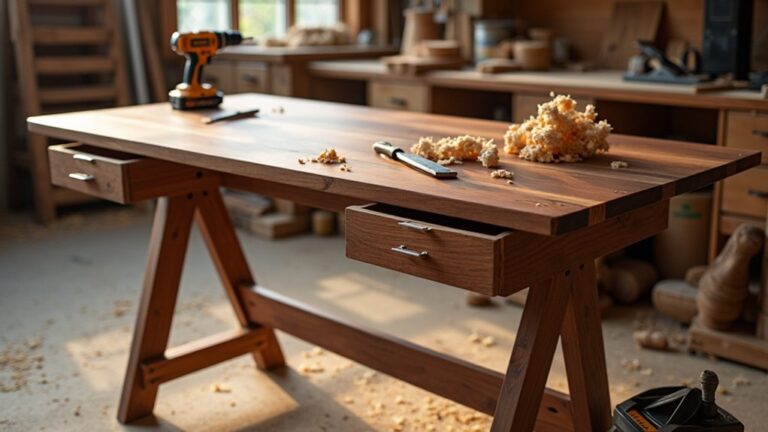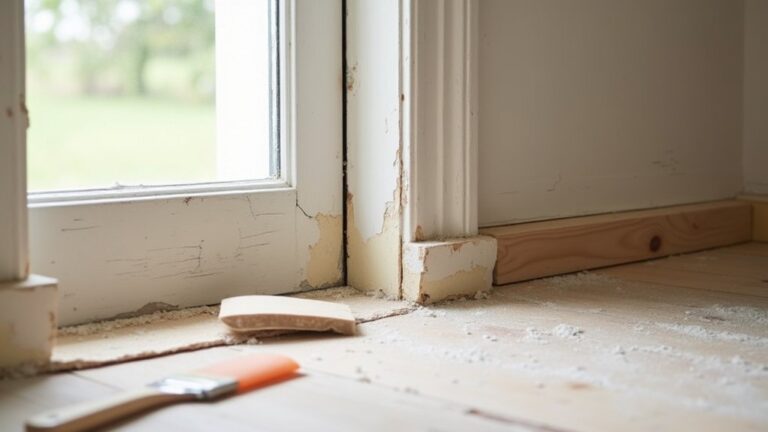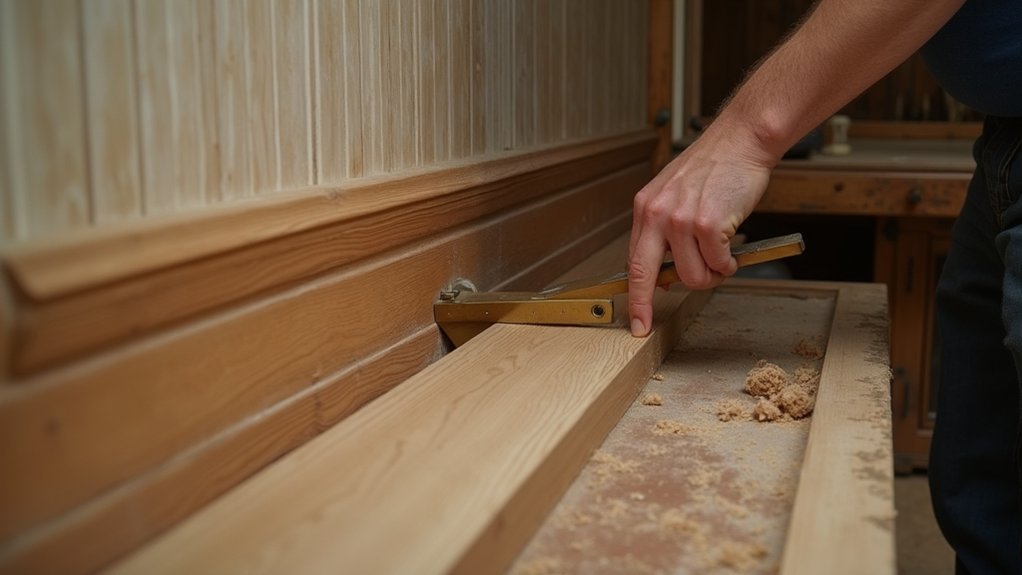
Like a well-cut mortice and tenon, good panelling locks a room’s history back into place. You start by striking level rail lines and panel heights on the wall, then you choose profiles and timber that suit your home’s date rather than fighting it. You’ll build dead-square frames, scribe to uneven plaster, and fix into studs so nothing drums or shifts. The tricky part is where the house refuses to be straight… and that’s where your method matters most.
Key Takeaways
- Map panel heights, rail lines, and spacing on the wall using a straightedge, chalk lines, and a level datum for consistent alignment.
- Match moulding profiles and proportions to the home’s era by referencing skirting, architraves, dado lines, and existing original details.
- Choose suitable materials: match original timber where possible, use reclaimed boards for patina, and reserve sealed MDF for dry, secondary areas.
- Build straight, square frames on a flat bench, using a cut list, dry-assembly, diagonal checks, and batch-making once the master layout is confirmed.
- Scribe frames to uneven walls, pack where needed, then caulk sparingly, prime all edges, and paint two coats for crisp, seamless shadow lines.
Plan Panel Height, Spacing, and Rail Lines
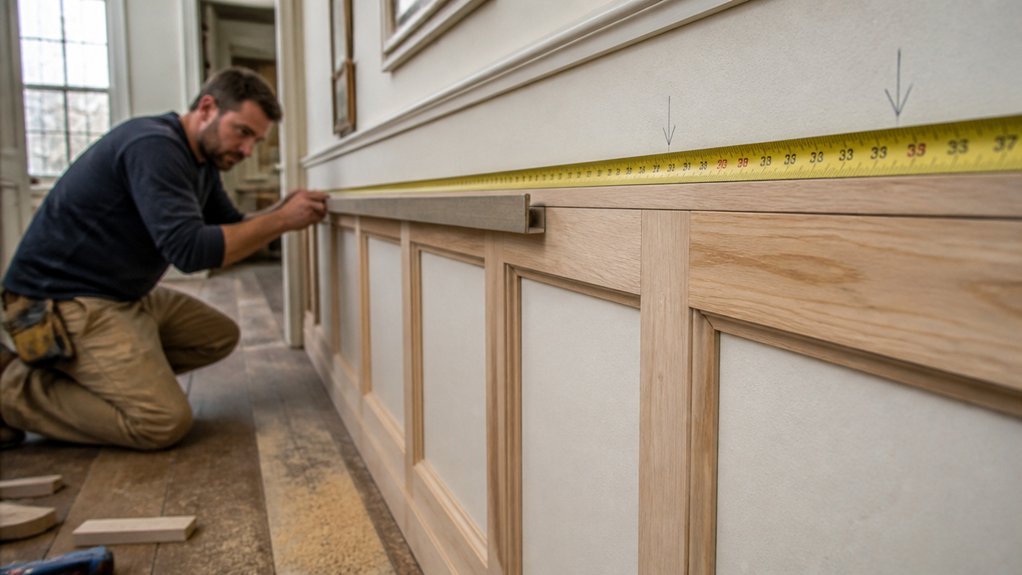
Before you cut a single stile, map out your panel height, spacing, and rail lines on the wall itself so the layout sits comfortably with the room’s proportions and any existing features. Use a sharp pencil and a long straightedge, then step back and check sightlines from doorways, the hearth, and the bay.
Snap a chalk line for the base and top rail, and mark centres so panels read evenly across corners. Keep rails level with a spirit level, but let skirting and uneven plaster guide small adjustments, not the other way round.
Dry-set paper or masking-tape rectangles to confirm panel height and spacing around switches, sockets, and radiators. Finally, write dimensions on the wall so you don’t second-guess later.
Match a Panelling Style to Your Home’s Era
Start by reading your house: look for period cues such as skirting height, architraves, dado lines, and chimney-breast proportions.
You’ll then choose mouldings and panel profiles that sit naturally with the era—spare Georgian rectangles, deeper Victorian fields, or crisp Edwardian framing—rather than forcing a modern pattern onto old fabric.
Keep it honest but liveable, so you preserve character while allowing for uneven walls, services, and day-to-day wear.
Identify Period Features
Because most British houses still carry clues from the decade they were built—right down to skirting profiles, cornices, and the way door casings meet the wall—you’ll get the most convincing handmade panelling by matching the pattern to those existing period features.
Start by walking each room and noting what’s original: lath-and-plaster quirks, chimney-breast proportions, picture rails, dado lines, and any surviving architraves. Check where previous owners have altered walls; look for blocked fireplaces, patched coving, or inconsistent skirting heights that signal later changes.
In Victorian and Edwardian homes, you’ll often find tall ceilings and deep reveals; in interwar houses, simpler joinery and tighter room layouts.
Photograph details, measure key heights, and keep a brief schedule—useful for Historical restoration and interior decoration decisions.
Choose Era-Appropriate Profiles
While you can panel almost any wall, you’ll get a far more authentic result if you choose mouldings and proportions that echo your home’s era rather than forcing a one-size-fits-all “traditional” look.
In a Georgian room, keep profiles crisp: fine ovolo beads, shallow raised-and-fielded panels, and narrow stiles that suit high ceilings.
For Victorian houses, you can go bolder with deeper rails, heavier skirting, and more assertive bolection moulds, especially in halls and front parlours.
Edwardian interiors often favour lighter, squarer sections and simple picture-rail alignment with generous dados.
If you’re in an Arts and Crafts terrace, choose flat framing, chamfered edges, and honest joinery, reserving Vintage motifs and Decorative carvings for small, purposeful accents only.
Balance Authenticity And Practicality
Era-appropriate profiles set the tone, but you’ll only enjoy the result if the panelling also works with the way you live in the house now. In a Georgian room, keep stiles slim, rails crisp, and dado height sensible, yet allow hidden access to sockets and broadband.
For Victorian or Edwardian spaces, you can deepen mouldings and add fielded panels, but don’t let them trap damp on outside walls; use battens and breathable finishes.
Where budgets or odd walls demand it, specify modern materials such as moisture-resistant MDF cores with timber lippings, so edges take paint like joinery.
If you’re introducing contemporary designs, keep proportions historically legible and align panels with skirtings, architraves, and chimney breasts. You’ll protect character without fighting daily upkeep.
Choose Period-Right Timber, MDF, and Profiles
You’ll get the most convincing panelling when you match the timber species to what your house would’ve used—oak for sturdier periods, pine for later joinery, and so on.
If you’re considering MDF, you’ll need to decide where it’s acceptable in a period home and how you’ll seal and paint it so it behaves like traditional boards.
Then choose moulding profiles that echo the original work—ogee, ovolo, bolection, or chamfered edges—so the shadows and proportions look right in a UK interior.
Matching Historic Timber Species
How do you make new wall panelling sit comfortably in an old room rather than shouting “modern”? You match the timber species to what your house likely used, then let the Timber grain and Historical context guide every cut and moulding choice.
In UK period homes, species isn’t just aesthetics; it affects colour shift, pore size, and how crisp a profile reads after paint or wax.
- Check surviving joinery: skirtings, architraves, shutter boxes
- Compare grain: tight pine vs open oak, straight vs figured
- Match density to detailing: softwood rounds over, hardwood stays sharp
- Source reclaimed boards locally to echo age and patina
- Trial-finish offcuts under your room’s light before committing
Get the species right and even new work feels quietly original.
MDF Use In Period Homes
Where does MDF belong in a period room, if at all? You can use it, but only with care. In UK heritage interiors, you’ll usually favour solid or veneered timber where edges, wear, and joinery are exposed.
MDF suits painted panelling in low-impact areas: upper walls, box rooms, and secondary corridors. Its stability helps stop seasonal movement, yet MDF durability depends on grade, sealing, and keeping it dry.
Avoid leaky chimneys, external walls with damp risk, and bathrooms without proper extraction. Prime every face and edge, and use moisture-resistant boards where sensible.
If you’re staining or leaving boards natural, don’t use MDF: it can’t mimic Wooden grain or take crisp repairs like real wood.
Authentic Moulding Profile Choices
Once you’ve settled whether MDF has any place in the room, the next job is choosing moulding profiles that actually belong to the building’s period and status. Match the joinery to what you’ve already got: skirtings, architraves, cornices, and stair parts.
In Georgian rooms, keep lines spare—ovolo and small astragals suit best.
Victorian and Edwardian houses can take deeper lamb’s-tongue, bolection, and fielded panels, but don’t overscale in modest terraces.
Pick timber that behaves like the original: tulipwood for paint, oak for clear finish, and avoid knotty softwood unless it’s historically used.
Use Decorative accents sparingly; let proportions do the work. Modern adaptations are fine when hidden.
- Ovolo
- Astragal
- Lamb’s-tongue
- Bolection
- Fielded panel moulds
Gather Tools, Fixings, and a Cut List
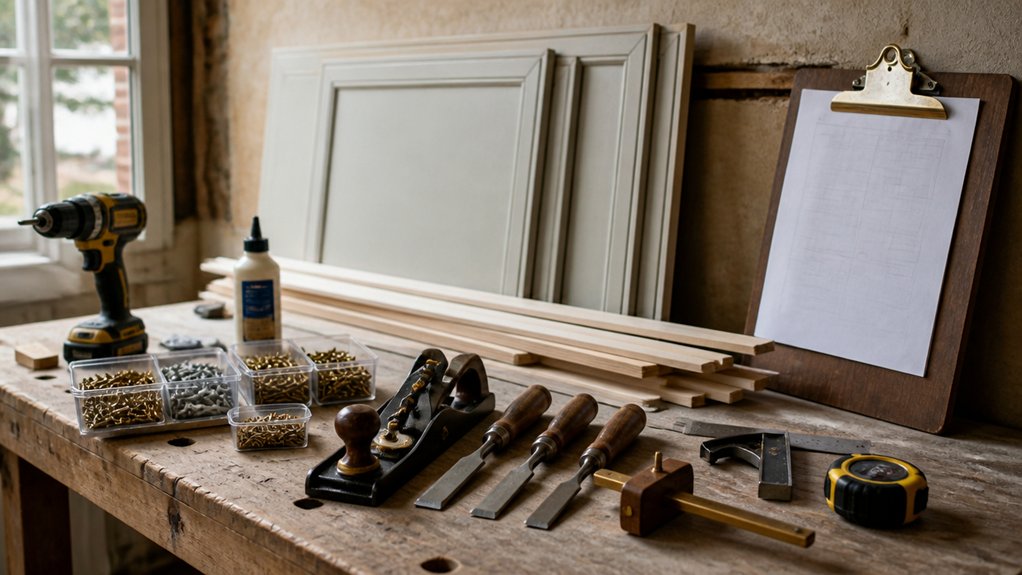
Before you pick up a saw, get your kit and materials together so every cut lands true and the panelling goes up square. You’ll want a sharp fine-tooth panel saw or mitre saw, a block plane, combination square, spirit level, chalk line, tape, and a pencil.
Keep a bradawl, nail punch, and chisels handy for crisp joints and Decorative accents that suit historical restoration.
Choose fixings to match the substrate: lost-head nails for studs, countersunk screws for battens, and a UK-grade grab adhesive for backing boards. Add PVA or hide glue where tradition allows.
Draft a cut list from your drawing: rails, stiles, muntins, skirting cap, dado, and mouldings, noting widths, thicknesses, and mitres. Label each piece as you cut to avoid costly mix-ups.
Set Out Panelling on Wonky Walls
Although old plaster and lath rarely run true, you can still set out your panelling so it reads dead straight by establishing a level datum and working from it, not from the wall. Strike a level line around the room with a laser or water level, then choose a centred feature (chimney breast or window) and balance panel widths from there.
Offer up a story stick and mark key heights, noting bulges and hollows in the wall texture so you can keep reveals consistent. Check skirting and cornice runs; if they wander, keep your datum honest and let scribe lines absorb the variation.
Decide paint color early, as strong contrasts highlight misalignment.
- Laser or water level datum
- Centre line on a feature
- Story stick for repeats
- Mark high/low spots
- Dry layout with tape
Build Dead-Straight Frames for Even Panels
With your level datum and panel layout fixed, the frames now need to be just as honest, or every slight bow will telegraph across the wall. Select straight, stable timber, then sight each stile and rail along its length, rejecting pieces that twist against the wood grain. Rip and plane to consistent thickness, and mark faces so you keep reference edges true throughout.
Build each frame on a flat bench with winding sticks and a long straightedge. Dry-assemble, clamp, and check diagonals for square before you commit to glue and screws. Keep joints tight and repeatable—simple housings or half-laps suit period work and resist racking.
Offer up a dry frame to confirm panel alignment against your layout lines, then batch-make the rest to that same master standard.
Scribe, Shim, and Hide Gaps at Edges
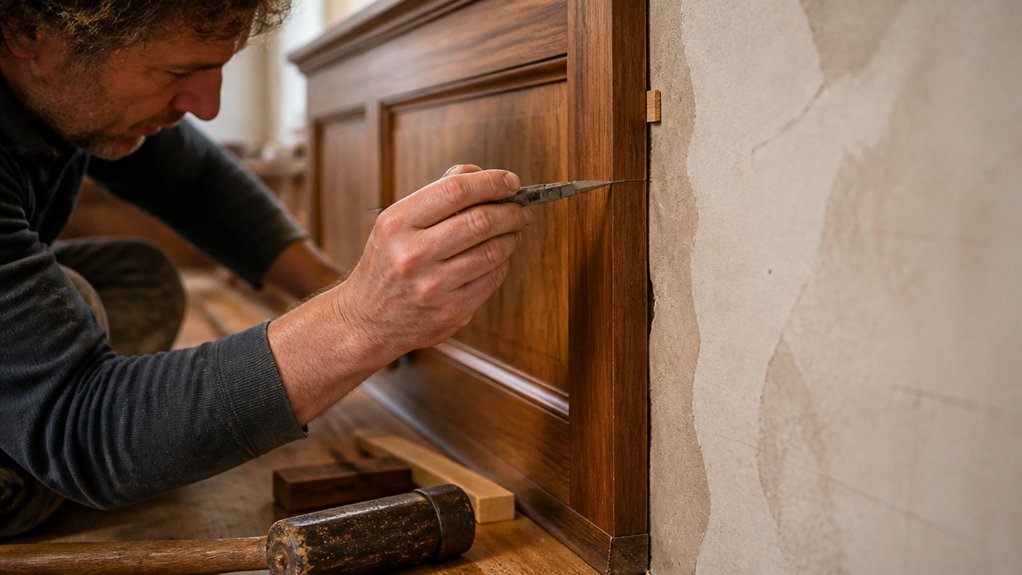
Once your frames sit plumb and square on the bench, you’ll still find the room refuses to play along at the perimeter. Old plaster bellies, wonky skirtings, and out-of-true corners demand careful scribing, not force.
Offer the frame up dry, mark the wall’s profile with a compass, then plane to the line for tight edge finishing that looks period-correct.
- Scribe to plaster, not to hope: keep a steady compass setting
- Use packers to level over lumpy masonry and uneven skirting
- Leave a controlled hairline for paint, not a ragged shadow gap
- Handle gap filling with slivers and two-part filler, not thick caulk
- Finish edges with a shallow arris so paint doesn’t chip at corners
Fix Panelling: Adhesive, Studs, Pins, and Plugs
Before you reach for the nail gun, decide how you’ll fix the panelling so it stays flat, quiet, and reversible where the house demands it.
In older UK walls, start with Stud placement: find timber studs with a detector and confirm by pilot hole, especially where lath and plaster hides surprises. Mark centres, then pre-drill clearance holes to avoid splitting and to keep lines true.
Use Adhesive techniques where the substrate is sound: apply grab adhesive in thin beads, leaving channels for air and seasonal movement; avoid continuous ribbons that can drum.
Offer boards up, pin lightly with 18g brads or panel pins into studs to hold while it cures.
Where you can’t hit studs, use wall plugs and screws, then plug with matching timber pellets, flush-cut cleanly.
Caulk, Prime, and Paint for a Seamless Finish
Although well-fixed boards should sit quietly against the wall, you’ll only get that crisp, heritage-style “built-in” look when you seal the fine gaps, stabilise the timber, and lay on paint that can move with an old house. Use caulk sparingly, then tool it neatly so profiles read sharp, not blobby, especially around skirtings and stiles.
- Cut the nozzle fine; practise controlled caulk techniques on scrap
- Run a steady bead, then smooth with a damp finger or caulk tool
- Wipe squeeze-out fast; keep mouldings’ shadow lines clean
- Prime knots and bare edges; choose an acrylic or shellac blocker
- Test paint color in morning and lamplight; period rooms change tone
Finish with two topcoats (eggshell suits most UK hallways), sanding lightly between for a settled, joiner-made feel.
Conclusion
Once you’ve set out your rails, built square frames, and scribed every edge to suit those charmingly wonky walls, your panelling will read as if it’s always been part of the house. You’ll feel the difference in the tight joints, hidden fixings, and crisp lines. Run a final bead of caulk, then prime and lay on two solid coats. Stand back—like you’ve just posted a Victorian “status update”—and enjoy that faithful, period finish.
About the Author