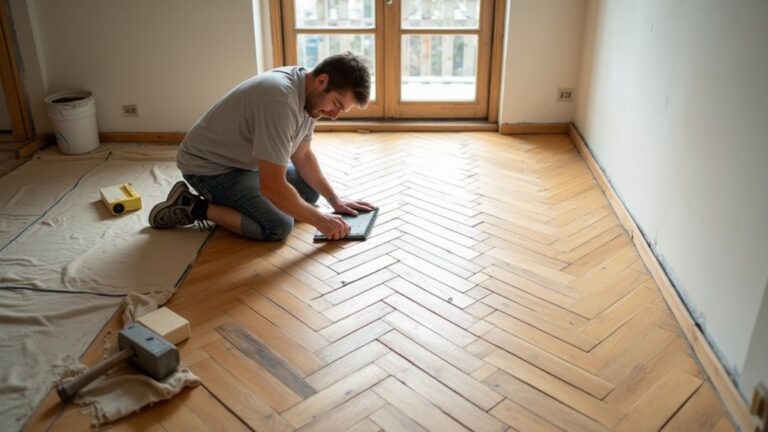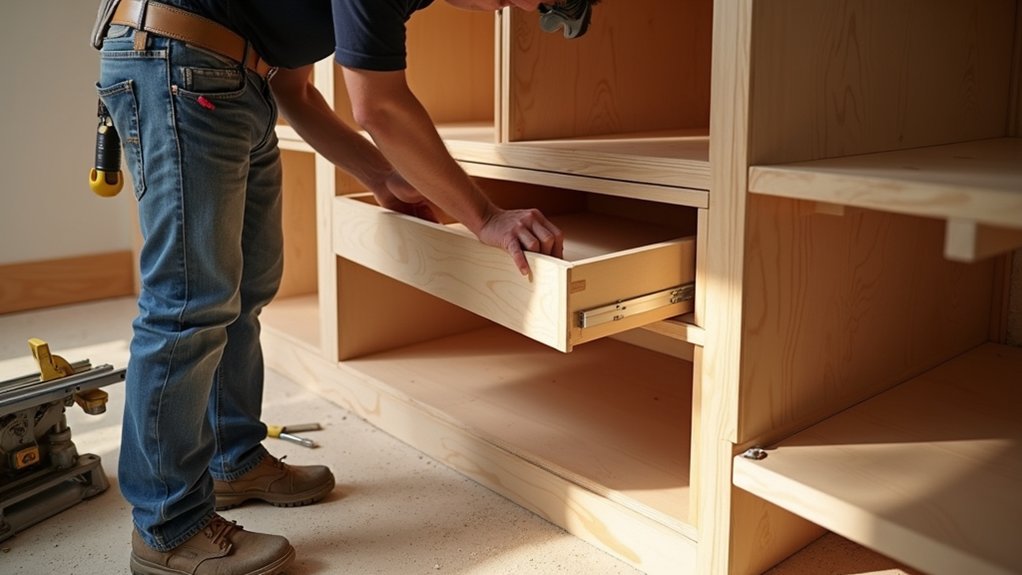
You don’t start under‑stairs storage with timber; you start with a tape, a datum line, and a sketch that captures every skew wall, pipe run, and stair stringer. You measure the void in sections, mark studs and services, then choose drawers or doors based on access and headroom. You build a dead‑square carcass from stable sheet goods, scribe it tight, and only then chase perfect reveals with hinge and runner tweaks—but the first decision that makes or breaks the job comes earlier…
Key Takeaways
- Measure the void from finished floor level, capture the taper every 200mm, and create a scaled plan with clear datum lines.
- Map studs, stringers, pipes, and cables using detectors and pilot holes, then transfer centerlines to your layout before cutting.
- Build dead-square carcasses from stable sheet goods like 18mm birch ply, using dados/biscuits, glue, screws, and diagonal checks.
- Fit in place with packers, level and plumb to a datum, then scribe and plane panels to walls, leaving a 5–10mm fitting gap.
- Hang drawers and doors, then micro-adjust reveals to 2–3mm using elongated holes, hinge cams, and light planing before sealing and finishing.
Measure Your Stairs for Built‑In Storage
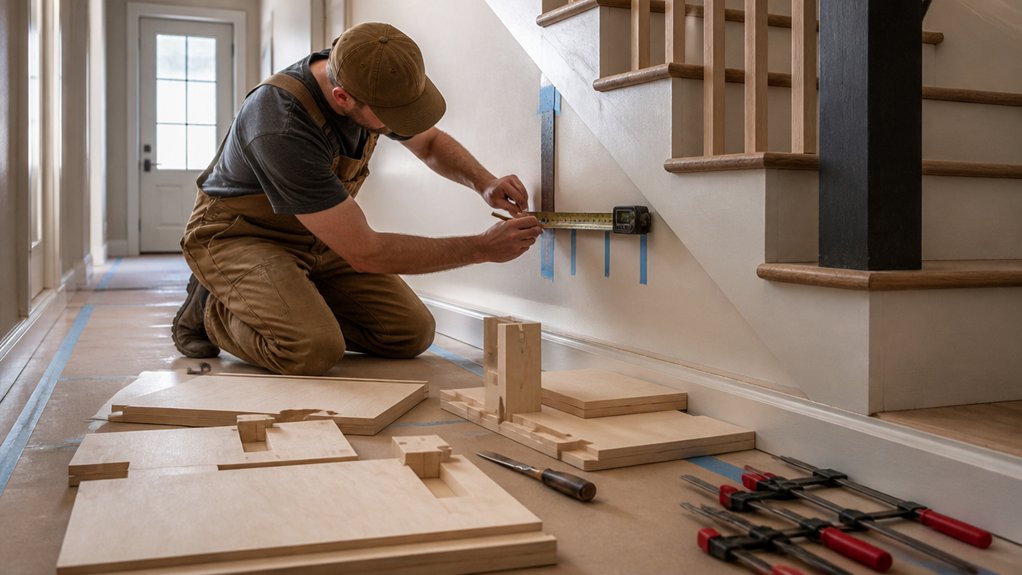
Before you buy timber or sketch drawer fronts, measure the under‑stairs void properly, because a few millimetres out can throw the whole run off. Start at finished floor level and mark a datum line; use a laser or long spirit level. Record overall run, total rise, and the angle of the stringer, then take height readings every 200mm along the run to capture the taper.
Note skirting thickness, floor coverings, and plasterboard variation so your carcass lines up cleanly. Check stair nosing projection, as it steals usable depth near the front.
Transfer dimensions to a scaled drawing or CAD, then add allowances for face frames and reveals. Plan decorative finishes and lighting options now, so cable routes and recess depths are sized accurately.
Map Obstructions, Studs, and Clearances First
Before you cut or frame anything, you’ll map every stud, joist, and stringer line so your carcass fixings hit solid timber.
You’ll also check for hidden obstructions—pipes, cables, radiator runs—and confirm any load‑bearing elements you mustn’t disturb.
Finally, you’ll measure usable clearances (skirting, door swing, headroom, access panels) so drawers and doors run true without fouling.
Locate Studs And Joists
Although you’re itching to start framing, take a few minutes to map what’s actually behind the plasterboard: find studs, joists, pipework, cables, and any awkward clearances so you don’t cut into services or fight the structure later.
Run a stud finder slowly across the slope and return walls, marking centres with pencil; confirm by tapping for a solid note, then drive a thin brad or pilot to verify timber.
Locate stair stringers by measuring from the nosings and skirting lines; joists above often run perpendicular to the stairs, so check ceiling lines and use a detector’s deep-scan if available.
Snap chalk lines for stud/joist centres and transfer them to your floor and face frame layout so your framing techniques land on structure.
Verify Obstructions And Clearances
Once you’ve marked likely studs and joists, confirm every obstruction and clearance so your storage carcass fits the void without fouling services or the stair structure. Use a torch, inspection mirror, and 3mm pilot holes where permitted to check for pipes, cables, and noggins; stop if you hit resistance.
Measure the stair stringer angle, tread undersides, and any skirting rebates, then set a minimum 5–10mm fitting gap for scribed panels.
Note radiator tails, consumer unit runs, door casings, and alarm cabling, and plan removable access panels where regs or future servicing demands it.
Confirm drawer travel, hinge swing, and handle projection.
Decide lighting placement early—allow for drivers and cable routes—without compromising aesthetic considerations or safe clearances.
Choose an Under‑Stairs Storage Layout (Drawers vs Doors)
Now you’ll choose between drawers and doors by matching access and capacity to the wedge-shaped void under your stairs.
Drawers give full extension and better use of depth, but you must allow runner length and a clear pull-out zone.
While doors need hinge-side room and enough floor space for the swing without fouling the hall.
If the space is tight or mixed-use, you can combine shallow drawers for small items with a door to hide bulkier kit.
Basing the split on daily reach, clearances, and where the headroom drops.
Drawer Access And Capacity
Where do drawers beat doors under the stairs? When you want reach without rummaging. A full-extension drawer brings contents to you, so you don’t crawl into the void or lose kit at the back. That boosts access efficiency, especially in narrow UK halls where every centimetre counts.
You can also tune drawer capacity: deep boxes for hoovers, shallow trays for gloves and dog leads, and divided inserts for keys, batteries, and bulbs. Use the stair pitch to step drawer heights down, keeping usable volume where the run is tallest.
Fit heavy-duty runners (45–60kg) for cleaning gear; choose soft-close for quiet. Label fronts or rout finger pulls to keep lines crisp and snag-free. Check internal widths for wellies and coat hangers too.
Door Swing Clearance Needs
Because an under‑stairs cupboard usually sits in a tight hall or by the front door, you’ve got to budget for door swing before you commit to hinged fronts. Measure the clear arc: door width, handle projection, and any skirting, radiators, or newel posts that will clip the leading edge.
Check circulation against Part M-style expectations: you don’t want a leaf fouling the main route.
Plan door hinge placement to control where the leaf lands. Put hinges on the side with the most wall clearance, and consider a 95–110° concealed hinge or a restriction clip to stop over‑swing.
Use an inset or half‑overlay reveal that won’t bind on the sloping stair line.
Finally, finish door edges (lipping/edgeband) to resist knocks in busy UK corridors.
Hybrid Layout Decision Factors
Although a pure drawer run or a full-height cupboard can work, you’ll usually get the best result under stairs by mixing the two—then sizing each element to the space you actually have and the way you’ll use it.
Put deep drawers where the rise is low for shoes, tools, or toys; reserve doors for tall voids that can take a broom, hoover, or coat rail.
Use the stair pitch to set maximum drawer height and choose full-extension runners so you don’t lose reach.
Keep frequently used items nearest the hallway traffic line and avoid snag points on newel posts or skirting.
For aesthetic considerations, align reveals with tread lines or existing architrave.
Plan lighting integration early: LED strips on door stiles or drawer sides stop the back disappearing.
Pick Stable Materials That Won’t Warp
If you want your under-stairs storage to stay square and your doors to keep closing cleanly, choose sheet materials that resist moisture and temperature swings. Prioritise Material durability and warp resistance over bargain boards that swell in a damp hallway.
Use 18mm birch ply for carcass parts: it stays flat, holds screws, and takes crisp dados. For painted fronts, MR MDF works, but seal every edge with primer to stop fuzzing and moisture uptake. Avoid standard MDF and cheap shuttering ply; both move and telegraph through paint.
Store sheets flat indoors for 48 hours before cutting, and keep off concrete.
Use balanced construction: veneer both faces, and edge-band exposed ply. Finish with a tough lacquer or waterborne satin to slow seasonal movement.
Build a Square Carcass and Scribe to Walls
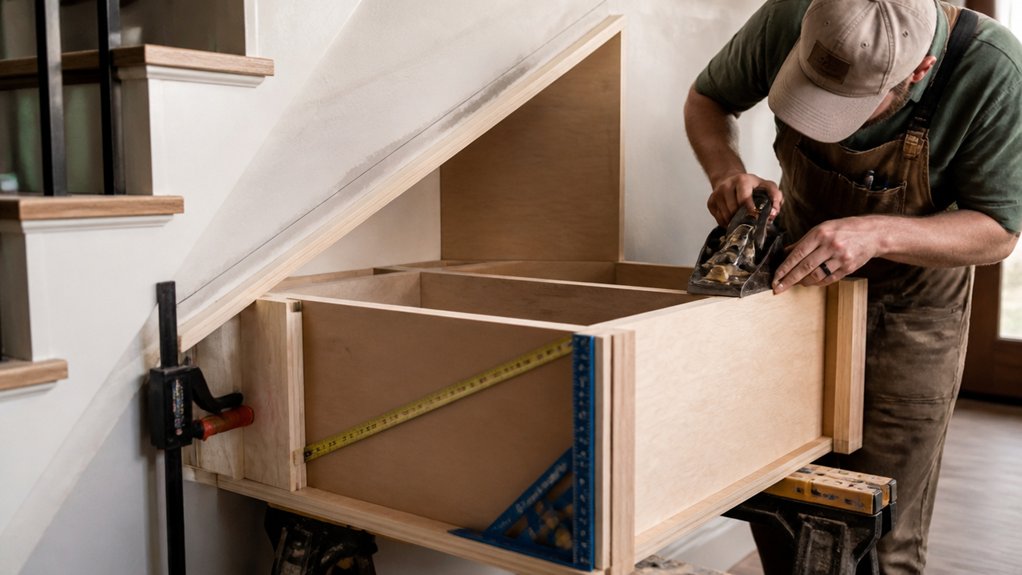
Even when the stairwell looks straight, you’ll get tighter door gaps and smoother runners by building each carcass dead-square on the bench, then scribing it to the wonky wall on site. Cut panels from the same sheet, groove for the back, and assemble with biscuits or dados plus glue and screws. Check diagonals; clamp until both match, then fix a temporary stretcher to hold it true.
Offer it up under the stairs on packers, level front-to-back, then set it plumb. Use a compass scribe against the wall and skirting, transfer the profile to the side panel, and plane to the line.
Leave a service void for Lighting solutions and cable routes. Add shadow gaps or edge lippings as Decorative accents without losing square. Seal cut edges before fixing in place.
Fit Drawers/Doors, Then Align Reveals and Trim
Once the carcasses sit fixed and true, you can hang the fronts—fit drawer boxes on their runners and doors on concealed hinges—then chase consistent reveals before you commit to any trims.
For drawer installation, set slides dead level, then shim behind the runner until travel feels smooth and the box sits square. Clip on fronts with temporary double‑sided tape, drill from inside, and elongate fixing holes for micro-adjustments.
For reveal alignment, work from one datum edge, aiming for even 2–3mm gaps; tweak hinge cams, pack behind plates, and plane edges lightly if needed.
Only when the lines read crisp should you fit scribed fillers, cover strips, and a narrow face frame, pinning, then gluing. Seal cut edges.
Conclusion
You’ve measured the void, mapped every pipe and stud, and chosen drawers or doors that suit your landing. By building dead-square carcasses from stable sheet goods, then scribing tight to wonky walls, you’ll dodge twist and gaps. Fit hardware off a single datum, tweak hinges and runners, and keep reveals even. Seal edges, finish properly, and add neat lighting. Do it right and you’ll gain storage for a thousand coats.
About the Author