You can’t restore antique wooden furniture properly until you decide what it’s worth and what you’re willing to change. You start by checking veneer, wood type, and the existing finish, then choose whether you’ll keep the patina, refresh it, or strip it back. You’ll need the right cleaners, clamps, and abrasives, plus a plan for joints, hardware, and colour matching. Get this wrong, and you’ll erase history… so what do you check first?
Key Takeaways
- Assess value, provenance, and damage, then plan minimal intervention to preserve patina, usability, and authenticity.
- Identify veneer, wood, and existing finish using magnification and solvent tests, and document findings before starting work.
- Clean gently with vacuum and mild solution, then repair loose joints, lifted veneer, and hardware issues before any refinishing.
- Strip failing finishes carefully, then sand by hand with the grain using progressive grits, protecting veneers, edges, and mouldings.
- Match colour with test stains or tinted shellac, then apply thin period-appropriate finish coats, de-nib between coats, and cure fully.
Decide If the Antique Is Worth Restoring
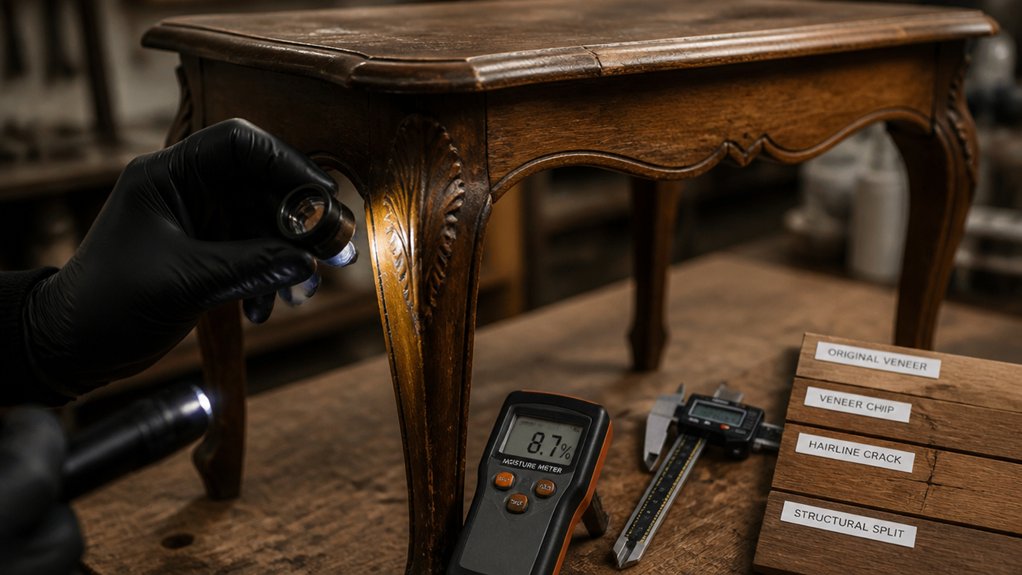
Before you pick up a scraper or reach for the stripper, take a few minutes to judge whether the piece is genuinely worth the time and expense. Check provenance: maker’s label, stamps, invoices, or family paperwork.
Look up comparable sold prices on UK sites such as The Saleroom and auction house archives to gauge Market value, not optimistic asking prices.
Consider Historical significance: a local workshop, wartime utility furniture, or a documented designer can justify careful conservation.
Then total the costs you’ll actually pay in the UK—specialist repairs, missing hardware, transport, and your time.
If the frame’s badly racked, worm damage is extensive, or key parts are missing, restoration may exceed resale.
Decide whether you want profit, use, or preservation.
Identify Veneer, Wood Type, and Existing Finish
Once you’ve decided the piece merits the effort, work out exactly what you’re dealing with: veneer or solid timber, which species, and what finish sits on top.
Start with Veneer identification: check edges, drawer fronts, and mouldings for a thin layer over a different core, and look for book‑matched grain or lifted corners. Inside carcasses often show the cheaper secondary wood.
For Wood type determination, examine end grain in an unseen spot, compare pore patterns and rays (oak’s medullary fleck, mahogany’s ribbon), and note weight and scent when lightly abraded. Use a torch and magnifier.
To identify finish, wipe a hidden area with white spirit: wax softens and smears; shellac goes tacky with methylated spirits; varnish resists both. Record findings before you start work.
Choose: Keep Patina, Refresh, or Refinish
Now you’ve identified the veneer, timber, and existing finish, you need to weigh the patina’s character against real damage like lifting veneer, deep scratches, black water marks, or loose joints.
If the surface is sound, you’ll usually keep the patina or refresh it with a careful clean, light de‑nibbing, and a new coat of wax or shellac to suit the original.
If the finish is failing or repairs won’t blend, you’ll choose a full refinish, but you’ll plan it to protect crisp edges, mouldings, and any original details.
Assess Patina Vs. Damage
Although age can make timber look tired, patina is usually a thin, even mellowing of colour and sheen. Damage shows up as active problems you can feel or see—sticky finishes, flaking varnish, deep scratches through to bare wood, black water marks, loose veneer, or wobbling joints.
For Patina preservation, check consistency: run your fingertips over edges, carvings, and drawer fronts. Honest wear feels smooth, not crumbly or tacky.
Work in good daylight near a window, and use a torch held low to rake light across the surface. Look for lifted grain, white blush, and open joints. Press veneers gently; movement means failure, not character.
For Damage concealment assessment, note whether marks sit in the finish or cut into timber. Photograph and label each fault before you touch anything.
Decide Refresh Or Refinish
If you’ve mapped the patina and flagged the real faults, you can choose the lightest intervention that still makes the piece usable. Keep Vintage patina if the finish is stable, wear looks honest, and the timber’s sound. You’ll just clean with a mild soap solution, wax lightly, and leave colour variation alone.
Choose a refresh when the surface is dull, grubby, or lightly scratched but not flaking. You’ll de-grease, de-nib with 320–400 grit, then revive with shellac, wax, or a compatible oil, testing under the base.
Refinish only when water rings, peeling varnish, or failed repairs threaten the wood. Strip carefully (heat and scraper, or low-odour stripper), neutralise, then rebuild the finish for Modern restoration standards.
Tools and Supplies for Antique Furniture Restoration
Before you touch a scraper or crack open a tin of wax, you’ll get better results by assembling a small, purpose‑built kit for antique furniture restoration. Start with cabinet scrapers, a sharp chisel, a card scraper burnisher, and a soft‑faced mallet for controlled work.
Add fine abrasive papers (240–600 grit), wire wool (0000), and tack cloths for between‑stage prep.
For repairs, keep high‑quality PVA or hot hide glue, small clamps, veneer tape, a syringe for glue injection, and a selection of dowels.
For colour, buy sample pots for Wood staining, plus brushes, lint‑free rags, and disposable gloves. Set aside labelled bags for Vintage hardware, and include a screwdriver set that fits slotted screws.
Finish with wax, polish, and spirit‑based shellac.
Clean Antique Wooden Furniture Safely
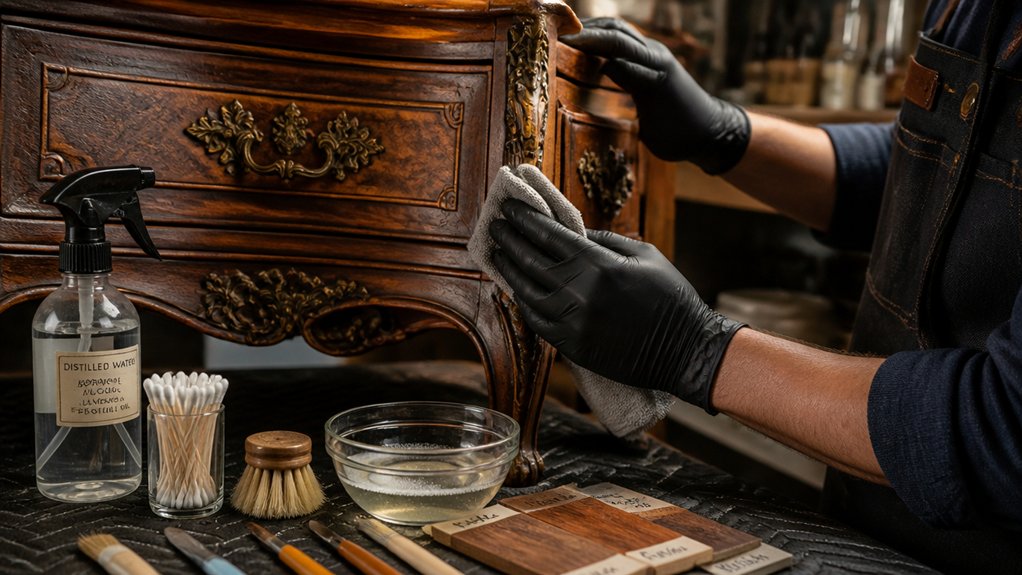
How do you clean antique wooden furniture without stripping its patina or loosening old joints? Start dry: vacuum with a brush nozzle, then wipe with a soft microfibre cloth to lift grit that scratches.
For grime, use mild cleaning techniques: dampen (don’t soak) a cloth with warm water and a drop of pH‑neutral washing‑up liquid, then work in small sections with the grain. Immediately buff dry with a second cloth.
Choose safe cleaning products: distilled water for rinsing, and a small amount of white spirit on cotton buds for sticky wax or tar—test in an inconspicuous spot first.
Avoid steam cleaners, sprays with silicone, and household polish. Keep the room ventilated and wear nitrile gloves.
Repair Loose Joints, Veneer, and Hardware First
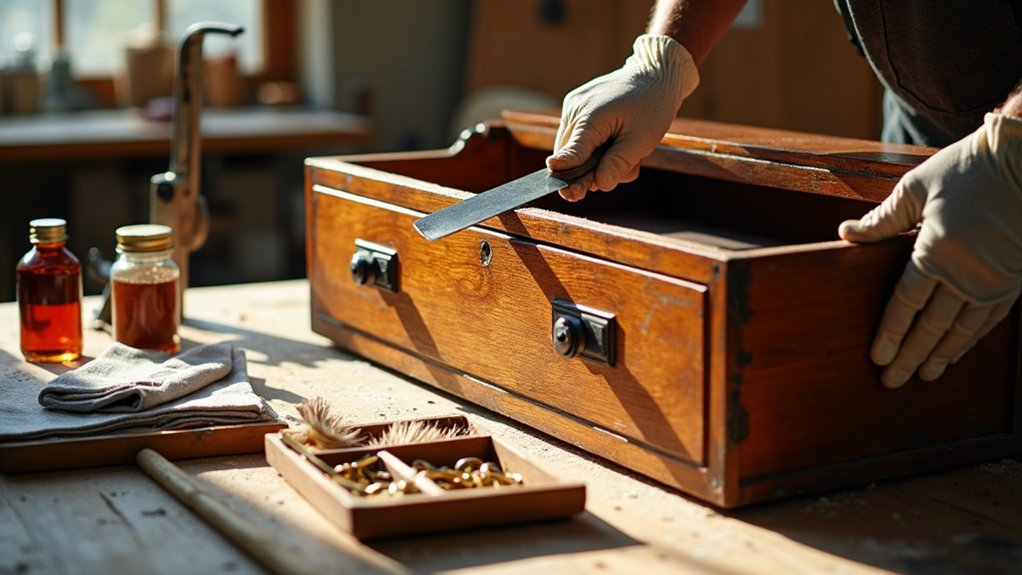
Once you’ve cleaned the surface, tackle any wobbles and lifting edges so you don’t grind dirt into gaps or snap weakened parts during polishing. Work methodically, and keep parts labelled in jam jars so nothing goes missing.
- Test each joint: gently twist legs and rails, then clamp square and re-glue where needed, wiping squeeze-out with a damp cloth.
- Secure veneer: lift only what’s loose, brush glue underneath with a palette knife, then press flat with baking paper and a warm iron.
- Sort hardware: do careful Nail removal with pincers and a block to protect the wood grain; bag screws, escutcheons, and keyholes.
- Replace missing fixings: match brass sizes from a UK ironmonger, and pilot-drill to prevent splitting.
Strip Old Finish Safely (When You Need To)
Although you’ll often preserve the original patina, you should strip the old finish when it’s flaking, sticky from failed waxes, crazed beyond touch‑up, or hiding water and ink stains that keep bleeding through.
Start with Veneer identification: check edges, damaged corners, and any repeating grain that suggests a thin face you must protect from wet stripping.
Work in a ventilated shed or garage, wear nitrile gloves, and mask off handles and escutcheons.
Choose a low‑odour, methylene‑chloride‑free stripper where possible, and test a small patch underneath first.
Apply with a brush, wait for lift, then scrape with a plastic scraper along the grain.
Use wire wool and white spirit for residues.
Neutralise per the product, and let it dry fully to judge Finish durability.
Sand Antique Wooden Furniture Without Damage
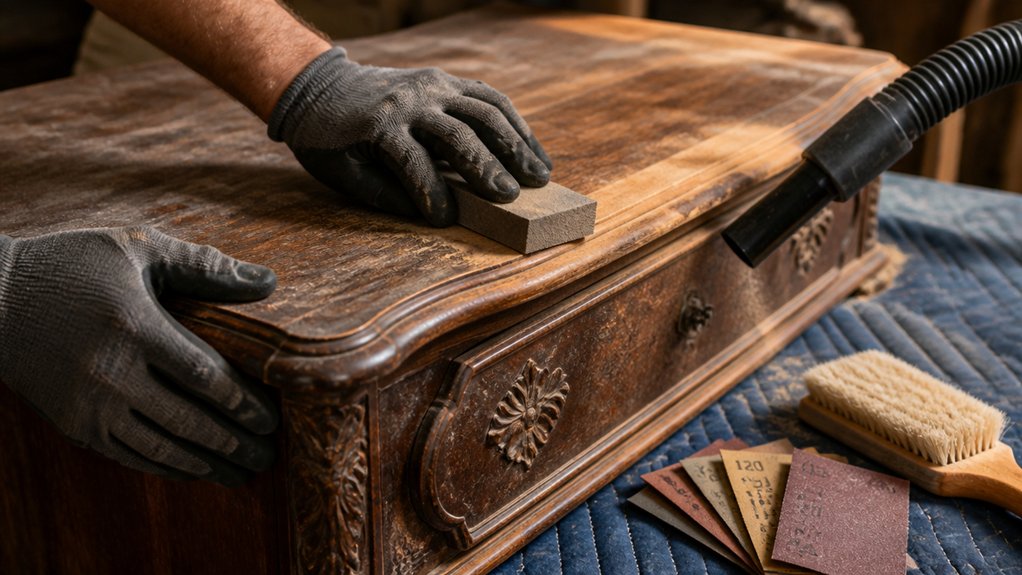
Start with the right grit: use 180–240 for light keying after stripping, and only drop to 120 if you’ve got clear scratches to remove.
Protect veneers and crisp edges by sanding lightly with a cork block, keeping pressure off corners so you don’t cut through.
Work with the grain in long, even strokes, and stop regularly to check your progress under a raking light.
Choose The Right Grit
Before you pick up the sanding block, choose a grit that removes the old finish without cutting into the thin veneer and softened edges you’re trying to preserve on antique pieces. Your grit selection should follow the wood grain, not fight it, and it should match the job: stripping, flattening, or refining.
Work under a raking lamp or near a window so scratches show early. Start coarser only if the finish is stubborn, then step up in small jumps to avoid deep tramlines that take ages to chase out.
- 80–120 grit: only for heavy varnish or paint, used sparingly.
- 150–180 grit: your main levelling pass on bare timber.
- 220–240 grit: smooths before stain or shellac.
- 320 grit: final denib between coats.
Protect Veneers And Edges
A thin veneer and a softened edge can disappear in minutes if you sand them like solid timber, so treat them as a separate job. For Veneer preservation, mask borders with low‑tack tape and keep sanding light and brief. Use a flat cork or rubber block, never bare fingers, so pressure stays even and you don’t “dish” the surface.
Avoid power sanders on veneered panels; if you must, set the tool down gently and keep it moving.
For Edge treatment, protect corners with card or a thin shim taped in place, and stop short of mouldings and inlays. Work right up to them with folded paper by hand, checking often under a raking lamp.
If you see glue lines or colour change, stop immediately.
Sand With The Grain
Although it feels quicker to work across the fibres, sanding with the grain keeps scratch marks shallow and far easier to hide under stain or wax. Find the grain direction by wiping the surface with white spirit and watching the lines pop; then sand in long, even strokes. You’ll avoid furrowing soft earlywood and you won’t risk cross‑grain scuffs that shout through shellac.
- Start with 180 grit on a cork block for flats, keeping pressure light.
- Switch to 240 grit for final passes, lifting off at edges and mouldings.
- Use folded paper or a sponge pad on curves; don’t round crisp profiles.
- Vacuum, then tack‑cloth; check under a raking lamp for swirls.
These sanding techniques protect patina and keep repairs discreet.
Match Color and Apply a Period-Appropriate Finish
Once you’ve stabilised the timber and made good any repairs, match the colour to the surrounding original wood so the restoration doesn’t shout. Test stains on offcuts or an unseen edge, then adjust with dyes, tinted shellac, or pigment in wax.
Use Color matching techniques: layer thin washes, compare in daylight, and remember finish darkens the tone. If you’ve patched veneer, seal it first so it doesn’t drink colour unevenly.
Choose Period specific finishes that suit the piece’s age and use. For Georgian or Victorian work, french polish with shellac; for Arts and Crafts, try fumed oak effect, oil, or wax.
Apply in light coats, de-nib with 0000 wire wool, and stop before you erase patina. Let it cure fully.
Conclusion
As you step back, you’ll notice how the grain catches the same slant of afternoon light that first showed every scratch. Coincidence does the rest: the drawer slides true just as your tea goes cold, and the scent of shellac (or wax) settles like a familiar hallway. Because you cleaned, tightened joints, treated veneer gently, and finished to suit the period, you haven’t erased history—you’ve steadied it, ready for daily use.
About the Author