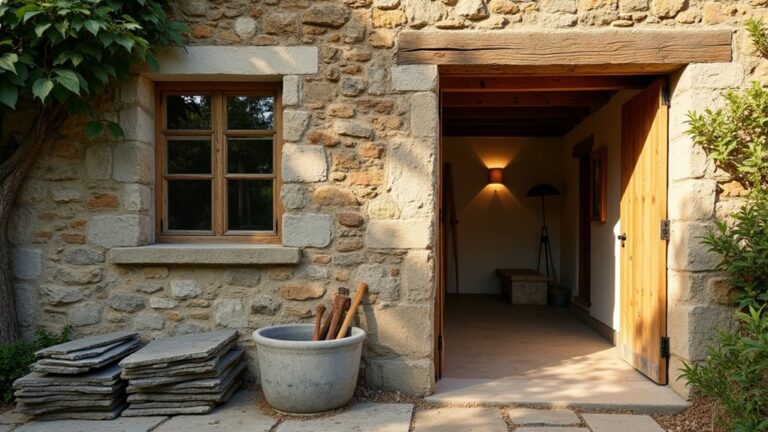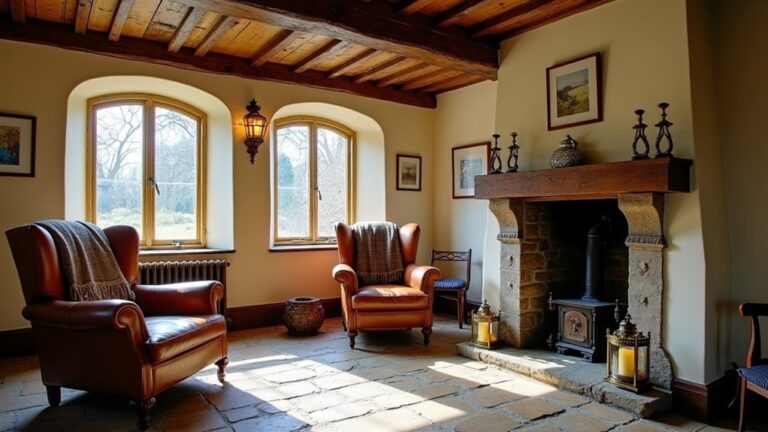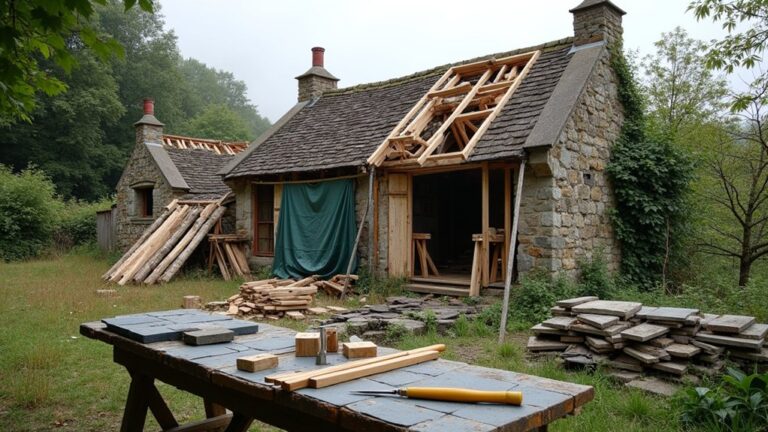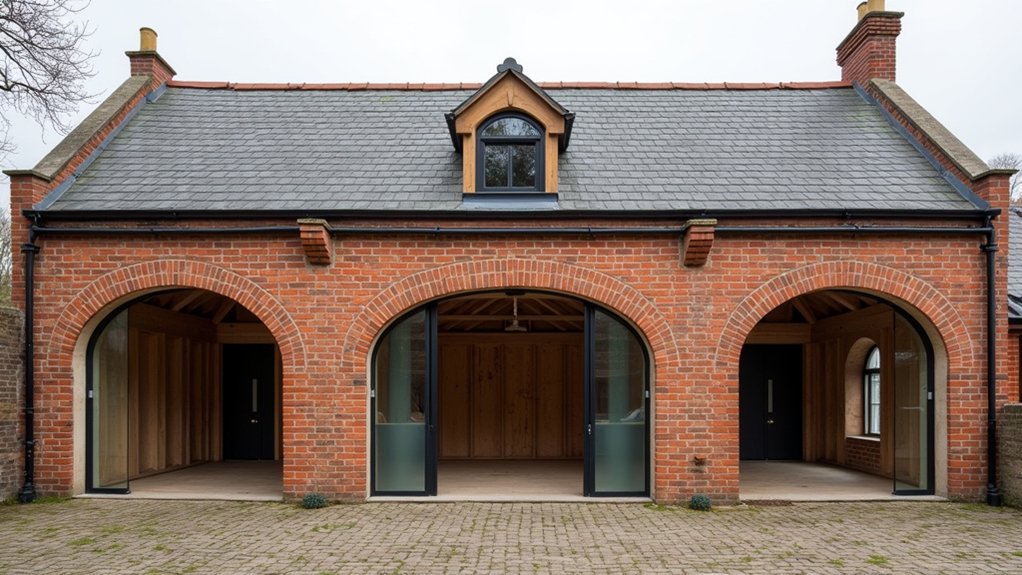
You probably don’t know that many Victorian stable blocks were built to shed moisture through lime mortar and constant airflow, so “sealing them up” can create damp fast. You’ll need to start by checking heritage status, then commission the right surveys to spot hidden rot, salts, and beetle damage before you sketch any layout. After that, planning and listed building consent can dictate everything from window openings to insulation type—so your next step matters.
Key Takeaways
- Check planning history, listing/conservation status, and secure consents (change of use, Listed Building Consent, Building Regulations) before design work starts.
- Commission Level 3 and structural surveys to confirm stability and diagnose damp, rot, and infestations before committing to the layout.
- Design a sympathetic layout around existing bays and openings, preserving original features while improving daylight, circulation, and escape routes.
- Prioritise moisture control with repaired rainwater goods, breathable materials, and correctly sized extraction/MVHR to keep humidity stable.
- Plan insulation, airtightness, and first-fix services together, using service voids and smart vapour control layers to avoid damaging historic masonry.
Is Your Victorian Stable Block Suitable to Convert?
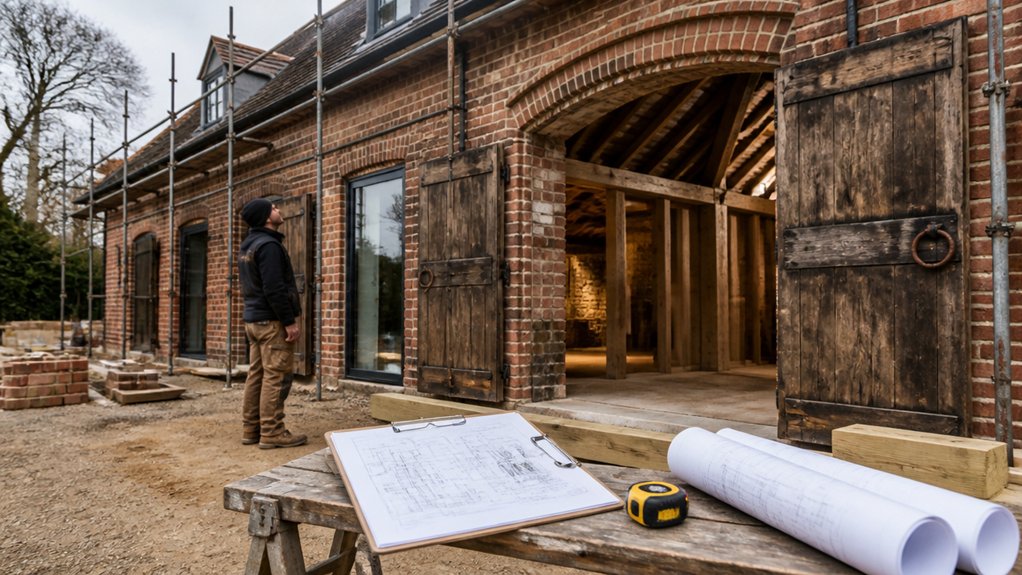
Before you spend money on architects’ drawings, you’ll need to check whether your Victorian stable block can realistically become a compliant, comfortable home.
Start with planning basics: confirm the lawful use, previous residential permissions, and whether the site sits in a conservation area or has listed status, as these steer Historical preservation expectations and what changes you can make.
Assess layout potential: can you achieve sensible room sizes, circulation, and stair positioning without carving up original features?
Check whether you can meet Building Regulations for fire separation, insulation upgrades, ventilation, drainage, and escape windows while keeping character.
Consider access and services: can you bring in water, power, fibre, and compliant foul drainage without harming masonry?
If the structure’s heritage value is high, plan Architectural restoration-led alterations, not wholesale replacement.
Surveys and Red Flags in Old Stable Buildings
Before you commit, you’ll need a proper building survey (often Level 3) that flags structural warning signs like bowed walls, cracked brickwork, sagging rooflines, and movement around openings.
You should also check for damp—tide marks, salt deposits, and musty smells—plus rot in timbers and failing rainwater goods that keep the fabric wet.
Don’t ignore infestations: look for woodworm exit holes, droppings, nests, and disturbed insulation, then price in specialist reports and remedial work.
Structural Integrity Warning Signs
Although Victorian stable blocks often look solid from the outside, you’ll want to treat them as unknown structures until a proper building survey and (where needed) a structural engineer’s inspection confirm what’s really going on.
Look for stepped cracking through brickwork, bulging walls, and lintels that have dropped over doorways—common where openings were altered without support.
Check roof lines for sagging ridges, spread at the eaves, and rafter ends that no longer bear properly.
Inside, note uneven floors, springy joists, and walls that lean or feel hollow where later partitions were added.
Pay attention to previous Structural modifications: steel beams, padstones, or undersized RSJs can signal improvised work.
If you’re pursuing Historic preservation, you’ll need evidence that repairs respect original load paths and materials.
Damp, Rot, And Infestations
Where does moisture actually enter an old stable block—and what’s it doing once it gets in? Start with Damp detection: check gutters, downpipes, valley gutters, and cracked cast-iron hoppers; look for splashback from hard standings and bridging above the damp-proof course (if it exists).
Inside, note tide marks, salt blooms, friable lime mortar, musty odours, and cold corners that encourage condensation. In timber stalls and roof members, probe for softness, black staining, and fruiting bodies—flag wet rot and possible dry rot, then isolate and ventilate.
You’ll also spot infestations: flight holes and fresh frass from woodworm, and wasp nests in eaves. For Rot prevention, prioritise drainage, breathable repairs, and controlled heating/ventilation, not tanking.
Get a UK timber-and-damp survey.
Planning, Listed Building and Building Regs Approvals
Once you’ve sketched out how you want the stable block to live as a home, lock down the approvals early because they’ll dictate what you can change, how you build it, and in what order the work must happen.
Start by checking the planning history and whether it’s listed or in a conservation area; if it is, you’ll need Listed Building Consent focused on historical preservation. Submit a Heritage Statement and schedule of works showing what you’ll retain, repair, and match (brick, timber, lime mortar).
For planning, confirm change of use, access, parking, drainage, and landscaping integration. Then line up Building Regulations via Full Plans: structure, fire safety, insulation, ventilation, and foul drainage.
Book pre-app advice, keep decisions in writing, and condition-discharge before you start.
Design a Practical Stable Block Layout for Family Life
With your planning, Listed Building Consent and Building Regs route agreed, you can now turn those constraints into a layout that works for everyday family life without fighting the building’s original form.
Start by mapping existing openings, stalls and hayloft bays, then place rooms where the light already is. Use the former stable aisle as the main circulation spine, keeping clear sightlines to the garden and a boot room at the most-used entrance.
Put kitchen/dining in the widest bay for a single family hub, and tuck a snug or study into a quieter stall.
Stack wet rooms back-to-back to simplify drainage runs, and plan a utility where services can route discreetly.
Keep Stable aesthetics with exposed brick, stable doors and ironwork, while hiding Modern amenities in joinery and floor-to-ceiling cupboards.
Insulate and Airtighten a Stable Block Without Damp
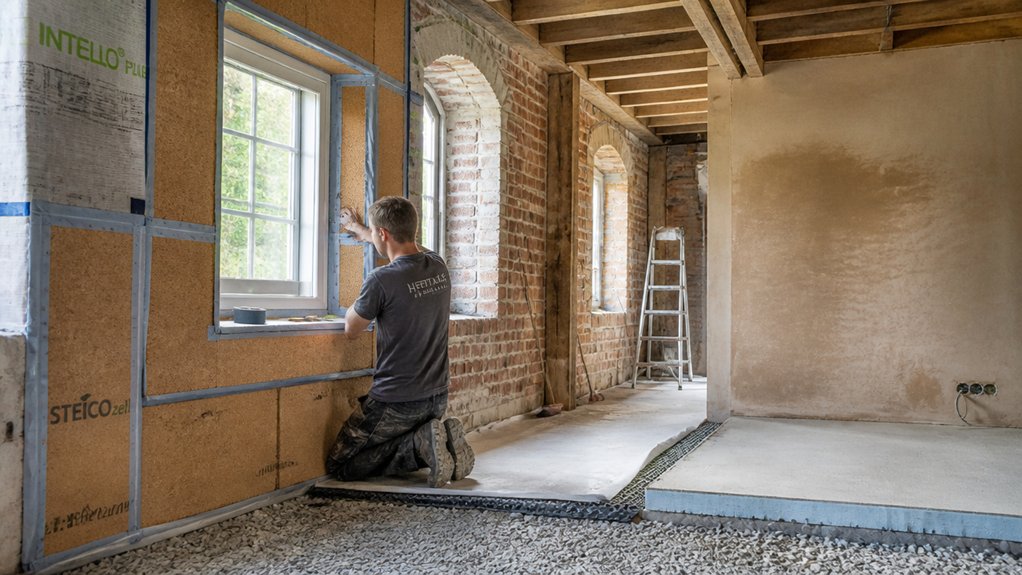
When you insulate a Victorian stable block, you’ve got to choose moisture-safe systems—like breathable woodfibre boards, lime-based plasters, or mineral wool with a proper cavity—so the walls can still dry out in the UK climate.
You’ll then airtighten methodically with tapes, membranes and sealed service zones, but you can’t just wrap everything up and hope for the best, because trapped moisture will show up as mould and rotten timbers.
Finally, you’ll set ventilation and vapour control early—MVHR where it stacks up, or reliable extract with humidity control plus the right vapour retarder—so warm, moist air doesn’t end up condensing in your new build-up.
Moisture‑Safe Insulation Choices
Although a Victorian stable block can look bone‑dry on a sunny day, its solid brickwork and lime mortar usually move moisture by design, so you’ve got to choose insulation and airtightness measures that won’t trap damp or force it to condense internally.
For walls, favour vapour‑open systems: wood fibre boards, calcium silicate, or hemp‑lime with lime plaster, so moisture can buffer and dry. Avoid foil‑faced PIR on solid masonry unless you’ve got a proven hygrothermal design.
If you must use PIR, keep it to floors/roofs where you can maintain a clear vapour strategy. Use lime‑based renders externally and breathable paints internally to support Historical preservation alongside Interior modernization.
Specify stainless fixings, capillary‑active adhesives, and detail around joist ends to prevent cold‑spots.
Airtightness Without Trapping Damp
Breathable insulation only does half the job in a Victorian stable block; you also need airtightness that stops draughts without locking moisture into the solid brickwork. Start by finding the leakage routes: around rafters, window reveals, old hayloft doors, service penetrations, and the wall-to-floor junction.
Seal internally with vapour-open airtight tapes and liquid-applied membranes that bond to lime plaster, timber, and brick; avoid impermeable foils on solid walls. Use compressible gaskets behind skirtings and at sole plates, and fit airtight loft hatches.
Keep Historical preservation in mind by detailing seals so original joinery and arches remain visible. For Landscaping integration, protect external thresholds and drainage falls so splashback and standing water don’t undermine your airtight junctions.
Ventilation And Vapour Control
Because airtight upgrades cut off the stable block’s accidental draught ventilation, you’ll need a deliberate ventilation and vapour-control strategy that keeps indoor humidity low without driving moisture into solid brick and lime.
Start with extraction: fit humidistat-controlled fans to bathrooms and utility, ducted to outside with insulated rigid pipe and proper backdraught shutters. In the kitchen, use a ducted cooker hood, not recirculating.
Maintain background air change with MVHR if you’ve achieved good airtightness, or keep Natural ventilation via trickle vents and openable sashes where appropriate.
Manage interstitial risk by putting the vapour control layer on the warm side of insulation, taping all laps to joists, reveals and service penetrations. Avoid polyethylene Vapour barriers against breathable lime walls; use smart membranes where moisture must dry inward.
Monitor RH.
Run Heating, Electrics and Plumbing in a Stable Block
Once you’ve fixed the layout and insulation strategy, you can start planning the first-fix services—heating pipework, electrical routes and plumbing runs—so they work with thick masonry walls, low door heads and awkward bays.
Decide early between underfloor loops or radiators, and size manifolds, flow temps and plant for your chosen heating systems.
Use service voids on insulated linings rather than chasing historic brickwork; where you must drill, core neatly and sleeve penetrations.
Keep electrical wiring in safe zones, allow for RCD/RCBO protection, and coordinate with Part P and your electrician’s design.
Route soil stacks to minimise bends and protect shallow drains from frost.
Pressure-test plumbing before closing up, and photograph every run for future maintenance and Building Control sign-off.
Finishes That Keep the Victorian Stable Character
With your heating, electrics and plumbing routes agreed and first-fix tested, you can turn to the finishes that will make the stable block feel like a home without scrubbing out its Victorian identity.
Clean and repoint brickwork with lime mortar, not cement, so walls can breathe. Keep original cobbles or stable pavers where possible; infill damaged areas with reclaimed bricks and set them on a lime bed.
Choose oak or painted tongue-and-groove doors with black ironmongery to echo Victorian craftsmanship.
For walls, use breathable claypaint or limewash, especially on solid stone.
Fit slimline double glazing into repaired timber frames, or specify heritage units that satisfy UK planners.
Add skirtings, architraves and boarded ceilings to reinforce period authenticity without faking it.
Conclusion
You’ve checked the roof timbers, dodged woodworm, charmed Conservation, and discovered Building Control doesn’t accept “it’s always been like that” as a detail. Now you’ll keep vapour-open insulation, proper ventilation, and airtightness working together, so your stable doesn’t revert to its original job: storing damp. You’ll thread services neatly, hide modern kit, and finish with lime, brick, and ironmongery that looks Victorian—not theme-park. Congratulations: you’ve upgraded manure logistics into family life.
About the Author