You’ll get the best results by starting with a careful check of your skirting boards and architraves, because dents, loose joints, cracked paint, and early rot all need different fixes. Clean with sugar soap, scrape back anything flaking, and mask off carpets and walls for sharp lines. Then you’ll choose between caulk, filler, or a timber repair system, depending on movement and depth—but the wrong choice won’t last…
Key Takeaways
- Inspect trim with a torch, identify material, mark defects, and check for rot or looseness before starting repairs.
- Clean thoroughly, scrape loose paint, sand rough patches, and protect nearby walls and floors with low‑tack tape and dust control.
- Fix gaps and cracks with caulk or glue, clamp if needed, then fill dents and missing sections with appropriate wood filler.
- Sand repairs flush, follow moulding profiles, vacuum dust, and spot-prime filler, knots, stains, or bare timber to prevent flashing.
- Apply an even undercoat and two thin topcoats, cutting in neatly to keep crisp edges and restore a durable, seamless finish.
Identify Skirting Board and Architrave Damage
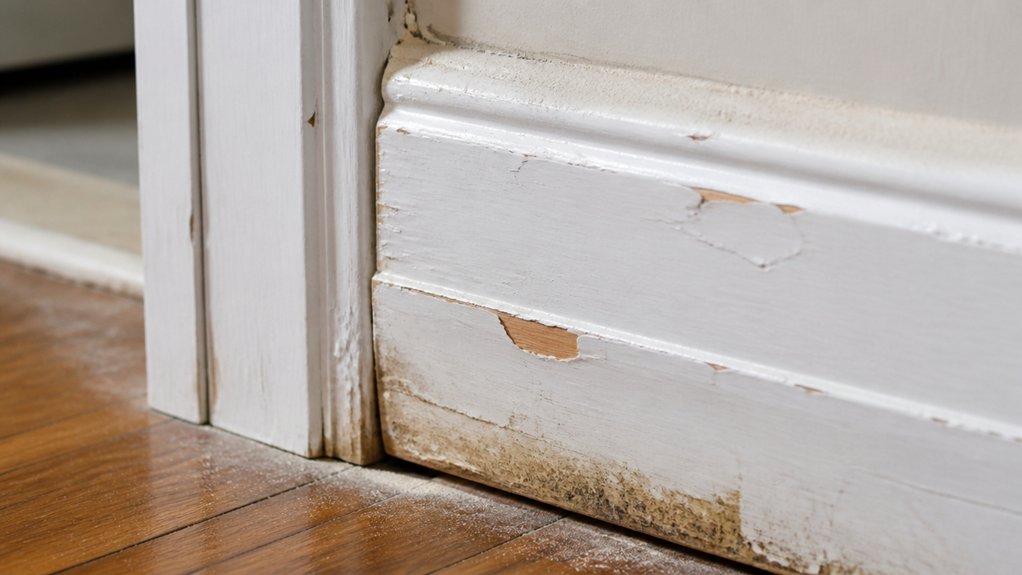
Before you pick up filler or sandpaper, take a close look at what you’re actually dealing with: skirting boards and architraves commonly suffer from scuffs and dents from hoovers and furniture, paint build-up and cracking along caulk lines, water staining and swelling near external doors or bathrooms, and split or loose mitres where the timber’s moved over time.
Work methodically: run a torch along the profile to spot ripples, open joints, and edge bruising. Press gently for softness that suggests rot, especially on ground-floor bays and around leaky radiators.
Check if it’s MDF, softwood, hardwood, or plaster—material compatibility affects how damage presents and how you’ll refinish. Note any original moulding details for historical aesthetics, and mark each defect with masking tape for later attention.
Tools and Fillers for Trim Repairs
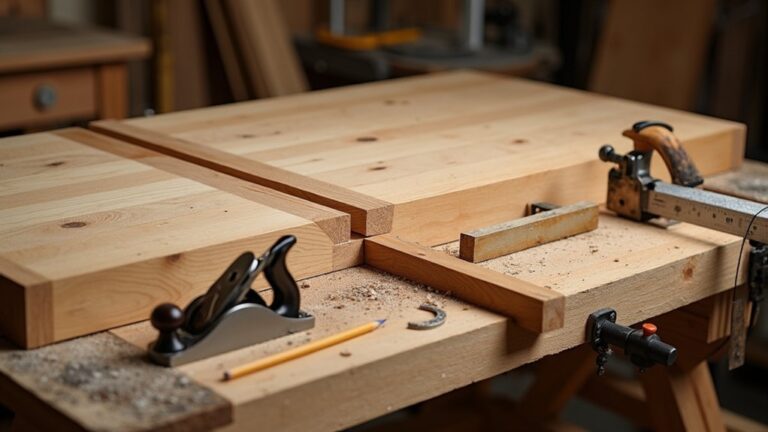
Once you’ve marked the defects, assemble a small, reliable kit so you’re not improvising mid-repair: a sharp 25mm (1″) chisel, a filling knife, a flexible decorator’s caulk gun, a nail punch, a cordless drill/driver with countersink, sanding block plus 80/120/240-grit papers, and a vacuum with brush head for dust control.
Add a two-part wood filler (for deep dents, rotten pockets, or missing corners), a lightweight fine surface filler (for shallow scuffs), and an acrylic decorators’ caulk (for hairline gaps at mitres and along walls).
Keep a cartridge of grab adhesive for loose sections and a pack of lost-head nails.
For color matching, use a small tub of filler you can tint, or keep universal colourants. Choose fillers compatible with your paint types: water-based satinwood, oil-based gloss, or modern hybrid trim paints.
Prep Trim: Clean, Scrape, and Mask
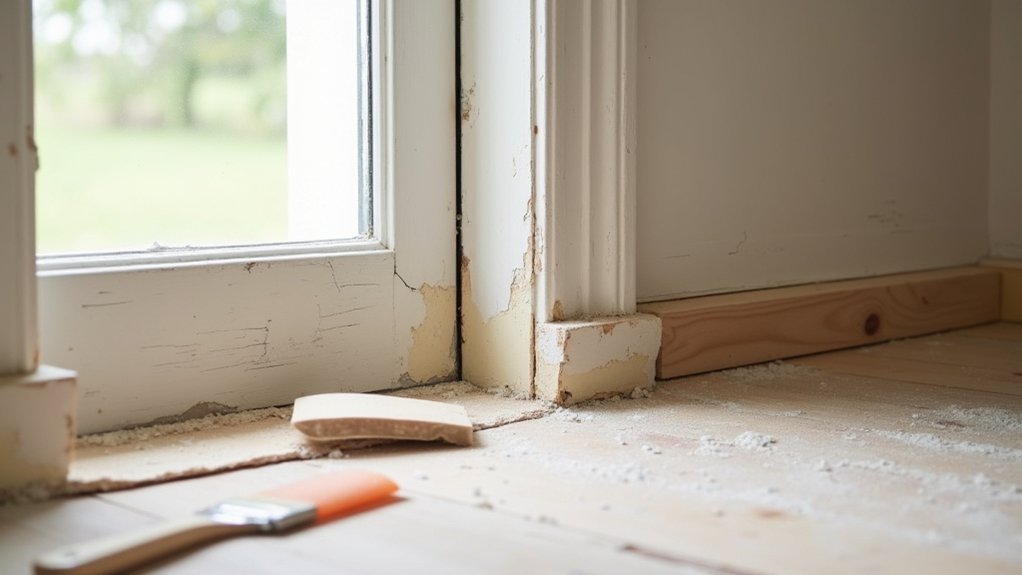
Although fillers and paint do the visible work, you’ll get a longer-lasting finish if you prep the skirting and architraves properly. Start by vacuuming with a brush head, then wash down with sugar soap (or a mild detergent) to remove polish, grease, and finger marks. Let it dry fully.
Then run a scraper or filling knife along edges to lift flaky paint, nibs, and old varnish without gouging the timber. Feather back rough patches with 120–180 grit, following the profile on Decorative accents so you don’t flatten moulded detail—vital for historical restoration.
Dust off again, then mask: press low-tack tape tight to the wall and floor, and cover nearby carpet with a dust sheet. Leave crisp, paint-ready edges.
Fix Skirting Board Gaps (Caulk vs. Filler)
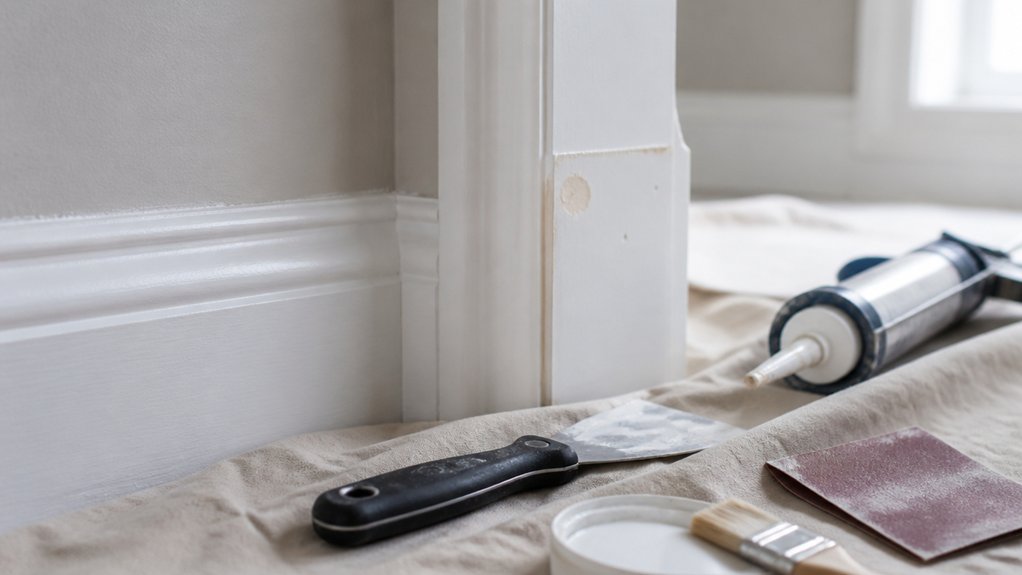
Clean, dry trim and crisp masking now let you tackle the gaps that make skirting and architraves look tired. Start by judging movement: if the gap’s at the wall/ceiling line or along mitres that flex with seasons, choose decorators’ caulk. It stays slightly elastic, so it won’t crack when plaster shifts. Run a steady bead, then tool it with a damp finger or profiling tool, wiping excess onto a rag.
For static gaps between timber pieces where you need a harder edge, pick a fine surface filler instead—this is the Caulk vs. Filler call that matters. Use Gap Filling Techniques like backfilling deep voids with foam rod, then a thin top layer, keeping lines sharp and smooth. Paint once fully cured.
Fill Dents, Chips, and Nail Holes
Start by checking each dent, chip, or nail hole on your skirting or architrave and gauge how deep it is. Shallow marks need a skim, while deeper damage may need filling in layers.
Pick a suitable wood filler for the job—fine surface filler for pinholes, a tougher two-part filler for larger breaks—and press it in firmly with a filling knife.
Once it’s fully cured, sand it flush with the profile and edges. Then prime the repaired spots so your topcoat doesn’t flash or sink in.
Assess Damage And Depth
Before you reach for filler, take a minute to assess what you’re dealing with: check whether each dent, chip, or nail hole is only in the paint film, in the timber/MDF itself, or loose and crumbling at the edges. Run a fingernail across the mark; if it catches, you’ve got depth to rebuild, not just sand and paint.
Probe gently with a sharp scraper or bradawl to find soft fibres, blown MDF, or rot—common near external doors and leaky radiators. Check if nails have popped and the board’s moving; fix movement first or repairs will crack.
On decorative molding, compare profiles along the run so you don’t flatten details and lose historical accuracy. Photograph awkward sections for reference.
Choose Proper Wood Filler
Once you’ve worked out how deep the damage goes, match your filler to the material and the size of the defect so it bonds properly and sands back flush.
For painted MDF skirting, use a fine, ready-mixed interior filler; it spreads thin and won’t crumble on edges.
For real timber architraves, pick a two-part wood filler for chips and corner knocks, because it cures hard and takes fixing screws nearby.
Use a flexible decorator’s caulk only for hairline gaps, not dents.
Choose a shade close to the timber for stain matching, or buy a tintable filler and test on scrap.
Press filler firmly across the Wood grain to avoid trapped air, and slightly overfill deep nail holes.
Clean off smears with a damp cloth quickly.
Sand Flush And Prime
After the filler’s fully cured, sand it back so it sits dead flush with the skirting or architrave and doesn’t telegraph through the paint. Start with 120–150 grit on a sanding block, then finish with 180–240 for a clean edge.
Feather the repair outwards so you don’t dish the profile, especially on Decorative molding and curved beads. Use folded abrasive or a detail sponge to keep sharp arrises crisp on Historical styles.
Vacuum the dust, then wipe with a barely damp microfibre cloth. Spot-prime every filled dent, chip, and nail hole with a stain-blocking primer (shellac for knots or old stains).
Lightly de-nib once dry, then you’re ready for your undercoat and topcoat. Check with raking light for ridges before painting.
Repair Cracks and Splits With Glue and Filler
When you spot a crack or split in your skirting or architrave, open it slightly, work in PVA wood glue, then clamp it tight (or pin it) until it cures.
Once it’s solid, fill any remaining gap with a suitable wood filler, let it harden, then sand flush with 120–180 grit.
Finish by priming the repair so it doesn’t flash through your top coat.
Clamp And Glue Splits
Although a split skirting board or architrave looks like it needs replacing, you can usually pull it tight again with wood glue, clamping pressure, and a small amount of filler.
First, open the split slightly with a thin scraper and vacuum out dust so the adhesive can bite.
For glue selection, use interior PVA (D3) for most painted softwood; choose polyurethane if the joint’s damp-prone, but don’t overapply as it foams.
Work glue deep into the crack with a syringe or small brush, then wipe the face clean with a damp cloth.
Apply clamp techniques that spread pressure: use F-clamps with scrap timber pads, or a band clamp around architrave returns.
Clamp until a fine glue bead appears, then leave it undisturbed overnight.
Fill, Sand, And Prime
Once the glue-up has cured and you’ve removed the clamps, you need to tidy the repair so it disappears under paint. Scrape off squeeze-out with a sharp chisel, working with the grain to avoid tearing the Decorative trim.
For fine cracks, push in a paintable wood filler with a filling knife, overfilling slightly so you can sand it back flush. On wider splits, bed filler into the joint after the glue, so it bridges any voids and won’t sink.
Sand with 120 grit, then 180, using a cork block to keep edges crisp, especially on period mouldings where historical accuracy matters. Vacuum dust, wipe with a damp cloth, then prime: use knotting solution on resinous spots and a stain-blocking primer on bare timber before topcoat. Let it dry fully.
Treat Rot and Patch or Replace Sections
Because moisture usually causes the damage in the first place, start by finding and fixing the source (leaking radiator valve, overflowing gutter, failed silicone around a shower tray) before you touch the timber. Let the area dry fully; a dehumidifier helps in British winters.
Probe with a bradawl: if it’s spongy, dig back to sound wood and vacuum out dust. Brush on rot treatment (wood hardener/boron preservative) and let it cure as directed.
For section patching, square off the cut with a multi-tool, then splice in matching softwood or MDF, glued and pinned, keeping the profile aligned. If the rot runs behind plaster or along long lengths, replace the whole run to the nearest internal corner for a clean joint.
Prime all bare edges immediately.
Repair Loose or Damaged Door Architraves
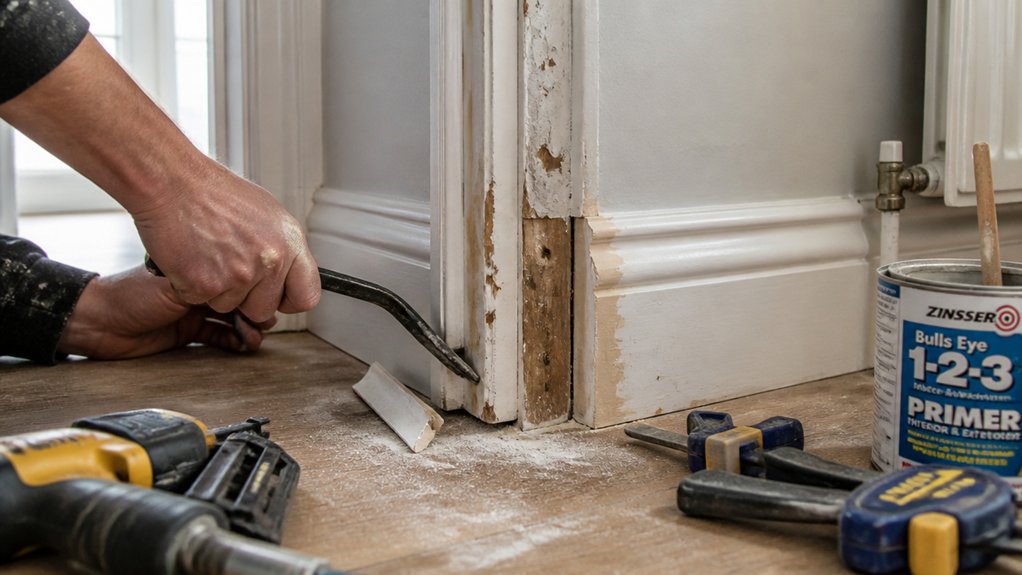
With any rot dealt with and bare timber sealed, turn your attention to door architraves that have worked loose, split, or pulled away from the wall. Check the full run, especially near the door hinge side where movement is common. Press the trim tight to the plaster and mark any gaps or proud edges.
Refix loose sections with 40–50mm lost-head nails or trim screws into the stud or frame, setting fixings slightly below the surface. If it’s split, drill a small pilot hole first, then pull it together with a screw and remove it once glued if needed. Run a thin bead of grab adhesive behind stubborn areas.
Re-seat mitres, pin them, and wipe off squeeze-out. Note the paint color for later touch-ups.
Sand Repaired Trim Flat and Smooth
How do you get those filled nail holes and glued joints to disappear under paint? You sand them dead flat, feathering the repair into the surrounding timber.
Start with 120–150 grit on a sanding block for skirting faces and architrave flats; a block stops you scalloping the surface. For shaped decorative moldings, switch to folded paper or a flexible sanding sponge so you follow the profile, not flatten it.
Work with the grain, use light pressure, and check by raking a torch along the trim to spot ridges and pinholes.
Step up to 180–240 grit to remove scratches, especially on MDF. Vacuum the dust, then wipe with a slightly damp microfibre cloth.
In historical restoration, keep crisp arrises intact.
Prime and Paint Trim for a Durable Finish
Once the dust’s gone, what stops those repairs flashing through the finish is a proper prime-and-paint system. Spot-prime filler and bare timber first, or tannin and patchiness will bleed through, especially on pine. Use a stain-blocking primer where needed, then follow with a compatible undercoat and a tough topcoat suited to halls and stairs. Keep edges crisp so Decorative accents and Historical styles still read cleanly.
- Prime: Brush primer into profiles and mitres, then lay off with the grain; de-nib lightly once dry.
- Undercoat: Apply one even coat, cutting in neatly; don’t flood grooves or you’ll lose definition.
- Topcoat: Finish with water-based satin or eggshell; two thin coats beat one thick, and resist knocks.
Conclusion
Think of your skirting boards and architraves as the home’s boots and cuffs: they take the knocks so the rest stays smart. You’ve cleaned off the grime, scraped back loose paint, and masked like you’re setting a neat boundary. You’ve chosen caulk for fine gaps, filler for dents, and treated any rot before it spreads. Now sand flush, prime the patches, and lay on paint in steady strokes for crisp, durable lines.
About the Author