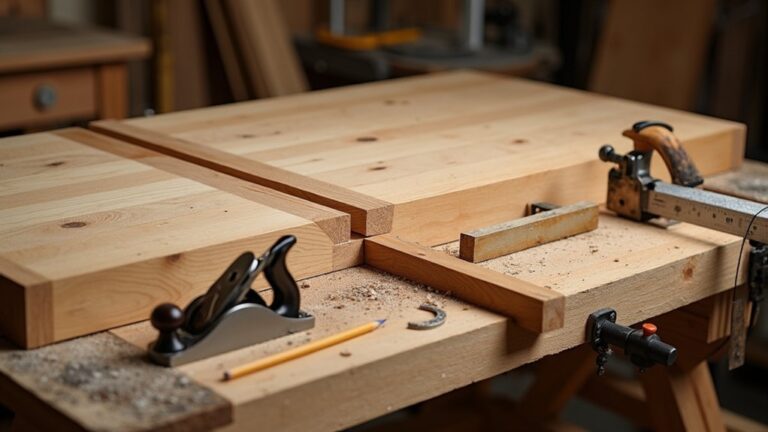
You probably don’t know that a herringbone floor can drift out of square by a few millimetres in the first metre, and you won’t spot it until the borders won’t close. You’ll start by choosing solid or engineered boards, acclimating them properly, and checking subfloor moisture and flatness to UK tolerances. Then you’ll snap a true centreline and dry-lay a starter to lock the pattern—because one early decision will decide whether the whole install stays crisp or fights you.
Key Takeaways
- Choose solid or engineered wood, pick a 3–6mm wear layer, and acclimate boards in-room 24–48 hours before installation.
- Test subfloor moisture and flatness (max 3mm over 2m), then clean, prime, and level high/low spots.
- Decide the method—glue-down, secret-nail, or floating—based on subfloor type and underfloor heating compatibility.
- Snap accurate centrelines, dry-lay a starter run to balance cuts, and keep the herringbone aligned by checking against the datum line.
- Install borders with a 10–15mm expansion gap, cut mitres/scribes precisely, and fix, fill, and clean adhesive for a crisp finish.
Choose Solid or Engineered Wood for Herringbone
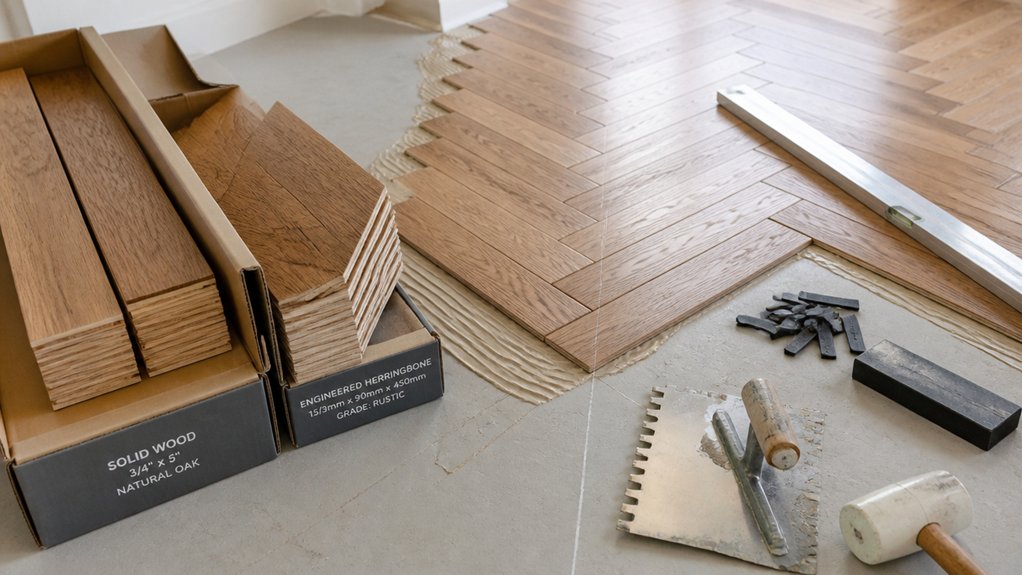
While herringbone instantly elevates a room, you’ll get the best result by choosing the right wood type upfront: solid or engineered.
Solid oak blocks suit period terraces and can be sanded back many times, but they’re less forgiving in flats with variable heating and moisture.
Engineered herringbone, built with a hardwood wear layer over ply, stays more stable and pairs well with underfloor heating—popular in UK new-builds and kitchen-diners.
Check the wear layer thickness (aim 3–6mm) and match the wood grain to your vibe: calm, straight grain for Scandi minimalism, or more characterful knots for a rustic look.
Compare finish options too: UV-lacquer for low maintenance, or oiled for a matte, repairable patina.
Acclimate Wood Flooring to Prevent Gaps and Cupping
Because timber reacts quickly to changes in temperature and humidity, you’ll want to acclimate your herringbone blocks in the room they’re going into before you lay a single piece.
Stack packs flat, cross-batten them for airflow, and keep them sealed until 24–48 hours before fitting (or follow the manufacturer’s UK guidance).
Run the heating as you normally would—no blast-drying—so the boards settle into lived‑in conditions. This reduces wood expansion swings that cause gaps in winter and cupping in muggy spells.
Keep cartons off cold concrete, away from radiators and bay windows, and don’t store them in garages.
If you’re using moisture barriers later, acclimate the timber with those site conditions in mind. You’ll get tighter joints and a cleaner herringbone line.
Check Moisture and Flatten the Subfloor for Herringbone
Before you snap chalk lines for a herringbone layout, check the subfloor’s moisture and flatness—this pattern telegraphs every high spot and damp patch. Start with moisture testing: use a calibrated hygrometer for the room and a concrete moisture meter (or carbide test where specified) for slabs, following UK manufacturer limits and BS 8201 guidance. Don’t guess; log readings, especially in Victorian terraces with suspended timber floors or new‑build screeds still drying.
Next, verify flatness with a 2m straightedge and feeler gauges; herringbone wants tight tolerances, typically no more than 3mm variation over 2m. Mark ridges, then tackle subfloor leveling: scrape adhesive, sand high joints, and fill low areas with a compatible smoothing compound. Vacuum meticulously so primers bond properly.
Choose Your Install Method (Glue, Nail, or Float)
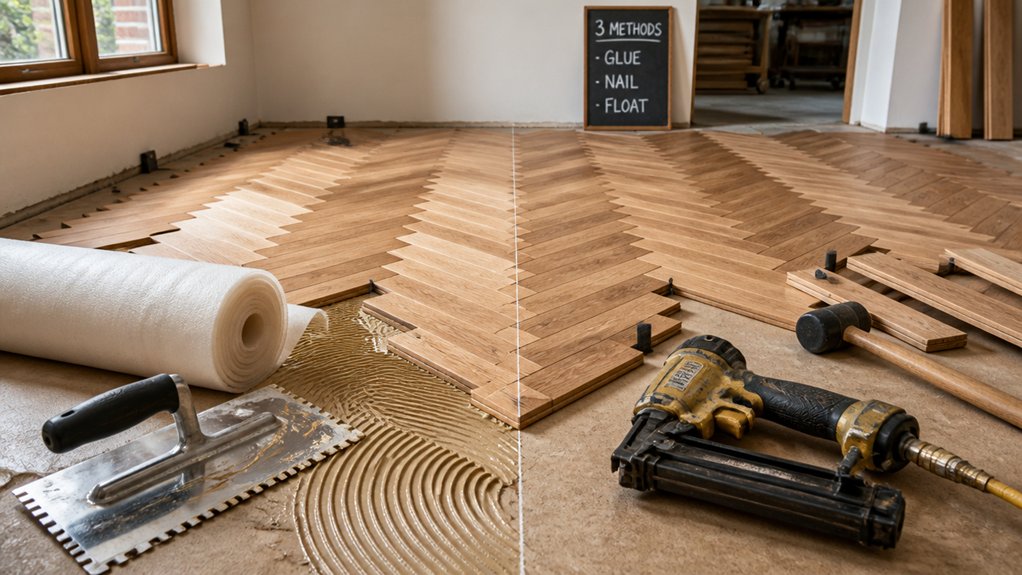
Once you’ve confirmed the subfloor meets moisture and flatness tolerances, you need to pick an install method that suits your substrate, product type, and how you live in the space: full-spread glue-down for maximum stability and the crispest herringbone lines, secret-nail (typically onto plywood over joists) for traditional suspended timber floors, or a floating click system for faster installs and easier future uplift.
In UK homes with underfloor heating, you’ll usually favour glue-down or approved float systems to reduce movement and squeaks.
Choose secret-nail if you’ve got accessible voids and want easier board replacement.
Consider your flooring styles: engineered blocks suit all three methods, while solid often prefers nailing.
Factor in color options too—lighter stains show gaps, so stable methods matter most.
Gather the Right Tools, Trowel, Spacers, and Saw
Before you start laying a crisp herringbone pattern, you’ll need an essential installation kit: tape measure, chalk line, square, rubber mallet, pull bar, and a good set of knee pads.
Match your adhesive to the correct notched trowel, then set spacers for a consistent expansion gap around skirtings and door frames—standard practice in UK homes.
Finally, use a sharp mitre or track saw (with the right blade for engineered or solid wood) to keep every block cut clean and on-trend tight.
Essential Installation Tool Kit
Because herringbone demands pinpoint alignment and consistent adhesive coverage, you’ll get a cleaner finish (and far fewer cut-offs) if you kit up properly from the start. Think like a UK fitter: accuracy first, then tidy workflow.
You’ll want tools that help you set out your centreline, keep rows true, and protect the boards’ edges while you work—key for both aesthetic considerations and long-term wear.
- Layout kit: chalk line, laser level, tape, and a sharp pencil for reliable set-out.
- Surface prep: scraper, vacuum, straightedge, and moisture meter to avoid future movement.
- Finishing support: rubber mallet, pull bar, knee pads, and microfibre cloths—simple maintenance tips start on install day.
Trowel, Spacers, And Saw
Although herringbone looks like a pattern job, it’s really a tooling job: choose the right trowel notch for your adhesive, use spacers to hold a consistent perimeter expansion gap (typically 10–15mm in UK rooms), and bring a saw that delivers dead-square, chip-free cuts for mitres and borders.
Match notch size to the spec (often 6–10mm), then keep trowel techniques consistent: 45° angle, straight ridges, no “swirls”, and re-trowel skinned adhesive.
Stock spacer types for every edge: wedge spacers for uneven Victorian plaster, horseshoe shims for door linings, and rigid packers for long walls.
For cutting, a fine-tooth mitre saw or track saw with a sharp 60T blade prevents breakout on oak, and keeps chevrons crisp at borders.
Snap a Centerline for a Square Herringbone Layout
Where do you start so a square herringbone looks crisp and stays balanced across the room? You’ll snap a true centreline that respects the room’s quirks, not just the walls. Measure the room’s width at both ends, mark the midpoints, and strike a chalk line between them.
Then square off a second line with a 3-4-5 method or a laser, so your layout sits at 90° and doesn’t creep.
- Pick the visual centre from the doorway sightline, not the radiator alcove.
- Check color coordination against skirting boards and adjacent rooms.
- Do quick lighting considerations: morning sun, downlights, and shadows that can exaggerate misalignment.
Confirm both lines land on solid subfloor and avoid thresholds and vents.
Dry-Lay a Starter Row to Lock In the Pattern
Once your centreline and square line are snapped, dry-lay a short starter run of herringbone blocks over that cross to “proof” the pattern before you commit to adhesive. Start with 6–10 pieces, alternating left and right tongues, and keep the tips kissing the lines. Check that the V’s open evenly and that the end joints land cleanly without slivers at the perimeter.
Now’s the time to choose Pattern variations: classic 90° herringbone, a tighter 45° look, or a framed border if you’re chasing that London townhouse vibe.
Measure from the dry-laid run to both walls to confirm balanced cuts. A quick sanity check on your block handedness avoids a mirrored drift later. This nods to herringbone’s historical origins in European parquetry.
Install Herringbone Rows and Keep Joints Tight
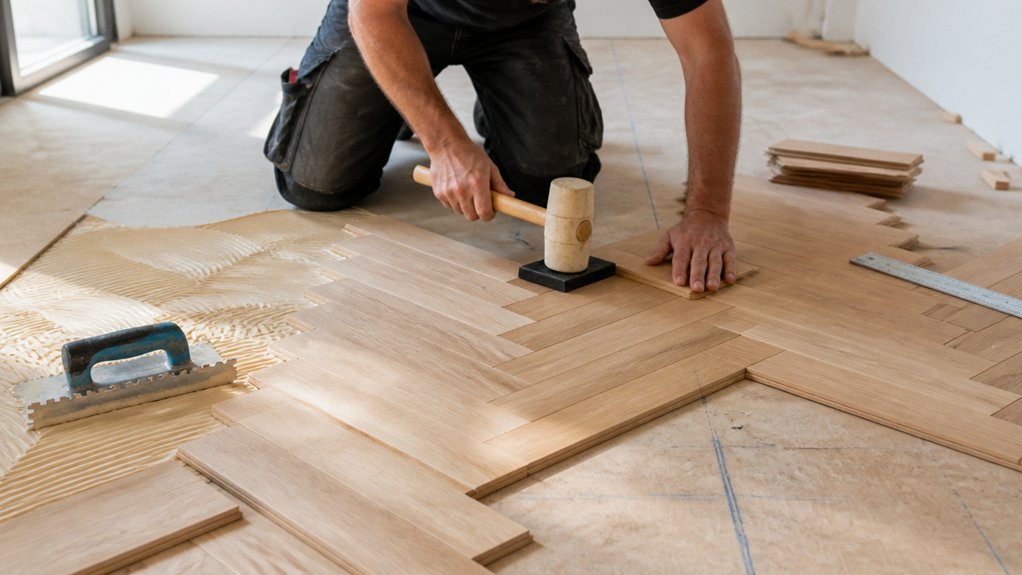
How do you keep a herringbone floor looking razor-sharp rather than drifting off line? You work in small runs, keep pressure consistent, and treat every board as part of one design pattern. Spread adhesive in a manageable patch, then set each “A” and “B” block with firm hand pressure and a gentle mallet tap on a tapping block.
- Lay the next pair, slide tongues fully home, and close joints tight before the glue grabs.
- Keep your spacers true to UK expansion gaps, and check every few pieces against your starter line.
- Stagger your packs for subtle color coordination, so tones read intentional in London light.
Wipe squeeze-out immediately, and roll the section with a 68kg floor roller for uniform bond.
Cut Borders and Fix Drift, Gaps, or Bad Alignment
Now you’ll measure the perimeter and cut crisp border pieces so the herringbone finishes cleanly against skirting boards or trim, using a fine-tooth saw for splinter-free edges.
If the pattern’s drifting off-square, you’ll recheck your centreline and nudge rows back into line before it telegraphs across the room—especially important with today’s wide-plank and light-oak looks popular in the UK.
You’ll also spot and fix gaps or bad alignment fast by re-tapping joints tight, swapping any warped blocks, and keeping consistent expansion space for tidy, pro-level results.
Measure And Cut Borders
Before you start ripping border pieces, take ten minutes to measure the remaining perimeter and check the herringbone hasn’t drifted off-square, because a small misalignment in the field quickly becomes a visible wedge-shaped gap at the walls.
In many UK refurb projects, Decorative borders and crisp border patterns are what make herringbone feel bespoke, so measure like you mean it. Snap a chalk line parallel to your straightest wall, then dry-lay a few border boards to confirm your reveal.
- Measure every wall run, noting out-of-square corners and radiator pipe notches.
- Set a consistent expansion gap (typically 10–15mm), then mark border widths with a gauge block.
- Cut mitres for outside corners and scribe for wonky skirtings, then label each piece before fitting.
Correct Pattern Drift
Where exactly has the herringbone started to wander—along the spine line, at the border, or only where the boards meet a wonky wall? First, stop and snap a chalk line through your central spine, then compare each “V” against it.
If the drift creeps over a few courses, you’ll correct it by adjusting your next cuts at the perimeter, not by forcing blocks tighter. Re-cut border pieces so the last full chevrons land square to the spine, keeping pattern consistency.
Use a dry-lay check with spacers and a straightedge, like you’d on a London terrace with out-of-true plaster. When the outer run looks balanced, lock it in with accurate mitres so visual symmetry reads cleanly from the doorway.
Fix Gaps And Misalignment
Although herringbone looks unforgiving once it’s down, you can fix most gaps and misalignment by working at the borders rather than bullying the field. In UK period rooms and new-builds alike, the trick is to hide corrections under neat perimeter cuts and trims, then lock the pattern back to your datum line.
- Mark the drift with a chalk line, then rip-cut border boards on a track saw so the last “V” lands square to the wall.
- Close small gaps by tapping blocks with a rubber mallet and pull-bar, then re-pin with cleats or adhesive before it springs back.
- Replace any rogue pieces: lift, scrape adhesive, re-bed, and weight.
Finish with matching filler, proper finishing techniques, then apply maintenance tips: felt pads, stable RH, and gentle cleaners.
Conclusion
After all that measuring, snapping centrelines, and fussing over moisture like you’re running a lab, you’ll “just” lay some timber. Funny how a herringbone floor only looks effortless once you’ve obsessed over acclimating boards, flattening the subfloor, and keeping every joint tight. You’ll cut borders, chase drift, and fix tiny gaps no one else will spot—until they do. Then your room feels quietly high-end, not loudly new-build.
About the Author