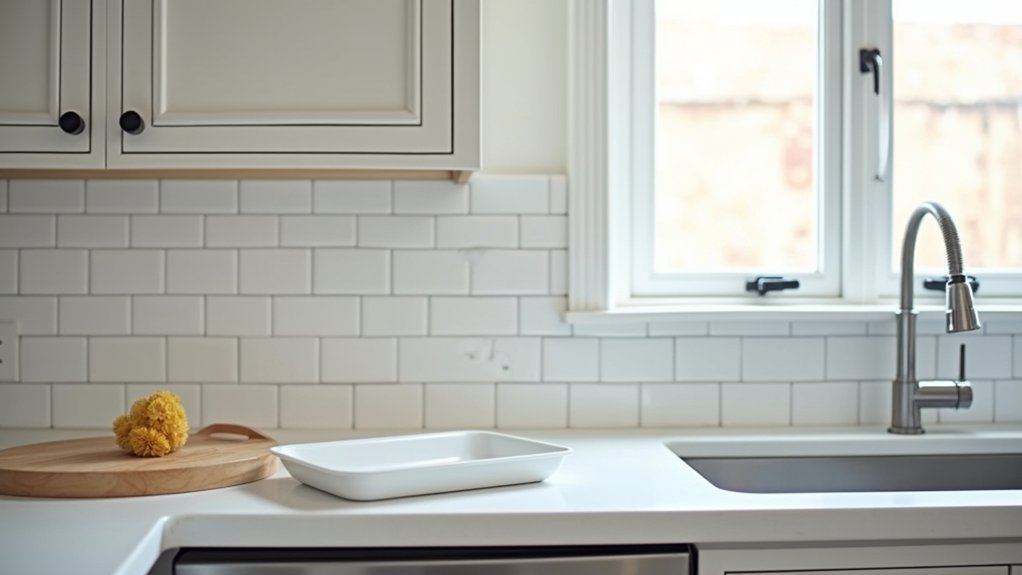
Kitchens can account for nearly 40% of a home’s toughest wall stains, thanks to grease, steam, and constant traffic. You don’t fix that with any leftover flat paint—you choose washable acrylic latex with stain-blocking resins, pair it with a scrub-ready primer, and match sheen to each zone. You’ll hide ceiling flaws with dead-flat, keep walls clean with eggshell or satin, and let semi-gloss trim take the hits—but the real payoff starts at the sink and stove…
Key Takeaways
- Choose premium washable acrylic latex or kitchen-and-bath paint with mildew resistance, low-VOC odor, and scrub-resistant technology for easy grease cleanup.
- Match sheen to function: dead-flat ceilings, eggshell or satin walls, and semi-gloss trim for maximum wipeability and crisp contrast.
- Treat stove, sink, and pantry as performance zones using tighter-porosity, stain-blocking finishes and slightly darker satin in high-wear areas.
- Prep thoroughly: degrease with TSP substitute, patch and sand smooth, then use stain-spot priming or shellac/oil primers for stubborn marks.
- Maintain results with gentle cleaning: microfiber cloth, pH-neutral soap, rinse and buff dry, and avoid abrasive erasers that can burnish finishes.
Best Washable Kitchen Wall Paint Options
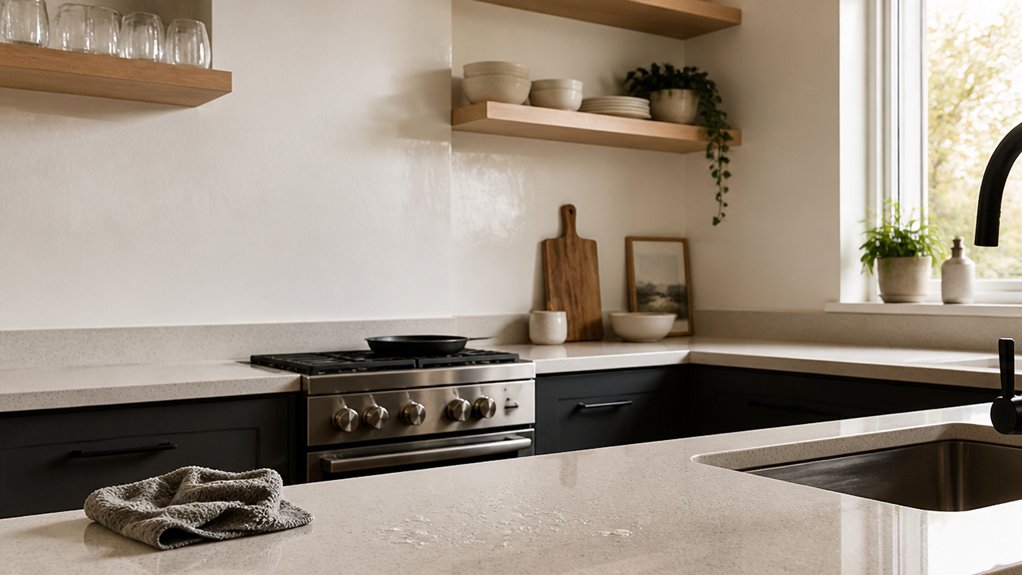
If your kitchen walls take daily hits from splatters, steam, and sticky fingerprints, you’ll want a paint that cleans up fast without leaving dull scrub marks. Start with a premium acrylic latex labeled washable or scrub-resistant; it forms a tight film that releases grease with mild soap.
For extra protection near the sink and Kitchen backsplash, choose a kitchen-and-bath formula with mildew resistance and low-VOC odor.
Look for paints using ceramic microspheres or stain-blocking resins; they resist scuffs from chair backs and bags.
If you cook often, a washable primer under your topcoat helps lock in old stains and keeps touch-ups invisible.
Color-wise, warm whites and muted greens pair smoothly with brushed nickel or matte black appliance finishes.
Pick the Right Sheen for Each Kitchen Zone
Because every kitchen surface gets a different kind of abuse, you’ll get the cleanest look (and the easiest wipe-downs) by matching finish to the zone. Think in terms of reflection, touch points, and how your Kitchen ventilation manages moisture and cooking haze—then choose a coating that supports paint durability without spotlighting flaws.
- Ceiling: dead-flat to hide seams and diffuse overhead light, especially if your hood vents well.
- Main walls: eggshell or satin for a modern soft glow that cleans up fast but won’t telegraph every patch.
- Trim and doors: semi-gloss for crisp contrast, sharper edge definition, and quick wipe-downs around handles.
Stick to one finish family for a cohesive, trend-right look, and test swatches under day and task lighting.
High-Damage Spots: Stove, Sink, Pantry Walls
Even with the right sheen, the areas around your stove, sink, and pantry take the hardest hits—grease mist, steam, splashes, scuffs, and repeated wipe-downs. Treat these as your “performance zones” and choose a scrub-friendly, stain-blocking formula that won’t burnish or dull when you clean.
Behind the range, pair washable paint with a Kitchen backsplash that extends a few extra inches past the burners to catch overspray.
At the sink, use a tighter-porosity finish that resists water spotting and stands up to citrus, soap, and towel drag.
On pantry walls, expect shoe marks, can bumps, and bag rub; go slightly deeper in color to disguise wear and keep a satin that still looks current.
For adjacent trim and doors, match durability with cabinet finishing products for unified sheen.
Degrease, Patch, Sand: Prep That Lasts

Before you open a can of washable paint, lock in a finish that stays crisp by treating prep like the durability layer: degrease first (TSP substitute or a strong alkaline cleaner), rinse and let it fully dry. Then skim-patch dings with a paintable filler, spot-prime any bare drywall or stained areas, and sand smooth with 180–220 grit so today’s satin and soft-sheen paints level out without telegraphing bumps or flashing under your kitchen lights.
- Wipe cabinets, backsplash edges, and switch plates twice; grease hides in seams.
- Feather patches wide, then vacuum dust so coatings bond cleanly.
- De-nib between coats for Eco friendly finishes that still feel luxe.
Tape off trim, caulk tiny gaps, and check with a raking light. Solid prep also keeps decorative techniques—like color-blocking or subtle stenciling—looking sharp, not sloppy.
Primer Rules for Stains and Odors
Before you prime, you’ll spot what you’re sealing—water stains under the sink, cooking smoke above the range, mildew on trim, or tannin bleed on wood.
You’ll match the problem to the right odor- and stain-blocking primer (shellac for smoke and heavy odors, oil for tough stains and wood bleed, bonding acrylic for slick surfaces) so your washable finish stays crisp.
Then you’ll seal it correctly with full coverage on the affected areas, tight cut-ins at edges, and proper dry time between coats to lock stains and smells in for good.
Identifying Stain Sources
While washable paint finishes can handle splashes and scrubbing, they won’t hide what’s bleeding through, so you’ll get better results if you identify the stain source first and pick the right primer to lock it down. Start by mapping where marks appear: above the range, under the sink, around the Kitchen backsplash, or on doors during cabinet repainting.
Then do quick tests—wipe with degreaser, dab with water, and note if it smears, dissolves, or stays put.
- Yellow-brown halos usually point to water tannins or old leak stains.
- Sticky gray film signals cooking grease that needs deep cleaning before priming.
- Rusty pin dots often come from nail heads, screws, or metal brackets telegraphing through.
Spot-prime only after the surface dries fully, or stains can rebound.
Odor-Blocking Primer Choices
If a kitchen stain comes with a lingering smell—smoke, mildew, fryer grease, even that “old cabinet” funk—you’ll get better long-term results by sealing it in with an odor-blocking primer instead of hoping washable topcoats can cover it.
For nicotine, cooking oils, and water marks, reach for shellac-based primers; they lock down odors fast and stop yellow-brown bleed-through.
For light-to-moderate smells on drywall or trim, modern waterborne odor blockers are lower-VOC and easier to live with, yet still tough enough for busy kitchens.
For heavy mildew history, choose a primer labeled mold-resistant, then pair it with stain masking sealers rated for tannins and knots.
Check cure times and compatibility with your washable finish so you don’t trade odor for adhesion problems later.
Proper Sealing Techniques
Even when you pick the right odor-blocking primer, you won’t get a true reset in a hard-working kitchen unless you seal stains and smells with disciplined technique. Start by degreasing with a rinse-cleaner, then scuff-sand glossy cabinets and wipe with tack cloth.
Spot-prime first: hit water rings, smoke film, and marker lines before you roll full coats. Keep your Kitchen layout in mind—work from uppers to lowers, then doors, so you don’t drag contaminants across fresh primer.
- Cut in edges with a mini brush, then back-roll while wet to lock odor in.
- Use two thin coats, respecting recoat windows; thick coats trap smell.
- Run your ventilation system and a fan, but avoid dusty cross-breezes.
Bright Kitchen Paint Colors That Hide Marks
Because kitchens see constant splashes, fingerprints, and chair scuffs, choosing a bright paint color that naturally disguises marks can save you from nonstop touch-ups. Start with warm off-whites like creamy alabaster or oat; they read bright but mute smudges better than stark white.
Soft greige and light mushroom tones hide handprints around pulls while still feeling airy and modern. For more color, try pale sage, dusty aqua, or muted butter yellow—Color psychology says these hues feel clean, calm, and welcoming without spotlighting grime.
Skip ultra-saturated primaries; they show scuffs fast. Favor mid-to-light shades with a touch of gray or beige, which camouflage splatter and dings. Pair your pick with strong paint durability in a washable formula.
Rolling and Cutting In for a Scrubbable Finish
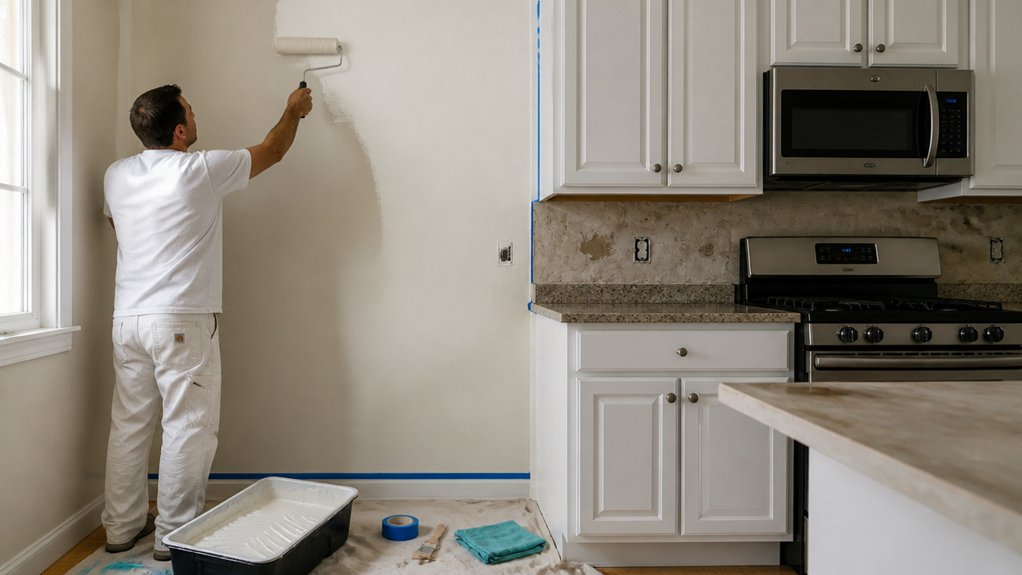
For a kitchen finish that stands up to daily wipe-downs, you’ll want the right scrubbable sheen—usually satin or semi-gloss for that on-trend soft glow and better stain resistance.
Then you’ll cut in first with a quality angled brush, keeping a wet edge and feathering your line so the rolled section blends seamlessly.
Once your edges are crisp, you can roll in smooth, even passes to build a uniform film that won’t flash or scuff when you scrub it.
Choosing Scrubbable Paint Sheen
When you’re aiming for a kitchen finish that actually stands up to grease splatters and daily wipe-downs, your sheen choice matters as much as the paint itself. In most kitchens, satin hits the sweet spot: it resists staining, cleans easily, and doesn’t spotlight every drywall ripple like high-gloss.
If you’re using Eco friendly finishes, check the label for “scrubbable” or “washable” ratings, not just low-VOC claims, since binders determine durability.
Want a nod to historical paint styles? Choose a modern “soft luster” satin that mimics old-world depth without the fragile flat look. Match sheen to your light and wall texture, then commit for consistency across the room.
- Flat/matte: hides flaws, least washable
- Satin: best balance for walls
- Semi-gloss: toughest, most reflective
Cutting In Clean Edges
Even if you’ve chosen a truly washable satin, sloppy cut-in lines will make the whole kitchen look unfinished and can leave thin edges that wear faster under scrubbing. For edge precision, start by deglossing and dusting corners, then load a 2-inch angled sash brush halfway, tapping off excess.
Cut in a 2–3 inch band at ceilings, cabinets, and trim, keeping a wet edge and feathering the outer line.
Use painter’s tape only when you need crisp geometry (backsplash lines, two-tone trends). Burnish the tape edge, then seal it with your wall color before painting the new color.
Pull tape back on itself while paint’s still slightly wet. Roll up to your cut line immediately, blending for a seamless, durable finish.
Trim Paint That Handles Grabs and Bumps
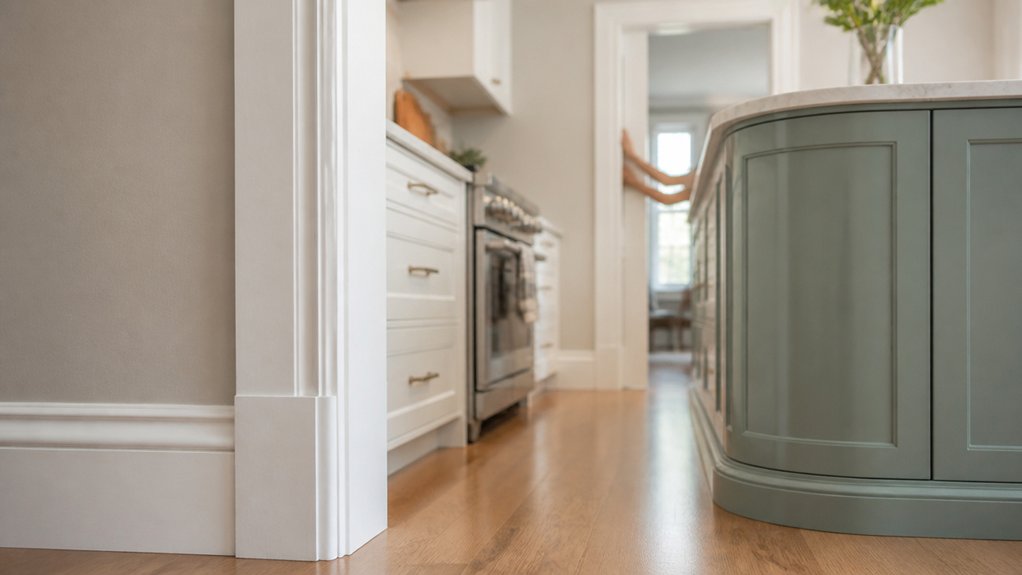
Although your kitchen walls may get the spotlight, the trim takes the daily hits—fingernail grabs, chair scrapes, and the occasional bump from a vacuum or stool. For real trim durability, you’ll want a hard-wearing enamel that levels smoothly yet cures tough. Pick a modern waterborne alkyd or urethane-reinforced acrylic in satin or semi-gloss; both look current and shrug off scuffs without the plastic-y shine of old high-gloss.
- Choose a bonding primer on bare wood or glossy trim so the topcoat won’t chip at corners.
- Use a 2-inch angled sash brush and feather your strokes to avoid ridges on casing profiles.
- Let it cure fully before reinstalling hardware for better bump resistance and fewer dents.
You’ll keep the lines crisp while the finish stays resilient.
Spot-Cleaning and Ongoing Care for Washable Paint
How do you keep washable kitchen paint looking freshly rolled instead of slowly dulling out? Treat it like a performance finish: quick touch-ups, gentle tools, and consistent habits.
For everyday splatters, wait until the spot’s dry, then wipe with a damp microfiber and a drop of pH-neutral dish soap. Rinse with clean water and buff dry to prevent sheen changes. Skip Magic Erasers unless you’re desperate—they can burnish matte and eggshell.
For grease, use warm water plus a degreaser labeled paint-safe; test behind a cabinet first.
Your best Cleaning tips are prevention: run the hood, wipe backsplash weekly, and keep hands off walls. This routine protects paint durability and keeps color true.
Conclusion
You’ve turned that tired kitchen into a workhorse with runway polish. With stain-blocking acrylic latex and ceramic microspheres, splatters bead up like rain on a slick jacket, not battle scars. Dead-flat ceilings stay quietly forgiving, while eggshell or satin walls take scrubs without sulking. Semi-gloss trim stands up to grabs, bumps, and busy hands. Keep it looking new with quick spot-cleans, gentle degreasers, and smart touch-ups when life happens.
About the Author