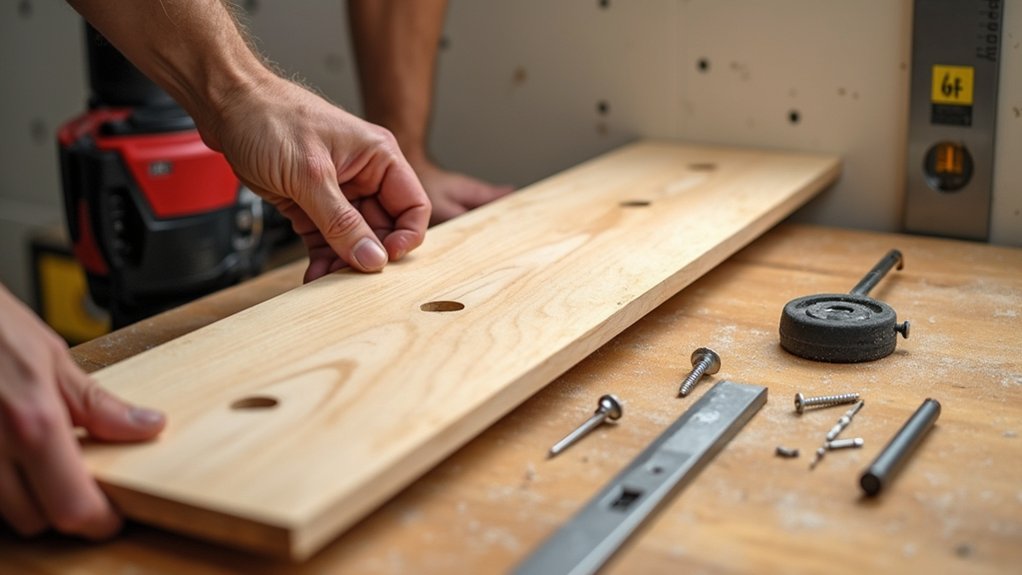
You can’t wing floating shelves with hidden brackets; you plan them like a small structural job. You’ll size the shelf to the wall, decide what it must hold, then match MDF or hardwood to the span and finish you want. You’ll choose brackets long enough to support the depth, find studs or solid fixings, and set every mark dead level. Get the first bracket wrong, and everything that follows will show…
Key Takeaways
- Plan shelf size, placement, and load capacity; measure wall width, depth, and obstructions before choosing materials or bracket spacing.
- Choose shelf material by span and load: MDF for painted decor, plywood/hardwood for stiffness and stronger screw holding.
- Select hidden brackets with rods at least two‑thirds shelf depth and a rated load exceeding your estimated weight plus safety margin.
- Locate studs or solid masonry, mark a level line, drill pilots, and fix brackets squarely; pack uneven plaster and tug-test for wobble.
- Drill matching shelf holes, slide onto rods fully, tighten grub screws, recheck level, then fill gaps, sand, and finish with paint or stain.
Plan Floating Shelf Size, Load, and Placement
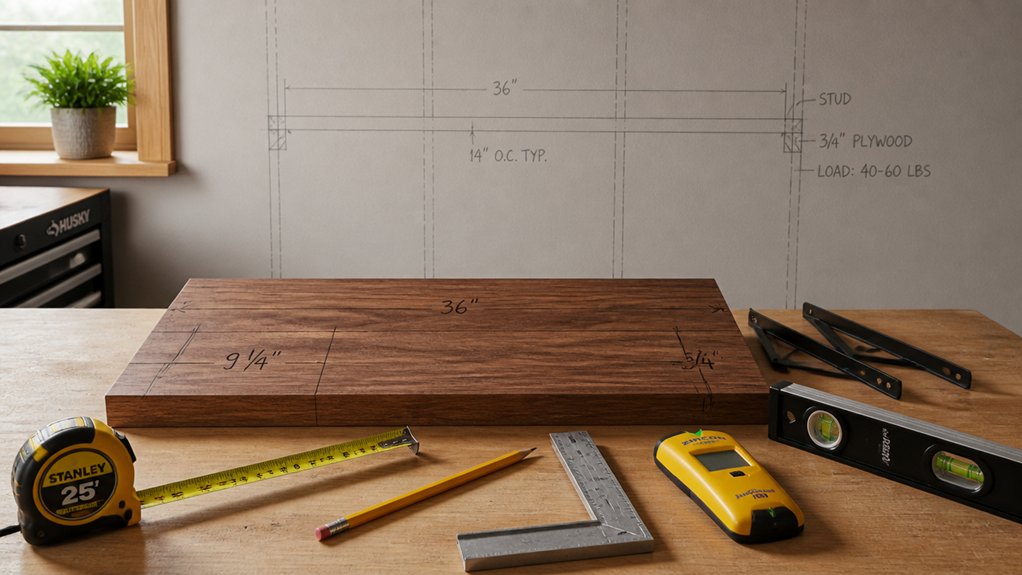
Before you cut timber or order brackets, map out your floating shelf’s size, load rating, and exact placement so it suits the room and won’t sag over time. Measure wall width, decide the shelf’s depth, and check door swings, radiators, and sockets so nothing clashes.
Estimate load by listing what you’ll store: cookbooks, plants, or AV kit. Add a safety margin, then choose a wall zone where you can hit solid studs or sound masonry, not crumbling plaster.
Mark centre lines and bracket positions with a spirit level; confirm clear sightlines and comfortable reach height. Plan cable routes for lights or speakers now, not after fitting.
Finally, decide on decorative finishes and shelf styling so dimensions support the look and lighting.
Match Floating Shelf Materials to Span and Weight
Three factors—span, load, and shelf thickness—should drive your material choice, because MDF, softwood, hardwood, and plywood behave very differently once they’re cantilevered off hidden brackets.
For long runs, you’ll want a stiff core to limit sag; for short runs with heavy items, you’ll prioritize dense fibres and strong fastener holding.
In UK homes, moisture swings matter too, so match the board to the room.
- MDF: flat and paint-friendly for Decorative shelf finishes, but poor edge strength; keep spans modest.
- Softwood (pine): light, easy to work, yet dents and cups; thickness helps Shelf material durability.
- Birch ply or hardwood: best stiffness-to-weight and screw holding; seal faces and edges for kitchens/baths.
Choose Hidden Floating Shelf Brackets (Depth + Rating)
Although the timber you choose sets the baseline for stiffness, your floating shelf will only feel “solid” if the hidden bracket matches the shelf depth and carries the real-world load.
Pick a bracket with rods that reach at least two-thirds of your shelf depth; for a 200mm shelf, aim for 130–150mm rods.
Check the stated rating is per pair and assumes solid fixing; allow a safety margin for books, crockery, or gear.
For deep, chunky decorative shelf styles, choose thicker rods and a wider backplate to reduce twist.
Prefer powder-coated steel, not soft alloy.
Read the packet: you’ll need the correct drill bit size, wood-bore depth, and supplied fixings—key hardware installation tips that stop wobble and sag.
Find Studs, Mark Level Lines, and Bracket Locations
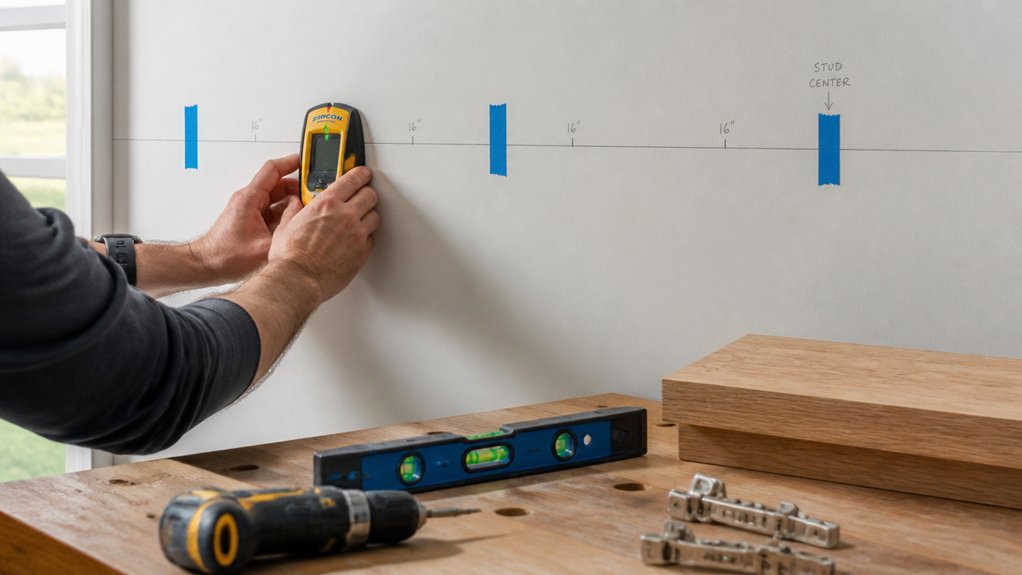
Now you’ll locate studs accurately so the floating shelf’s load goes into solid timber, not just plasterboard.
Use a stud finder (or tap-and-pin method) to confirm stud centres, then mark them lightly in pencil.
Next, set a spirit level on your desired shelf height, draw a crisp level line, and mark exact bracket locations on that line to match your fixing holes.
Locate Studs Accurately
Before you drill a single hole, take a few minutes to locate the wall studs and map out your fixing points so the shelf can’t sag or tear free.
Start by checking the wall composition: dot-and-dab plasterboard over block behaves differently from stud partition, and old lath-and-plaster can confuse readings.
Run a stud finder slowly in horizontal passes, then repeat from the opposite direction to confirm the stud edges; mark both edges lightly in pencil and take the centre point.
Watch for services—UK wiring zones often run vertically above sockets and switches—so don’t assume a “solid” hit is safe to drill.
Use these quick checks:
- Tap for a dull, solid sound vs hollow
- Measure typical stud spacing (~400 or 600mm centres)
- Probe with a bradawl in an inconspicuous spot
Mark Level Bracket Lines
Once you’ve marked the stud centres, set your shelf height and strike a perfectly level reference line across the wall: use a spirit level (or a self-levelling laser for longer runs) and mark in pencil, not pen. Check the line twice from different positions so you don’t “read” the bubble wrongly.
Next, transfer each stud centre up or down to meet the line, then mark bracket centres and end points, allowing equal overhang both sides. Offer up the bracket template, keep it square, and mark fixing holes lightly.
Confirm you’re clear of sockets, switches, and likely cable zones; follow safety precautions by isolating circuits and using a detector if unsure. Keep pencil marks fine so decorative finishes won’t show after painting or plaster touch-ups.
Install Hidden Floating Shelf Brackets (No Wobble)
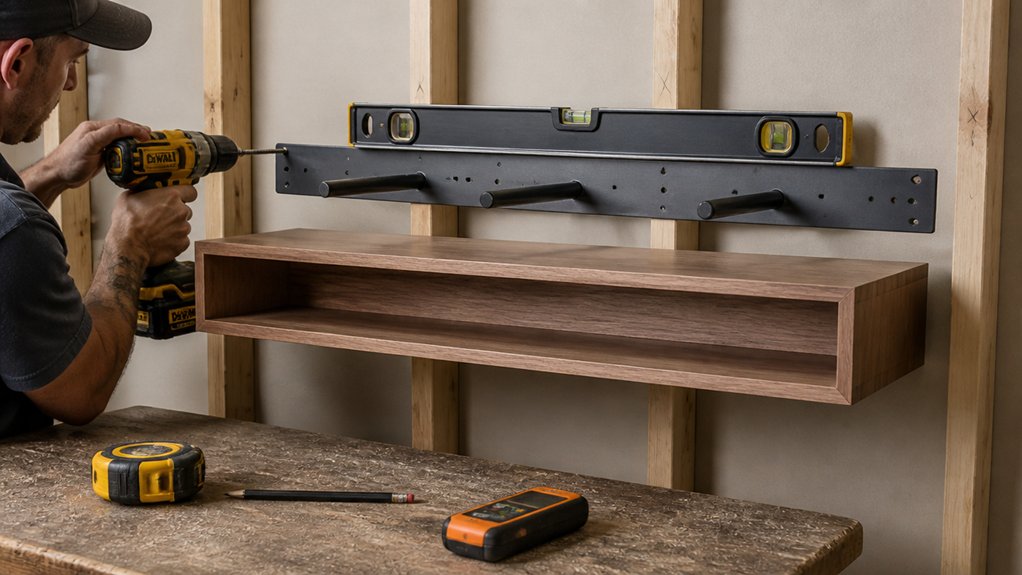
Although hidden brackets disappear behind the timber, they only feel “floating” if you fix them dead level and rock-solid into the wall structure. Offer up the bracket on your marked lines, then find studs or solid masonry—plasterboard alone won’t hold.
Drill pilot holes, then drive coach screws into timber studs, or use proper masonry fixings and plugs for brick and block. Check level again before fully tightening; a half-turn can introduce a twist that shows later in Shelf styling and Decorative accents.
- Use a detector to confirm studs, cables, and pipes before drilling.
- Add packers behind the bracket if your plaster is proud or uneven.
- Tighten fixings progressively, alternating screws to keep the bracket square.
Finally, tug-test each arm: it shouldn’t flex, creak, or rotate at all.
Slide on the Floating Shelf and Make It Seamless
Slide the shelf onto the hidden brackets, keeping it square to the wall so the rods seat fully and the face sits flush.
Nudge, tap, and re-check level until the shelf aligns cleanly with the bracket line and doesn’t rack.
If you spot gaps or seams, pack them with matching filler or caulk, then sand lightly for a seamless finish.
Align Shelf With Brackets
Before you commit to fixings, dry-fit the shelf over the brackets to confirm the rods seat fully and the front edge sits square to the wall. Mark the bracket positions on the underside with a sharp pencil, then slide the shelf off and check your pilot holes align with the bracket’s set-screw points.
Use a spirit level across the top face; if it’s out, adjust the bracket plate, not the timber, so the shelf stays true.
- Measure equal reveal from wall to shelf front at both ends.
- Check the shelf’s overhang matches your plan for Decorative accents.
- Confirm clearance for Shelf styling items, like frames or plant pots.
Slide the shelf back on, apply firm, even pressure, and tighten grub screws with the correct Allen key. Recheck level.
Hide Gaps And Seams
With the shelf level and locked onto the rods, focus on closing up any shadow lines where timber meets plaster so the unit reads as one clean plane. Run a knife along the edge, then apply decorator’s caulk with a steady bead; smooth with a damp finger or profiling tool.
For larger gaps, pack with slivers of wood or two-part filler, then sand flush once cured. Touch in paint or stain, feathering onto the wall if you’ve colour-matched, so the join disappears under normal room light.
Check end-grain corners and mitres, as they telegraph first. If you’re adding Decorative accents like trim or a front lipping, glue and pin, then fill nail holes.
Plan lighting integration now: recess LED tape channels and conceal drivers.
Conclusion
Now you’ve planned, picked proper materials, and positioned hidden brackets with pinpoint precision. You’ll enjoy a sleek shelf that’s sturdy, silent, and seriously stylish. Stick to stud fixing, square screws, and snug sockets so nothing sags or shifts. Slide the shelf on, seal seams, and sand smooth for a seamless finish. Step back, check it’s level, then load it sensibly. With careful checks and clean cuts, you’ve created floating perfection for any UK room.
About the Author