UK water bills have risen by roughly 6% in the last year, and wasteful bathroom plumbing doesn’t help. You can tighten up performance without ripping out tiles by planning your shutoffs, budgeting for WRAS-approved quarter-turn valves, and swapping tired supply lines for braided hoses. Add an aerator, sort a running loo, and steady shower temps with an anti-scald mixer. The key is knowing what you can safely tackle—and what one hidden sign suggests you shouldn’t.
Key Takeaways
- Map and measure existing plumbing, set a budget with contingency, and confirm if any changes need UK building regulation approval.
- Shut off water at isolation valves or stopcock, relieve pressure, and keep essential tools, PTFE tape, and spare fittings ready.
- Replace seized isolation valves with WRAS quarter-turn valves and swap rigid tails for WRAS braided flexi hoses for easier future servicing.
- Improve flow by cleaning aerators and traps, checking fully open service valves, and ensuring flexi tails aren’t kinked inside the vanity.
- Boost comfort and safety by fitting a thermostatic mixer, setting max outlet temperature to 38–41°C, and insulating exposed hot feeds.
Plan Your Bathroom Plumbing Upgrade (Tools, Shutoffs, Budget)
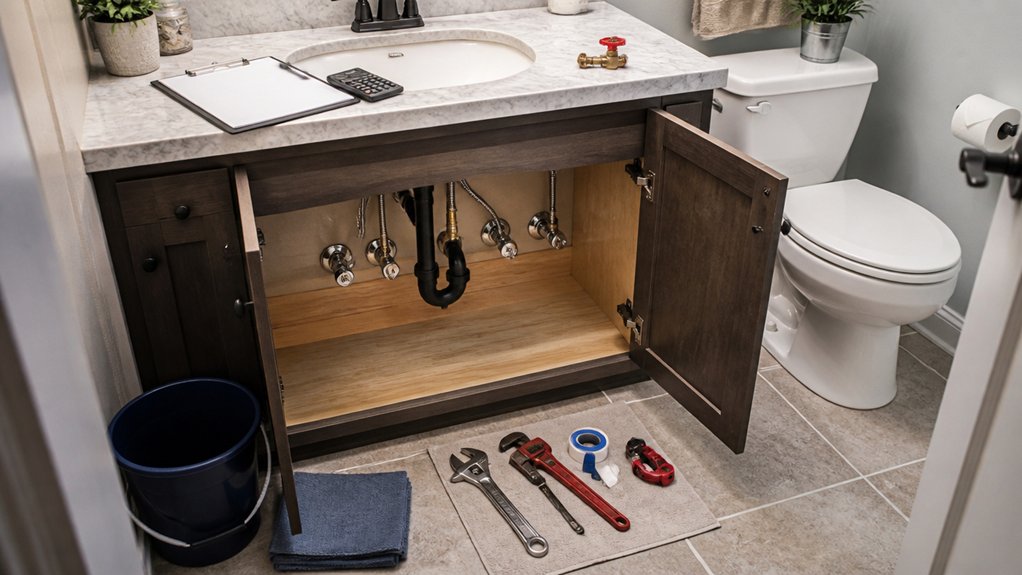
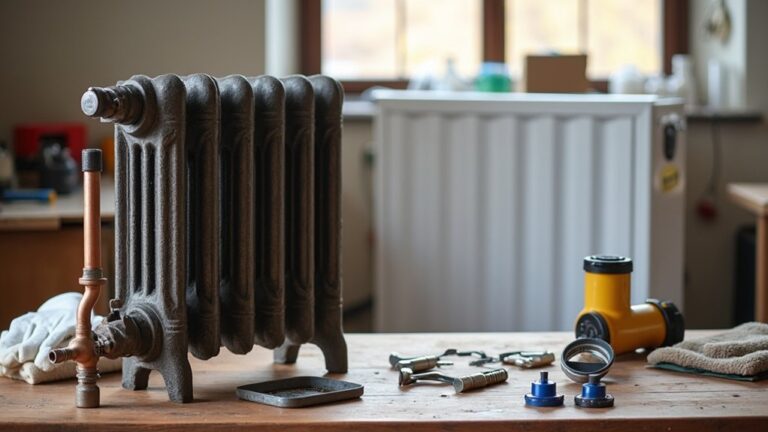
Before you start swapping taps or rerouting pipework, map out exactly what you’re upgrading and what you’re keeping, then gather the right tools (adjustable spanner, pipe cutters, PTFE tape, compression fittings, bucket and towels) and locate your isolation valves or main stopcock so you can shut water off fast.
Measure your vanity and boxing-in so new parts actually fit tight UK bathrooms. Set a budget with a 10–15% contingency for hidden corrosion or oddball thread sizes.
Prioritise Material selection: WRAS-approved taps, quality brass valves, and durable plastic wastes where space is tight.
Price check Screwfix/Toolstation and reuse sound copper runs to save cash.
For water conservation, choose aerators, flow-limited showerheads, and dual-flush internals, then plan staged jobs so you’re not without a loo overnight.
Bathroom Plumbing Upgrade: Replace Shutoff Valves
Although isolation valves are small, replacing tired or seized ones gives you quicker control over leaks and makes future tap or toilet swaps far less of a faff.
Start by turning off the main stopcock, then open the cold tap to relieve pressure and catch drips with a tray.
If your existing service valves won’t budge, don’t force them; you’ll risk twisting pipework in a tight vanity.
Swap to modern quarter‑turn lever valves (WRAS approved) sized to your pipe, and position handles so you can reach them without removing cupboards.
Tighten firmly, then test slowly, checking joints with tissue.
Reliable shutoffs support Water conservation by stopping small weeps early, and they pair neatly with Eco friendly fixtures you’ll fit later.
Replace Bathroom Supply Lines (Braided, Leak-Free)
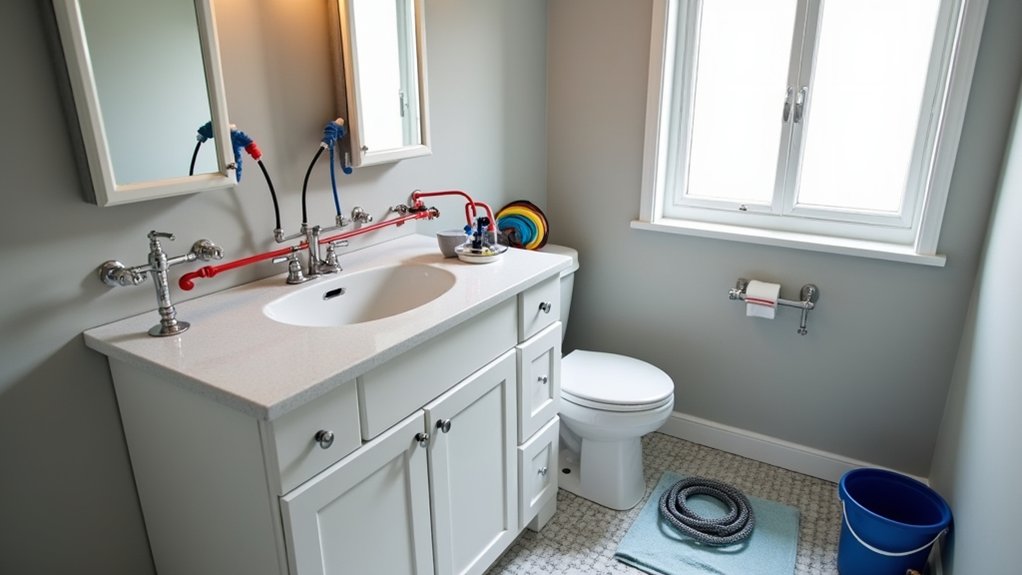
Once you’ve fitted dependable shutoff valves, swapping out old rigid tails for braided flexi supply lines gives you a quick, low-cost reliability upgrade under the basin or close-coupled loo.
You’ll gain easier alignment in tight vanity units and reduce strain on fittings when taps get nudged during cleaning.
Choose WRAS-approved braided hoses in the right length, with the correct BSP ends for your tap and valve.
Turn water off, pop a towel down, then undo the old connections with two spanners to stop twisting pipework.
Fit new washers if supplied, hand-tighten, then nip up a quarter turn—don’t overdo it.
Restore water and check for weeps with dry tissue.
Neat, kink-free routing keeps Bathroom decor tidy and supports regular Plumbing maintenance checks.
Fix Running Toilets: New Fill Valve + Flapper
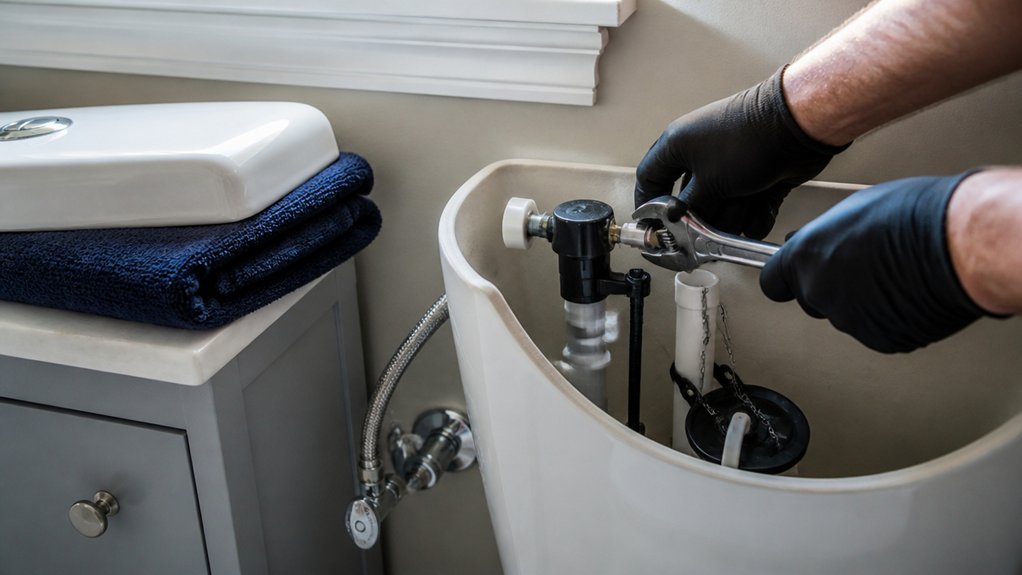
If your loo keeps hissing or topping up long after a flush, a tired fill valve or a warped flapper is usually to blame—and you can fix it for the price of a couple of parts rather than a plumber call-out.
Turn off the isolation valve, flush, and sponge out what’s left so you’re not sloshing in a tight cistern.
For Toilet tank repair, unclip the old fill valve, undo the backnut under the cistern, and drop in a like-for-like valve; set the float height to the mark for a quiet, efficient fill.
Next, for Flapper replacement, unhook the chain, pop the flapper off the overflow tube, and fit the new one with a touch of slack.
Turn water back on, test, and tweak.
Install a New Bathroom Faucet (Easy DIY Steps)
Before you fit a new bathroom tap, gather the essentials: an adjustable spanner, basin wrench, PTFE tape, a bucket, and the correct tap with flexi tails.
Turn off the isolator valves (or the main stopcock if you haven’t got them) and clear the vanity so you’ve got working room without making a mess.
Then undo the supply lines and fixing nuts, cut through any old sealant, and lift out the tired tap to prep for the new one.
Gather Tools And Parts
Although fitting a new bathroom tap looks straightforward, you’ll save time and money by gathering everything first.
Prioritise Plumbing safety: grab nitrile gloves, safety specs, and a torch so you’re not fumbling under a basin in a tight UK cloakroom.
Tools: adjustable spanner, basin wrench (worth it for cramped pedestals), screwdrivers, Allen keys, slip-joint pliers, utility knife, tape measure, and a small bucket.
Add PTFE tape, plumbers’ putty or silicone (check your tap’s instructions), cleaning wipes, and a rag.
Parts: new mono or pillar tap, flexi tails with the right 1/2″ or 3/8″ connectors, isolation valves if yours are missing, and new rubber washers.
Do quick Tool maintenance: clean jaws, oil the wrench, and bin rounded fixings.
Remove Old Faucet
Once you’ve got clear access under the basin, isolate the hot and cold supplies at the service valves (or the nearest stopcock), crack the tap open to relieve pressure, then catch any leftover water in your bucket. Slip a towel in the cabinet to protect chipboard and keep the space tidy.
Undo the flexi tails with an adjustable spanner, then loosen the backnut or horseshoe clamp holding the tap. A basin wrench helps when clearance is tight in typical UK vanity units.
If it’s seized, spray penetrating oil and wait five minutes rather than forcing it and risking the ceramic. Cut through old silicone with a utility knife, wiggle the tap free, and lift it out.
Scrape away limescale so new Decorative fixtures sit flat, and check whether you’ll add in-line Water filtration before refitting.
Clear Slow Sink Drains: P-Trap and Pop-Up Cleanup
If your bathroom sink’s taking ages to empty, you can usually fix it without calling a plumber by cleaning the pop-up plug and the P-trap. Lay an old towel in the cabinet, set a bowl underneath, and pop on rubber gloves to keep the mess contained in a tight UK vanity.
Undo the pivot rod nut behind the tap, pull the rod, and lift out the plug. Scrape off hair and soap scum, then rinse.
Next, loosen the slip nuts on the P-trap by hand or with water pump pliers. Tip out gunk, run water through the bend, and wipe the washers.
Refit snugly, then test the sink drain with hot water. If it drips, nip the nuts up a quarter turn.
Upgrade Your Showerhead and Tub Spout (Better Flow)
When your shower feels more like a drizzle than a rinse, swapping the showerhead and tub spout delivers a quick flow boost without ripping out tile or draining your wallet.
Start with Showerhead selection: choose a high-performance, water-efficient head (look for a strong spray pattern and WRAS-approved fittings) that suits small UK bathrooms—slim fixed heads save space, while a handset on a slider rail adds flexibility. Wrap PTFE tape on the threads, hand-tighten, then nip up gently with a cloth-wrapped spanner.
Next, check Tub spout types: wall-mounted slip-on spouts are usually quickest, while threaded screw-on spouts suit older setups. Match the connection and length, keep the escutcheon snug, and you’ll upgrade feel and finish fast.
Fix Low Bathroom Water Pressure (Aerators, Valves, PRV)
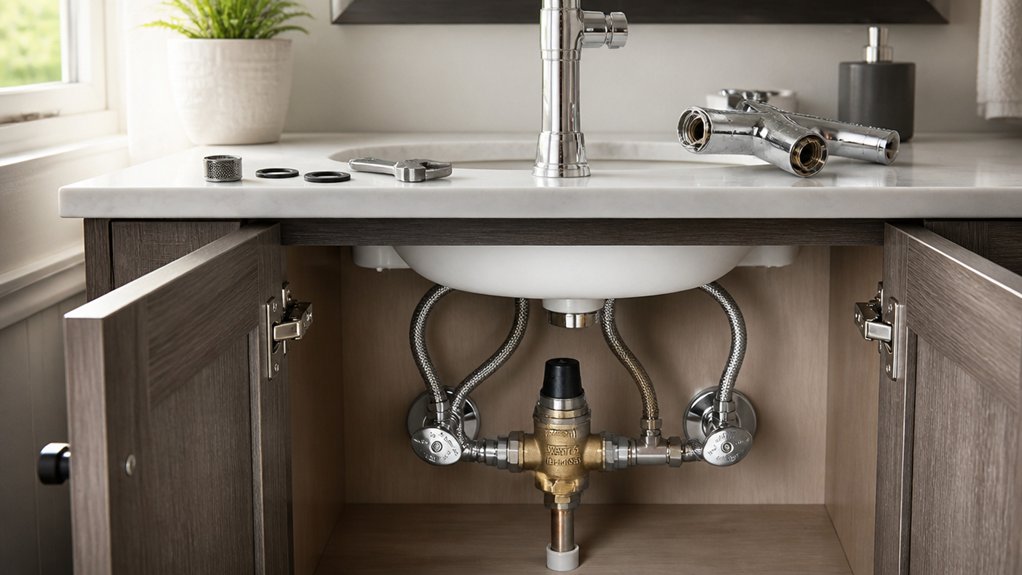
If your bathroom taps still run weak after swapping the showerhead, start with the cheap, space-light fixes.
You can clean or replace clogged tap aerators in minutes, then check the isolation valves under the basin and adjust them if they’re not fully open.
If pressure’s low across the whole bathroom, you’ll likely need to tweak or replace the PRV near your stopcock to bring it back up.
Clean Or Replace Aerators
One of the quickest, cheapest fixes for low bathroom water pressure is cleaning or replacing the tap aerator. Unscrew it (use a cloth and grips to protect chrome), then check for limescale, grit, or a torn mesh that’s choking flow—common in hard-water UK areas.
Soak the parts in white vinegar for 30–60 minutes, scrub with an old toothbrush, rinse, and refit with the washer seated properly. If it’s cracked or won’t clean up, swap it: aerator types include standard mesh, laminar-flow (less splashing), and flow-restricting models for water conservation.
Match the thread (often M24/M22) and keep a spare in the cupboard; it takes almost no space and saves a call-out fee.
Adjust Valves And PRV
Clean aerators often sort a sluggish tap, but pressure can still suffer if the supply valves under the basin aren’t fully open or the pressure-reducing valve (PRV) is set too low. Do a quick valve adjustment: turn each isolation valve anticlockwise to fully open, then back a quarter-turn so it doesn’t seize.
Check the flexi tails aren’t kinked in tight vanity units, and confirm any service valves at the toilet are open too.
If your whole bathroom feels weak, find the PRV near the stopcock (often by the kitchen sink). Note the current setting, then tweak the screw a little and retest.
If there’s no PRV, a budget prv installation can stabilise pressure and protect fittings.
Stop Hot/Cold Swings With Anti-Scald Options
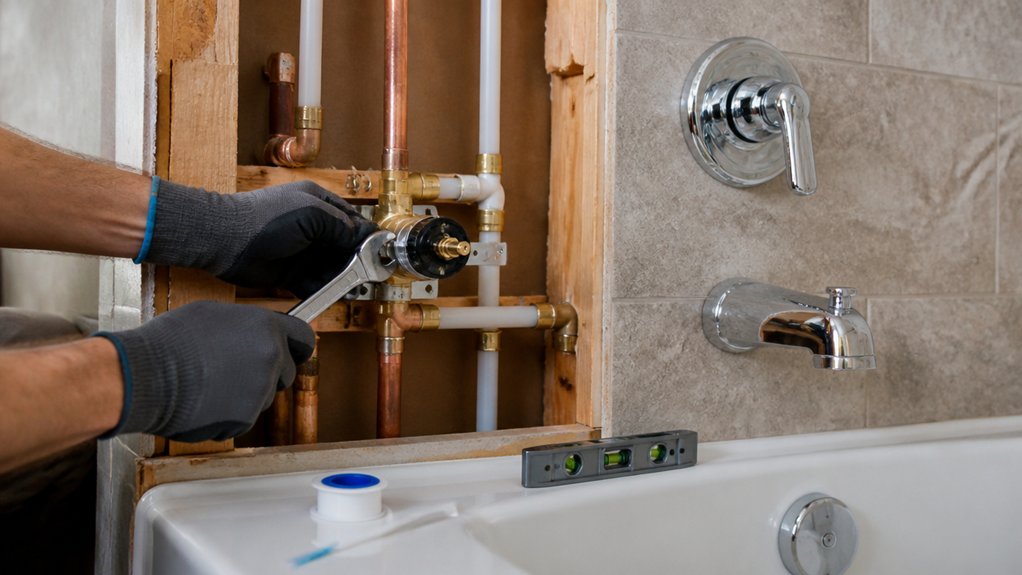
Although your boiler and pipework might be running perfectly, shared bathroom supplies can still trigger hot/cold swings every time someone flushes a loo or turns on a tap.
To lock in temperature stability, swap your shower valve for a thermostatic mixer (TMV) that reacts fast when pressure drops. You’ll get steadier showers without ripping out tiles, and most UK brands fit standard 150mm centres.
On a tighter budget, add an anti-scald limiter or a thermostatic cartridge if your existing bar mixer allows it. Set the max outlet to about 38–41°C to protect kids and guests.
These safety features also help if you’ve got a combi that overshoots.
Finish by insulating exposed hot feeds under the bath to reduce sudden heat spikes too.
When to Call a Plumber for Bathroom Upgrades
If you keep spotting persistent leaks, green staining, or flaky corrosion on pipes and fittings, you’ll usually save money by calling a plumber before it spreads behind walls or under floors.
You should also bring one in when you’re moving waste pipes, altering hot/cold feeds, or fitting a new shower valve, because UK regs and manufacturer requirements can trip you up. They’ll confirm what’s compliant, handle any permits or sign-off if needed, and help you avoid costly rework in a tight bathroom.
Persistent Leaks Or Corrosion
When leaks keep coming back or you spot green staining, rust, or flaky pipework around your bathroom fittings, it’s time to stop patching and get a plumber involved. Recurring drips often mean worn washers, failing compression joints, or hidden pinholes that a quick sealant won’t fix.
Corrosion can spread behind tiles, swell chipboard floors, and stain grout, turning a small issue into an expensive repair.
A plumber can pressure-test the pipe runs, isolate the failing section, and replace it with modern copper or plastic in the shortest route, saving space in tight UK bathrooms.
If you’re keeping vintage fixtures for aesthetic upgrades, they’ll also source the right adaptors and protect delicate threads, so you don’t crack valves or chew up chrome.
Code Compliance And Permits
Fixing leaks and swapping out corroded pipework is only half the job—you’ve also got to keep the upgrade on the right side of UK rules. If you’re moving a toilet, adding a new shower pump, or rerouting waste pipes, check Building Regulations and local building codes first.
Minor like-for-like swaps often don’t need sign-off, but anything that changes drainage runs, ventilation, or hot-water safety can trigger checks.
Call a plumber when you’re unsure about backflow protection, soil stack connections, or pressure/temperature controls, because mistakes get expensive fast in small bathrooms. Your installer can also guide the permit process where your council requires notification or inspection, saving you repeat work.
Keep receipts, datasheets, and photos—useful for compliance and future buyers too.
Conclusion
You’re not tearing out tiles; you’re rebuilding the castle’s hidden waterways. Each quarter‑turn valve is a new gate, braided hoses are sturdier ropes, and a fresh fill valve silences the moat’s constant drip. Swap aerators and showerheads to make every litre work harder, and add anti‑scald protection so the temperature stops playing tricks. Keep WRAS paperwork, mind UK regs, and call a plumber when the dragon is behind the wall.
About the Author