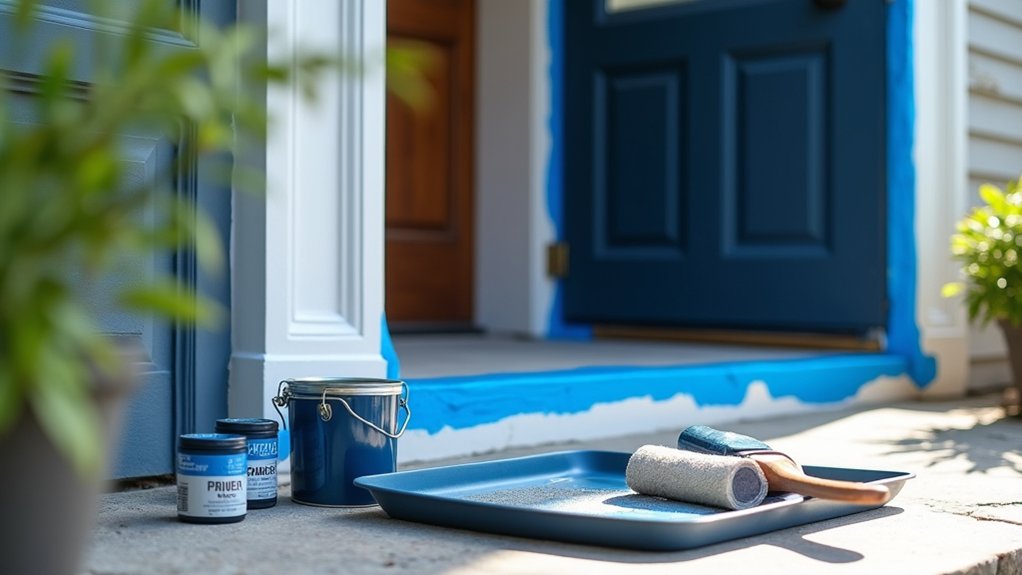
You can transform your home’s first impression in a weekend if you treat your front door like an exterior finish, not a quick craft project. You’ll check the material, fix gloss and wear with cleaning and sanding, then choose an exterior-grade paint and modern sheen that suits your exposure and style. Next, you’ll decide whether to paint in place or pull the slab for cleaner edges—and that choice changes everything about prep, masking, and final smoothness.
Key Takeaways
- Inspect the door for peeling, rust, dents, or bare spots, and fix warping or frame issues before starting.
- Clean thoroughly with a degreaser, remove or mask hardware, and sand glossy areas 150–220 grit for proper adhesion.
- Spot-prime bare wood or metal with bonding or rust-inhibiting primer, and use stain-blocking primer for knots or tannin bleed.
- Choose exterior-grade, UV-resistant enamel in satin or semi-gloss, and test bold color swatches against trim and siding in varied light.
- Brush profiles and roll flats, apply two thin coats, maintain a wet edge, remove tape wet, and cure 24–48 hours before rehanging.
Check Your Door Material and Condition
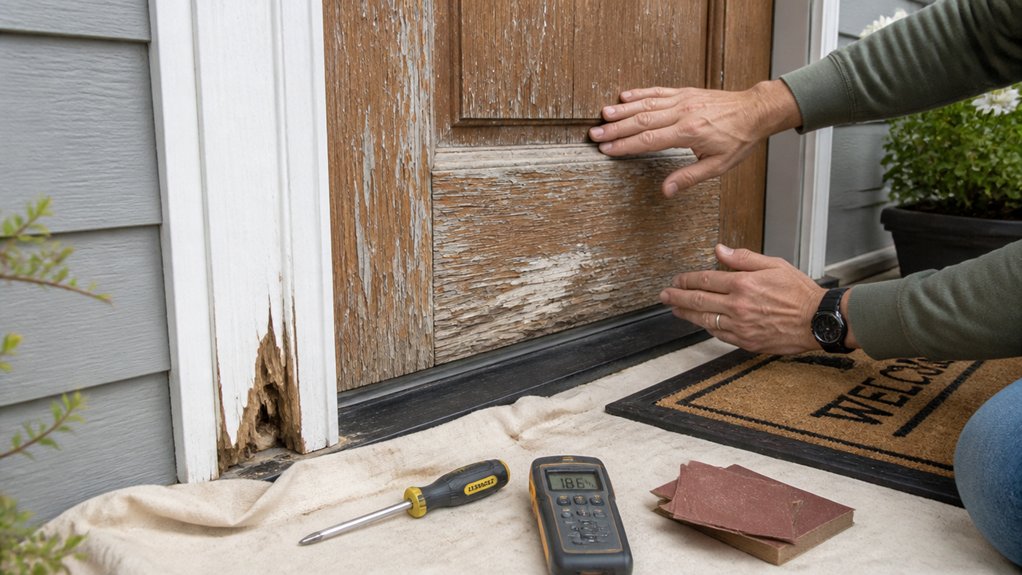
Before you pick up a paintbrush, confirm what your front door is made of and how well it’s holding up, because the prep and products change fast between wood, fiberglass, steel, and aluminum. Check the door material at edges, hinges, and the top rail where manufacturers often label it, and note whether it’s a skin over a core.
Then assess door condition in bright daylight: look for peeling, chalky residue, hairline cracks, dents, bubbling, and rust blooms along seams and kick plates. Run your hand over the surface to spot raised grain or loose paint. Press lightly with a fingernail; if it flakes, you’ll need more removal.
If the door’s warped or the frame’s shifting, fix alignment before you prep.
Choose a Front Door Paint and Sheen
How do you choose a front door paint that looks sharp, holds up to weather, and doesn’t turn into a peeling mess by next season? Start by matching the formula to your door material. For wood, pick an exterior-grade acrylic enamel that flexes with seasonal movement.
For steel or fiberglass, use a high-adhesion exterior enamel; if bare metal shows, spot-prime with a rust-inhibiting primer first. If your door bakes in sun, choose a paint labeled UV- and fade-resistant.
Next, dial in the right paint sheen. Satin’s the current go-to: it looks modern, wipes clean, and hides minor texture. Semi-gloss gives maximum durability but highlights dents and brush marks, so use it only on smooth doors.
Avoid flat—it scuffs fast.
Pick a Front Door Color That Fits Your Home
Now you’ll want a front door color that matches your home’s architectural style—classic colonials read best with heritage hues, while modern facades can handle high-contrast tones like charcoal or saturated blue.
Coordinate the pick with your exterior palette by sampling against siding, brick, stone, and trim so undertones stay consistent in sun and shade.
If you’re following current curb-appeal trends, choose a color that complements your fixed finishes and either echoes a trim accent or intentionally pops without clashing.
Match Architectural Style
Because your front door sits at eye level and anchors the whole façade, the color needs to match your home’s architectural style rather than fight it.
For a Craftsman, reach for earthy greens, warm ochres, or deep browns that echo natural materials and look right with aged-bronze door hardware.
For a Colonial, choose heritage tones like navy, black, or rich red; keep lines crisp with a smoother paint finish in satin or semi-gloss.
Midcentury homes handle confident hues—mustard, teal, or burnt orange—especially when the slab door is simple and the trim is minimal.
Modern builds look best with restrained neutrals or near-black, paired with sleek hardware and a durable, low-sheen finish that hides fingerprints.
Test swatches in morning and evening light.
Coordinate With Exterior Palette
Where should your front door color land in the overall exterior palette—blend in or stand out on purpose? Start by sampling your siding, brick, roof, and trim in daylight; you’re aiming for exterior color harmony, not a random pop.
Use door color psychology to guide the mood: deep blues feel calm and classic, black reads modern and upscale, and saturated reds signal energy and hospitality.
To coordinate confidently, anchor your choice to fixed elements you can’t repaint easily:
- Pull one undertone from stone/brick (warm, cool, or neutral)
- Match trim contrast: crisp white needs bolder hues; dark trim prefers midtones
- Echo metals: brass loves green; matte black suits charcoal and navy
Test swatches on the door, then check them morning, noon, and dusk before committing.
Decide: Paint in Place or Remove It
Next, you’ll choose whether to paint your front door in place for speed or take it off for cleaner edges and easier full-surface coverage.
Check the hardware—hinges, lockset, smart lock, weatherstripping—and decide if you can mask it neatly or you’d rather remove it for a sharper, more modern finish.
Also measure your space: if you’ve got a flat, dust-free area and safe supports, removing the door makes sanding and rolling smoother; if not, painting it hung keeps the job simple and secure.
Weigh Convenience Vs Access
Before you crack open a paint can, decide whether you’ll paint the front door in place or take it off the hinges—this choice affects everything from edge coverage and hardware cleanup to how quickly you can get your entry usable again.
Painting in place wins on convenience: you’ll keep door security intact, limit airflow changes, and avoid disrupting weatherproofing considerations around seals and thresholds.
Removing the door boosts access, letting you coat top and bottom edges cleanly and level out modern high-gloss or matte finishes without runs.
Think through your constraints and timeline:
- You need same-day entry use and minimal mess
- You want full edge coverage and smoother leveling
- You’re working solo, in tight weather, or on uneven floors
Pick the option that matches your risk tolerance and finish goals.
Evaluate Hardware And Space
Once you’ve picked convenience or full access as your goal, take a hard look at your door’s hardware and the space around it to confirm whether painting in place will actually go smoothly. Start with a quick hardware assessment: are the hinges painted shut, screws stripped, or the lockset a modern matte-black piece you don’t want splattered? If you can’t mask cleanly around rosettes, deadbolts, and smart-lock keypads, remove them.
Next, check the spatial arrangement. If the door swings close to brick, sidelights, a storm door, or tight trim, you’ll struggle to keep edges crisp and avoid rub marks. Limited ventilation or a busy entryway also makes wet paint risky.
When clearance is tight or hardware is complex, pull the door and lay it flat for a cleaner, more on-trend finish.
Supplies to Repaint a Front Door
Although repainting a front door looks straightforward, you’ll get a cleaner, longer-lasting finish if you line up the right supplies from the start: a high-adhesion primer (especially for slick fiberglass or previously painted surfaces), an exterior-grade door-and-trim paint in your preferred sheen, quality angled and flat brushes plus a small foam roller for smooth panels, and painter’s tape, drop cloths, and plastic to protect hardware and flooring.
Add a paint pail, stir sticks, and a liner for faster, drip-free cuts. Choose trend-forward sheens—satin for modern curb appeal, semi-gloss for classic pop—and grab a compatible clear topcoat if your color faces harsh sun. Keep door hardware organized with labeled bags so reassembly’s painless.
For weather protection, stock a removable door sweep cover and a clean, lint-free tack cloth.
- Nitrile gloves
- Safety glasses
- Respirator mask
Prep the Front Door for Adhesion
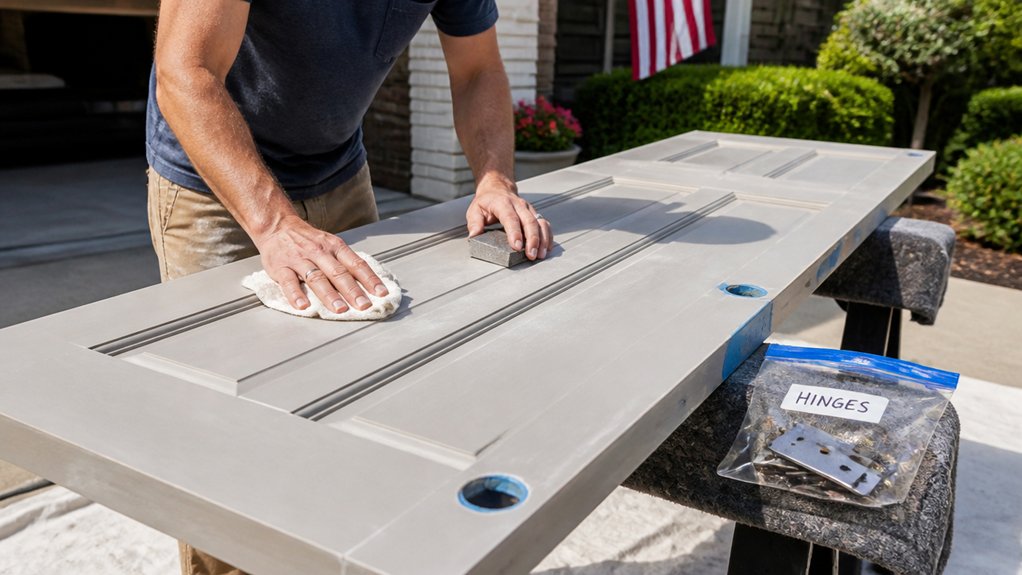
Even if your paint and primer are top-shelf, they won’t bond well unless you prep the door like a pro. Start with door cleaning: remove hardware or mask it tightly, then wash the door with a degreasing cleaner to cut hand oils, sunscreen, and traffic grime. Rinse, wipe dry, and let it fully air-dry—moisture trapped in panels can cause failure later.
Next, do surface sanding to create tooth. Scuff glossy paint with 150–220 grit, working with the grain and hitting edges, profiles, and around glass trim. Feather any ridges or drips so they won’t telegraph through a high-gloss, trend-forward finish.
Vacuum dust, then wipe with a tack cloth or damp microfiber until it comes away clean. Mask weatherstripping and protect thresholds.
Prime Bare Spots and Block Stains
With the door clean, dull, and dust-free, you can spot exactly where the finish needs help: exposed wood at edges, sand-throughs on corners, and any dark marks that might bleed through your new color. Spot-prime those areas first so your trendy shade stays true. For bare wood, use a bonding primer; for knots, water stains, or tannins, step up to a stain-blocking primer (shellac or oil) to stop bleed.
- Prime only the bare spots and feather the edges for a seamless shift.
- For door stain removal, scrub residue and let it fully dry before priming.
- Follow paint adhesion tips: degloss glossy patches, then apply thin, even primer.
Let primer cure per label, then lightly scuff for grip and wipe dust.
Paint Smooth Coats (No Brush Marks)
Once your primer’s cured and scuffed, switch focus to laying down smooth, modern-looking coats that level out before they dry. Use a high-quality 2″ angled sash brush only for profiles, then roll flats with a 4″ microfiber mini roller for today’s sleek, brush-mark-free finish.
Work top to bottom, keep a wet edge, and don’t overwork as paint starts to tack. Thin per label only if needed, and strain paint to avoid nibs. Apply two light coats rather than one heavy coat to prevent curtains on rails and panels.
Pull tape while paint’s wet for crisp lines around glass and hardware. If you’re planning doorbell installation, keep fastener holes paint-free. Pair with weatherproofing techniques by cutting in cleanly where seals meet.
Cure, Reinstall, and Fix Common Failures
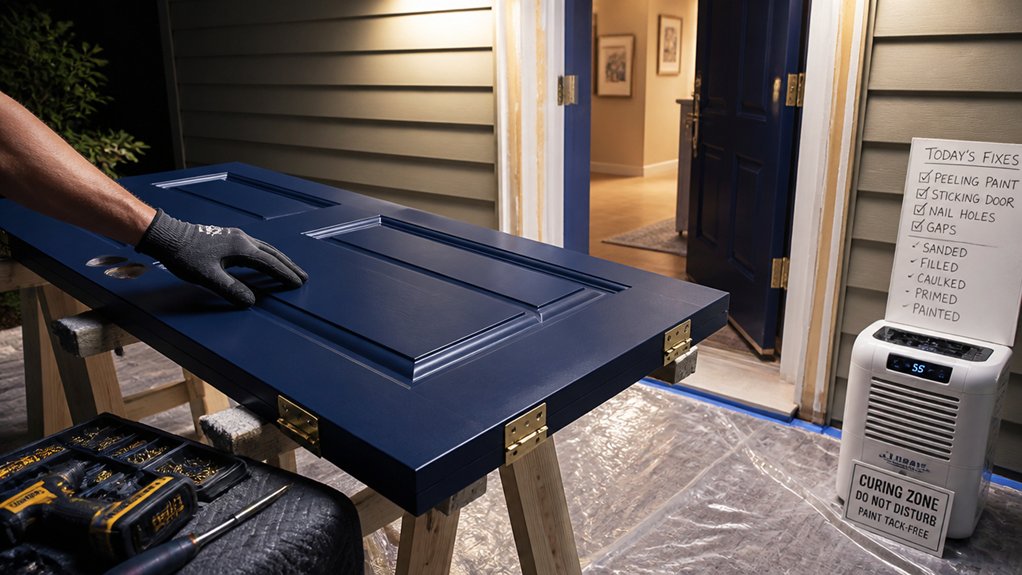
After the final coat flashes off, give the door real cure time before you touch hardware or put it back in the jamb—most “failed” paint jobs start with reinstalling too soon. Let it sit 24–48 hours minimum (longer in humidity), and avoid weatherstripping contact until it’s hard, not just dry.
- Use painter’s pyramids or blocks so edges don’t stick.
- Rehang with felt pads, then remove them after a week.
- Swap to a modern silicone bumper to prevent tacky marks.
When you reinstall, tighten screws by hand to avoid chipping fresh film. If you see fingerprints, lightly scuff with 320-grit and spot-coat. If the paint wrinkles, you’ve trapped solvent—wait, sand flat, and recoat thin.
These steps boost door durability and paint longevity outdoors.
Conclusion
Step back and watch your front door shift from tired to striking—like a crisp blazer on a classic outfit. You’ve prepped, spot‑primed, and laid down smooth, thin coats, so the color reads bold, not blotchy. As it cures, the finish hardens into a clean, wipeable shell that stands up to sun and rain. Rehang the hardware carefully, touch up flaws, and let that fresh glow greet every guest.
About the Author