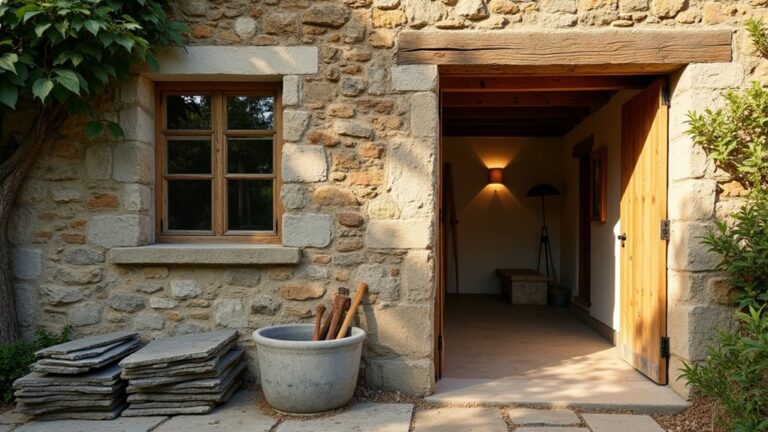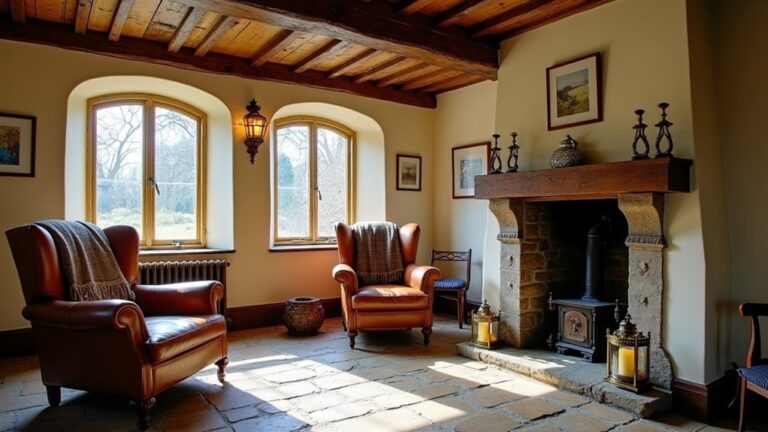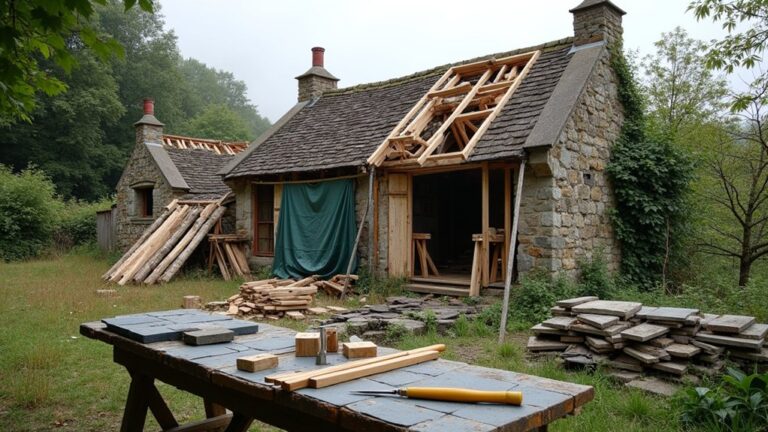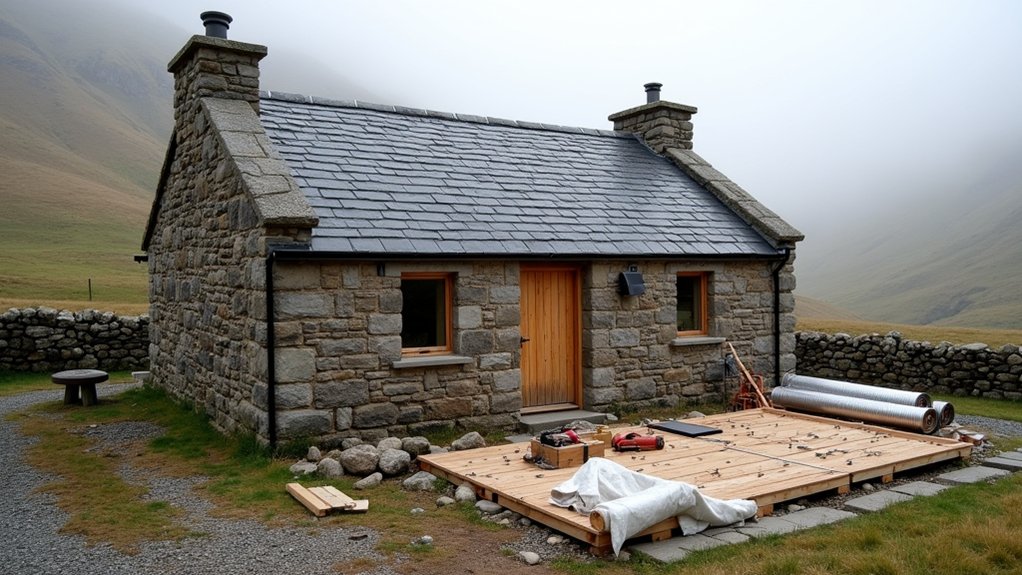
You can’t rebuild a stone bothy well until you’ve proved it’s worth saving and you’re allowed to touch it. Start by recording what’s there, then assess wall stability, roof failure points, damp paths, and drainage routes before you price anything. Check planning status, listing constraints, access rights, and utilities early, because they shape every choice. Once you know what must stay and what can change, the real decisions begin…
Key Takeaways
- Survey walls, footings, roof spread, and damp; map cracks, install tell‑tales, and document stone and mortar for matching repairs.
- Confirm planning and listed‑building constraints early; consult conservation officers, secure access and wayleaves, and keep approved drawings on site.
- Stabilize structure first: shore locally, stitch cracks, improve perimeter drainage without changing historic levels, and rebuild like‑for‑like footings where needed.
- Repair masonry using matching local stone and lime mortar; remove cement carefully, repoint by hand, compact in layers, and cure protected from sun, frost, and wind.
- Rebuild roof and internal upgrades for comfort: reuse slate, add breathable underlay, specify breathable insulation, and maintain ventilation to prevent condensation.
Decide If the Stone Bothy Is Rebuildable
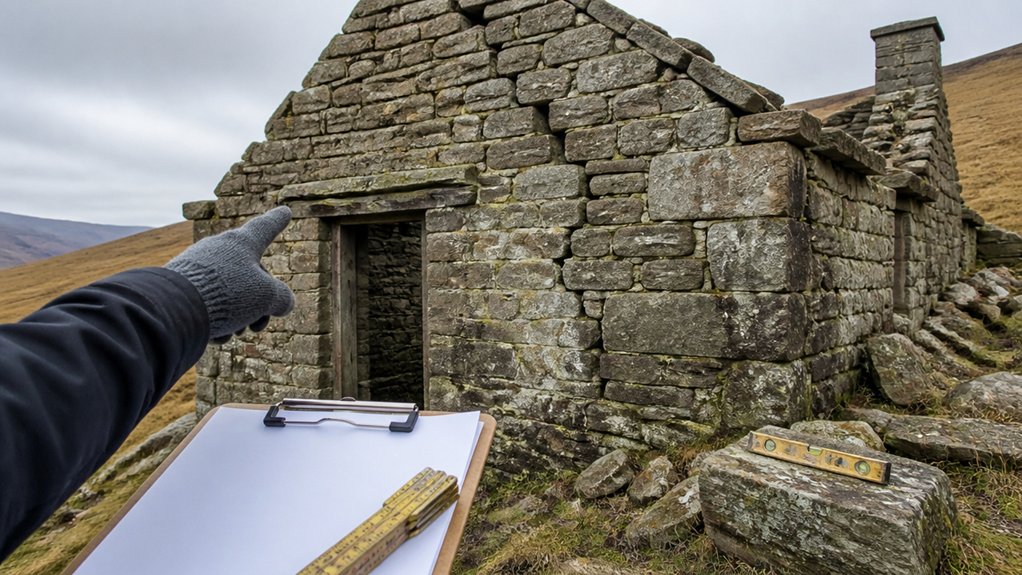
Before you lift a single stone, you’ll want to confirm the bothy is structurally and legally capable of being rebuilt. Start with a measured condition survey: wall plumb, bulges, open joints, displaced quoins, and failed lintels.
Check the footing line for washout, settlement, or peat creep, and map cracks to see whether movement is historic or active. Record stone type, bedding planes, and mortar character so any repair matches the original fabric.
Verify the roof span can be reinstated without forcing walls outward. If the shell is too degraded, stabilisation and partial rebuild may be the only safe route.
Then test your modern design ideas against the existing envelope: daylight, ventilation paths, and interior layout constraints.
Check Permissions Early (Planning, Listed, Access)
Before you lift a stone, you’ll confirm what planning rules apply and whether the bothy is listed or sits in a designated landscape, because that sets what you can repair, replace, or alter.
You’ll speak to the local planning authority and conservation officer early, document the existing fabric, and keep any proposals reversible and like-for-like where required.
You’ll also secure access rights—track agreements, servitudes, and wayleaves for vehicles, materials, and utilities—so you’re not blocked mid-project by a landowner or legal constraint.
Planning And Listed Status
Where do you start when you’ve found a stone bothy worth saving? You check the planning baseline before you lift a stone. Ask the local authority whether change of use, reroofing, window alterations, or services trigger permission, and request pre‑application advice in writing.
If it’s listed, or within a conservation area, you’ll likely need Listed Building Consent for repairs that affect fabric or character, even like‑for‑like changes.
Document the bothy’s historical significance with photos, measured drawings, and a brief heritage statement, and show you’ll minimise environmental impact through repair-first methods and breathable materials.
Confirm boundaries, curtilage, and any scheduled monument proximity. Keep correspondence, conditions, and approved drawings on site so every contractor builds to consent.
Access Rights And Wayleaves
Even if the bothy sits miles from the nearest road, you still need a lawful route to reach it and to bring in materials, plant, and trades without trespassing. Start by mapping property boundaries from title plans and walking the line on the ground, noting gates, tracks, and water crossings.
Confirm any existing servitude/right of way in the deeds, then get written consent if you’ll upgrade a track, widen passing places, or install a bridge. For utilities, negotiate wayleaves for power, water, telecoms, or temporary site supplies, and agree reinstatement standards that protect peat, drystone dykes, and veteran trees.
Check access restrictions tied to designations, forestry operations, or stalking. These legal considerations can affect your programme, insurance, and contractor logistics. Resolve disputes early to avoid enforcement or delays.
Survey the Stone Bothy: Walls, Roof, Damp, Drainage
Although you might be enthusiastic to start repairs straight away, you’ll get better, more compliant results by surveying the bothy methodically—starting with the walls, then the roof, and finally the damp and drainage that drive most stone decay.
Inspect masonry for bulging, leaning gables, open joints, and friable mortar; note earlier cement pointing that harms historic preservation and masks movement affecting structural integrity. Probe quoins and lintels for cracking, and record stone types so replacements match.
Move to the roof: check sagging rafters, slipped slates, failed flashings, and blocked eaves. Don’t strip coverings until you’ve braced any spread.
Track damp: map tide marks, salts, and algae; confirm whether it’s rising, penetrating, or condensation.
Finally, test drainage falls, gutters, and ground levels so water sheds away.
Plan the Bothy Rebuild: Budget, Access, Timeline
Before you lift a stone or order lime, build a rebuild plan that matches the bothy’s heritage value, the site’s constraints, and the permissions you’ll need. Confirm listing status, conservation area rules, and whether you need planning consent, building warrant, or ecological checks for bats and nesting birds. Record conditions and agree a scope with your surveyor so you don’t drift into unapproved alterations.
Set a budget with contingencies for hidden decay, temporary works, and professional fees, and ring‑fence funds for compliant services and fire safety.
Plan access: track condition, turning space, crane reach, storage, and welfare, plus seasonal limits on deliveries.
Create a timeline that sequences stabilisation, weatherproofing, and first‑fix services before interior decor and modern furnishings, then inspections and sign‑off.
Match Original Materials: Stone, Lime, Timber, Slate
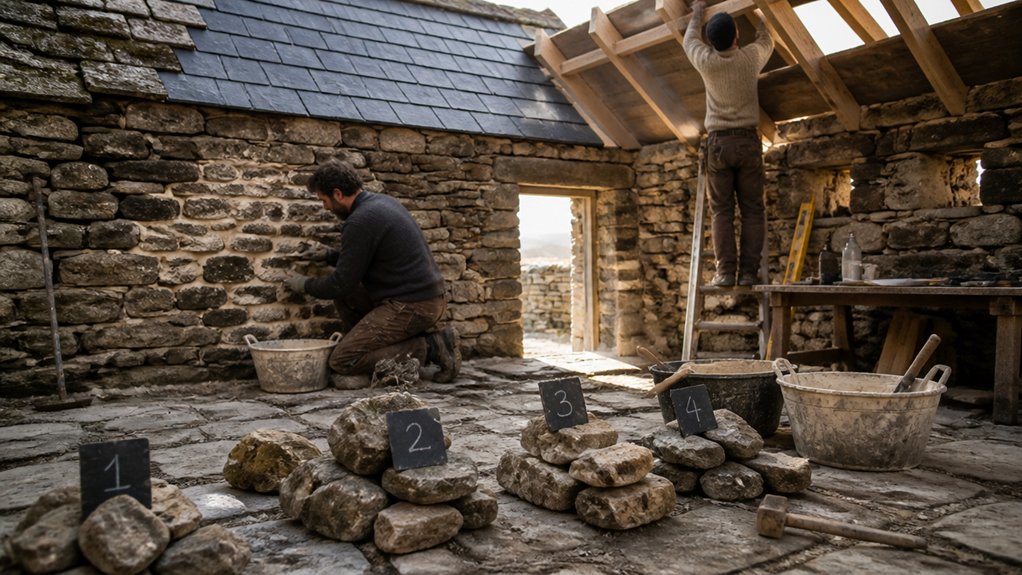
You’ll get the most authentic, durable repair when you source matching local stone—ideally from the original quarry or the closest geological equivalent—and record provenance for any listed-building or conservation consents.
You should set stones in traditional lime mortar rather than cement so the walls can breathe and move without trapping moisture.
You’ll choose a mix that matches the historic binder, aggregate, and colour.
Before you lay a course, you’ll confirm specifications with your conservation officer and run small test panels to check bond, cure, and weathering.
Sourcing Local Stone
Once you’ve assessed what still survives, source replacement materials that match the bothy’s originals—stone, lime, timber, and slate—because planning authorities and conservation officers typically expect like-for-like repair in appearance and performance.
Start with careful stone sourcing: record the existing walling’s geology, colour, bedding planes, tooling marks, and typical block sizes, then sample discreetly for confirmation. Prioritise local quarrying or reputable salvage within the same catchment so the stone weathers, sheds water, and reads correctly in the landscape.
Ask suppliers for provenance, extraction method, and consistency across batches, and keep delivery tickets for your consent file. Sort stone on site by face quality and thickness, and reserve the best for corners, openings, and coping. You’ll reduce waste and avoid visually jarring patchwork.
Using Traditional Lime Mortar
Although cement might feel like the quick, durable option, traditional lime mortar nearly always suits a stone bothy better—and conservation officers typically expect it—because it matches the original wall’s movement, vapour permeability, and sacrificial weathering.
Choose the right binder: non-hydraulic lime putty for sheltered walls, NHL2–NHL3.5 where exposure demands it, and match aggregate to your local stone colour and grading.
Keep timber lintels and slate details breathable by avoiding hard, impermeable joints.
Use Traditional craftsmanship: knock back loose cement, rake joints to sound stone, dampen the wall, then press mortar in firmly.
With good Lime mortar techniques, you’ll finish slightly recessed, protect with hessian and misting, and allow slow carbonation.
Record mixes and approvals for your consent file.
Stabilise Foundations and Stitch Cracked Stone Walls
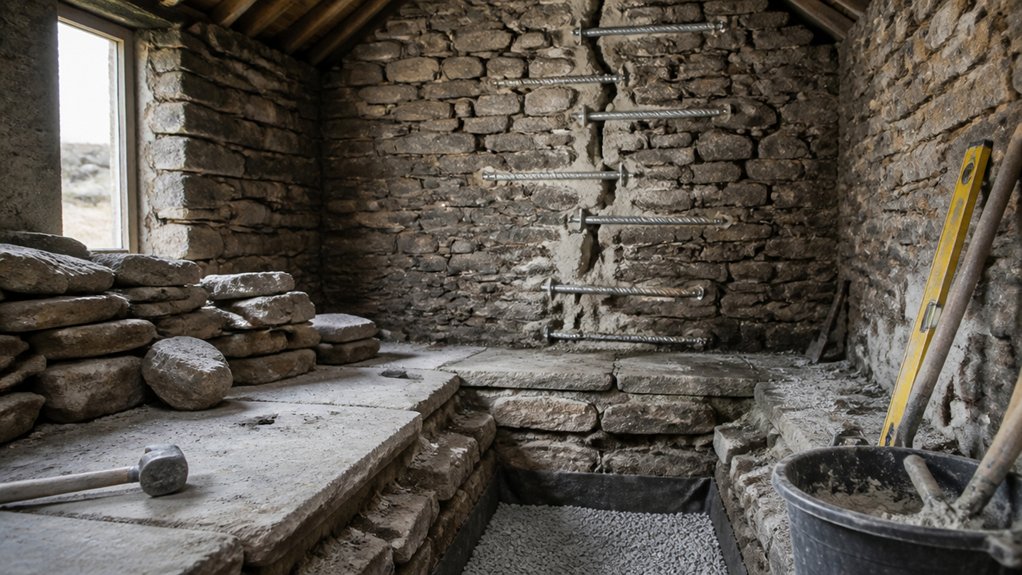
Before any rebuilding starts in earnest, stabilise the bothy’s foundations and stitch any cracked stonework so the walls behave as one structure again. Start with Foundation stability: expose a small trial area, check bearing strata, drainage, and signs of settlement, then document everything for Building Control and any listed‑building consent.
If you find voids, don’t excavate aggressively; shore locally, rebuild like‑for‑like footings, and improve perimeter drainage without altering historic levels.
For Cracked walls, map crack paths, note movement, and install tell‑tales to confirm they’re dormant. You’ll then pin across cracks using stainless helical bars or discreet stone “stitches,” set into raked slots and tied back to sound masonry.
Keep interventions reversible, minimise stone loss, and avoid altering openings or load paths. Record as‑built photos for your file.
Repair and Repoint Stonework With Lime Mortar
When the walls stand stable and any cracks are stitched, you can turn to repairing and repointing the stonework with lime mortar so the masonry sheds water and breathes as it was designed to.
Rake out failed cement or loose joints by hand to avoid spalling, keeping arrises intact for stone preservation. Dampen the joint, then use proper mortar mixing: match lime type and aggregate to the original, and avoid strong, impermeable blends.
Pack mortar in layers, fully compacted, and finish slightly recessed or brushed, not smeared over faces. Keep joints protected from sun, frost, and wind while they cure, misting as needed.
Check local conservation guidance and listed-building consent requirements before altering profiles or replacing stones. Document mixes, locations, and dates for future maintenance records.
Rebuild the Bothy Roof for Wind-Driven Rain
Once the walls and joints can take the load, you’ll get the biggest weatherproofing gain by rebuilding the roof to resist wind-driven rain without trapping moisture in the fabric.
Start by surveying rafters, purlins, and wall plates; splice like-for-like timber where possible and record changes for Historic preservation. Reuse salvageable slate or stone, matching size and gauge; if you must replace, source local equivalents and keep the original pitch and eaves line.
Fit a breathable roofing underlay, tight to the deck, and detail valleys, verges, and abutments with lead or compatible flashings, dressed and fixed to code. Add drips, bird-stops, and robust gutters to throw water clear of walls.
Choose discreet rooflights that satisfy consent while supporting Modern aesthetics.
Insulate and Ventilate a Bothy Without Trapping Damp
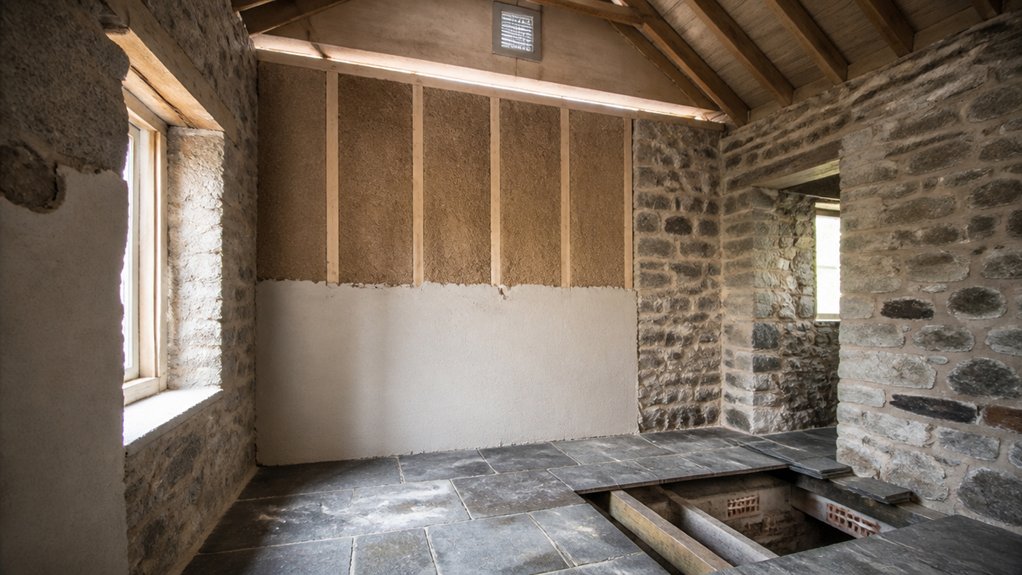
You’ll keep a stone bothy healthy by choosing breathable insulation—wood fibre, sheep’s wool, or lime-hemp—and avoiding impermeable foams that can lock moisture into historic masonry.
You must also maintain clear ventilation paths from low inlets to high outlets, and detail junctions at eaves, gables, and around openings so air moves while wind-driven rain stays out.
You’ll check local conservation requirements and meet relevant building standards for condensation risk, making sure your upgrades improve comfort without trapping damp.
Breathable Insulation Choices
Although a stone bothy looks solid enough to shrug off weather, its walls and roof behave like a moisture system, so your insulation choice must add warmth without blocking drying.
Choose breathable insulation that matches traditional lime mortar and rough stone: woodfibre boards, hemp-lime, sheep’s wool, or cellulose all buffer humidity and reduce condensation risk.
Avoid closed-cell foams and foil-faced boards unless a conservation professional specifies them, as they can trap moisture against cold masonry.
For floors, consider foamed glass aggregate or cork over a capillary break, keeping historic flags where possible.
In roofs, use vapour-open membranes and insulation with good hygroscopic capacity.
You’ll still need natural ventilation, but you’re designing the build-up to cope when it’s shut up.
Check local building standards and U-value targets early.
Ventilation Paths And Detailing
Because insulation changes how heat and moisture move through old stone, you must also map clear ventilation paths so the bothy can dry to the inside and outside without driving damp into hidden voids. Keep linings discontinuous where needed, and detail junctions so water vapour can escape.
Prioritise Natural ventilation: size trickle vents to meet local building standards, and add controllable high‑level outlets to purge cooking and drying loads. Maintain airflow pathways behind linings, at eaves, and under suspended floors; don’t block them with foams or tight skirtings.
Use lime-compatible seals, and leave inspection points so you can monitor timbers and wall heads.
- You’ll smell the stone stay sweet, not musty.
- You’ll protect irreplaceable lintels from slow rot.
- You’ll see fewer salt blooms and stains.
- You’ll sleep knowing the fabric can breathe.
Add Off-Grid Services: Power, Water, Waste, Heating
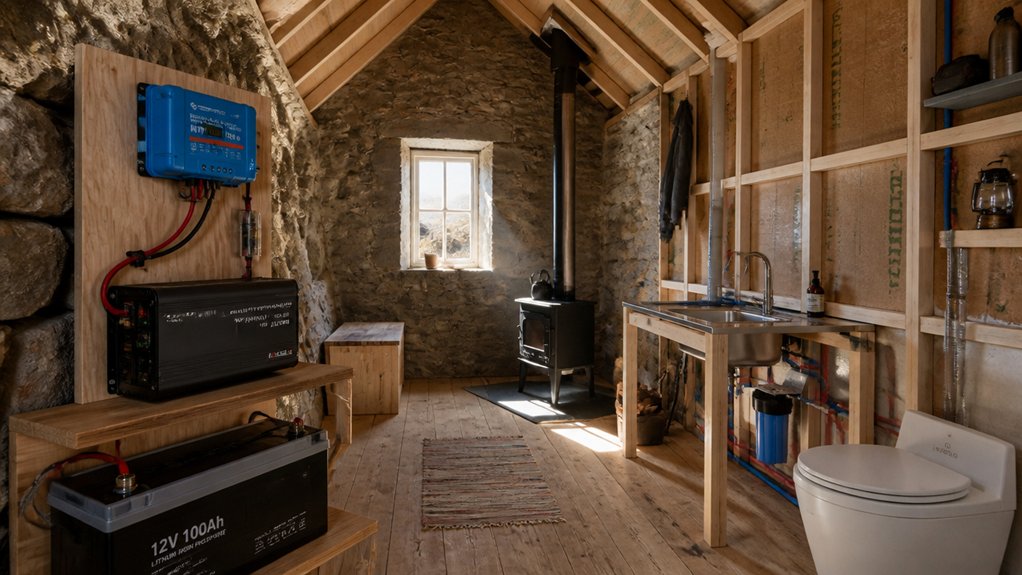
Four off-grid services shape how your rebuilt stone bothy actually lives day to day—power, water, waste, and heat—and they need designing in from the outset so you don’t end up chasing cables, pipe runs, or flue routes through finished masonry.
Site Solar panels discreetly on outbuildings or low-profile frames, and size batteries for winter loads; route DC/AC in accessible trunking.
Plan Rainwater harvesting with first-flush diversion, leaf filters, and frost-protected tanks, then add UV or carbon treatment if you’ll drink it.
For waste, choose a certified composting toilet or a permitted septic package, keeping soakaways clear of watercourses.
Heat with a DEFRA-compliant stove or small boiler, line flues to protect stone, and include carbon monoxide alarms.
Check local consents and inspection requirements.
Conclusion
If you’ve checked the bothy’s structure, secured permissions, and matched stone, lime, timber, and slate, you’re ready to finish with confidence. Keep repairs breathable, rooflines tight, and ventilation deliberate so damp can’t take hold. Add off-grid power, water, and waste systems discreetly, and document every change for compliance and future care. Remember, “measure twice, cut once”: careful planning protects character while delivering a warm, resilient home.
About the Author