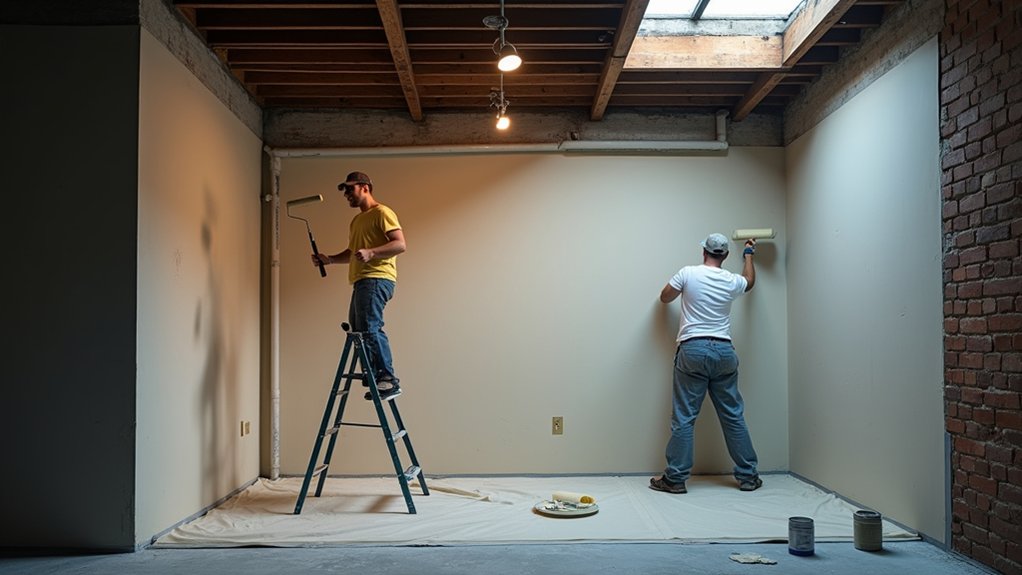
If your loft feels gloomy, you can’t rely on a single pendant to judge colour, coverage, or surface flaws. You’ll need to map the darkest corners by day and night, then rig temporary high‑CRI LED work lights to rake across the walls and ceiling. Once you see what you’re really painting, you can pick a low‑glare finish, prep properly, and roll out even coats without patchy bands. The snag is knowing where to start…
Key Takeaways
- Map low‑light zones by checking morning, afternoon, and nighttime lighting, then mark shadowy areas with tape and a simple sketch plan.
- Inspect with a bright torch, fill cracks and dents, sand 120–180 grit, vacuum dust, then wash with sugar soap and let dry.
- Set up neutral, high‑CRI lighting (4000–5000K, CRI 90+) using low and high lamps to eliminate shadows under rafters and dormers.
- Paint in 1m sections using a “W” roll, lay off top‑to‑bottom, keep a wet edge, and apply two full coats with proper recoat times.
- Cross‑check with a sideways work light, box paint to keep color consistent, let touch‑ups fully dry, then reassess in daylight and lamplight.
Find Your Loft’s Dark Zones (Day vs Night)
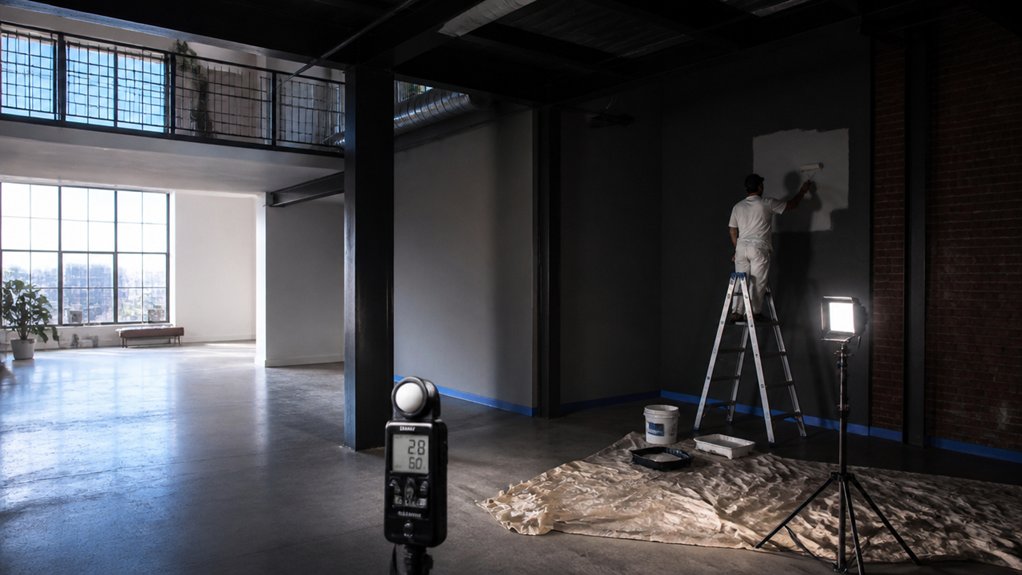
Although your loft might look “fine” at a glance, you’ll get a far better paint result if you first map out where the light actually drops off.
Walk the space at mid‑morning, then again late afternoon, and note daylight contrast around rooflights, dormer cheeks, and the eaves line.
Stand where you’ll actually paint from (step‑ladder position included) and mark dull patches with low‑tack tape.
After dark, repeat the walk with only the usual household lighting on, so you see true nighttime shadows.
Pay attention to alcoves behind purlins, the chimney breast, and any sloping ceilings that read as flat in daylight.
Sketch a quick plan, label each zone, and use it to choose test‑patch locations.
Set Up Temporary Loft Lighting (Bulbs & Placement)
Once you’ve marked the dark zones, set up temporary lighting so you can see an even, neutral wash across every slope and corner while you cut in and roll.
For bulb selection, use LED work lights or E27/E14 lamps rated 4000–5000K (neutral to daylight) with a high CRI (90+). Avoid warm bulbs that hide missed patches and cold blue lamps that exaggerate streaks.
Plan temporary lighting placement like a surveyor: put one light low and angled up to rake across plaster, and another higher to fill shadows under rafters and around dormers.
In tight eaves, clip-on lamps or magnetic bases help. Keep leads off wet edges, use an RCD plug, and spread power across sockets to avoid tripping breakers.
Choose Loft Paint Colors That Brighten Low Light
Once you’ve set up temporary lighting, you can pick paint colours that bounce what little daylight you get around the loft.
You’ll get the best lift from light‑reflective shades—think soft off‑whites, pale greys, or muted pastels—paired with a higher LRV on the tin where available.
Then decide between warm whites (cosier under warm LED bulbs) and cool whites (cleaner under daylight LEDs) so the room doesn’t look dull or dingy.
Light-Reflective Color Choices
If your loft doesn’t get much natural daylight, you can still make it feel brighter by choosing paint colours with high light reflectance and a subtle warm undertone. Look for tins that list an LRV, and sample on the knee wall and ceiling slope, as angles change how light bounces.
In UK lofts with Velux windows, a clean off‑neutral on walls plus a slightly higher‑LRV ceiling shade helps push light deeper into the room.
Use reflective finishes where scuffs are likely, but keep sheen consistent to avoid patchiness. For smart color coordination, link paint to flooring and built‑ins so the space reads calm, not busy.
- High‑LRV off‑neutrals for main walls
- Slightly lighter ceiling for lift
- Satinwood trim to bounce light
Warm Versus Cool Whites
Although white seems like the safest choice for a dim loft, the undertone matters as much as the shade: warm whites (with a hint of cream, beige or soft peach) counter grey UK daylight and make sloped ceilings feel cosier.
While cool whites (with blue, green or grey notes) can look crisp near a Velux, they often read flat and slightly cold on knee walls and in corners.
To decide, check your loft’s Color temperature at different times: morning light, overcast afternoons, and after dark under LED spots.
If your bulbs are 2700K–3000K, pick a warm white to keep the lighting ambiance consistent and avoid a yellow cast.
With 4000K task lighting, a neutral-to-cool white stops the space feeling too creamy.
Always paint A4 sample cards and tape them to rafters and knee walls before committing.
Choose a Low-Glare Paint Finish for Loft Walls
Because lofts often rely on a few windows and directional fittings, the wrong paint sheen can throw harsh reflections across the walls and make the space feel colder. For glare reduction and better eye comfort, you’ll usually want a matt or flat finish on most loft walls, especially opposite rooflights and downlighters. It diffuses light, disguises patchy illumination, and keeps the room feeling softer.
Choose your finish by matching it to how you use the space and how you’ll light it:
- Matt emulsion for main walls: lowest sheen, best at taming hotspots from spotlights.
- Durable matt in high‑traffic areas (stairs, landings): wipes cleaner without adding shine.
- Eggshell only for timber or feature panels: subtle sheen, easier to clean, minimal bounce.
Prep Loft Walls So Hidden Flaws Don’t Show Later
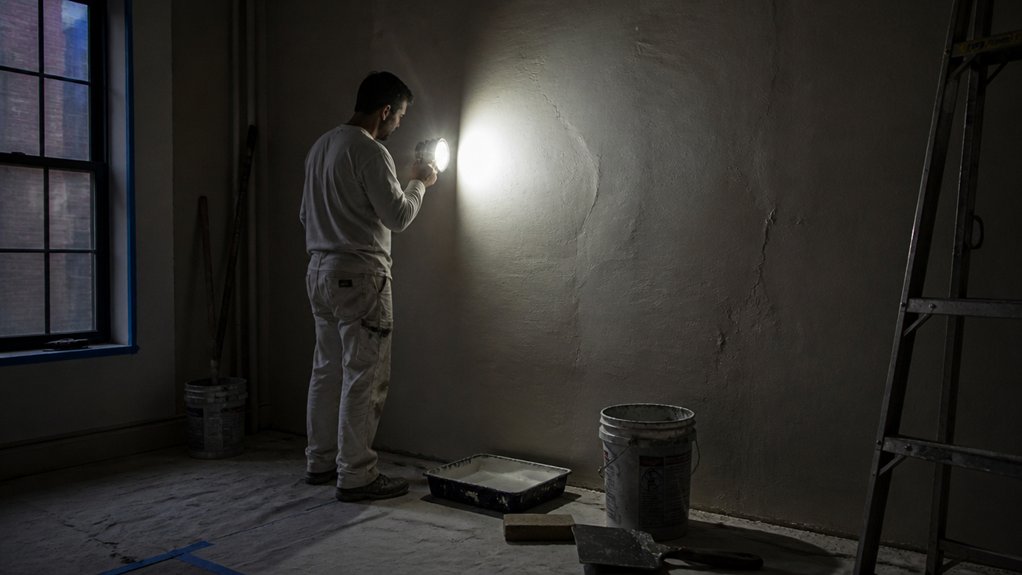
Before you open a tin, inspect the loft walls with a bright torch held at a shallow angle and mark every dent, crack, and popped screw with a pencil.
Patch with a suitable filler, let it cure, then sand flush (120–180 grit) and vacuum the dust so it won’t telegraph through your low‑light finish.
Finally, wash down with sugar soap or a mild detergent, rinse, and let the walls dry fully before you paint.
Inspect And Mark Imperfections
Once you’ve cleared the walls, take a slow lap around the loft and inspect every surface for hairline cracks, popped screw heads, dents, stains, and any signs of damp.
In low light, you’ll miss defects unless you work methodically: use your phone torch or a portable LED work light held at a shallow angle to rake across plasterboard and skim.
Follow an inspection checklist so you don’t skip awkward eaves, chimney breasts, or around rooflights, and focus on quick flaw identification rather than fixing anything yet.
Mark each issue clearly so you can return to it later.
- Circle cracks and dents with a soft pencil
- Flag stains, tide marks, and mould with masking tape
- Note location and size in a notebook (e.g., “north gable, 10cm”)
Patch, Sand, And Clean
Although low light can hide rough edges, your paint will highlight them the moment daylight hits the loft, so patch every marked defect now.
Use the right patching techniques: press filler firmly into cracks with a filling knife, feather the edges, and rebuild corners with two thin applications. For deeper holes, fit mesh tape first so the repair won’t sink back.
Let filler cure fully (check the tub; cold lofts take longer). Then switch to sanding tools: start with 120‑grit on a sanding block or pole sander, finish with 180‑grit for a smooth blend.
Keep a torch or work light raking across the wall to spot ridges.
Finally, vacuum dust, wipe with a damp microfibre cloth, and let everything dry before priming.
Choose the Right Primer for Loft Surfaces (Stains/Gloss)
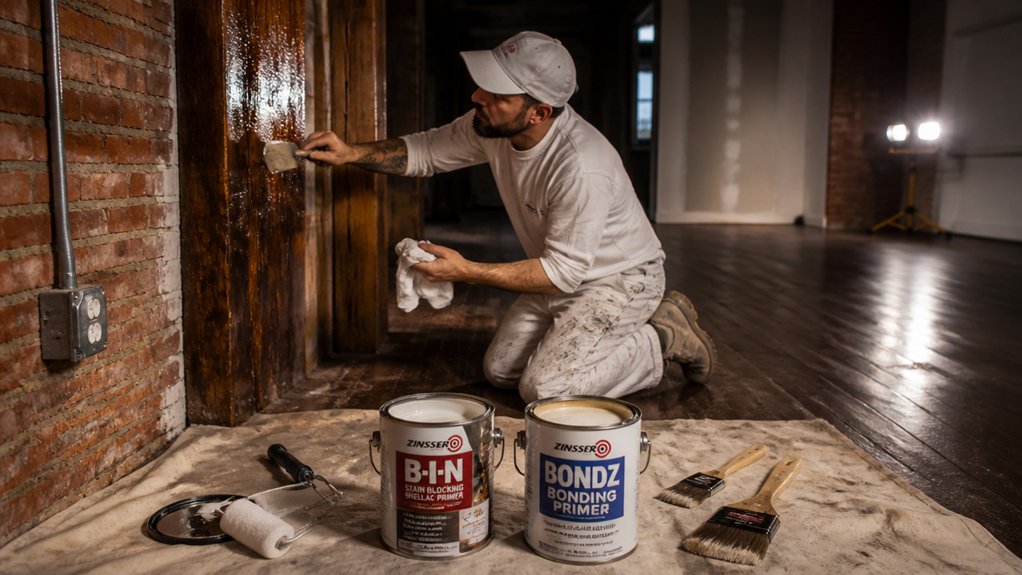
Since loft walls and ceilings often hide a mix of old nicotine stains, water marks, and glossy paint, you’ll get a cleaner finish by matching your primer to what’s actually on the surface. Check primer compatibility with what you’ve cleaned and sanded, and choose a product that locks down problems rather than masking them.
For stain prevention, aim for a high-adhesion, high-solids primer suited to UK conditions, especially in unheated lofts where condensation can linger.
- For nicotine, soot, or water marks, use a shellac- or solvent-based stain-block primer to stop bleed-through.
- For glossy or oil-painted areas, use an adhesion primer after a keying sand; it’ll grip where standard emulsion won’t.
- For bare plaster, fill repairs, then use a mist coat or acrylic primer to even suction.
Paint Loft Walls Evenly (Tools, Coats, and Technique)
How do you get a uniform finish in a low‑light loft where patchy coverage can hide until daylight hits? Use the right Paint tools and a repeatable routine.
Start by cutting in with a 2‑inch synthetic angled brush; load it lightly, keep a wet edge, and feather out—these Brush techniques stop picture‑framing.
Roll next with a 9‑inch medium‑pile sleeve (around 10–12mm for most plaster) on an extension pole. Work in 1m sections, roll a “W”, then lay off top‑to‑bottom without pressing hard.
Apply two full coats, allowing the tin’s recoat time, and keep your mix consistent by boxing paint in a clean bucket.
Cross‑check with a work light held sideways to spot misses.
Paint Loft Ceilings, Beams, and Railings Cleanly
When you’re painting a loft ceiling or exposed beams, low light will hide lap marks and drips until the sun hits, so set yourself up to work cleanly and in control. Start by masking edges with low-tack tape and laying dust sheets tight to the skirting and stairs.
If the ceiling texture is heavy, de-nib high spots and vacuum thoroughly so your roller doesn’t skip. Work from the far corner back to the hatch, keeping a wet edge and feathering joins.
- Cut in with a good 2in angled brush, then roll immediately.
- Use a mini-roller on beams to avoid runs underneath.
- For railings, clean, de-grease, and key the surface for railings maintenance.
Keep your brush loaded, wipe drips fast, and don’t overwork.
Verify Color and Touch-Ups in Daylight and Lamplight
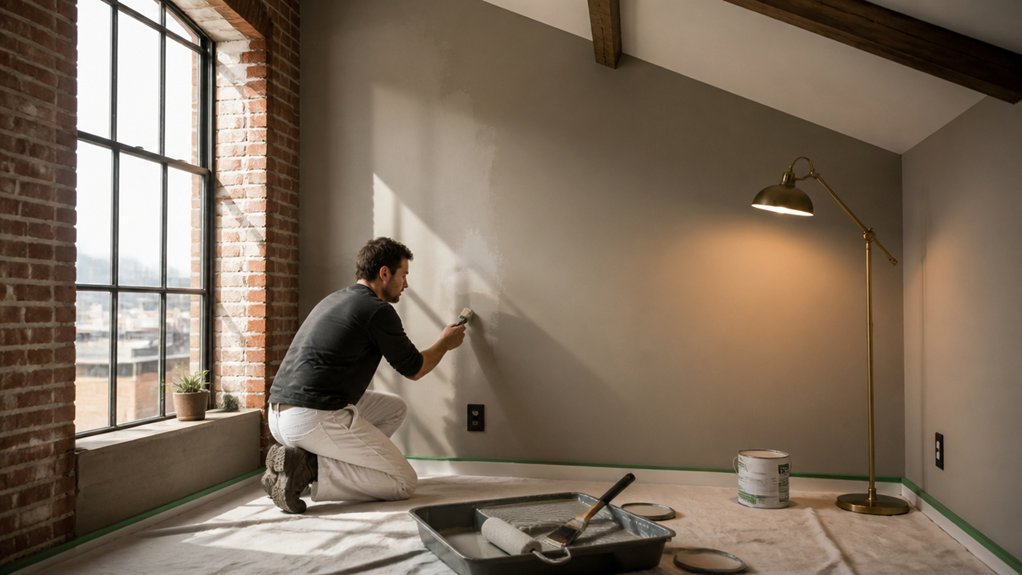
Even if the loft looks perfect under your work lamp, check it again in natural daylight and then under the exact lamplight you’ll use in the space, because colour shifts and missed drips show up differently.
Open the roof window or dormer, step back, and scan walls, beams, and eaves for flashing, thin patches, and brush marks. Mark issues lightly with painter’s tape, then touch up with the same roller nap and direction to avoid texture changes.
After dark, switch on your chosen bulbs (warm white, cool white, or smart LEDs) and confirm Color coordination with floors, timber, and fittings.
Aim for lighting consistency: match bulb colour temperature across lamps, and retest corners and stairwells where shadows exaggerate defects.
Let touch-ups dry fully before judging.
Conclusion
When you’ve chased every shadowy corner, your loft stops feeling like a cave and starts reading like a clean page. Keep your temporary LEDs up until the last coat’s dry, then check walls and beams in daylight and under your lamps. If you spot flashing or thin patches, feather them in and roll once more. Peel tape while paint’s green, tidy edges, and pack away kit. You’ve turned low light into a reliable guide.
About the Author