You probably don’t know that most alcoves aren’t square, even in newer UK builds, so a “perfect” cut often leaves gaps. You start by measuring at multiple heights, then scribe panels to the wall’s bumps and belly, not your tape’s best guess. You plan spans, load, and fixings before you touch a saw, because your joinery only works if the carcass sits plumb and anchored. Next comes the part that makes it look truly built-in…
Key Takeaways
- Measure the alcove at multiple heights, note wall irregularities, and allow scribe margins so panels fit tight without forcing.
- Design shelf spacing and spans around actual loads, adding concealed battens or dividers for shelves longer than 800mm.
- Choose stable sheet goods like birch ply, match thickness to span, and add hardwood lippings for durable, clean edges.
- Use professional joinery: stopped dados and rabbets, glued and clamped square, with pre-drilled countersunk fasteners for hidden reinforcement.
- Install level and untwisted, fix into studs or plugs, route wiring access early, then trim, caulk, fill, sand, prime, and topcoat.
Measure and Scribe the Alcove
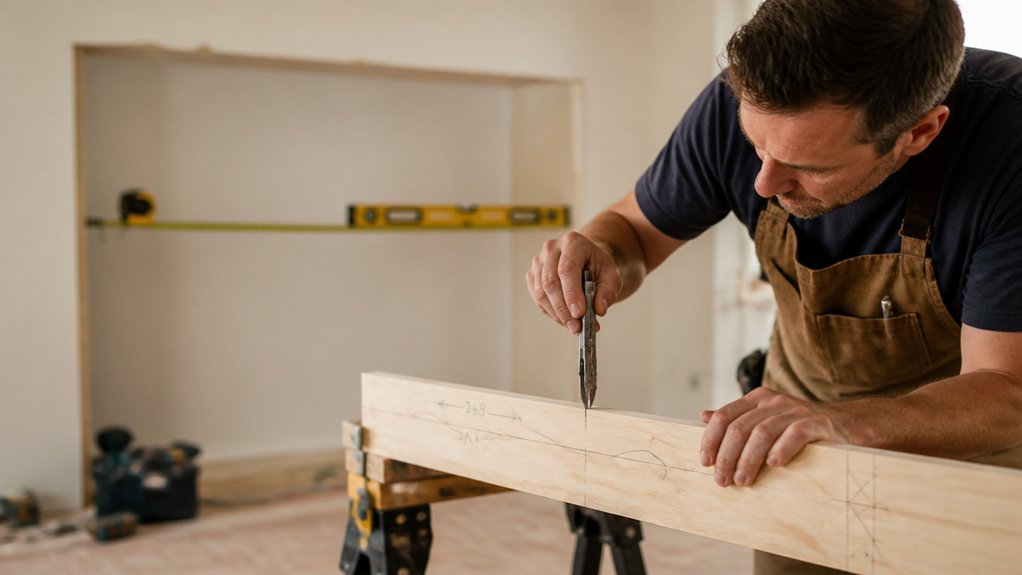
Before you cut a single board, measure the alcove at multiple points—top, middle, and skirting level—because very few UK walls are truly square. Record width, height, and depth, then check for bowing with a straightedge and note any proud plaster, sockets, or coving returns that steal millimetres.
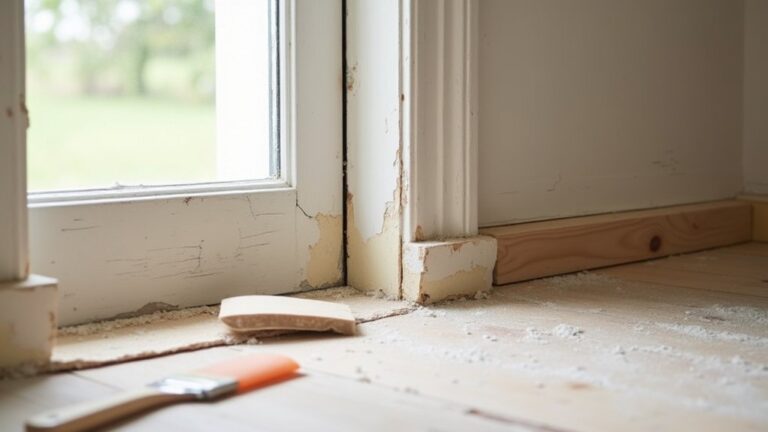
You’ll get the cleanest fit by scribing. Offer up a test strip or side panel, set a compass to the largest gap, and run it along the wall to transfer the profile. Plane or sand to the line, then dry-fit and repeat until it kisses the plaster without forcing.
Mark stud positions and skirting lines for fixings. If you’re planning Decorative accents or Lighting integration, map cable routes and switch locations now, before you close anything in.
Plan Shelf Spacing, Spans, and Weight Limits
Once you’ve got the alcove dimensions nailed down, plan your shelf spacing around what you’ll actually store and how far each shelf has to span, because sagging turns a “built-in” into a bodge job quickly. Measure tallest items (lever-arch files, vinyl, cookbooks) and add 20–30mm for clearance and fingers. Keep frequently used shelves between waist and eye level; push display-only or Decorative accents higher.
Next, map spans: a full-width shelf over a wide chimney breast needs more support than short side returns. Set weight limits by category—paperbacks are light, hardbacks and tools aren’t—and don’t mix loads on one run. Add intermediate supports or a front rail where spans exceed your comfort zone.
Plan lighting integration now: leave cable routes, driver space, and a lip to hide LED tape.
Choose Alcove-Shelf Materials and Thickness
Next, you’ll choose between plywood and solid wood, balancing stability, cost, and the finish you want in a tight UK alcove.
You’ll also set shelf thickness to suit the span and loads you’ve planned, so boards don’t sag over time.
To keep edges neat and hard-wearing, you can add iron-on veneer, lipping strips, or solid timber edging to match your room’s trim.
Plywood Vs Solid Wood
Although solid wood looks the part, plywood usually gives you a flatter, more stable alcove shelf for less money, especially in centrally heated UK homes where timber movement can telegraph through paint and joints. You’ll also find sheet goods easier to square up in tight Victorian chimney-breast returns, and they take crisp joinery without surprises.
- Choose birch or poplar ply for smooth faces and tidy edges.
- Use hardwood lippings if you want a solid-wood look without warping.
- Pick solid wood when you’re showcasing wood grain on an oiled or stained shelf.
- Match your finish options to the room: durable enamel for halls, wipeable satin for kitchens.
- Check sheet quality: fewer voids means cleaner screws, pins, and routed dados.
You’ll get predictable results, cleaner lines, and less seasonal fuss year-round.
Shelf Thickness Guidelines
Because alcove shelves often span awkward chimney-breast returns and get loaded with books, vinyl, or baskets, you’ll want to choose thickness by span and weight rather than guesswork.
For spans up to 600mm on fixed battens, 18mm birch ply or good-quality MDF works; push to 800mm and you’ll feel less bounce at 25mm.
If you’re bridging 900–1000mm, step up to 30–36mm stock or plan a front rail or centre support to control sag.
Keep lighter display runs (photos, Decorative accents) at 18mm, but don’t underbuild toy or cookbook shelves.
Finally, plan Shelf labeling early: reserve a 10–15mm face strip for discreet labels so you won’t weaken the shelf later.
Edge Banding Options
When you cut ply or MDF to size, you expose an edge that will chip, drink paint, and look unfinished unless you band it. In tight UK alcoves, a crisp front edge makes shelves look built-in and helps them wipe clean, especially near radiators and damp external walls.
- Iron-on veneer for quick, neat Decorative edge banding on plywood.
- Solid lipping (6–12mm) glued and flushed for a furniture-grade face.
- PVC/ABS tape for hard-wearing, kid-proof shelves in busy rooms.
- Paintable MDF lippings when you want seamless skirting-board style.
- Hardwood nosing to resist sag dents and take stain beautifully.
Trim with a sharp block plane or edge trimmer, then sand to 180–240 grit. Seal first, then apply primer and your chosen topcoat—good Adhesive finishing stops telegraphing and edge swell.
Make a Cut List With Scribe Allowances
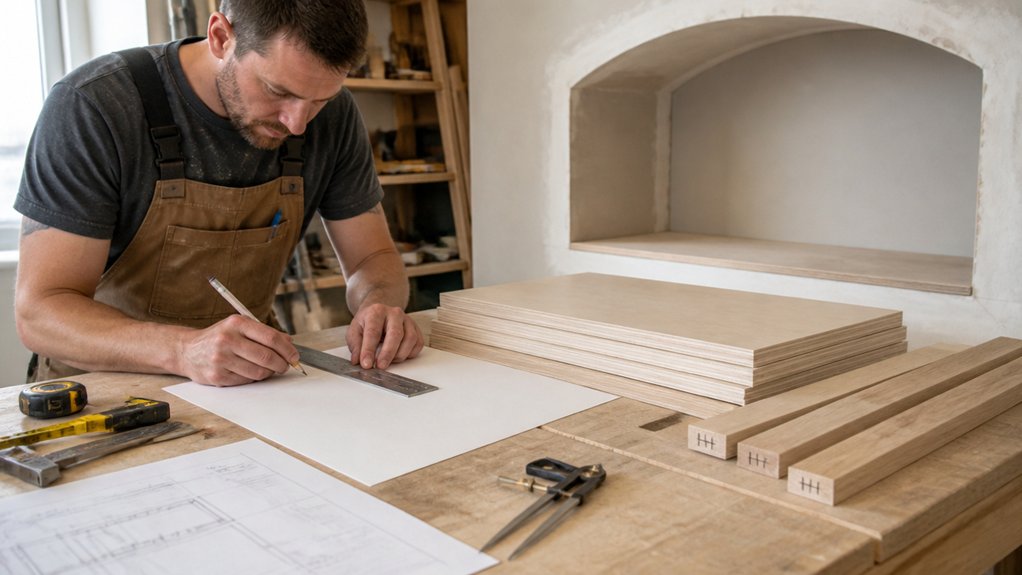
Before you cut anything, you’ll measure the alcove at several heights and depths, because UK walls and skirtings rarely run dead square.
You’ll then plan scribe allowances on the edges that meet plaster and trim, so the shelves can be trimmed to a tight fit on site.
With those numbers, you’ll draft a precise cut list for every panel, shelf, and face piece, noting finished sizes, overcuts, and where each scribe goes.
Measure Alcove Variations
Although the alcove looks square at a glance, you’ll usually find it’s out by a few millimetres from floor to ceiling and side to side, so measure it like a problem, not a box. Work in mm, note skirting, dado rails, and any wonky plaster, then build your cut list around the tightest points so parts actually go in.
If you’re matching Historical styles or adding Decorative accents, accuracy keeps reveals even and mouldings aligned.
- Measure width at floor, mid-height, and near the ceiling
- Measure depth at both sides and the centre, over skirting
- Check plumb on both returns with a long level or straightedge
- Confirm floor level across the opening, especially on old boards
- Record obstacles: sockets, pipes, picture rails, and coving
Plan Scribe Allowances
Even if your measurements are spot on, you’ll still need scribe allowances in your cut list so each panel can be trimmed to the real plaster line on site. Add 10–15mm to the width of side panels and shelves that meet walls, and 3–5mm to heights where ceilings are wavy.
Keep face-frame parts closer to finished size, but leave 2–3mm on stiles that sit against plaster. Mark allowances clearly: “scribe edge”, “trim on fit”, and grain direction so you don’t lose a show face.
If you’re adding decorative accents like a beading strip or cornice return, give them extra length for mitres and irregular corners. Plan color coordination too: allow for edging or lipping thickness so paint lines land crisp.
Draft Accurate Cut List
With your scribe allowances agreed, you can now turn those numbers into a cut list that a sheet goods supplier or workshop can follow without guesswork. Work in millimetres, label every part, and note grain direction for veneered MDF or birch ply.
List “net size” (final) and “cut size” (oversize for scribing), then add edge-banding and lipping thickness so shelves finish flush.
- Side panels: cut +10–15mm width for scribe, full height
- Fixed shelves: allow for housings/dados, note shoulder-to-shoulder length
- Adjustable shelves: subtract 3mm for easy fit, specify pin system
- Plinth/top: oversize fronts for Decorative accents and face frames
- Back/lighting panels: leave routes and cable voids for Lighting integration
Add quantities, material, thickness, and any mitres or rebates. Double-check totals before ordering.
Assemble the Alcove Carcass (Dados/Rabbets)
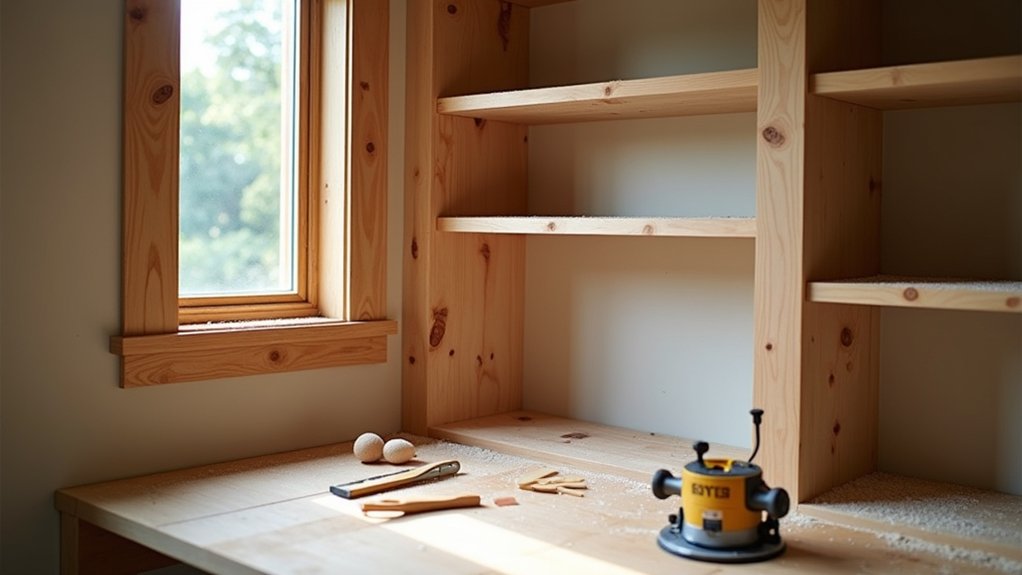
Once your panels are cut and dry-fitted in the alcove, you can assemble the carcass by pulling everything into square with dados and rabbets that physically lock the parts together.
Cut stopped dados for shelves so the joinery disappears behind the face, and run rabbets on the top and bottom to capture the sides. Work on a flat surface, then offer the unit up to the wall to confirm it still slides in without binding on skirting or plaster bellies.
Brush glue into the grooves, seat parts fully, and clamp across the width; check diagonals until they match. Dry-fit any Decorative molding locations now, and pre-route channels for Lighting integration before final glue-up and sanding.
Prevent Sag With Hidden Supports and Screws
After you’ve pulled the carcass into square and the glue’s cured, focus on what keeps those shelves from creeping into a smile over time: hidden supports and well-placed screws.
In tight UK alcoves, you can’t waste depth on chunky brackets, so build strength into the box.
- Run a concealed batten under the front edge to stiffen long spans.
- Use pocket-hole screws on the underside where they won’t show.
- Add a centre divider or short web frame if the shelf’s over 800mm.
- Pre-drill and countersink to stop MDF or ply from mushrooming.
- Plan screw placement into dados/rabbets so screws bite solid material, not air.
Keep screws back from edges, drive them straight, and clamp as you fasten to lock everything flat.
Install Alcove Shelving Plumb and Anchored
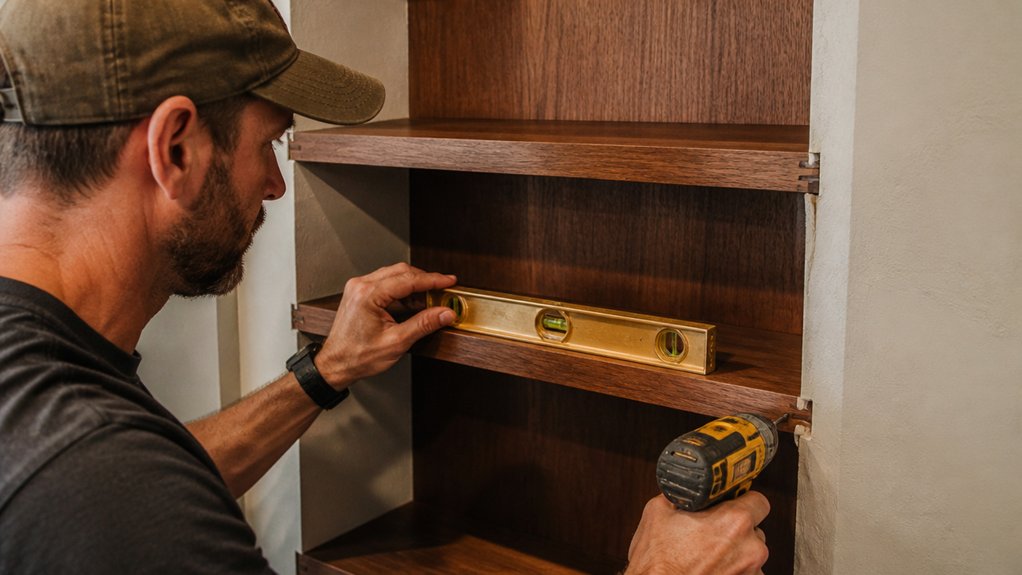
Although your carcass might look square on the floor, alcove walls rarely run true, so set the unit in place and plumb it before you commit to fixings.
Pack gaps with tapered shims at floor and side returns, then check for twist with a long level and a straightedge across shelf runs.
Mark stud positions with a detector, or locate masonry for plugs, and pre-drill clearance holes in the back or hidden cleats.
Pull the carcass tight, recheck plumb, then drive screws into studs or into 6–8mm wall plugs, spacing fixings up the height.
If you’re planning Lighting integration, route cables now and leave access for drivers.
Keep fixing points clear of future Decorative accents and shelf pins.
Trim, Fill, and Finish for a Built-In Look
With the carcass plumb, shimmed, and firmly fixed, you can focus on closing up the tells that stop it looking truly built in. Scribe end panels to wonky plaster, then add Decorative trim to hide small gaps and sharpen lines. Run a caulk bead where timber meets wall, then smooth it with a damp finger for a crisp shadow line. Fill brad holes with two-pack or fine stopper, sand flush, and dust off.
- Plane proud edges before trim goes on
- Mitre architrave-style returns for tight corners
- Use paintable caulk, not silicone
- Spot-prime filled areas to prevent flashing
- Apply your Finishing techniques: primer, two topcoats, light de-nibbing between coats
Conclusion
You’ve measured twice (and then some), scribed the wonky bits, and built a carcass that won’t have a quiet word with gravity. With dados, rabbets, and hidden battens, your shelves carry real weight without making a fuss. Fix into studs or solid masonry, keep it plumb, and route wiring before it becomes “inconvenient”. Then caulk, sand, and paint until the joins politely disappear. What’s left is tidy storage that looks like it always belonged.
About the Author