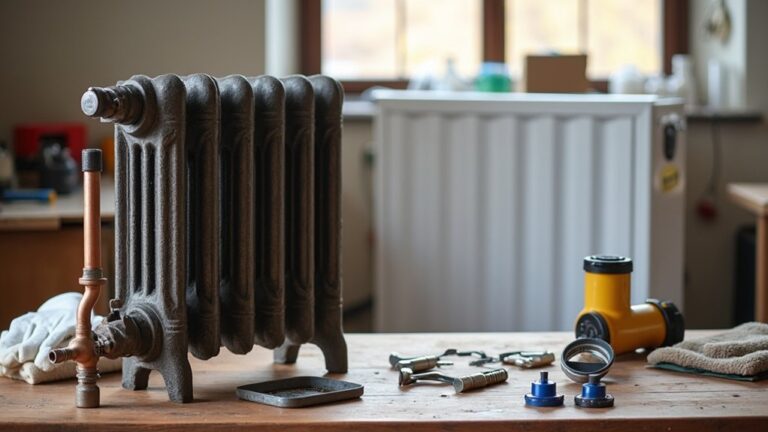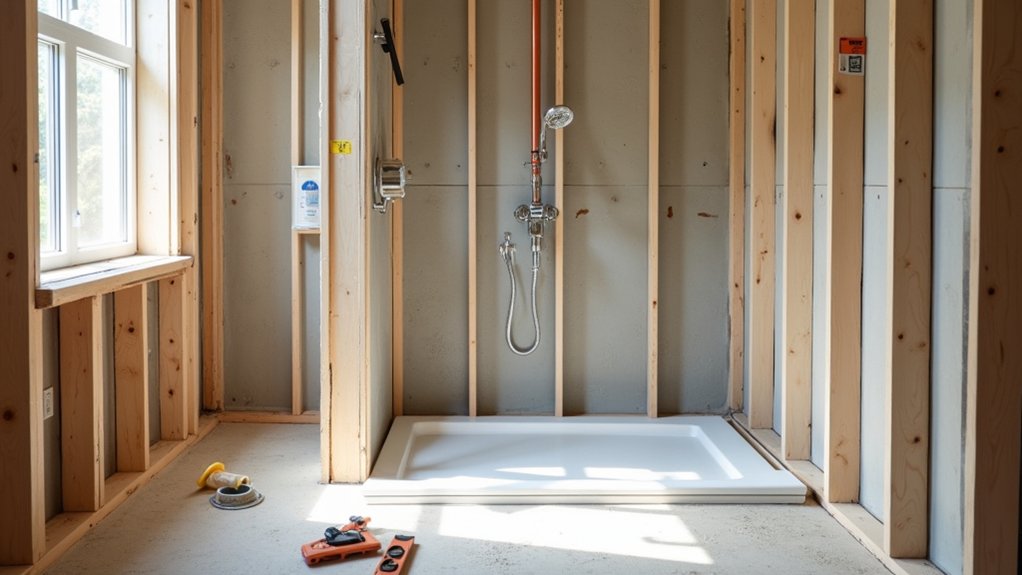
You plan the layout, you map the drains, you confirm the vents. Before you swing a hammer, you’ll mark fixture centers, check joist bays for slope, and verify clearances for access panels and shutoffs. You’ll also compare the cost and code impact of moving lines versus keeping them, then match drain and vent sizes to local requirements. Finally, you’ll spec durable valves and gasketed seals for every penetration—because one overlooked detail can force you to redo everything when…
Key Takeaways
- Map fixture, drain, and vent routes before demo, including elevations, clearances, and cleanout access to avoid costly rework.
- Keep existing supply and drain lines when practical to reduce cost, permits, and structural risk, especially in slab foundations.
- Confirm code-compliant drain sizes, slopes, trap-arm limits, and vent takeoffs to prevent slow drains and failed inspections.
- Install accessible, full-port quarter-turn shutoffs and quality braided supply lines, then pressure-test and label valves before closing walls.
- Waterproof all shower and tub penetrations with proper valve depth, anchored blocking, and sealed collars or gaskets integrated into the membrane.
Plan Your Bathroom Plumbing Rough-In Before Demo
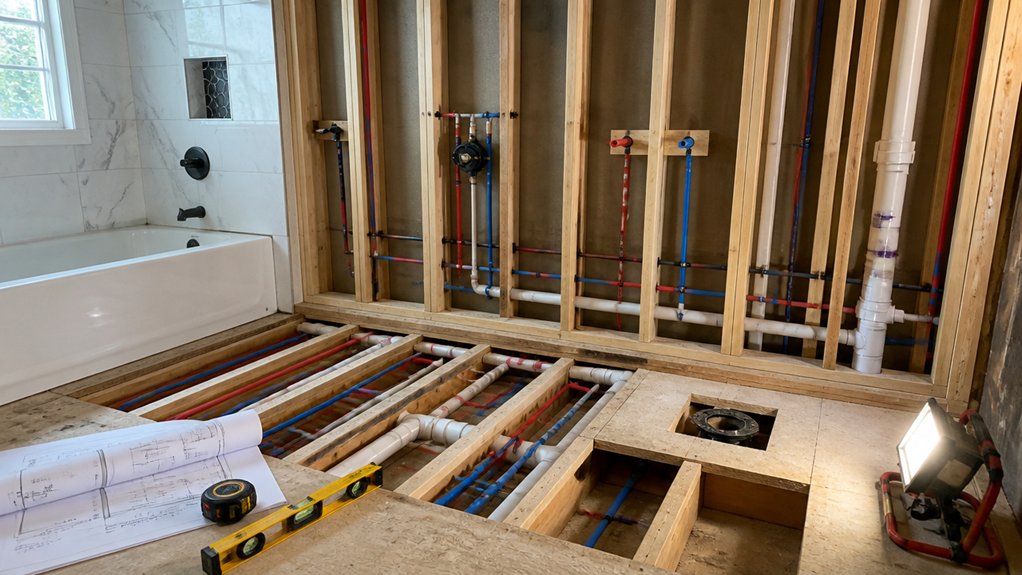
Before you swing a sledgehammer, have you mapped your bathroom plumbing rough-in down to exact fixture locations, drain routes, and vent paths? Confirm code-required pipe sizes, slope, cleanout access, and vent takeoffs before walls open, so inspections won’t stall you.
Measure stud bays and joist spacing to keep runs tight, protect structural members, and reserve room for shutoff valves and an access panel.
Draft a riser diagram and a floor plan that marks centerlines, elevations, and trap arms, then verify clearances for the toilet, vanity, and shower valve.
Use Material selection to match local code and water chemistry, and document Cost estimation with takeoffs for pipe, fittings, and permits.
Stage materials before demo to prevent delays.
Decide Whether to Move or Keep Bathroom Plumbing Lines
With your rough-in plan and measurements in hand, decide whether you’ll keep the existing supply, drain, and vent lines or relocate them to match your new layout. Keeping lines where they’re usually saves cost, time, and permitting headaches, especially in slabs or post-tension floors where cutting concrete is restricted.
If your fixture placement improves access or clears door swings, relocating may be worth it, but confirm you can run piping through joists or walls without weakening framing or crowding insulation.
Map the plumbing layout to minimize turns, keep shutoffs reachable, and preserve service clearances around the toilet and vanity.
Check local rules on structural drilling, fireblocking, and wet-area waterproofing before opening chases, and coordinate any changes with your inspector and trades.
Size Bathroom Drains and Vents to Meet Code
Even if you’re keeping fixtures in the same locations, you still need to confirm each drain and vent meets your local plumbing code and the fixture-unit load it’ll carry. Check the minimum Drain size for each fixture and the branch it ties into, and don’t assume older piping is compliant.
Verify slope requirements, trap-arm length limits, and allowable fittings so you don’t create slow drains or siphoned traps. Plan Vent placement to stay within permitted distances from traps, keep vents vertical where required, and avoid flat vent runs that can collect condensate.
If you’re tight on framing space, confirm whether wet venting is allowed and size the vent accordingly. Before closing walls, get an inspection-ready layout and test for leaks.
Pick Reliable Shutoff Valves and Supply Lines

Once your drains and vents meet code and inspection requirements, focus on the water side by choosing shutoff valves and supply lines you can trust inside a tight vanity or wall cavity.
Prioritize quarter-turn stops with full-port flow and a metal body; avoid brittle plastic. For valve types, choose straight or angle stops to match stub-out direction and keep hoses from kinking. Confirm the valve is listed to ASSE/CSA standards and that you can access it without removing the fixture.
For supply line materials, use braided stainless or polymer-braided connectors with a lead-free, corrosion-resistant core; skip cheap vinyl. Match lengths to reduce loops, but don’t stretch lines.
Tighten to spec, use new washers, and pressure-test before closing walls. Label valves for faster shutoffs later.
Waterproof Shower Valves, Tub Spouts, and Penetrations
Because a single unsealed penetration can funnel water behind tile faster than any grout failure, you should treat shower valves, tub spouts, and every pipe stub-out as part of the waterproofing system—not just the plumbing.
Set valve depth to the manufacturer’s plaster guard marks so trim seals compress correctly, and anchor the body to blocking to prevent movement.
During shower valve installation, use a bonded waterproofing seal or gasketed collar at the mixing valve and shower arm, then tie it into your membrane per local code and ANSI standards.
For tub spout selection, confirm whether you’ve got a threaded nipple or a copper stub; pick a compatible spout to avoid leaks and backflow.
Seal around escutcheons with 100% silicone, leaving a weep gap at the bottom.
Conclusion
When you remodel, you don’t just swap fixtures—you map the rough-in, confirm drain slopes, and verify vent paths before demo. You don’t just save space—you decide what lines stay, what lines move, and what access panels you’ll need. You don’t just “hook it up”—you size drains to code, choose durable shutoffs and supply lines, and seal every penetration. Follow local regulations, optimize every inch, and you’ll finish with a bathroom that flows, fits, and lasts.
About the Author