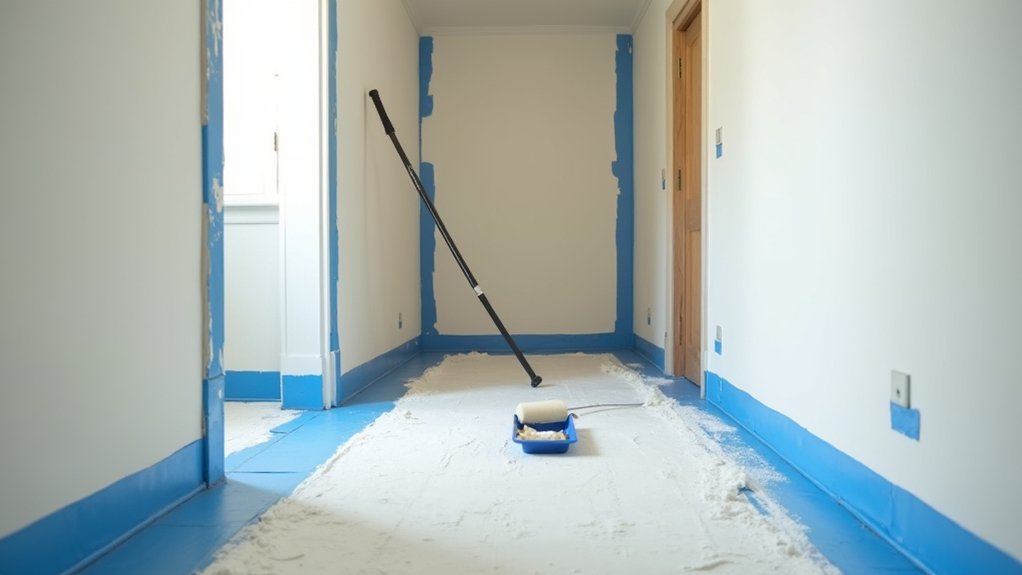
You probably don’t know that the sheen you choose can make a narrow hallway feel wider than a lighter colour ever will, especially under UK LED bulbs. You’ll get better results if you plan the order of work, keep tools compact, and control dust and splatter in a tight space. From protecting skirting boards and door frames to cutting in clean lines and rolling without lap marks, the small details matter—starting with what you do before you even open the tin…
Key Takeaways
- Choose light-reflective colours and the right sheen; test 2–3 swatches in hallway lighting before committing.
- Prep a clutter-free workspace with compact tools, dust sheets, and masking on trims, sockets, hinges, and carpets, leaving a clear walking strip.
- Repair and smooth surfaces: fill dents, caulk trim gaps, sand lightly, then clean with sugar soap and let walls dry fully.
- Spot-prime stains and patches with the correct primer, feather edges, and allow full cure before applying topcoats.
- Cut in neatly, then roll in overlapping “W” sections while keeping a wet edge to blend evenly and avoid lap marks.
Choose Hallway Paint Color and Sheen (Before You Buy)
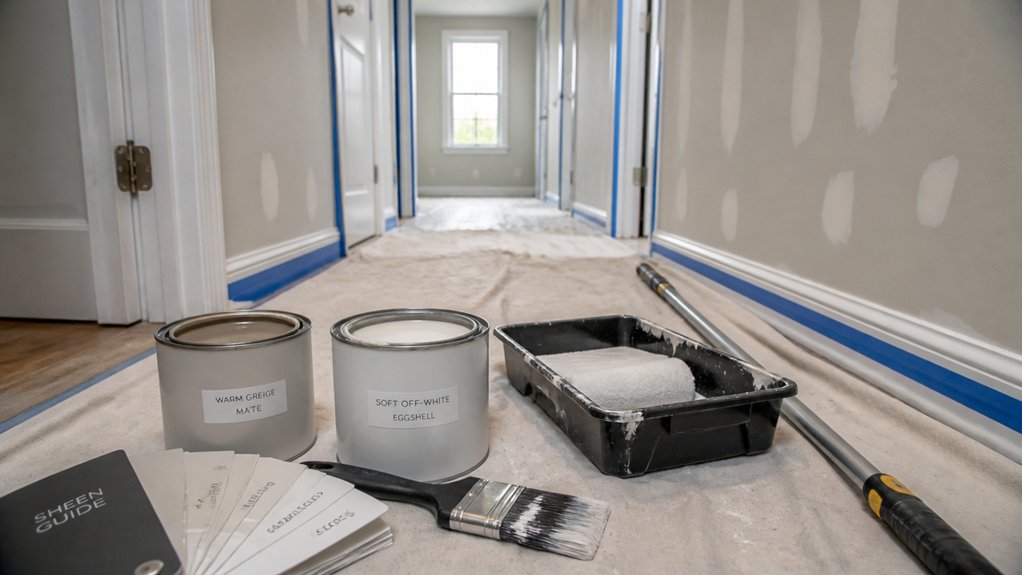
Before you crack open a tin, choose a paint colour and sheen that’ll visually widen the corridor and stand up to daily scuffs. Use color psychology: soft off-whites, pale greys, or warm greige bounce light in typical UK terraces, while cool tones can feel sharper in north-facing halls.
If you’ve got low ceilings, keep the ceiling a shade lighter to lift height. If the skirting’s bulky, match it to the wall to reduce visual breaks.
Do a sheen comparison before buying: matt hides lumpy plaster but marks easily; durable matt gives a flatter look with better wipeability; satin or soft sheen brightens and cleans well, yet highlights defects.
Test 2–3 swatches at eye level and near the front door.
Stock Up on Tools for a Tight Hallway
In a tight hallway, you’ll paint faster and cleaner if you stock up on compact tools like a mini roller, angled brush, and short extension pole that won’t clip skirting boards or door frames.
Protect the space with low-tack masking tape, dust sheets, and a narrow paint tray you can park on a step stool without blocking the walk-through.
Get your prep gear ready too—filler, sanding block, sugar soap, and a decent caulk—so you’re not squeezing past wet paint to fetch essentials mid-job.
Essential Compact Painting Tools
Because narrow hallways don’t give you room to swing a full-size kit around, you’ll get a cleaner finish faster by choosing compact, easy-to-handle painting tools that control drips and reach tight edges. Go smaller, not cheaper: tight spaces magnify every lap mark and wobble.
- 4″ mini roller frame with short-pile sleeves for smooth emulsion
- Angled 1.5–2″ sash brush for crisp cutting-in at architraves
- Small paint kettle with magnetic brush rest to reduce mess
- Flexible filling knife for quick spot-touch-ups between coats
- Extendable mini pole to reach stairwells without crowding yourself
Keep brush maintenance simple: rinse, spin out, and wrap bristles for shape.
For paint storage, decant into labelled airtight tubs, so you’re not balancing an open tin in the corridor.
Protective Supplies And Prep Gear
Compact rollers and small brushes keep you accurate in a narrow hallway, but protective supplies and prep gear stop that accuracy from being ruined by scuffs, splatter, and constant shoulder-brushing against walls.
Lay a low‑tack masking tape line along skirting and architraves, then run a sheeted dust sheet (cotton twill or lightweight polythene) tight to the edges so you don’t trip.
Use a door‑frame protector or cardboard corner guards where you’ll pivot.
Keep personal protective equipment simple: safety specs, nitrile gloves, and a P2 dust mask for sanding filler.
Set up a compact step stool, not a bulky ladder.
Stash cleaning supplies in a small caddy: sugar soap, microfibre cloths, a scraper, and bin liners for tape and offcuts. Keep wipes handy too.
Protect Floors, Trim, and Doorways
Before you open a tin of paint, secure full drop-cloth coverage along the hallway run, taping edges so it can’t creep underfoot in a tight space.
Run low-tack masking tape neatly along skirting boards, architraves, and door frames, pressing it into corners for crisp lines.
Mask doorways and thresholds too, so brushes and rollers can pass without scuffing trim or tracking paint onto carpets or flooring.
Secure Drop Cloth Coverage
Once you’ve cleared the hallway, lock down full drop-cloth coverage so paint can’t creep onto your flooring, skirting boards, or through door thresholds. Choose heavy-duty cotton dust sheets over thin plastic; they grip better in tight UK hallways and won’t skate underfoot. Smooth the sheet flat so it follows the wall texture at the edges, and overlap runs to match your paint finish workflow from cutting-in to rolling.
- Run one continuous sheet along the length to minimise joins
- Overlap sections by 20–30cm and weight seams with a plank or books
- Tuck cloth into corners with a filling knife for a crisp edge line
- Cover radiators’ bases and pipework zones where drips bounce
- Keep a clear, narrow walking strip for safe access and quick exits
Mask Trim And Doorways
Although your drop cloths catch most splashes, you’ll still need crisp masking to stop roller flick and cutting-in slips from marking skirting, architraves, and door thresholds in a narrow UK hallway. Use low‑tack painter’s tape (blue or green) and a 2-inch filling knife to press it tight along edges without scuffing paintwork.
Work in short runs so you can keep the line straight in cramped light.
To mask trim, run tape along the top edge of skirting and around architraves, then seal it by burnishing with the knife. At doorways, tape the threshold and hinge side where brushes tend to catch.
Slide a strip of masking paper or poly under the tape to shield carpet and laminate. Remove tape while paint’s still slightly tacky to avoid tearing.
Patch Dents and Caulk Gaps for Smooth Walls
Two quick fixes make the biggest difference in a narrow hallway: patching dents and caulking gaps so your paint doesn’t spotlight every bump in raking light.
Start your wall dent repair by marking knocks at skirting height and around door frames; fill them with ready-mix filler, pressing firmly so you don’t leave voids.
Then switch to gap caulking techniques: run a thin bead of decorators’ caulk where trim meets wall and at mitred architrave joints, keeping lines tight to save space visually.
- Use a filling knife sized to the dent for control.
- Slightly overfill, then wipe edges clean.
- Cut the caulk nozzle small for narrow gaps.
- Smooth with a damp finger or profiling tool.
- Let repairs cure fully before coating.
Sand and Clean Walls So Paint Sticks
Before you reach for the primer, key the surface and remove every trace of dust and grease, because narrow hallways show poor adhesion fast—especially in raking light.
Use a sanding pole with 120–150 grit to scuff gloss and even filler edges without flattening your wall texture. Work top to bottom, keeping the pole tight to corners to save ladder moves in tight spaces.
Vacuum walls with a soft brush head, then wipe with a barely damp microfibre cloth. On hand-height marks, wash with sugar soap or a degreasing cleaner, then rinse with clean water and let it dry fully.
Don’t flood skirting or sockets; mask, switch off, and wipe carefully. Clean, keyed walls lock paint on, boosting paint durability and reducing scuffs later.
Prime Stains and Cover Dark Colors
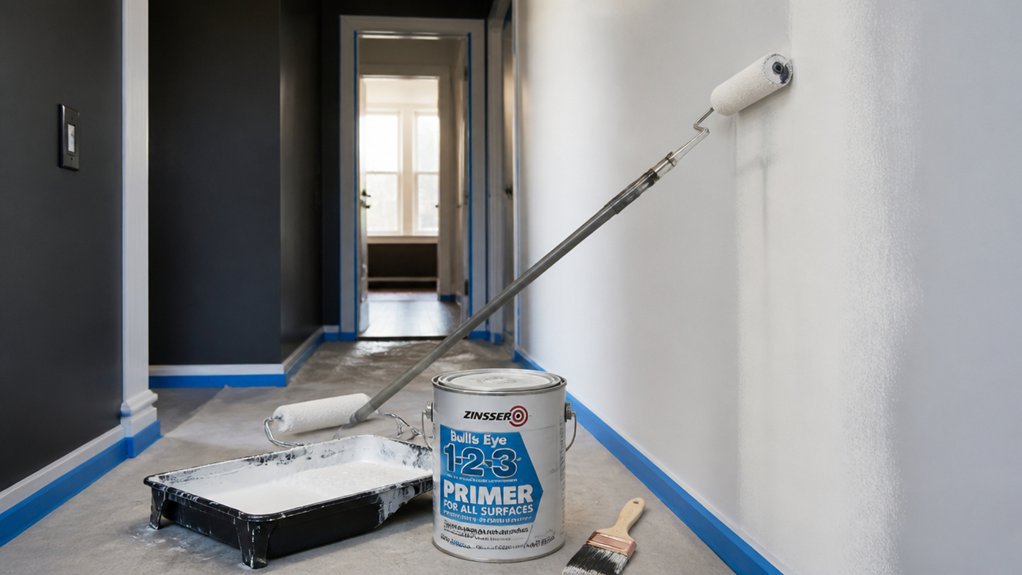
When a narrow hallway has nicotine, water marks, or a deep previous colour, you’ll get better coverage and fewer surprises if you spot-prime first rather than hoping your topcoat will hide it. Use stain blocking primers to lock in tannins and odours, and stop bleed-through on ceilings and around radiators.
- Mask skirting and flooring with low-tack tape; hallways show every drip.
- Choose the right primer: shellac for nicotine, oil-based for water stains, acrylic for minor patches.
- Apply with a 4″ mini-roller to keep splatter down in tight spaces.
- Feather edges so the primed patch won’t telegraph through matt emulsion.
- Let it cure fully, then check for flashing under a bright LED torch.
These priming techniques save coats, speed drying, and keep your finish uniform.
Cut In Edges Fast Without Wobbly Lines
With stains blocked and dark patches sealed, you can focus on the bit that makes narrow hallways look professionally finished: cutting in cleanly along ceilings, architraves, and skirting without snaking lines. Use a 2-inch angled sash brush and decant paint into a small kettle to keep the landing clear. Load the brush halfway, then tap—don’t wipe—so bristles stay sharp.
Work in 60–90cm runs, keeping your wrist locked and moving from your elbow. Lightly drag the heel of the brush to “set” the edge, then fill to it.
For Edge painting techniques, keep a damp cloth and a scraper nearby to catch slips instantly. For Wobbly line prevention, cut in towards the light, use a hop-up or platform, and don’t overreach in tight spots.
Roll Hallway Walls Evenly (No Lap Marks)
Although tight hallways tempt you to rush, you’ll get a uniform finish only if you roll in a controlled pattern and keep a wet edge from start to finish. Start near the window or brightest end so you can spot misses, and work in one wall-length section at a time.
Your roller selection matters: use a 9″ mini-roller or 4″ for narrow runs, with 10–12mm pile for typical UK plaster. Load evenly, then roll a tall “W” and fill it without lifting, finishing with light top-to-bottom lay-off strokes.
Blend into the next section while the edge is still wet, and don’t overwork drying paint.
- Keep a paint scuttle, not a tray
- Feather overlaps
- Maintain consistent pressure
- Re-load before it drags
- Use brush techniques to dab corners cleanly
Conclusion
Once you’ve chosen the right colour and sheen, protected floors and woodwork, and prepped, primed, cut in, and rolled with control, your narrow hallway will look wider, brighter, and properly finished. Worried it’ll feel cramped to work in? Keep a clear “one‑side‑at‑a‑time” route, use a mini roller and short pole, and shift dust sheets as you go. You’ll save space, avoid scuffs, and get smooth walls.
About the Author