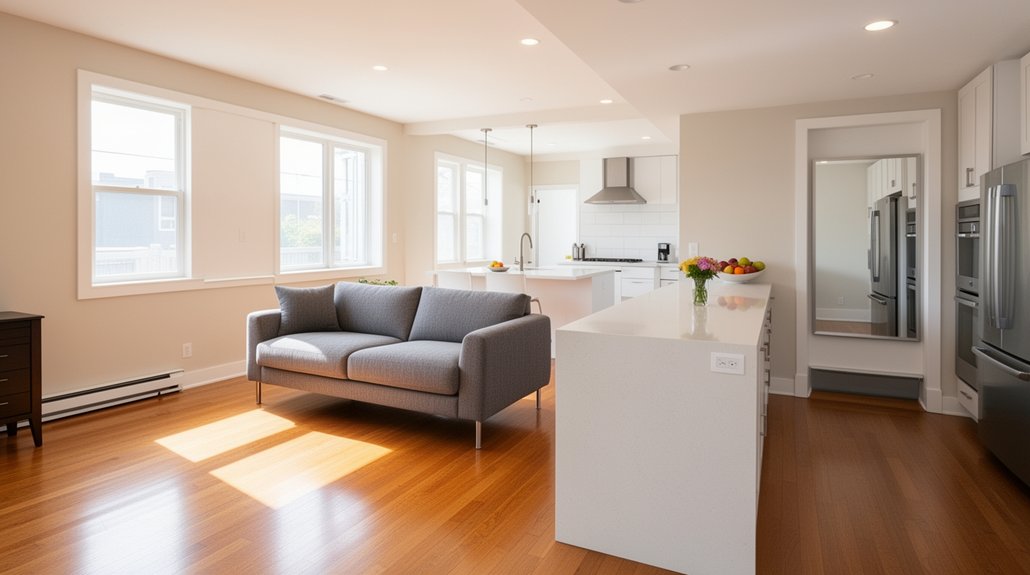
NAR data shows 92% of agents recommend improving curb appeal before listing because it can shift buyer perception fast. You don’t need a full remodel to raise value; you need targeted fixes with clear ROI. Start with a pre-listing walkthrough, then prioritize safety issues, visible repairs, and low-cost updates like paint, lighting, and hardware. If you spend in the wrong order, you’ll waste money—so here’s what to tackle first and why.
Key Takeaways
- Get a pre-list inspection and fix safety, water, HVAC, roof, and code issues to prevent price reductions during buyer inspections.
- Declutter 30–50% of visible items and deep-clean kitchens, baths, floors, baseboards, and windows to make spaces feel larger.
- Boost curb appeal with exterior cleaning, fresh mulch and plants, updated house numbers, and a painted front door for strong first impressions.
- Refresh with neutral interior paint, consistent modern hardware, and upgraded lighting using warm or neutral LEDs plus dimmers for a polished look.
- Consider targeted kitchen and bathroom updates—new fixtures, grout and caulk, matching appliances—and finish with staging and professional photography.
Do a Pre-Listing ROI Walkthrough (Agent + Inspector)
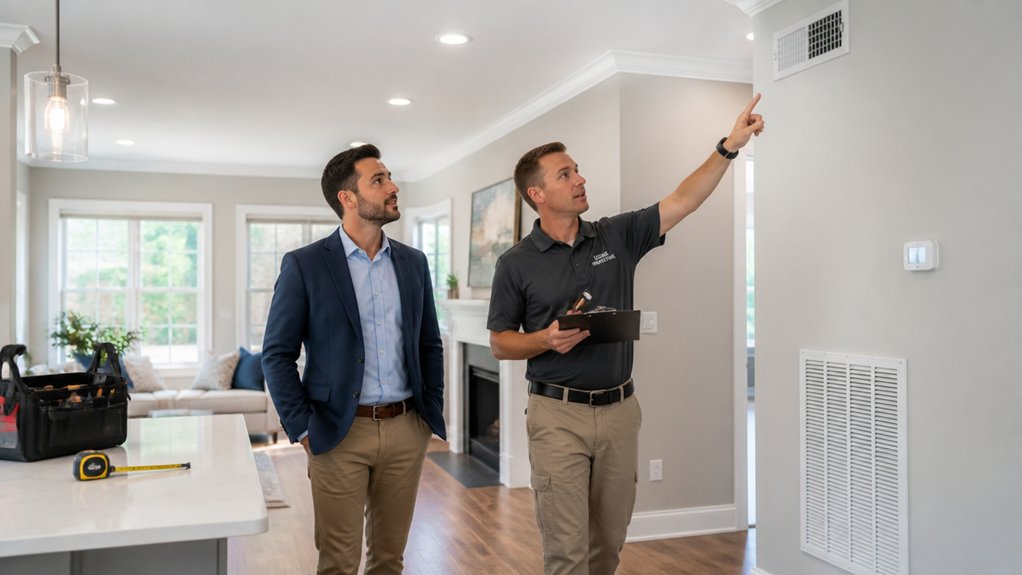
Before you spend a dollar on upgrades, schedule a pre-listing ROI walkthrough with your agent and a licensed home inspector to pinpoint fixes that actually move your sale price. You’ll get a punch list ranked by payback: safety issues, water intrusion, HVAC performance, roof life, and code red flags buyers flag in negotiations.
Your agent layers in comps to show what your neighborhood rewards and what it ignores, so you don’t over-improve. You’ll also use the findings to plan Market timing—finish high-impact repairs before peak buyer demand, not after.
Then you’ll align Pricing strategies with verified condition: price confidently, reduce concessions, and avoid “inspection surprises” that stall closings. You’ll feel prepared and on the same page as serious sellers in your area.
Declutter and Deep Clean to Raise Home Value
Even if you don’t spend a dime on renovations, decluttering and deep cleaning can raise your perceived home value by making spaces look larger, brighter, and better maintained—three factors that drive buyer confidence and reduce lowball offers.
Start with a ruthless sort: keep, donate, store, trash. Use organizational strategies like “one counter rule,” matching hangers, and clear bins so every closet reads as spacious. Aim to clear 30–50% of visible surfaces in key rooms.
Then apply high-impact cleaning techniques: degrease the kitchen, remove soap scum and hard-water spots, wash baseboards, wipe vents, and clean windows inside and out. Neutral, low-scent products help buyers feel “at home,” not like visitors.
Finish with fresh linens and consistent lighting so your whole home feels cohesive.
Fix the Small Repairs Buyers Notice First
After you’ve cleaned, you’ll get more value by fixing the small flaws buyers spot in the first minute. Patch wall scuffs and minor dents with a simple spackle-and-sand pass, because low-cost cosmetic repairs can prevent price-nitpicks during showings.
Then replace loose or mismatched knobs, pulls, and hinges—hardware is cheap, fast to swap, and it signals your home’s been maintained.
Patch Scuffs And Dents
Although buyers may not mention them, scuffed baseboards and small wall dents can signal poor upkeep and reduce perceived value. You can fix these wall imperfections fast, and the ROI is strong because buyers price in uncertainty.
Walk each room in daylight, mark every spot of surface damage with painter’s tape, then patch in batches to save time. Use lightweight spackle for nail holes, setting compound for deeper dents, and a flexible putty knife to keep edges thin.
Sand smooth with 120–220 grit, wipe dust, and spot-prime so the sheen matches. Touch up with the exact paint color and finish; even slight mismatch reads “rushed.” You’ll present a cared-for home that feels move-in ready, like a place buyers can join.
Replace Loose Hardware
Two minutes of wobble can cost you thousands in perceived value: loose doorknobs, cabinet pulls, towel bars, and hinge screws signal deferred maintenance the second a buyer touches them.
You can fix that signal fast, and it’s one of the highest-ROI pre-list tasks because it restores trust with every hand-on interaction.
Start with a $10–$25 kit: screwdriver, wood glue, toothpicks, and a few longer screws. Tighten every hinge and strike plate, then reinforce stripped holes with glue-and-toothpick plugs before re-screwing.
Replace mismatched door hardware so finishes match within each room. Swap cheap, worn cabinet knobs for a consistent style; multipacks cut costs.
Finally, test each door and drawer: no jiggle, no squeak, no excuses. Buyers feel the home’s been cared for.
Paint Neutral and Refresh Hardware Fast
Why spend thousands on a remodel when a few gallons of neutral paint and updated hardware can lift your home’s perceived value fast? Stick to warm whites, light greiges, or soft taupes; color psychology says these shades reduce buyer objections and help rooms feel larger and cleaner.
Use one consistent wall color across main spaces to signal cohesion and “move-in ready,” which helps you fit buyer expectations in your market.
Then refresh hardware where hands land: cabinet pulls, knobs, and switch plates. Follow current hardware trends like matte black, brushed nickel, or champagne bronze, but keep finishes consistent per floor.
You’ll spend tens—not thousands—per room, and you’ll photograph better under listing lights. In a competitive set, that polish helps you belong on buyers’ shortlists.
Boost Curb Appeal Before You List
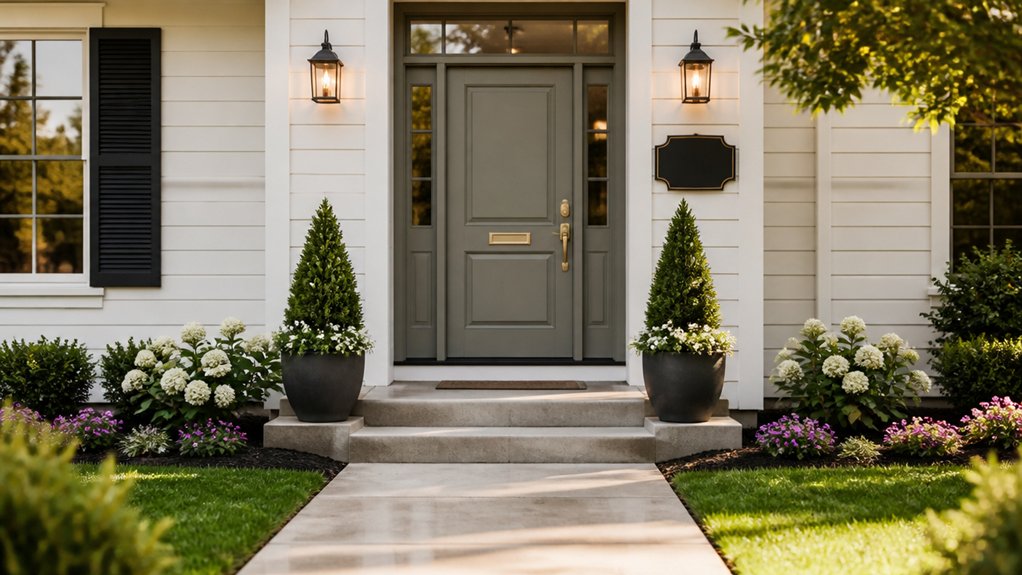
How fast can you raise perceived value before a buyer even walks inside? In minutes, you can set the tone buyers expect in your neighborhood.
Start with a deep clean: sweep walks, wash siding, and clear clutter.
Then prioritize garden landscaping: edge beds, pull weeds, add fresh mulch, and plant a few matching, low-cost annuals for a cohesive look.
Replace a worn welcome mat and update house numbers for under $50.
If your facade looks tired, schedule targeted exterior painting on the front door, trim, or shutters; pros often charge far less than full-house work, yet the contrast reads “well cared for.”
Finally, fix small cracks, tighten rails, and align mailbox hardware so your home fits right in.
Brighten Lighting and Improve Energy Efficiency
Swap outdated bulbs for LEDs to cut lighting energy use by up to ~75% and reduce replacement costs thanks to longer lifespans.
Then add smart switches or dimmers so you can automate schedules, use occupancy sensing, and avoid paying to light empty rooms.
These quick, budget-friendly upgrades make your home feel brighter while signaling lower ongoing utility costs to buyers.
Upgrade To LED Lighting
Although lighting seems like a small detail, upgrading to LED bulbs and fixtures can quickly modernize your rooms while cutting energy use by up to 75% compared to incandescent lighting. That’s immediate energy savings buyers notice in utility bills and in the listing details.
Start with the highest-impact areas: kitchen, bathrooms, entry, and hallways. Choose warm-white LEDs (2700–3000K) for living spaces and neutral-white (3500–4000K) for task zones. Match bulb shapes and color temperatures throughout each room so it feels cohesive, like the homes you admire in your neighborhood.
Swap dated flush mounts for simple, low-profile fixtures to deliver modern aesthetics without major rewiring. LEDs last 15,000–25,000 hours, so you’re reducing replacement hassles and signaling a well-kept home.
Add Smart Lighting Controls
LED upgrades cut waste at the bulb, but smart lighting controls reduce waste at the switch by turning lights on only when you need them. Add occupancy sensors in hallways, closets, and bathrooms, and you’ll stop paying for forgotten lights.
Smart dimmers and schedules can trim lighting energy use by 10–20% in many homes, and most starter kits run $30–$150 per room, so the payback is easy to explain to buyers.
Use Voice automation to create simple routines like “Goodnight” that shuts off every circuit, or “Welcome home” that lights the entry safely.
Layer in Mood settings—warm, dim scenes for evenings and bright task light for mornings—so your home feels current and ready for the way people live today.
Update the Kitchen for Best Resale ROI
Because buyers scrutinize kitchens more than almost any other room, targeted updates here can deliver one of the strongest resale paybacks—often recouping roughly 70% of costs, depending on your market and scope.
Start by fixing flow: a sensible Kitchen layout beats pricey finishes, so remove a bulky island, add a slim peninsula, or widen key walkways if you can do it without moving plumbing.
Next, pick a focused appliance upgrade: replace the range and dishwasher with energy-efficient, matching models, and keep sizes standard to avoid cabinet edits.
Refresh what neighbors expect—durable quartz-look counters, a clean tile backsplash, and modern pulls—then repaint cabinets if boxes are solid.
Keep colors neutral so buyers picture hosting, not remodeling.
Document warranties and receipts to build trust quickly.
Refresh Bathrooms to Raise Your Sale Price
Bathrooms signal maintenance and hygiene fast, so even modest refreshes can lift perceived value and reduce buyer pushback. Start with grout, caulk, and deep-cleaning; these low-cost fixes can remove “deferred maintenance” signals in a weekend.
Swap dated faucets, showerheads, and towel bars for modern fixtures in matching finishes, and replace yellowed switch plates and vents. If your vanity’s solid, paint it and add new pulls; if not, choose a stock model with soft-close hardware for a mid-range price.
Upgrade lighting to bright, neutral LEDs and install a quiet exhaust fan to cut moisture issues. Aim for a Spa bathroom feel with crisp white textiles, simple mirrors, and uncluttered counters so buyers feel they’ll fit right in.
Stage for Showings and Listing Photos
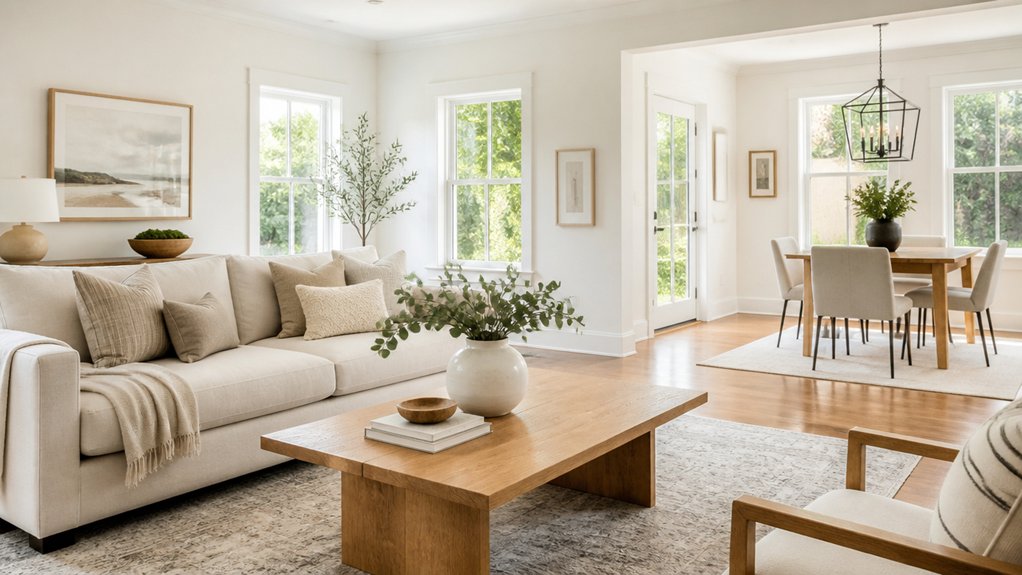
How do you make buyers feel “this is the one” in under 10 seconds? You stage for the camera and the walkthrough, because most shoppers decide from photos first.
Declutter to “one of each”: one throw, one plant, one centerpiece. Rent a 10×10 storage unit for a month if you must; it’s often cheaper than a price cut.
Use bright, neutral bulbs (3000–3500K), open blinds, and add one mirror to bounce light.
Define each room’s job—no “office/storage” hybrids—so buyers picture themselves fitting in.
If your furniture is dated or you’ve already moved out, Virtual staging can show scale for less than renting pieces.
Then book professional photography; sharp, well-lit images earn more clicks and more showings, fast.
Conclusion
You’ve probably heard the theory that you need a full remodel to raise your sale price, but the numbers don’t back it up. Buyers pay more for homes that feel clean, bright, and “no-work” ready—and the highest-ROI wins are often cheap: paint, lighting, hardware, curb appeal, and obvious repairs. When you walk through with an agent and inspector, you’ll spot what actually moves comps, not just what looks trendy. Spend smart, list stronger.
About the Author