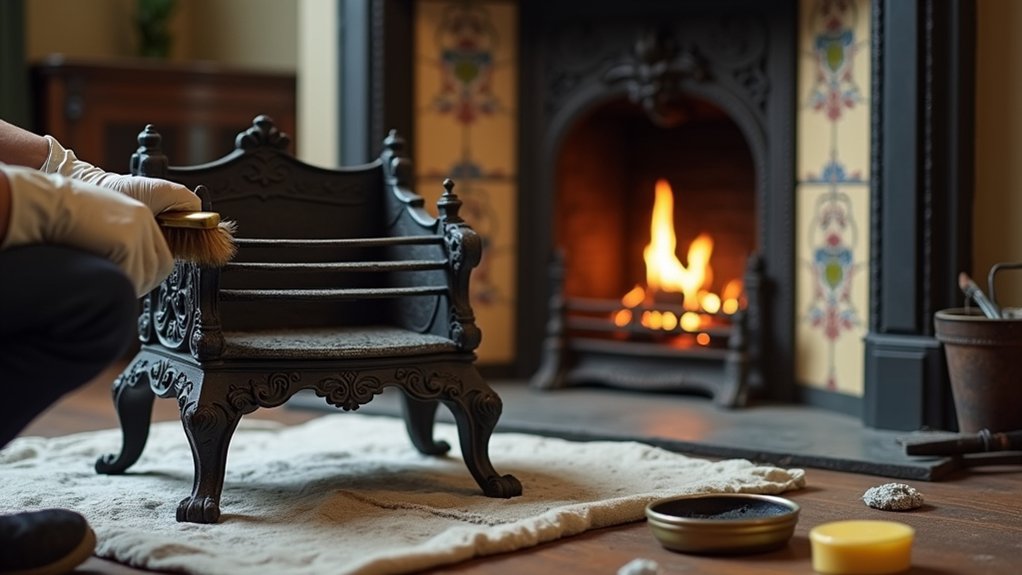
You can’t restore an antique fireplace properly until you know what you’re dealing with, so you start by identifying the period, materials, and any later alterations. You check the chimney, flue, and damp for soot, cracks, and safe draw, then clean gently so you don’t strip the patina that gives it value. After that, you tackle loose tiles, failed grout, a tired hearth, and rusty cast iron. The tricky part comes when you match finishes and fittings…
Key Takeaways
- Identify the fireplace’s period, materials, and original details using catalogues, fixings, jointing, and maker’s marks to guide accurate restoration.
- Get a sweep to inspect flue draw, damp, cracks, and clearances with smoke or camera tests before any cleaning or lighting.
- Clean gently by material: dry brush and HEPA vacuum first, then pH‑neutral wipes, preserving patina and drying promptly to prevent rust or staining.
- Repair structurally before cosmetic work: re-bed loose tiles, re-point with appropriate lime mixes, stabilize hearths, and refit cast iron with sound fixings.
- Finish and style authentically: use period-appropriate paints or polishes, heritage color palettes, and minimal tools or a coal scuttle for a tidy focal point.
Identify Your Antique Fireplace Type and Materials
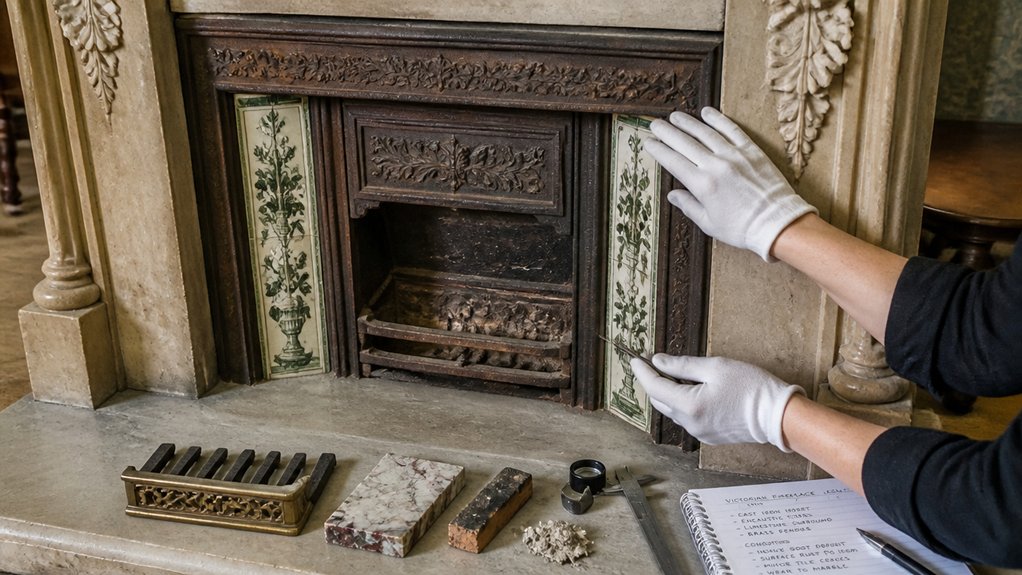
Before you lift a tool or order a replacement tile, pin down exactly what you’ve got: Victorian cast iron, Edwardian glazed tile and timber, Georgian stone, or an Arts and Crafts brick and oak surround are restored in very different ways.
Start by checking proportions and profiles against period catalogues, local listing descriptions, and salvage-yard references common in the UK.
Identify the substrate: softwood or hardwood mantel, lime mortar bedding, slate slips, encaustic tiles, or a cast insert with a separate canopy.
Note how joints are made, where fixings sit, and whether details are crisp or later overpainted.
Photograph fireplace ornamentation close-up, including any maker’s marks.
Your aim is to preserve historical significance by matching material, finish, and detailing, not just the shape.
Inspect Chimney, Damp, Soot, and Fireplace Safety
Once you’ve identified the fireplace’s period and materials, assess the chimney and opening as a safety-critical system rather than a decorative feature.
Book a HETAS-registered sweep for a formal chimney inspection, especially if the flue’s been unused or you’re buying a period home. Ask for a smoke test and camera survey to confirm continuity, lining condition, and any historic breaches into lofts or adjacent rooms.
Check for damp: tide marks, crumbling mortar, salt efflorescence, or a musty smell can indicate failed flashings, defective pots/cowls, or blocked ventilation.
Examine the hearth, lintel, and gather for cracking or sagging, and ensure combustible clearances meet current UK guidance.
Don’t light anything until you’ve addressed soot removal and confirmed the flue draws cleanly.
Clean an Antique Fireplace Without Stripping Patina
Start by identifying what you’re cleaning—cast iron, tiled slips, marble, or brick—and decide which marks are true patina you mustn’t remove.
You’ll then use gentle dry methods first, such as soft brushes and a HEPA vacuum, to lift loose soot without polishing the surface.
If wet cleaning’s needed, you’ll keep it mild and controlled with pH‑neutral cleaner and barely damp cloths.
Dry the surface promptly to prevent staining and rust.
Assess Materials And Patina
Because antique fireplaces were built from everything from cast iron and steel to limestone, marble, tile and old brick, you’ll get the best results by identifying the material and reading the patina rather than scrubbing on autopilot.
Start with material identification: check for casting seams, magnet response, porous open grain, glaze, or lime mortar joints typical in UK period homes. Note previous repairs, paint layers, or hearth substitutions, as these change what “safe” means.
Then assess patina preservation: look for stable darkening, softened edges, and micro-scratches that signal age, versus active corrosion, salts, soot bloom, or friable surface.
Test discreetly with raking light and a fingertip, not water.
Photograph, map stains, and decide what must be removed versus conserved before you touch a tool.
Gentle Dry Cleaning Methods
With the material and patina mapped, you can begin cleaning in a way that lifts loose soot and grit without chasing a “like new” finish. Keep everything dry and controlled, working top to bottom so debris doesn’t re-soil areas you’ve finished. Use light pressure and stop if colour transfers—your aim is Vintage cleaning that respects age, not abrasion.
- Vacuum with a soft brush attachment, held just off the surface to avoid snagging friable mortar.
- Sweep gently with a natural-bristle paintbrush, especially around Decorative detailing and rebates.
- Lift soot with a smoke sponge or vulcanised rubber block, dabbed rather than rubbed.
- Collect residue with microfibre cloths used dry, folding often to present a clean face.
Finish by checking joints and ornaments under raking light, noting any movement or powdering.
Mild Wet Cleaning Steps
A mild wet clean lets you shift ingrained soot and greasy deposits once dry methods have done all they can, but you must keep water use minimal to protect aged finishes and porous joints.
Mix a few drops of pH‑neutral washing‑up liquid into warm water; avoid vinegar, bleach, and abrasive creams.
Test first on an inconspicuous edge. Dampen (don’t soak) a microfibre cloth, wipe in small sections, and immediately buff dry.
For carved stone or cast iron detail, use a soft toothbrush, working with the grain and keeping bristles barely wet. Lift residue with cotton buds, not scrapers.
Keep joints and hearth cracks dry to prevent salts and crumbling mortar.
Finish by wiping with clean water on a separate cloth, then dry again. This preserves patina for Vintage décor and Historical accuracy.
Repair an Antique Fireplace Hearth, Tiles, and Grout
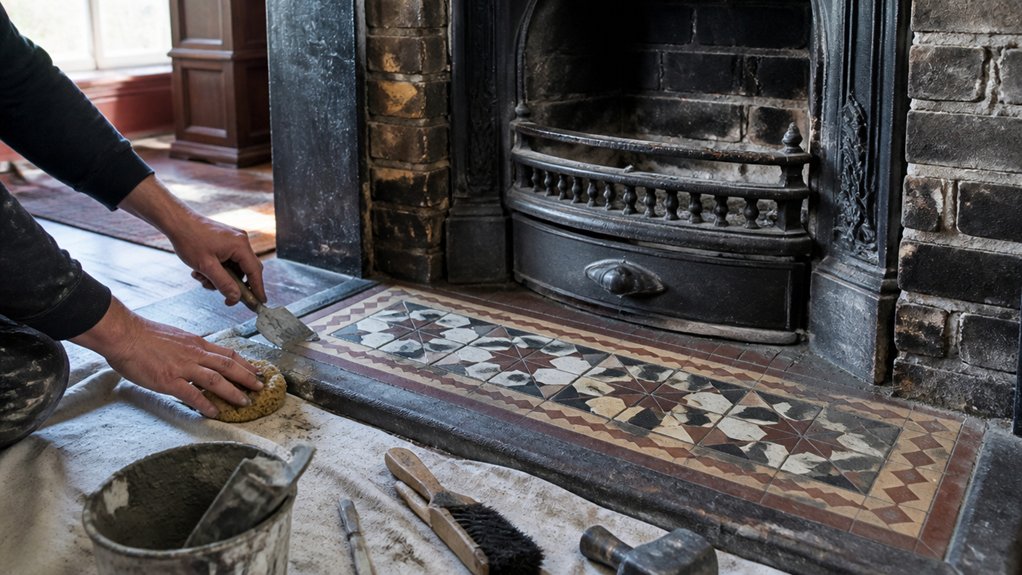
You’ll need to stabilise the hearth first, repairing chips, cracks, and loose sections with compatible lime-based or heat-resistant materials rather than modern cement.
Next, lift and re-bed any failed tiles, then replace missing pieces with period-appropriate matches so the pattern reads correctly.
Finish by raking out loose grout, re-pointing neatly, and sealing only where appropriate to protect the surface without trapping moisture.
Hearth Surface Repairs
Although an antique hearth can look solid at a glance, worn tiles, loose bedding, and crumbling grout often hide deeper movement that needs correcting before any cosmetic work begins. Start by testing for hollow spots and rocking edges, then lift any loose pieces carefully and label their positions.
Check the sub‑base: you’re looking for damp, flex, or soot‑softened mortar that compromises Hearth safety. Keep the firebox sealed while you work and don’t block Fireplace ventilation routes or existing air bricks.
- Vacuum grit and ash so repairs bond properly
- Re‑bed loosened tiles on a compatible lime mortar
- Pack voids beneath the hearth with firm, non‑combustible fill
- Refix cracked hearth slabs with stainless pins and lime grout
Finish by allowing slow curing and rechecking level and soundness.
Tile And Grout Restoration
Where do most antique hearths start to look tired—on the tile faces and in the joints that hold everything together. Begin by photographing the layout, especially with Vintage mosaics, then lift any loose tiles with a thin bolster and protect surrounding edges.
Clean gently: warm water, pH‑neutral soap, and a soft brush; avoid acids that etch Victorian glazes.
Rake out failed grout to 3–5mm using a hand grout saw, keeping clear of tile arrises.
For period fireplaces, you’ll usually get the best match with lime-based grout rather than modern cement, which can trap moisture in UK homes.
Re-bed tiles on a lime mortar, align the Tiled ornamentation, then regrout, compacting joints fully.
Finish by buffing haze after initial set, not overnight.
Restore Cast Iron Inserts and Metalwork (Rust, Polish, Paint)
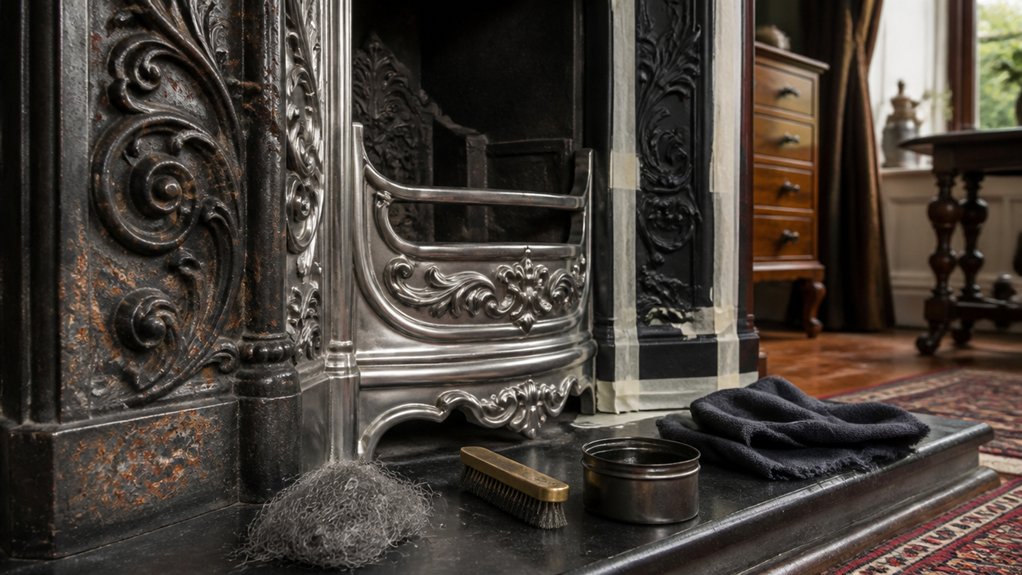
Before you reach for paint or polish, assess the cast iron insert and any surrounding metalwork for active rust, pitting, loose previous coatings, and cracked joints, because the right restoration method depends on the metal’s condition.
Isolate the hearth, mask stone and tiles, and remove the insert if it’s safely detachable.
For Vintage metalwork, favour gentle methods first; aggressive abrasion can erase crisp Victorian detail.
- Start rust removal with a stiff brush and vacuum, then use fine wire wool with paraffin for light corrosion.
- For heavy rust, apply a UK-available gel converter, rinse, and dry thoroughly.
- Stabilise flaking coatings by scraping back to sound edges, then key with 120–180 grit.
- Refit with new fixings where needed, and seal exposed iron with stove polish or heat-rated paint, per manufacturer instructions.
Finish and Style Your Restored Antique Fireplace (Period-Correct)
Once you’ve stabilised the ironwork and repaired any loose joints, choose a finish that matches the fireplace’s original period and the room’s age rather than whatever looks shiniest in the tin.
For Georgian and Regency surrounds, keep stonework honed and use limewash or soft distemper nearby. For Victorian cast iron, favour graphite paste or traditional black grate polish over high-gloss enamel. Edwardian tiles suit muted, heritage glazes, not bright modern whites.
Build the scheme around Vintage color palettes: deep oxbloods, sage, buff, and smoky blues.
Use period appropriate finishes on timber mantels—shellac, wax, or a hand-brushed eggshell—then keep fittings understated: plain brass, aged nickel, or patinated iron.
Finally, style the hearth with a simple coal scuttle, fire tools, and a framed print, not clutter.
Conclusion
Restore your antique fireplace with care, and you’ll keep your period home both safe and true to its roots. You’ve identified materials, checked the flue, damper, and soot risks, cleaned without erasing patina, repaired hearths, tiles, and grout, and revived cast ironwork. Now match finishes and hardware to the era and style the surround with restraint. Done right, it becomes the home’s beating heart, quietly warming every room.
About the Author