A bathroom renovation can feel like walking a tightrope in the dark. You’ll keep it steady by setting a realistic budget with a 10–20% buffer, locking in your must-haves, and signing off the layout and finishes before anyone lifts a tile. You’ll also book your contractor and key trades early, map the schedule from demo to snagging, and order long-lead items first. Then comes the part most people miss…
Key Takeaways
- Set a clear budget with 10–20% contingency, and track costs weekly in a simple spreadsheet.
- Create scaled plans confirming clearances, door swings, pipe runs, ventilation, and electrical zones before ordering anything.
- Get at least three written quotes, confirming inclusions, start dates, payment stages, waste removal, and snagging in a signed agreement.
- Order long-lead fixtures early, double-checking dimensions, waste positions, and finish consistency to avoid delays and rework.
- Prepare the site: seal dust, protect floors, plan alternative washing/toilet access, and keep stopcock and emergency contacts easily accessible.
Set Your Budget + 10–20% Renovation Buffer
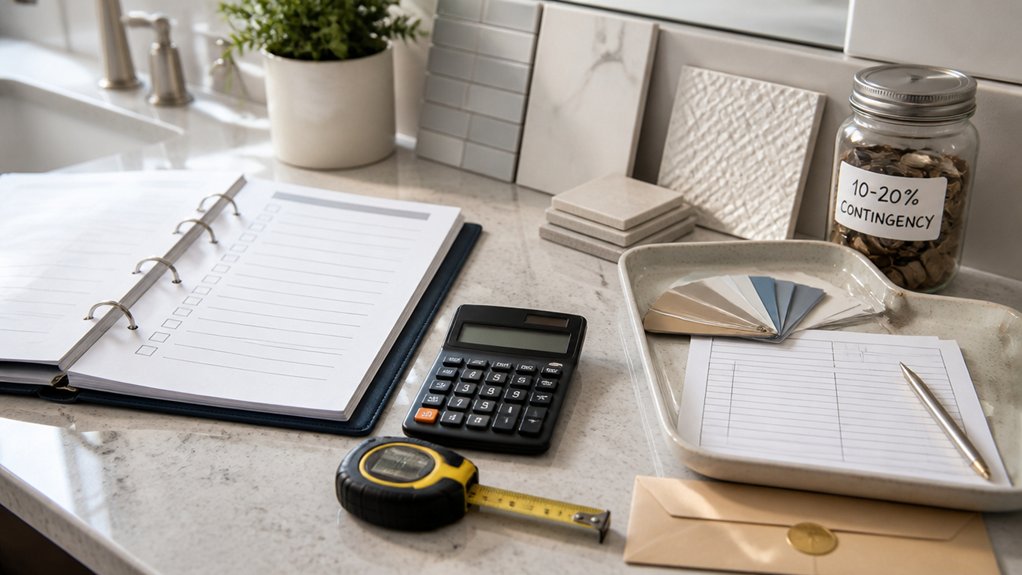
Before you pick tiles or book a fitter, set a clear bathroom renovation budget and ring-fence an extra 10–20% buffer for the surprises that almost always crop up.
Build your cost estimation from the ground up: labour, plumbing and electrics, skips, plastering, waste, and contingency.
In the UK, always allow for Building Regs sign-off where needed, and check whether you’ll need an EICR or Part P electrician for new circuits.
Get at least three written quotes, compare like-for-like, and confirm what’s excluded (making good, removal, parking, VAT).
Decide your funding sources early—savings, 0% purchase cards, personal loans, or a remortgage—and match repayments to your timeline.
Keep a simple spreadsheet and update it weekly throughout.
Decide Your Must-Haves (and Deal-Breakers)
Next, you’ll need to pin down your non-negotiables, such as a walk-in shower, more storage, underfloor heating, or better ventilation.
Write a short list of deal-breakers too—poor water pressure, awkward layout, no natural light, or any change that would breach UK building regs.
With those boundaries set, you can assess quotes and plans quickly and avoid costly compromises later.
Define Non-Negotiable Features
If you don’t define your non-negotiables early, your bathroom renovation can drift on cost, layout, and finish choices without you noticing until it’s too late. Set your baseline before you compare quotes or visit UK showrooms, so every decision supports function first, then style.
- Layout essentials: keep (or improve) circulation, door swing, and clear access to the loo, basin, and shower; measure to UK standards and your room’s quirks.
- Performance requirements: specify ventilation (extractor rate and humidistat), lighting layers, water pressure needs, and easy-clean surfaces for daily use.
- Fixed-spec finishes: pick the luxury fixtures you’ll actually use and the aesthetic choices you won’t compromise on, then lock them into your brief and budget spreadsheet.
Identify Renovation Deal-Breakers
Although you can stay flexible on tiles and taps, you should decide your renovation deal-breakers upfront—things that would make you stop, redesign, or walk away from a quote—so you don’t get backed into compromises on safety, compliance, or day-to-day usability.
Set red lines on electrics and plumbing: Part P sign-off, safe zones around showers, proper isolation valves, and no hidden push-fit bodges. If your home needs better ventilation, make an extractor fan to Building Regs non-negotiable, not “nice to have”.
Agree cost considerations that trigger a pause, like unexpected floor rot, asbestos, or moving soil stacks.
Lock in accessibility and layout needs, then rank aesthetic preferences so they can flex without derailing essentials.
Put these deal-breakers in writing before you compare quotes.
Finalize the Bathroom Layout and Design Specs
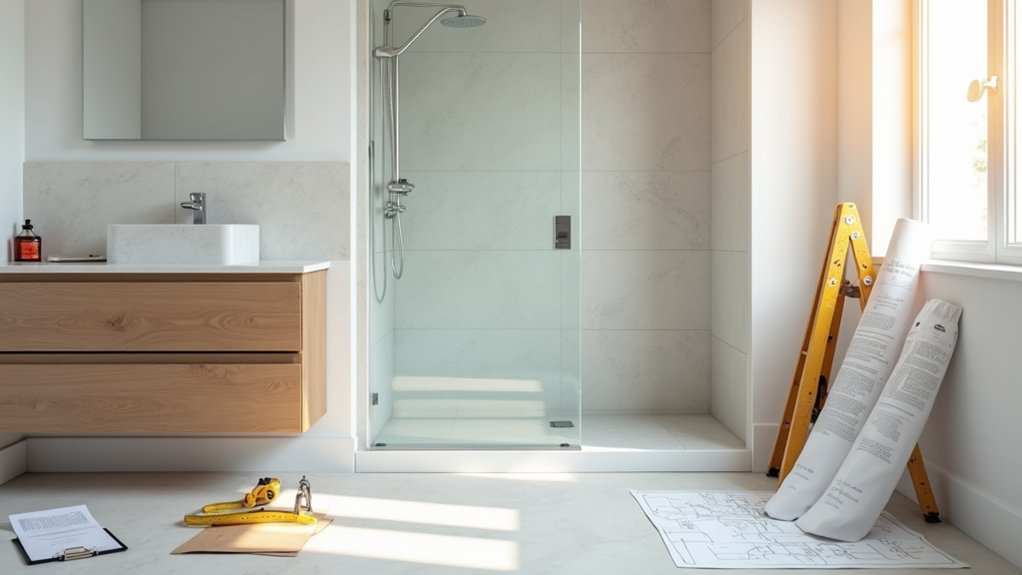
Before you order tiles or book trades, lock in your bathroom layout and design specs so every measurement, fitting, and finish aligns with UK building realities. Start with scaled plans that show door swings, window reveals, and clearances around the WC and basin. Confirm pipe runs, soil stack position, and whether you’ll need a macerator or pumped waste. Specify custom cabinetry depths to protect circulation space, and detail your lighting design with IP ratings for Zones 0–2.
- Dimensions: Set fixture sizes, tray/bath footprints, and minimum aisle widths; check stud walls can take loads.
- Services: Fix electrics, ventilation (Part F), and towel rail outputs; note isolators and access panels.
- Finishes: Choose slip ratings, grout colours, trim profiles, and paint suitable for humidity.
Book Your Contractor and Key Trades Early
Once you’ve fixed the layout and specs, get your main contractor—and any key trades you’re hiring direct (plumber, electrician, tiler, plasterer, and a bathroom fitter)—booked early so you don’t lose weeks to lead times and diary gaps.
Prioritise Contractor selection: shortlist local firms, check insurance, NICEIC/NAPIT and Gas Safe where relevant, and ask for recent bathroom references and photos.
Confirm who supplies materials, removes waste, and handles Building Control notifications if needed.
Lock in written quotes, start dates, payment stages, and snagging expectations.
If you’re mixing direct hires with a builder, agree Trade coordination in writing: who orders, who signs off first-fix, and who’s responsible for call-backs.
Get everything in email, not just WhatsApp.
Build the Work Schedule (Demo to Finishing)
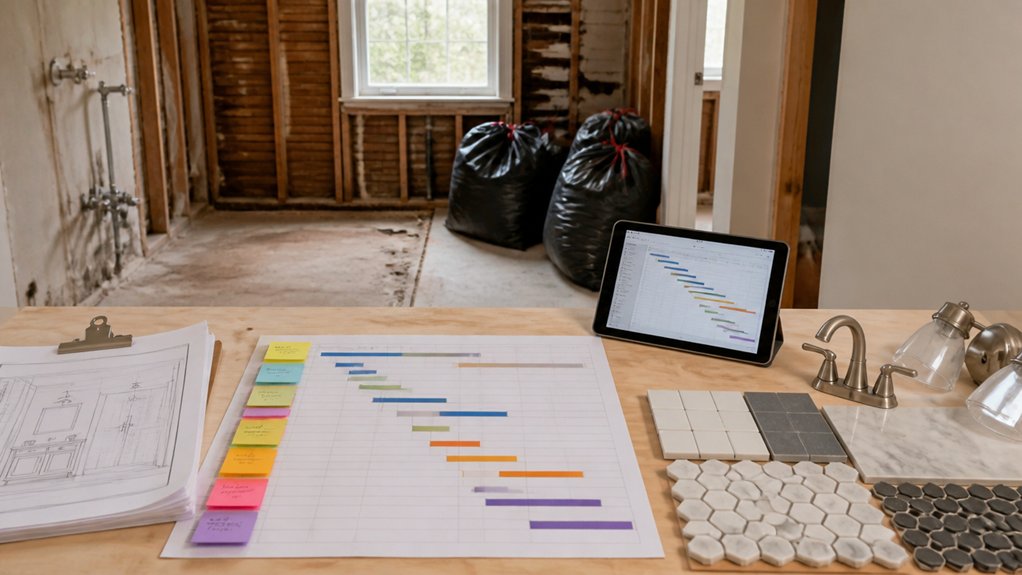
With your contractor and key trades booked, map out a written schedule from strip-out to final silicone so everyone knows what’s happening each day and you don’t get stuck waiting for a return visit. Build in realistic lead times for inspections, drying, and cure times, and keep Scheduling milestones visible on a shared calendar.
Confirm who’s on site, access hours, and where waste, tools, and deliveries will go, especially if you’re in a flat with tight communal rules. Track material procurement as a task line, so tiles, adhesives, grout, and trim arrive before each stage starts, without jumping ahead to purchases.
Use this simple flow:
- Demo, isolate services, and first-fix plumbing/electrics.
- Boarding, tanking, screed, then tiling and second fix.
- Painting, fitting, testing, snagging, and handover.
Order Long-Lead Fixtures and Materials First
Even if your design’s locked in, you should order long‑lead items first—think bath, shower tray or enclosure, wall‑hung WC frame and cistern, brassware, towel rail, and any bespoke vanity—because UK lead times can stretch from a week to several months and they’ll dictate when first fix and tiling can actually happen.
Confirm exact dimensions, valve types, waste positions, and fixing requirements before you pay deposits.
For tiles, order full batches plus 10% extra, and check shade codes match.
Lock in deliveries with tracked dates and inspect on arrival for damage, missing parts, and correct finishes.
Good supplier relationships help you chase ETAs, swap faulty items quickly, and secure matching spares.
Plan your material sourcing so everything lands before trades need it.
Prep Your Home for Dust, Noise, and Downtime
Before work starts, you’ll need to stop dust travelling through the house by sealing the route to the bathroom with plastic sheeting, tape, and door covers.
Expect plenty of noise and plan your day around it, especially if you’re working from home or have young children.
Also plan for downtime by setting up an alternative loo and washing routine, and confirm the contractor’s working hours and access needs.
Isolate Dust With Barriers
How do you stop renovation dust from spreading through the rest of your home? You set up proper dust barriers and treat the bathroom like a contained work zone. Start by sealing gaps, controlling airflow, and giving everyone a clear route in and out.
- Fit zip-door sheeting over the bathroom entrance, then tape all edges to the architrave and skirting with painter’s tape for reliable dust isolation.
- Cover adjacent floors with taped-down hardboard or sticky-back floor protection, and add a tack mat outside the door to catch grit from boots.
- Block shared vents and openings: cap extractor fan grilles, seal pipe penetrations under the basin, and close nearby internal doors.
Check seals daily, especially after deliveries or plumbing access.
Plan For Noise And Downtime
Dust barriers keep mess contained, but you’ll still feel a bathroom renovation through noise, vibrations, and periods when the room’s out of action. Tell neighbours early and agree working hours that respect local council rules and your building’s quiet times.
Use soundproofing strategies: lay down old rugs, close internal doors, wedge draught excluders, and tape up key gaps around the work zone. Move pictures off shared walls and protect fragile items from hammer shock.
For renovation downtime planning, map each stage with your fitter: strip-out, first fix plumbing, electrics, tiling, and final fit.
Book a backup loo (portable or a neighbour’s), and schedule showers at the gym or family. Keep essentials in a caddy and label the stopcock location.
Conclusion
If you plan well, you’ll save time, money, and hassle. In the UK, home improvement overruns are common—one survey found around one in three projects go over budget—so that 10–20% buffer isn’t optional, it’s protection. Lock your layout, finishes, and must-haves before demo starts, and order long-lead items early to avoid site downtime. Keep written updates with your contractor, and prep for dust, noise, and temporary disruption.
About the Author