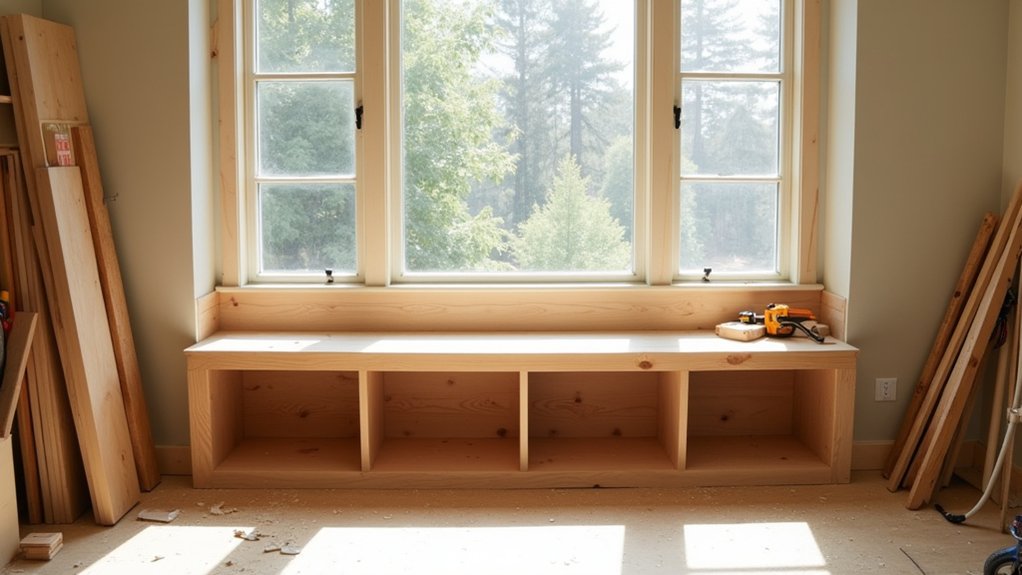
You measure the recess, you map the clearances, you choose the storage. You’ll work to sensible UK ergonomics, keep the seat height comfortable, and allow for skirting, radiators, and window catches. You’ll pick between lift-up lids, drawers, or cubbies, then build a square, moisture-resistant carcass and fix it into studs for a proper built-in feel. Get the frame wrong and every hinge line will show—so start with the one measurement that matters most…
Key Takeaways
- Measure the bay precisely, confirm 600mm walkway clearance, and set seat size: 430–480mm high, 450–550mm deep plus cushion allowance.
- Choose storage format early—lift-up lid, drawers, cubbies, or a mix—checking skirting, radiator, and window-opening clearances.
- Build carcasses from 18mm birch plywood, seal cut edges, and select suitable hinges, drawer slides, and corrosion-resistant fixings.
- Assemble a dead-square base frame with centre bearer and braces, then anchor securely into studs or masonry and shim to eliminate wobble.
- Install slides/hinges square, align fronts with 2–3mm gaps, then trim, caulk, prime, and paint for clean shadow lines and durability.
Plan Window Seat Size, Height, and Clearances
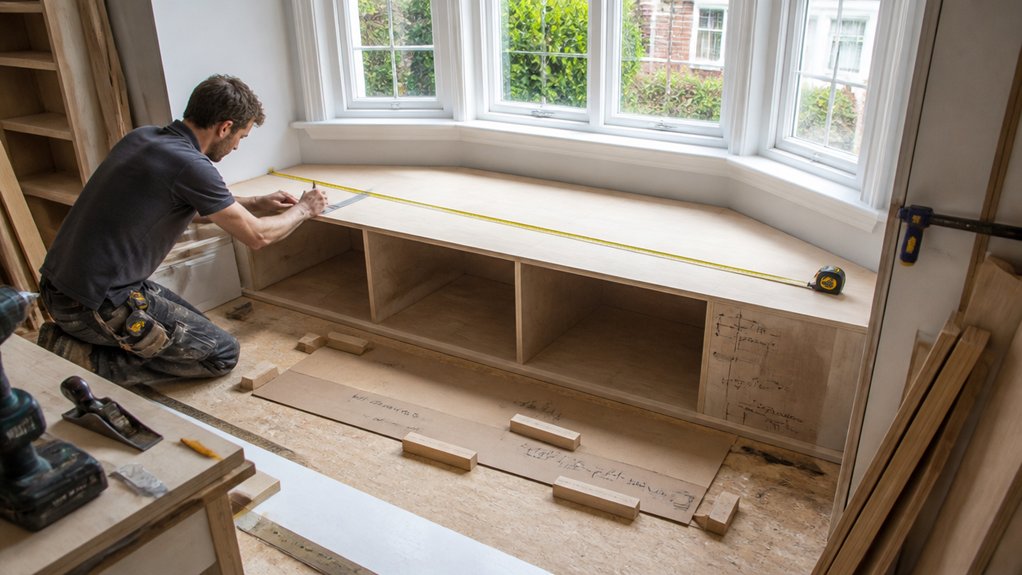
Before you cut any timber, lock in the window seat’s footprint, finished height, and the clearances around it so it fits your room rather than fighting it. Measure wall-to-wall, check skirting, radiators, and window boards, and decide how far the seat can project without pinching the walkway (aim for at least 600mm clear).
Set height for Window seat ergonomics: 430–480mm finished height suits most adults, and 450–550mm depth supports thighs without forcing a slouch. Allow 20–30mm for cushion thickness if you’re adding one later.
For natural light considerations, keep the seat back low enough not to shadow the glazing, and confirm the window still opens fully, including handles and restrictors. Mark it all on tape first.
Pick a Window Seat Storage Style (Lid, Drawers, Cubbies)
Once you’ve fixed the seat’s footprint and height, choose a storage format that suits what you’ll actually stash and how often you need access.
A lift-up lid maximises volume for blankets, board games, or kids’ toys, but you’ll need clear Cushion placement so the top can open without faff.
Drawers suit daily items—shoes, leads, chargers—because you can pull one out without shifting cushions; just allow for skirting boards and door swings nearby.
Open cubbies keep books and baskets within reach and help in tight UK terraces where deep drawers feel bulky; add labelled boxes to stop visual clutter.
Mix formats if the bay is wide: drawers in the centre, cubbies at ends.
Finish fronts with Decorative hardware that’s easy to grip.
Choose Materials and Hardware for Your Window Seat
Next, you’ll choose materials and hardware that keep your window seat rigid, quiet, and slim in a typical UK bay or alcove.
Decide whether plywood or solid wood suits your budget, moisture levels, and painted or stained finish.
Then match the job with the right hinges, drawer slides, and fasteners so lids lift cleanly, drawers run true, and the carcass stays square.
Plywood Vs. Solid Wood
Although both plywood and solid wood can deliver a smart, built-in look, plywood usually makes the most sense for a UK window seat because it stays flatter through damp winters and warm summers, costs less per sheet, and gives you clean edges for tight alcoves.
For carcasses, use 18mm birch ply for Material durability and predictable squareness, then dress visible faces for Aesthetic appeal.
- Choose birch ply for boxes; it resists cupping in heated rooms
- Pick MR MDF only for painted trims, not structural panels
- Use solid oak or tulipwood for lippings where knocks happen most
- Match grain direction on exposed panels to the room’s sightlines
- Seal all cut edges with primer or thinned PVA to block moisture
Hinges, Slides, And Fasteners
Because a window seat lid gets opened and sat on for years, you’ll want UK-available hardware that won’t sag, squeak, or rust in a damp bay: pair soft-close or torque hinges with properly rated drawer slides (or none at all for simple lift-up storage), then fix everything with structural screws into ply rather than short brads into end grain.
Choose stainless or zinc-plated fixings for condensation-prone bays. If you’re adding drawers, match slide length to carcass depth and check the kg rating; undermount soft-close saves width in tight alcoves.
For lift lids, add a stay or gas strut so it won’t drop on fingers. Pre-drill, use countersinks, and clamp for clean fastening techniques. Hide screws with caps, or lean into decorative hardware like brass pulls and corner plates.
Add thread-lock where vibration loosens.
Build and Anchor a Square Window Seat Frame
Where should you start if you want a window seat that won’t rack or wobble over time? Build a dead-square base frame from 18mm ply or CLS timber, sized tight between the reveals, then check it for twist on a long level. Glue and screw every joint, add a centre bearer, and keep everything flush so your top sits flat and your decorative upholstery and cushion options won’t telegraph lumps.
- Mark a datum line and pack off the skirting for clearance
- Cut rails and stiles, then clamp to a carpenter’s square
- Add corner blocks and a mid-span brace to stop bounce
- Anchor into studs or masonry with plugs, coach screws, and washers
- Recheck diagonals, shim low spots, and tighten fixings
Install Drawer Slides or Hinges and Fit the Fronts
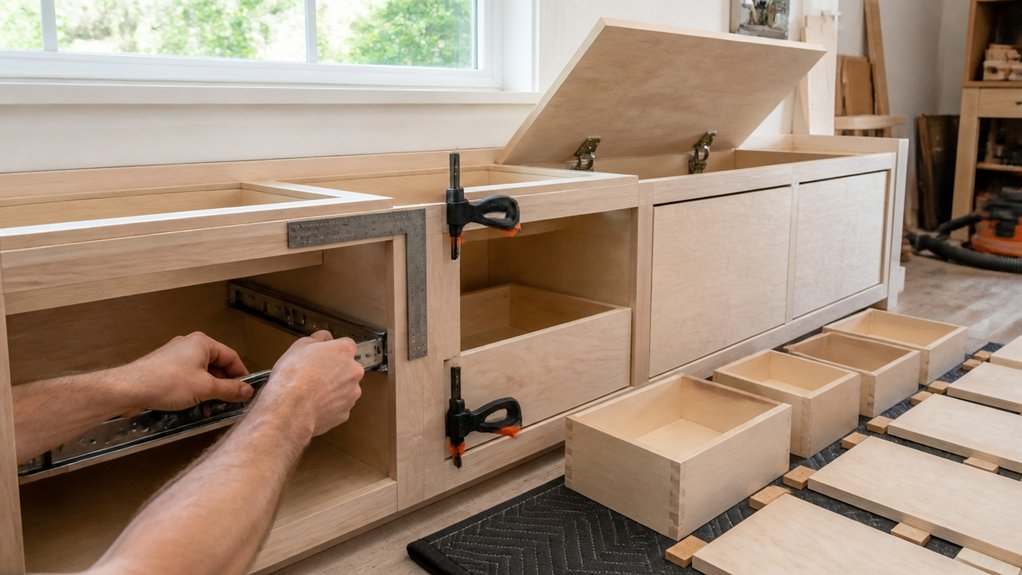
Now you’ll mount the drawer slides or hinges with millimetre accuracy, keeping them square to the carcass so everything runs smoothly.
Use spacers and a level to set consistent reveals, then offer up each front and clamp it in place before you fix it.
Check the action, tweak the alignment, and only then screw the fronts home for a clean, built-in finish.
Mount Drawer Slides Precisely
Once your drawer boxes and carcass sit square, you can mount the drawer slides with the kind of accuracy that stops binding and uneven gaps. Mark a consistent set-back line from the seat front, then use a spacer block so every slide sits identical, even in tight UK alcoves. Clamp first, drill pilot holes, and fix with the screws supplied; don’t rely on chipboard alone—use ply or add hardwood packers.
- Use a spirit level and story stick to transfer heights
- Check slide pairs are parallel before driving final screws
- Maintain equal reveal allowances for later decorative accents
- Leave clearance for wiring routes if you’re adding lighting options
- Test travel with the box loaded, then tweak elongated holes only
Align And Fit Fronts
Although the boxes may run sweetly on their slides, you’ll only get that crisp, even shadow line across a UK window seat when you align and fix the fronts with measured gaps and repeatable references.
Set a 2mm–3mm reveal all round using plastic packers, then clamp each front to its box in situ. Drill from inside, fit screws, and re-check level against the seat rail and skirting line.
If you’re using hinges for lift-up doors, set them on a story stick so every cup lands identical, then fine-tune with the hinge cams.
Keep handles centred for ergonomic considerations: comfortable reach from the sofa edge and no knuckle-scrapes on adjacent fronts.
Add Decorative embellishments last so they don’t distort spacing or foul runners during use.
Trim, Caulk, and Paint for a Built-In Finish
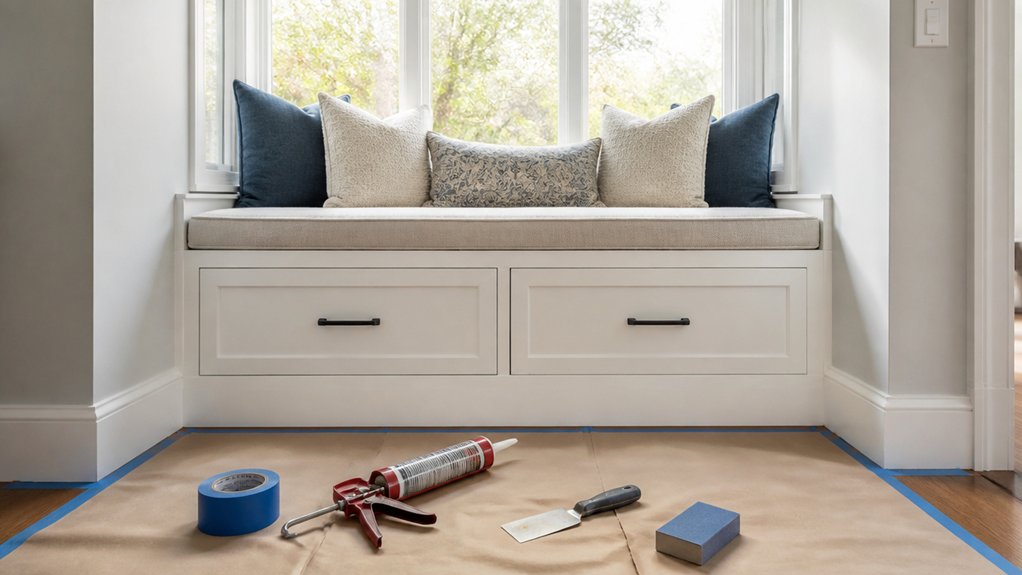
Before you call the build finished, get the trim, caulk, and paint right—because these are the steps that make a window seat read as a true built-in rather than a fitted box.
Fit decorative trim to mask scribe lines and any out-of-square plaster, keeping profiles slim for tight UK rooms. Pin, fill, and sand flush so the seat face reads as one plane.
- Mitre corners tight; cope if walls wander.
- Use finishing caulk along skirting joins and window reveals.
- Prime MDF edges; they drink paint fast.
- Apply two topcoats in durable satinwood for wipe-clean use.
- Cut in carefully around radiators and sockets, then de-nib between coats.
Finish by checking shadow lines in daylight; touch up gaps before it cures.
Conclusion
Now you’ve measured twice, chosen your storage style, and built a dead-square carcass that’s anchored into studs like it belongs there. You’ve set the slides or hinges, dialled in even reveals, and kept every clearance tight for knees, skirting, and rad pipes. Next comes the bit that makes it feel truly built-in: scribe the trim, run a fine caulk line, then lay on paint. Wait—don’t fit the cushion yet… check that lid action one last time.
About the Author