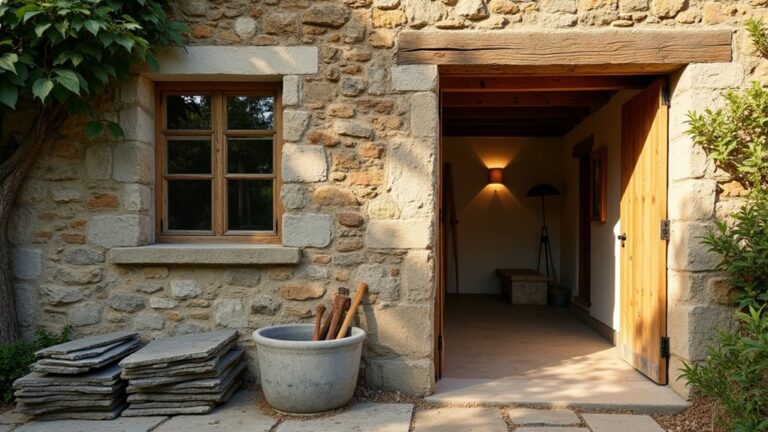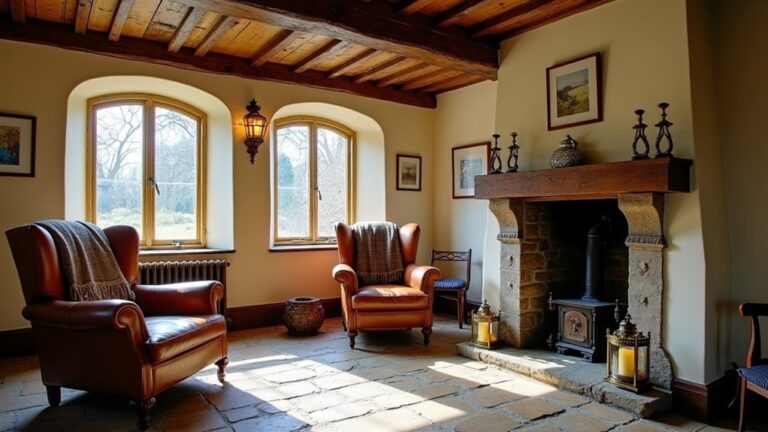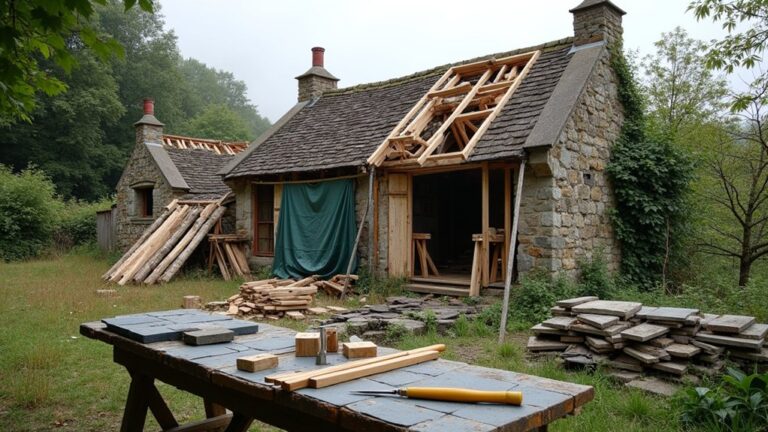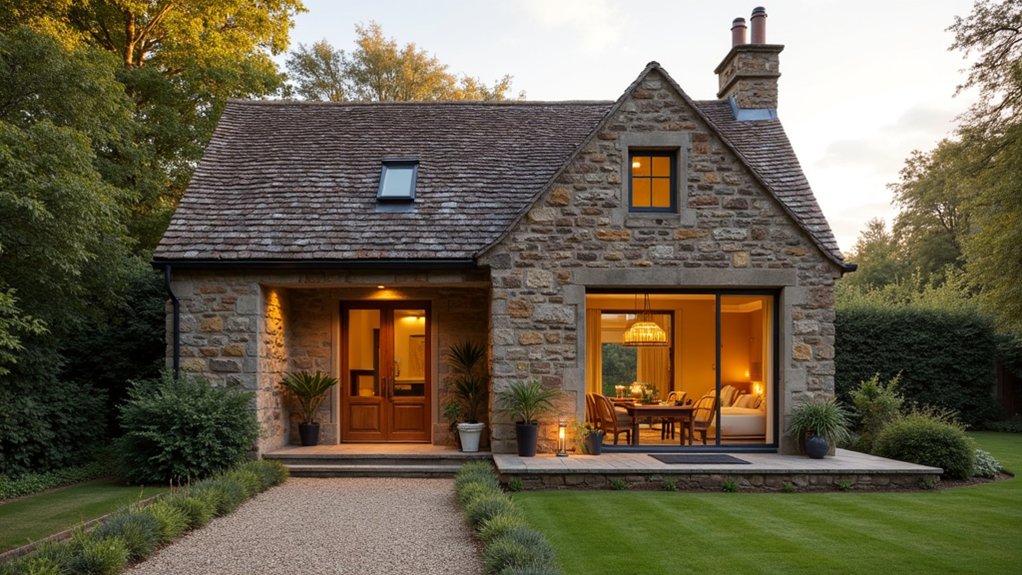
Nearly a quarter of England’s pre‑1919 homes still show damp‑related defects, and a neglected gatekeeper’s lodge is rarely an exception. You start by surveying structure, moisture paths, and tired services, then you set priorities that keep the place weather‑tight before you touch finishes. You’ll need to balance lime, timber repairs, and listed‑building constraints with discreet insulation and modern heat. Miss the order, and you can lock damp in—so what comes first might surprise you…
Key Takeaways
- Survey structure, damp, timber decay, drains, and services; document defects and prioritize safety and weather-tightness before cosmetic upgrades.
- Confirm listed status early; secure Listed Building Consent and planning approvals, supported by a heritage statement and photographic records.
- Stabilize the envelope first: repair roof, gutters, flashings, chimneys, and pointing using like-for-like, breathable materials such as lime mortar.
- Control moisture with drainage, vapour-open finishes, and proper ventilation; avoid impermeable barriers and dot-and-dab on solid walls.
- Integrate modern comfort discreetly: upgrade electrics and heating, improve airtightness with reversible seals, and route services through existing voids.
Survey the Lodge: Structure, Damp, and Utilities
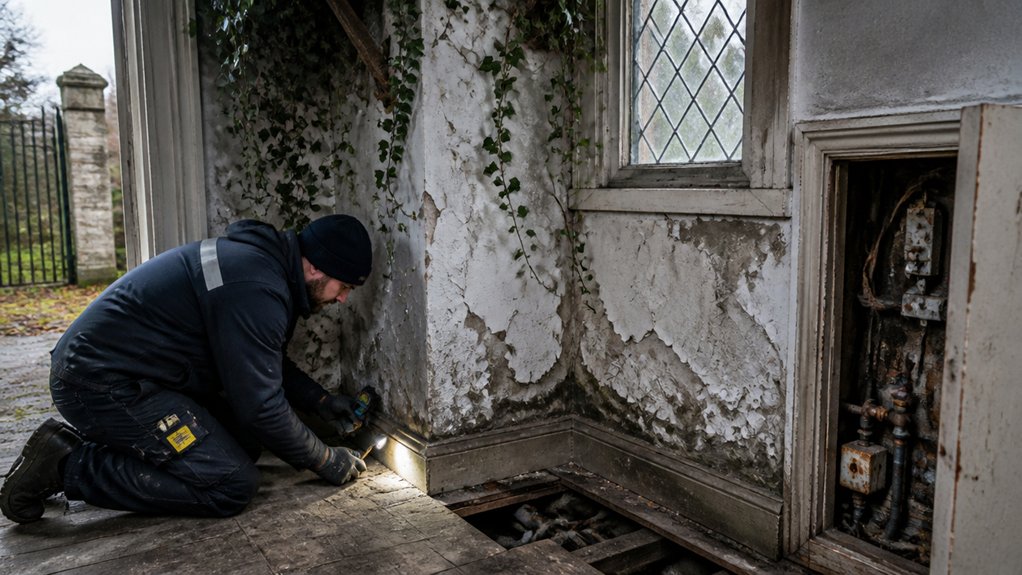
Before you lift a single floorboard or strip back lath and plaster, survey the lodge properly: check the roofline and chimney stack for spread or lean, read the external walls for cracking and bulging, and note any sag in joists or uneven thresholds that hints at historic movement.
Work methodically: lift a few boards to inspect sleeper walls, ventilation, and beetle damage, and probe skirtings and sill ends for rot. Track damp by mapping tide marks, salts, and mould, then confirm with a moisture meter; distinguish rising damp from bridged ground levels and failed rainwater goods.
Open inspection hatches to trace lead pipes, stopcocks, and any ageing wiring; test earthing and RCD provision via a qualified electrician. Locate drains and gullies, check falls, and record routes for discreet upgrades that respect historic preservation and design integration.
Sketch Your Restoration Plan and Priorities
Once you’ve logged the lodge’s faults and quirks, sketch a restoration plan that puts safety, weather-tightness, and fabric-first repair ahead of cosmetic change.
Rank tasks: make the roof sound, clear gutters, mend flashings, then tackle rotten sills, failed pointing, and damp floors. Specify lime mortar, breathable paints, and repair of sash cords before you replace anything.
Next, map services with minimal chasing: discreet radiators, upgraded electrics, and sensible insulation that won’t trap moisture.
Set a room-by-room sequence so trades don’t trample finished work.
Tie the garden landscape to the building’s drainage—falls, French drains, and paths that shed water away.
Finally, draft an interior decor schedule that respects period joinery, reuses doors, and chooses fittings in keeping with the lodge’s scale.
Permissions: Listed Building, Planning, and Constraints
Although you may be itching to order timber and book trades, you’ll save time and heartache by settling the permissions early—especially if the lodge is listed or sits in a conservation area. Start by checking the National Heritage List for England (or the Scottish/Welsh equivalents) and obtain the listing description, then speak to the council’s conservation officer.
You’ll often need Listed Building Consent for fabric changes: windows, roofs, fireplaces, staircases, even repointing if it alters appearance. Planning permission may also apply for extensions, new openings, or outbuildings; don’t assume “like for like” exempts you.
Prepare a concise heritage statement explaining Historic significance and how your preservation techniques protect it. Expect conditions: matching lime mortar, hand-made tiles, timber repairs, and discreet services routing.
Keep records and photos for compliance checks too.
Budget and Timeline: Contingencies You’ll Need
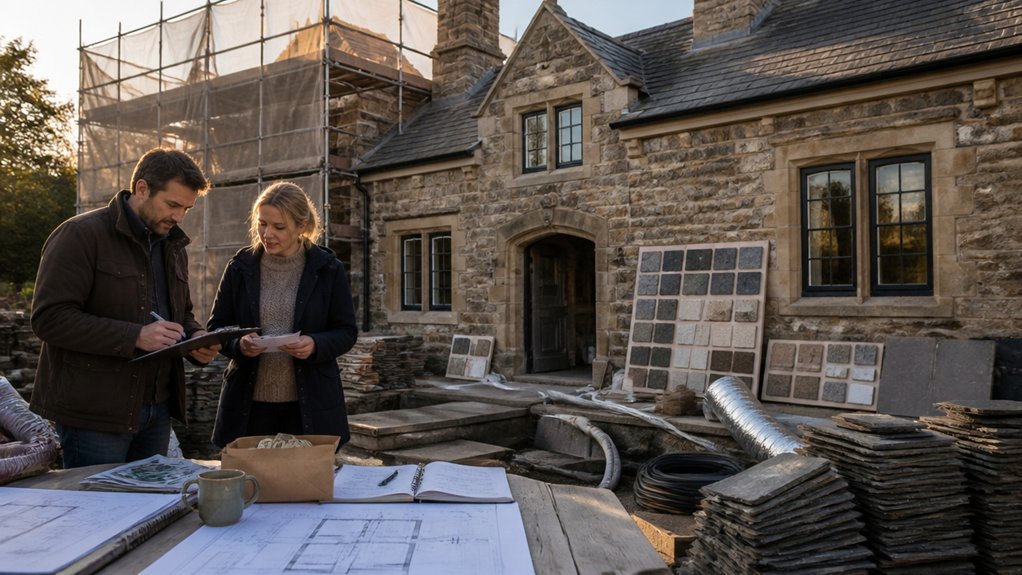
You’ll need a proper contingency on both cost and programme, because a gatekeeper’s lodge can spring surprises once you lift lath-and-plaster, open up a hearth, or expose rotten sills.
Ring-fence a buffer for specialist repairs and heritage materials, and assume lead times for lime, joinery, and cast-iron work won’t run to modern speeds.
Build slack into each stage so weather, survey finds, and conservation sign-off don’t knock your whole schedule sideways.
Contingency Cost Buffers
Before the first scaffold pole goes up, build contingency into both your budget and programme, because a gatekeeper’s lodge restoration nearly always uncovers hidden defects—failed lintels, damp trapped behind cement render, rotten joist ends, or leadwork that’s past saving.
Price a realistic buffer: 15–20% for light-touch repairs, 25–30% if you’re opening floors, chasing services, or altering rooms for modern heating and insulation.
Keep contingency ring-fenced and released only on written variation orders with photos and quantities, not hunches.
Tie it to insurance planning: confirm cover for existing structures, non-negligent damage, and theft from site, or your buffer evaporates fast.
Hold emergency funds separately for urgent make-safe works, temporary propping, and specialist lime, oak, and lead trades.
Timeline Slack Planning
Even if your costs are nailed down, a gatekeeper’s lodge can still slip weeks at a time once you start opening up fabric and lining up the right people. Build slack into your programme: add two weeks for surveys, four for lead times on lime plaster, handmade tiles, and joinery, and at least one for rework once you expose damp, beetle, or failed lintels.
Sequence trades so you don’t trap moisture: roof and rainwater goods first, then masonry repairs, then services, then finishes. Book conservation builders and a heritage electrician early, and assume weather holds up pointing and external paint.
Allow time for listed building consent queries and site meetings, because Historical significance invites scrutiny. Plan for community engagement events and neighbour notices so access, parking, and deliveries don’t derail you.
Make It Weather-Tight: Roof, Gutters, Chimneys
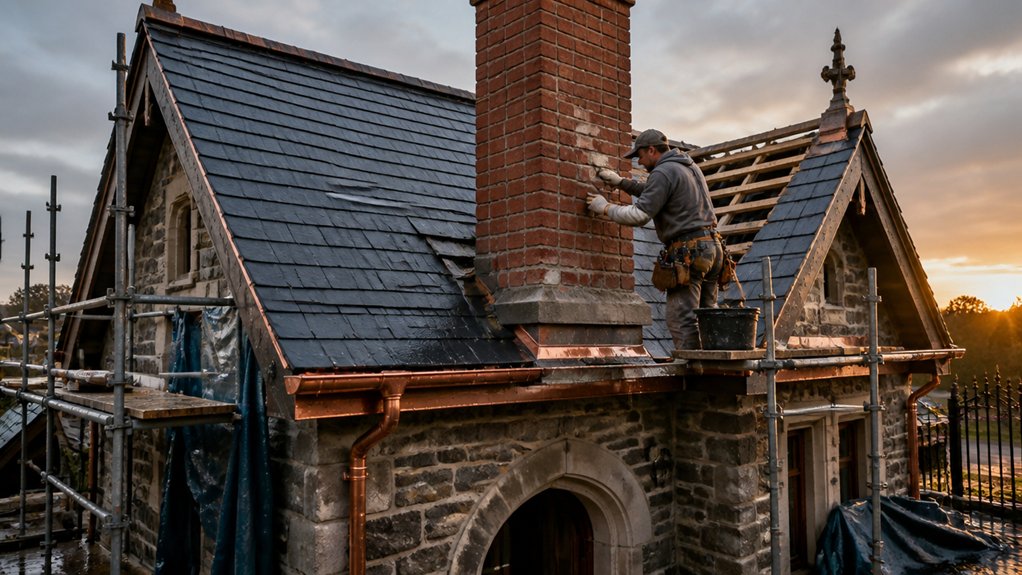
Once the masonry’s sound and the frames are steady, get the lodge weather-tight by tackling the roof, rainwater goods, and chimneys as a single system.
Start with a close survey from ridge to eaves, noting slipped slates, failed flashings, and soft valleys.
For Historical preservation, favour like-for-like repairs, and let material selection follow what’s already there: Welsh slate or plain clay tile, lead to Code 4/5 where appropriate, and breathable roofing felt only if needed.
Clear and re-hang gutters to proper falls, renewing cast-iron joints or fitting heritage-profile aluminium where cast is beyond salvage.
Check stacks for leaning pots, perished flaunching, and cracked lead soakers; fit discreet cowls and bird guards.
Keep ventilation paths open to prevent rot.
Repair the Fabric: Lime Mortar, Stone, Timber, Windows
After you’ve shut out the worst of the weather, turn to the building fabric itself and repair it in breathable, reversible layers: rake out hard cement pointing and repoint in lime mortar matched to the original, pin and indent damaged stone with like-for-like, and splice rotten timber with scarf joints rather than wholesale replacement.
Treat salt-blown brickwork gently: soft brushing, not blasting, and keep repairs sacrificial.
For Timber preservation, strip back paint only where it’s failed, dry the fibres, then consolidate and prime with a vapour-open system; replace only what you must, and keep original mouldings.
Overhaul sash and casement windows: tighten joints, renew cords, ease pulleys, fit slim brush seals, and reglaze with linseed putty. You’ll keep the lodge’s character while stopping further decay.
Insulation and Ventilation That Won’t Trap Damp
You’ll insulate a gatekeeper’s lodge with breathable systems that suit lime, stone, and timber, so the walls can still pass vapour rather than holding it.
You’ll tighten up draughts where it counts, then add controlled ventilation—trickle vents, passive stacks, or MVHR where appropriate—so fresh air comes in without chilling the fabric.
You’ll also map moisture paths at floors, reveals, and junctions, keeping clear routes for drying and avoiding cold bridges that invite condensation.
Breathable Wall Insulation
How do you warm a gatekeeper’s lodge without sealing damp into its old walls? You start by respecting how solid brick and lime mortar breathe. Strip back gypsum and vinyl papers, then repair with lime plaster so moisture can move and salts don’t blister the face.
For insulation, favour woodfibre or hemp-lime boards on an internal lining, fixed with breathable adhesive and stainless fixings. You’ll still create a thermal break at joist ends and around window reveals, but you won’t introduce a hard, plastic vapor barrier that drives moisture sideways.
Use a smart membrane only where needed, taped to the warm side and lapped into lime plaster for continuity. Keep skirtings off the floor a touch, and avoid dot-and-dab cavities that become cold, wet pockets.
Airtightness With Controlled Ventilation
Although a gatekeeper’s lodge needs to breathe, it still benefits from airtightness—provided you pair it with ventilation you can control, rather than relying on draughts through skirtings and sash boxes.
Start by sealing the usual leaks: loft hatches, service penetrations, floorboard edges, and the junctions where lath-and-plaster meets joists. Keep your lime-plastered reveals and timber frames, but fit discreet brush seals to sash sills and parting beads, and add a well-fitted chimney balloon when the hearth’s idle.
Then introduce controlled airflow: a continuous extract fan to kitchen and scullery, trickle vents set into refurbished sashes, or a small MVHR if the plan allows.
Finish with airtightness maintenance—annual checks, smoke pencils, and prompt resealing after any cable or pipework alterations.
Moisture Paths And Drying
Because a gatekeeper’s lodge was built to shed moisture rather than bottle it, any insulation and ventilation scheme must keep the original drying routes working. You’ll map moisture paths first: rain off the slate, splashback at the plinth, vapour from cooking, and condensation on cold reveals.
Keep walls vapour-open. Use lime plaster, woodfibre, or sheep’s wool where appropriate, and avoid foil-backed boards on solid masonry. Maintain a clear cavity behind skirtings and don’t seal floor edges with silicone; instead, use lime and breathable tapes.
In the roof, fit insulation between rafters with a ventilated cold side, and keep eaves and ridge airflow. Vent bathrooms with a timed extractor to outside.
This is practical moisture management, backed by simple drying techniques: warmth, airflow, and drainage.
Heating, Hot Water, Wiring, and Plumbing: Discreetly
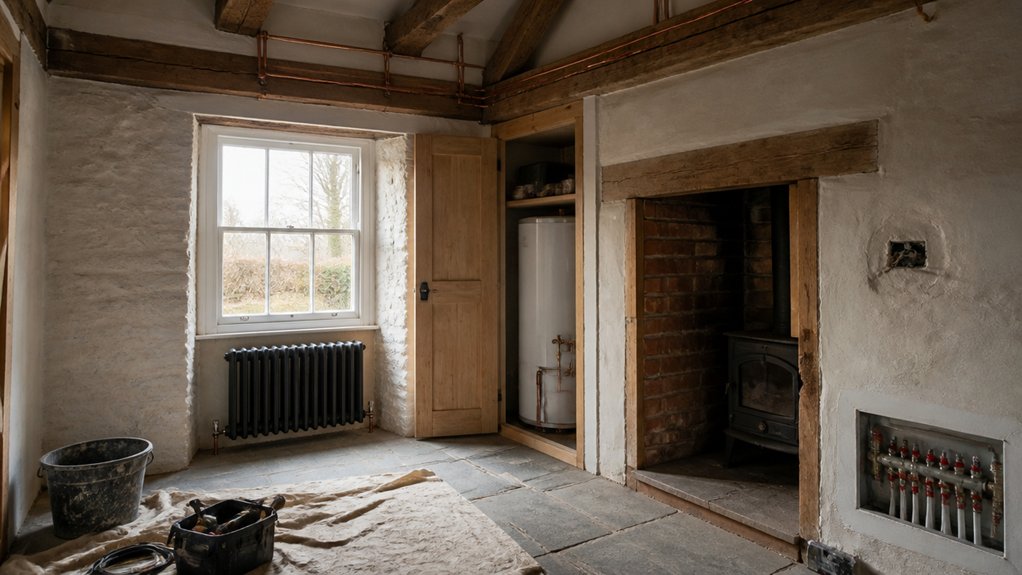
Once you’ve stabilised the fabric of the lodge, you can thread modern heating, hot water, wiring, and plumbing through it without advertising the fact. Keep runs to edges, use existing chases, and let skirtings and cupboards do the hiding.
Choose a compact air‑source unit or a small gas boiler where permitted, feeding slim radiators or underfloor loops in service areas, with a well‑insulated cylinder tucked in a former coal store.
- You’ll feel relief when hidden wiring follows joists, not hacked plaster.
- You’ll rest easy when discreet plumbing stays in floor voids and boxed corners.
- You’ll smile as thermostatic valves quietly banish draughty swings.
- You’ll trust the place again when RCDs, bonding, and stopcocks sit close, labelled, reachable.
Period Finishes That Feel Lived-In, Not Museum-Perfect
With the services tucked away and behaving themselves, your attention can return to what your hands and eyes meet every day: finishes that respect the lodge’s age without turning it into a showpiece.
Keep lime plaster where you can, patch with like-for-like, then use breathable claypaint or soft distemper in muddied heritage tones rather than crisp whites.
Wax or oil original floorboards, accept a few dents, and repair squeaks with wedges, not filler.
Strip paint only when it’s failing; otherwise clean, key, and repaint gently.
For joinery, choose shellac or linseed-based finishes, and let brush marks sit.
In a Historic interior, you’re aiming for coherence, not perfection.
Practise furniture preservation by stabilising loose joints, retaining patina, and upholstering in hard-wearing wool.
Conclusion
You’ve likely heard the theory that old lodges “need to breathe” and modern upgrades always cause damp. Test it as you restore: keep the roof sound, gutters running, and lime pointing open, then add insulation only where vapour can pass and ventilation can work. You’ll find comfort doesn’t require sealing the place like a biscuit tin. Finish with honest paint, repaired joinery, and quiet services—so it lives as a home, not a showpiece.
About the Author