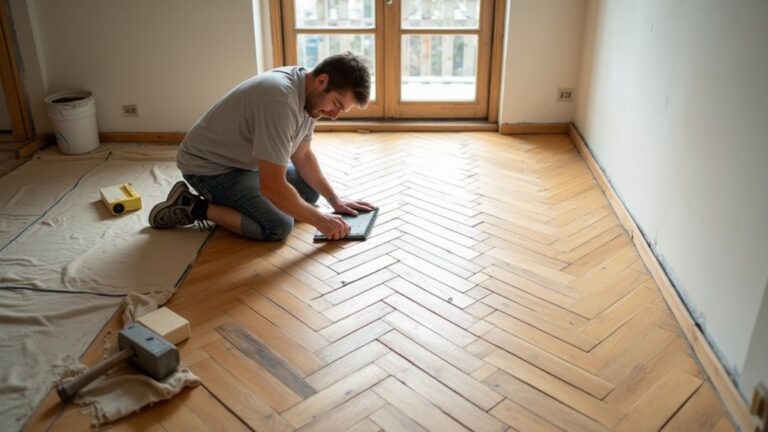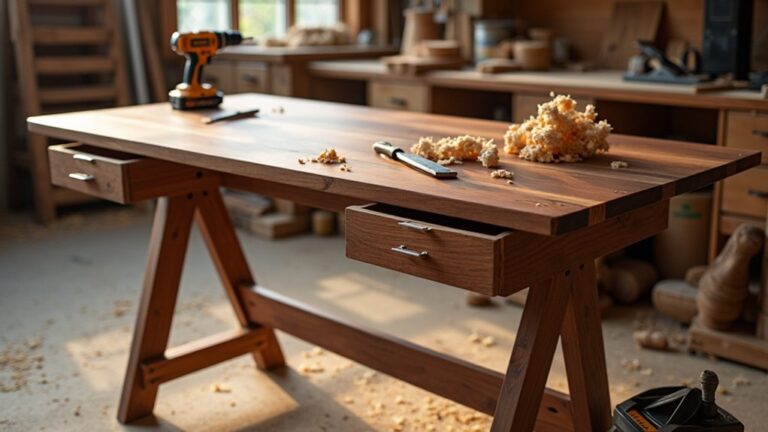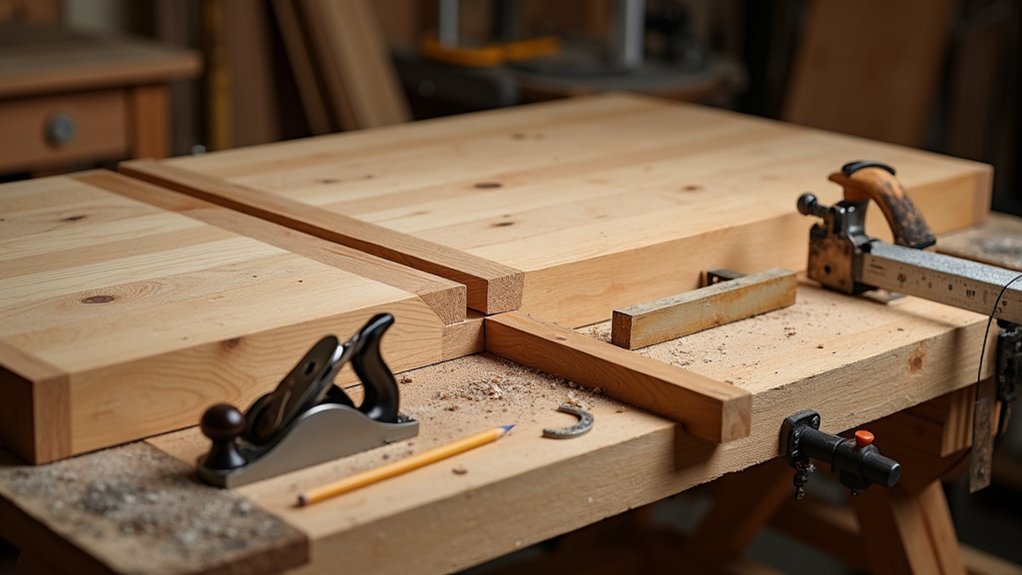
You’re building more than a table—you’re setting an anchor that holds daily life in place. You start by choosing kiln‑dried, dense hardwood with grain you won’t get tired of, then you mill it flat so every glue line closes tight. You size the top for real traffic: seats, overhang, and walk‑around clearance. You design a rigid base with joinery that won’t rack, and you attach the top with movement‑friendly hardware. Next, you’ll make the glue‑up behave when the seasons shift…
Key Takeaways
- Choose dense, kiln-dried hardwood; check Janka rating, grain, twist, and buy extra boards for color and defects.
- Mill lumber systematically: check moisture, rough cut, sticker overnight, then joint and plane faces and edges flat and square.
- Size the table for space and seating: 24″ per diner, 36–42″ width, and keep 36–42″ clearance around the table.
- Glue up the tabletop with aligned boards, even clamps and cauls, alternating grain, then let the slab acclimate before trimming.
- Build a rigid base with strong joinery; attach the top using figure-8 fasteners or Z-clips to allow seasonal wood movement.
Choose Hardwood for a Durable Dining Table
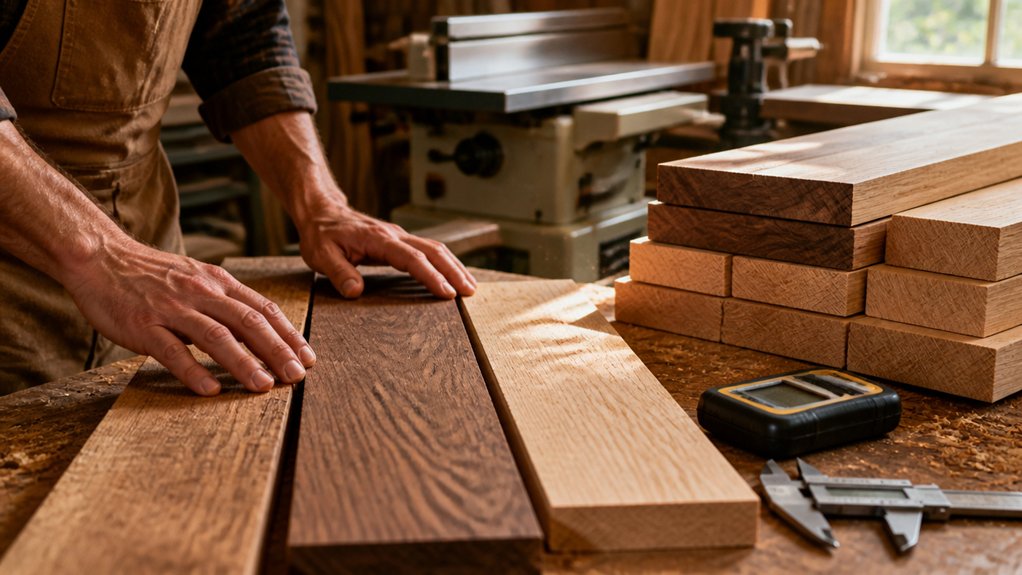
Why start with hardwood? You’re building a dining table that has to shrug off daily plates, hot mugs, and chair bumps. Hardwood gives you dense fibers, cleaner joinery, and edges that don’t crumble when you route profiles or cut mortises.
Pick species the way you’d pick a countertop: match look, wear, and budget. Read hardness ratings (Janka) to predict dent resistance—white oak and hard maple take hits; walnut trades a little toughness for rich tone; cherry darkens with light for a lived‑in, modern vibe.
Study wood grain before you buy: straight grain planes smoother, while cathedral grain adds drama but can move more. Buy kiln‑dried boards, check for twist, and grab extra for color‑matching.
Size the Dining Table: Seats, Overhang, Clearances
Before you mill a single board, lock in the table’s footprint so it fits both your room and your guest list. Plan 24″ of width per diner (18″ minimum for tight spaces) and 12–15″ of depth for place settings.
For comfortable chair clearance, keep 36″ from tabletop edge to walls or furniture; 42″ feels current in open-plan layouts.
Choose a top width of 36–42″ for everyday use; 44–48″ reads luxe but needs more aisle.
Build in 10–12″ of end overhang and 8–10″ on the long sides so knees don’t clash.
If you’ll dress it up, confirm tablecloth size early: add 16–30″ per side for the drop you want.
Pick a Base Style and Leg Layout That Fits
Once you’ve locked in the top size, choose a base that protects legroom and matches how you actually use the table—daily dining, big holidays, or both.
Start by mapping chairs: if you want easy slide-in seating, skip bulky corner posts and consider a trestle or pedestal Base design that keeps knees clear.
Dial in the Leg arrangement next. Four legs feel classic and stable, but they can block end seats; push them in from the corners and use a stout apron for stiffness.
A trestle reads modern-farmhouse and centers support, but you’ll need wide feet for anti-tip confidence.
Pedestals suit tight rooms and round tops, yet demand a thicker top or hidden stretcher.
Keep sightlines light with tapered legs, and match the style to your home’s finishes.
Mill Boards Flat: Jointing, Planing, Square Edges
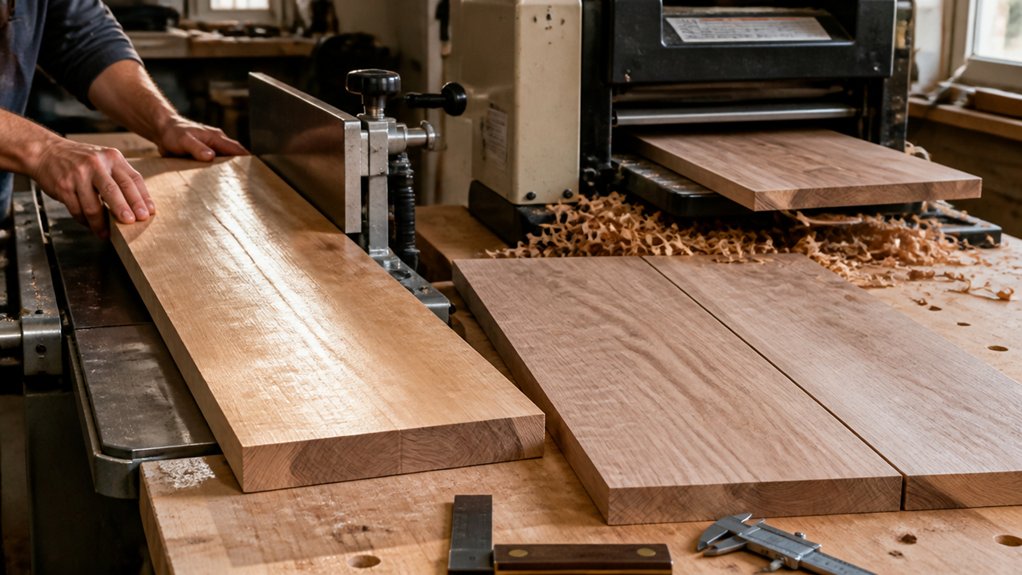
If you want a tabletop that stays dead flat through glue‑up and seasons, you’ve got to mill your boards like parts in a system, not “good enough” planks.
Start by checking moisture content with a meter; don’t mill at 12% and expect calm wood later. Rough‑cut long, sticker overnight in your shop, then recheck.
At the jointer, flatten one face with the grain, taking light passes to avoid tearout. Joint one edge square to that face, then mark your reference surfaces.
Move to the planer: plane the opposite face until parallel, flipping as needed to balance stress. Rip the second edge at the table saw, then take a final jointer skim for square, clean edges.
Match grain orientation for stability.
Glue Up the Tabletop: Joints, Clamps, Cauls
Flat, square boards are only half the battle—now you’ve got to lock them together without introducing a new twist. Dry-fit the layout, mark a big triangle across the faces, then joint-check edges one last time.
Spread glue in a thin, even film; you want coverage, not puddles. Bring boards together and start clamps from the center, alternating top and bottom to keep forces balanced.
Dial in clamp pressure: snug until a consistent bead appears, then stop—over-cranking telegraphs ridges and wastes time sanding.
For ultra-clean alignment in a small shop, add cauls wrapped in tape. Nail your caul placement near each end and every 18–24 inches, with slight bow facing in.
Recheck flushness, then let it cure.
Prevent Tabletop Warping With Smart Wood Movement
While your glue-up cures into a single slab, the real long-term threat is wood movement: the top will expand and contract across the grain with seasonal humidity, and it’ll try to cup or split wherever you overconstrain it.
Start with smart grain orientation: alternate growth-ring arcs, keep boards from the same flitch together, and avoid mixing wildly different widths.
Let the slab acclimate stickered in your shop, then flatten and trim only after it settles.
When you add breadboard ends or battens, cut elongated slots and use figure‑8 fasteners or Z‑clips so the top can slide.
Apply finish to both faces and edges for a balanced moisture rate, and leave a small reveal at the perimeter so seasonal movement won’t telegraph.
Build a Stiff Base That Won’t Wobble or Twist
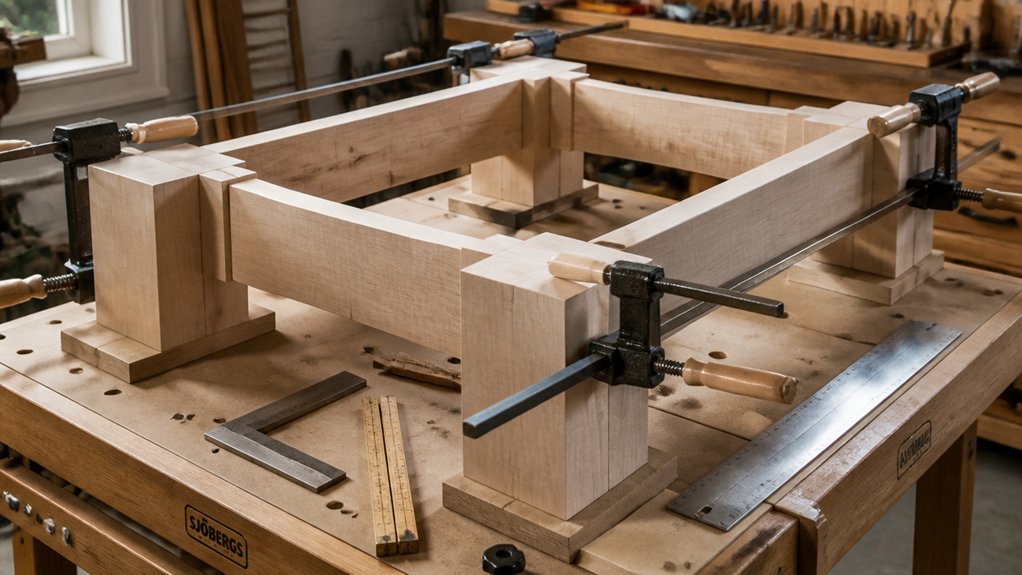
Because a dining table lives under constant racking forces—people leaning, chairs bumping, floors flexing—you need a base that locks into square and stays there. Start with dead-straight legs and aprons, then mill joints that don’t rely on screws alone. Use mortise-and-tenon or loose tenons, cut tight, and dry-fit until the frame pulls itself square.
Add corner blocks or gussets inside the aprons for structural reinforcement without eating knee space—clean lines, modern function. Keep the aprons tall enough to resist twist, but chamfer the lower edge so it reads lighter.
Tie long spans together with a low stretcher or keyed battens, especially on longer tables. Finally, level the feet with threaded glides; they’re discreet, and they lock in foundation stability.
Attach the Dining Table Top With Figure-8s or Z-Clips
A stiff, square base gives you the foundation—now you’ve got to fasten the top in a way that won’t fight seasonal wood movement. For modern, low-profile builds, skip glue blocks and choose Table attachment methods that flex: figure-8 fasteners or Z-clips.
With figure-8s, mark locations along the aprons, drill shallow recesses so the plates sit flush, then drive screws into the base first. Swing each fastener onto the underside of the top and add the second screw, keeping the fastener able to pivot.
With Z-clips, cut a kerf or rout a slot in the apron, slide clips in, then screw to the top.
Your hardwood species selection matters: wider-plank white oak moves differently than maple, so space fasteners evenly and don’t over-tighten.
Sand and Finish the Hardwood Dining Table Top
Once the top’s attached and sitting dead flat, lock in that showroom-smooth feel with a disciplined sanding sequence and a finish that matches how you actually live.
Start at 80 or 100 grit to level seams, then step through 150 and 180, vacuuming between grits so you don’t grind dust back in.
Use a consistent sanding technique: sand with the grain, ease the edges with a light pass, and hand-sand end grain last so it doesn’t telegraph scratches.
Wipe with mineral spirits to preview the grain pattern and catch glue spots.
For a clean, modern look, choose a matte hardwax oil; for kid-proof durability, go with a water-based polyurethane.
Apply thin coats, de-nib lightly, and cure fully.
Conclusion
You’ve built more than a table—you’ve built a system that manages wood’s constant motion. Test the “finish seals wood” theory: coat only one side of a scrap, then watch it cup. You’ll see finish slows moisture exchange; it doesn’t stop it, so your figure‑8s, Z‑clips, and solid base matter. Keep overhangs tight, joints crisp, and edges clean for a modern, space‑savvy footprint. Now level the feet, and let the grain steal the room.
About the Author