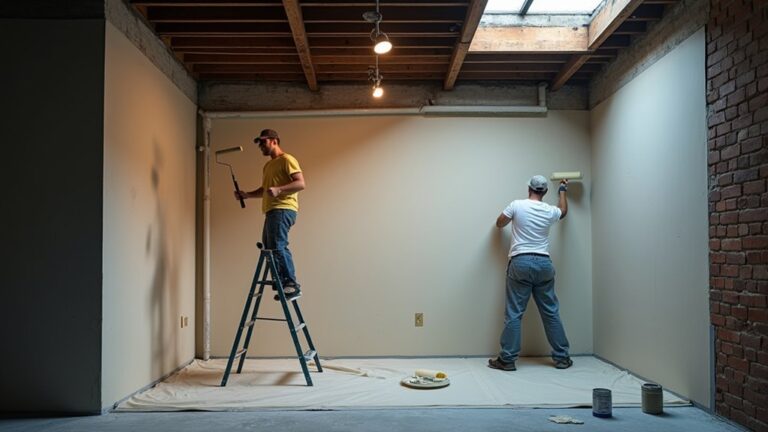
You probably don’t know that many exterior paint failures in the UK start with trapped moisture, not bad paint. You’ll get better results if you pick a settled spell at 10–20°C, then inspect for damp patches, hairline cracks, and flaking edges before you touch a brush. Wash off soot and algae, treat moss with a biocidal wash, and stabilise chalky masonry with a breathable primer. But there’s one common step people skip that decides whether it lasts…
Key Takeaways
- Inspect walls in dry daylight for damp signs, salts, algae, and cracks; mark defects and identify movement versus surface crazing.
- Clean thoroughly using a stiff nylon brush and mild detergent; treat moss or algae with biocidal wash, rinse well, and dry fully.
- Remove loose paint, feather edges, and brush off dust; stabilise chalky masonry with breathable stabiliser or primer before coating.
- Repair defects by raking loose mortar 15–20mm, forming “V” cracks, repointing to match, and sealing moving joints with flexible sealant.
- Time work for a 48–72 hour dry spell at 10–20°C; avoid humidity above 80%, rain within 6 hours, or washing less than 24–48 hours prior.
Inspect Exterior Walls for Damp, Cracks, and Flaking Paint
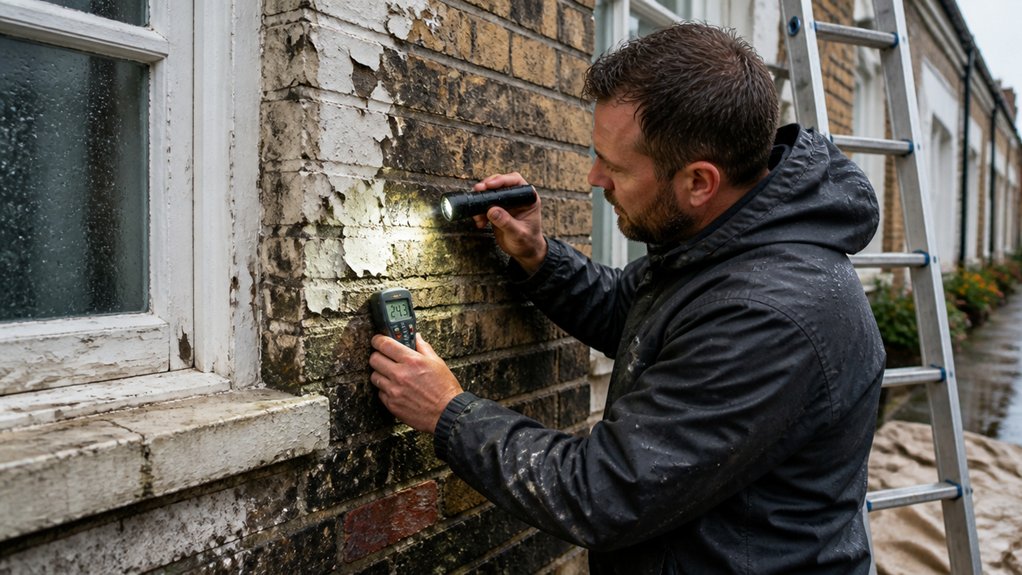
Before you pick up a scraper or open a tin of masonry paint, take ten minutes to inspect the whole exterior in dry daylight, because the UK’s damp, wind-driven rain can hide problems that’ll ruin your finish.
Start at ground level and work up: check around air bricks, downpipes, window sills, and the DPC line for tide marks, green algae, or powdery salts—key clues for damp detection.
Press the wall; a cool, clammy patch often signals trapped moisture.
For crack assessment, trace each crack with a pencil and note width and direction. Hairline crazing in render differs from stepped cracks in brick joints, which can indicate movement.
Finally, run a scraper over chalky areas and lift any flaking paint to see how far it’s failed.
Choose a UK Weather Window and Drying Times
You’ll get the best results if you paint during a settled UK weather window—check the Met Office forecast for at least 24–48 hours dry, mild conditions and avoid days with high humidity, sea mist, or chilly nights that bring early dew.
Hold off if rain’s likely or if walls won’t dry fully before dusk, because lingering moisture can trap under the film and cause peeling.
Follow the tin’s cure and recoat times, but expect them to stretch in cool, damp weather, so plan extra drying time between coats.
Timing Around UK Forecasts
Although UK forecasts can change quickly, you’ll get the best results by planning exterior prep and painting around a stable 48–72 hour dry window with daytime temperatures roughly 10–20°C, low wind, and no rain (including overnight showers) so the wall can dry fully after washing, filling, or priming.
Check the Met Office and a local app twice daily, then lock in your start time when both agree on a settled spell.
In spring and autumn, build seasonal preparation into your schedule: start earlier in the day, and allow longer between steps.
For climate adaptation, keep a flexible plan—buy materials in advance, but only open tins when the window holds.
If the forecast shifts, pause after prep and protect bare areas with a breathable cover.
Humidity, Dew, And Rain
When humidity stays high and nights turn chilly, dew and light drizzle can re-wet an exterior wall long after you think it’s dried.
In much of the UK, aim for a late-morning to mid-afternoon working window when the surface has warmed and evaporated overnight moisture.
Check for dew formation under sills, on north-facing brick, and in shaded alleys; if it feels cool or darkened, wait.
Avoid starting if the forecast shows showers within 4–6 hours, or if relative humidity sits above roughly 80% for the day.
After washing, let masonry dry at least 24–48 hours; after patching, follow the filler’s minimum dry time, then add extra time in high humidity.
Cover gear fast if drizzle returns.
Paint Cure And Recoat
Even if the wall feels touch-dry, paint still needs the right UK weather window to cure properly and accept a recoat without dragging, blooming, or peeling. Aim for 2–3 consecutive dry days with temperatures around 10–20°C, light winds, and no overnight lows below 5°C.
In spring and autumn, start mid-morning, after dew lifts, and stop early enough to avoid evening damp.
Check the tin, but as a guide: water-based masonry often dries in 1–2 hours yet needs 4–6 hours before recoating; solvent-based can need 16–24 hours.
High humidity, coastal air, and shaded north walls slow paint curing, so extend recoat timing by half a day. If rain’s due within 6 hours, don’t paint.
Clean Exterior Walls: Remove Dirt, Algae, and Soot
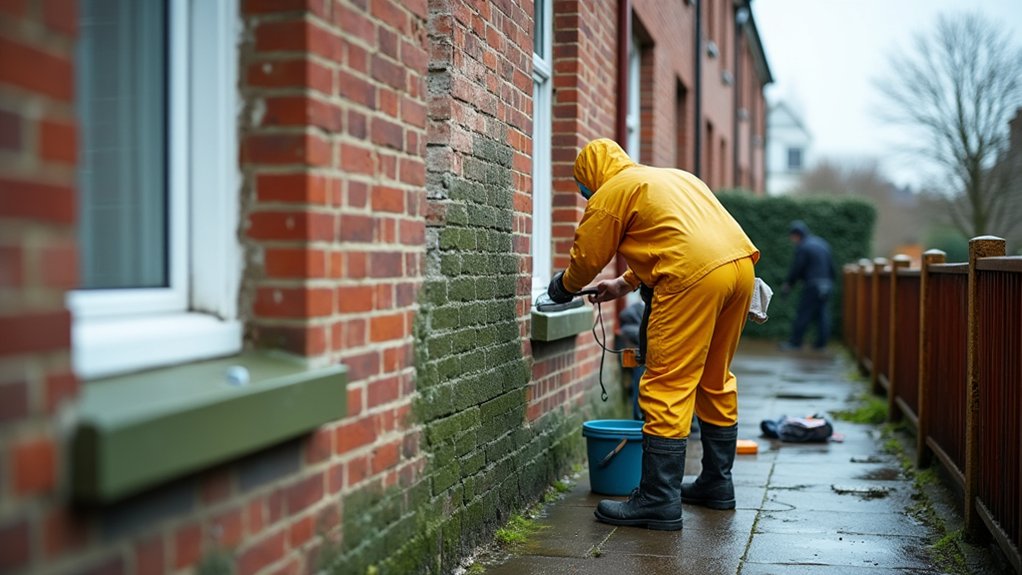
Before you touch a scraper or open a paint tin, clean the exterior wall thoroughly so you’re not sealing in grime, algae, or diesel soot that’ll stop the new coating from bonding.
Start dry: brush off cobwebs and loose dirt from soffits down, so you don’t drag muck over clean areas.
For Moss removal, treat patches with a biocidal wash suited to UK damp conditions, then leave it to work before rinsing.
Wash masonry and render with a mild detergent and stiff nylon brush; keep pressure washers on a low fan tip to avoid forcing water into joints.
In city areas, degrease soot around vents and traffic-facing elevations.
For graffiti cleaning, use a purpose-made remover and test a small spot first.
Rinse well and let it fully dry.
Scrape and Stabilise Loose Paint and Dusty Masonry
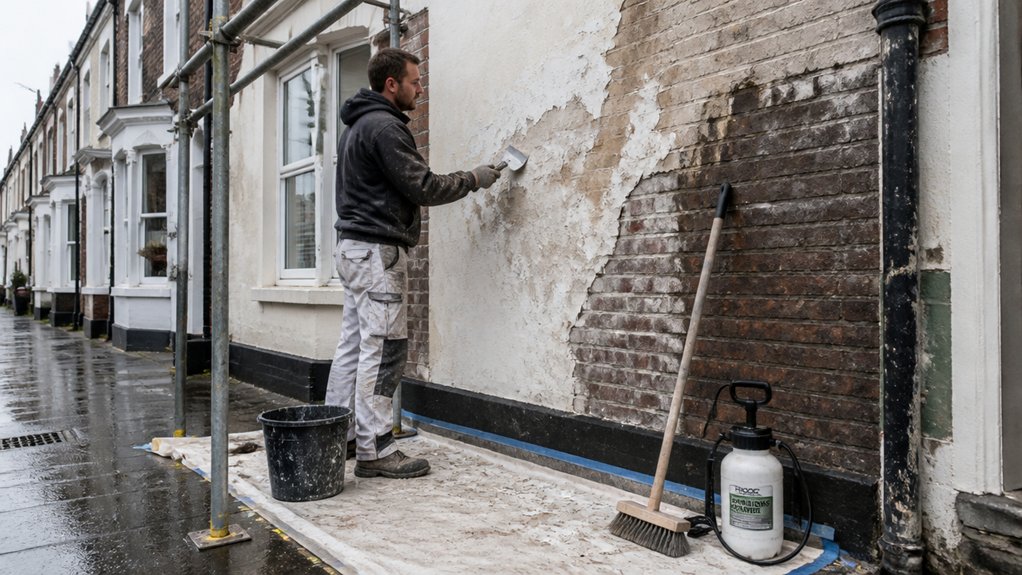
Once the wall’s dry, get rid of anything that can’t hold paint: scrape back all flaking or blistered coatings with a tungsten-carbide scraper, then feather the edges with 80–120 grit abrasive so you don’t leave a visible ridge under the new finish. Brush off debris with a stiff hand brush, then vacuum or sweep so grit won’t contaminate your surface preparation.
On chalky render, old limewash, or dusty brick, rub the surface with your hand; if it powders, stabilise it with a masonry stabilising solution or a diluted, breathable primer as per the manufacturer’s UK datasheet. Work it in with a brush to bind loose fines, then let it cure fully in mild, dry weather.
You’ll improve paint adhesion and stop premature peeling.
Fill Cracks and Repoint Damaged Mortar Joints
Because wind-driven rain and freeze–thaw cycles exploit tiny faults, you should deal with cracks and failing mortar joints before any primer goes on: rake out loose or powdery mortar to a sound edge (typically 15–20mm deep) with a plugging chisel or mortar rake, widen hairline cracks into a neat “V” so filler can key, then brush and dampen the area to control suction.
For Crack filling, use an exterior masonry filler for small gaps and a flexible sealant for moving junctions around sills or pipes; press it firmly, strike off, and let it cure to the manufacturer’s times in cool UK weather.
For mortar repair, match the existing (often lime on older terraces), mix small batches, pack joints in layers, and tool a weather-struck finish.
Prime Porous Exterior Walls for Even Paint Adhesion
Although the wall might look sound after repairs, porous masonry in the UK—especially chalky render, old brick and previously limewashed surfaces—will still drink in paint and leave you with patchy sheen and weak adhesion unless you prime it properly.
Surface priming seals suction, evens out absorption, and stabilises dusty faces so your topcoat cures uniformly and your paint adhesion lasts through wet winters and salty coastal air.
- Brush off remaining chalking; if your hand comes away dusty, you need a stabilising primer
- Choose a breathable masonry primer for older walls; avoid trapping moisture in solid brick
- Thin only if the tin allows; over-thinning won’t seal pores
- Work primer into joints and open grain with a stiff brush, not just a roller
- Let it dry fully in mild, dry weather (above 8°C) before repainting
Mask, Cover, and Protect Areas Before You Paint
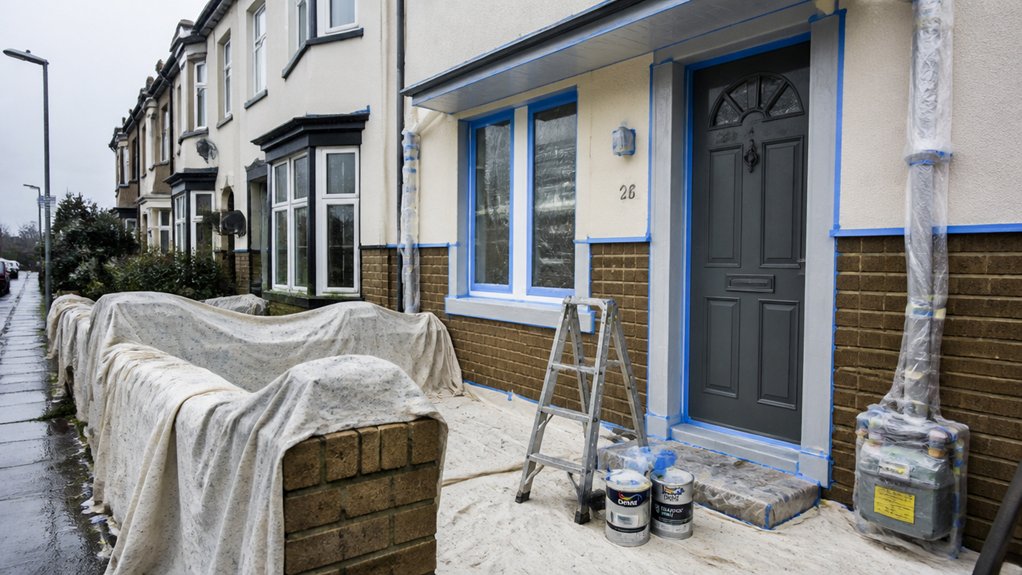
Before you open a tin, mask and cover anything you don’t want speckled with masonry paint—uPVC frames, sills, air bricks, vents, pipes, paving, planted borders, and neighbouring walls—since UK breezes and fine spray drift further than you think.
Use low-tack exterior tape on uPVC and previously painted trim, pressing edges with a scraper to stop creep. For rough brick, run tape over a thin bead of decorators’ caulk, then peel once touch-dry.
Hang polythene or dust sheets, weighting bottoms with battens or bricks so gusts don’t lift them. Slip cardboard behind downpipes and meter boxes, and plug air bricks with foam or tissue you’ll remove after.
This mask protection helps you cover surfaces neatly and avoid cleanup.
Conclusion
When you prep properly, you don’t just paint a wall—you protect a home. Pick a settled UK spell (10–20°C, no rain due), then make sure the masonry’s dry right through. Scrub off grime and algae, treat moss with biocide, and scrape back anything loose. Stabilise chalky surfaces, fill cracks, and repoint failing joints before priming porous areas. Mask paths, windows, and planting. Do this now, and your finish won’t fail later.
About the Author