You probably don’t know that most paint failures near splashbacks come from invisible cooking grease, not poor paint. If you want crisp lines without wasting money on redoing it, you’ll need to clean with sugar soap, mask with low‑tack tape that actually sticks, and prime any bare patches before you touch a roller. Get the order wrong and you’ll chip edges or trap bleed marks—so start with the prep you’re likely skipping…
Key Takeaways
- Prepare the area: protect surfaces, ventilate, switch off nearby sockets, and gather brushes, rollers, tape, filler, abrasives, and cleaning cloths.
- Clean tiles and splashbacks with sugar soap, rinse and dry well, then wipe greasy spots with isopropyl alcohol for better paint adhesion.
- Fill chips and cracks, sand smooth with 120–180 grit, wipe dust away, and prime bare plaster or filled patches before painting.
- Mask tile edges with low-tack tape, burnish firmly, cut in with an angled sash brush, then roll in a “W” pattern and lay off evenly.
- Remove tape while paint is tacky at a 45° angle, fix any bleed once dry, and let paint cure 7–14 days before scrubbing.
Gather Tools and Prep the Work Area
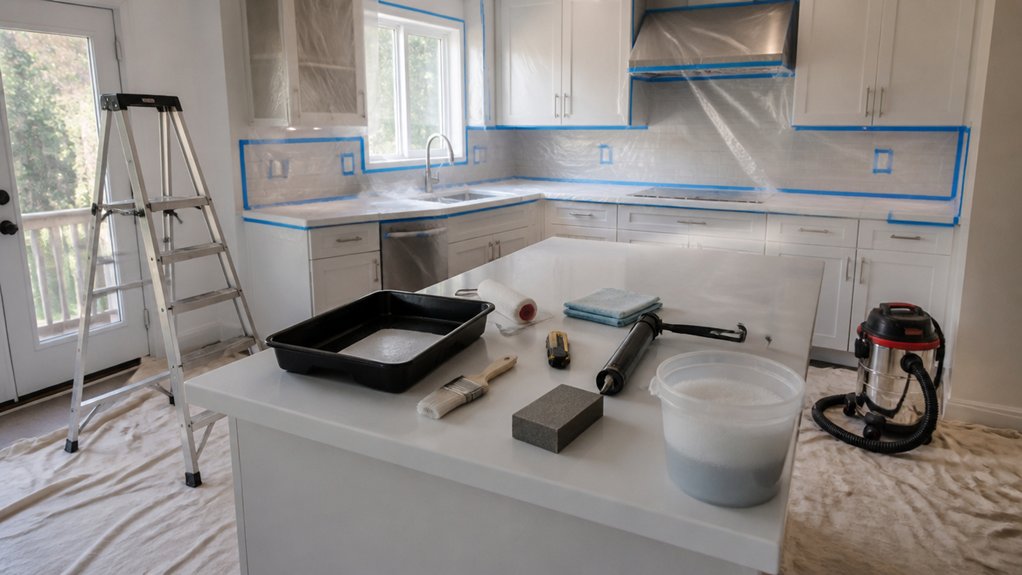
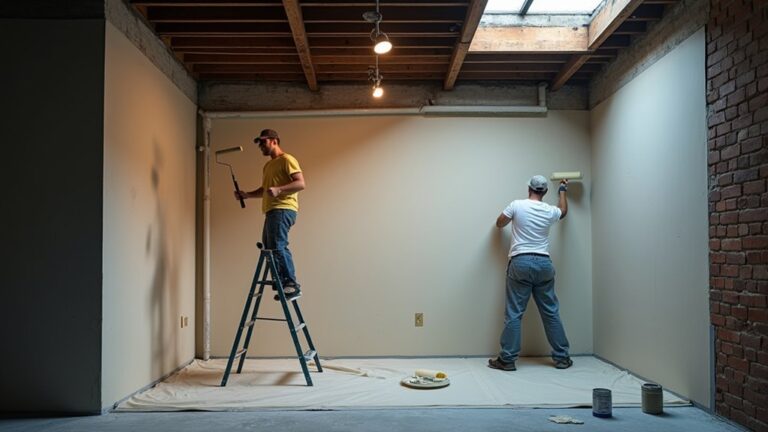
Before you even crack open a tin of emulsion, get your kit and workspace sorted so you’re not scrambling mid‑coat. Lay dust sheets, open a window, and switch off sockets at the consumer unit if you’ll work nearby. Clear worktops, move the kettle and toaster, and bag up small bits so nothing gets paint-speckled.
Grab a 2-inch angled sash brush, a 9-inch roller, mini roller for tight runs, tray, stirrer, filling knife, fine abrasive pads, and low-tack painter’s tape. Keep a damp cloth and a bin liner handy for quick wipe-ups.
For Color mixing, decant into a clean tub and label ratios. For paint storage, wrap roller heads, seal lids tight, and store tins upright in a cool cupboard.
Degrease Tiles and Splashbacks So Tape Sticks
Even if your tiles look spotless, a thin film of cooking grease will stop low‑tack painter’s tape from gripping and can bleed paint along the edge. For reliable surface preparation, degrease first: spray sugar soap (or a budget-friendly washing-up liquid mix) onto tiles and splashbacks, then wipe with a non-scratch pad.
Rinse with clean water so no residue sabotages adhesion, and dry with a lint-free cloth. Pay extra attention to grout lines and the hob’s backsplash, where vapour settles.
This quick tile maintenance step saves you money on wasted tape and touch-ups later.
- Sugar soap solution (DIY-store own brand works)
- Non-abrasive sponge or microfibre cloth
- Clean rinse water in a second bucket
- Isopropyl alcohol wipe for stubborn greasy spots
Fill, Sand, and Prime Walls Near the Tiles
Once your tiles are grease-free, sort the wall edge so your paint line stays crisp: scrape off any loose bits, fill chips and hairline cracks with a ready-mixed lightweight filler (a small tub from B&Q/Wickes is plenty), sand smooth with 120–180 grit, then dust down thoroughly.
Check the wall texture by running your hand along the join; if you feel ridges, skim a second thin pass and re-sand so it blends into the flat. Wipe with a barely damp microfibre and let it dry.
Prime any filled patches and bare plaster with a cheap but decent stain-blocking or plaster primer (Zinsser/Bullseye-type), keeping it tight to the edge. This seals porous spots so your paint finish doesn’t flash or look patchy.
Let it cure fully before topcoating.
Mask Tiles and Splashbacks for Crisp Lines
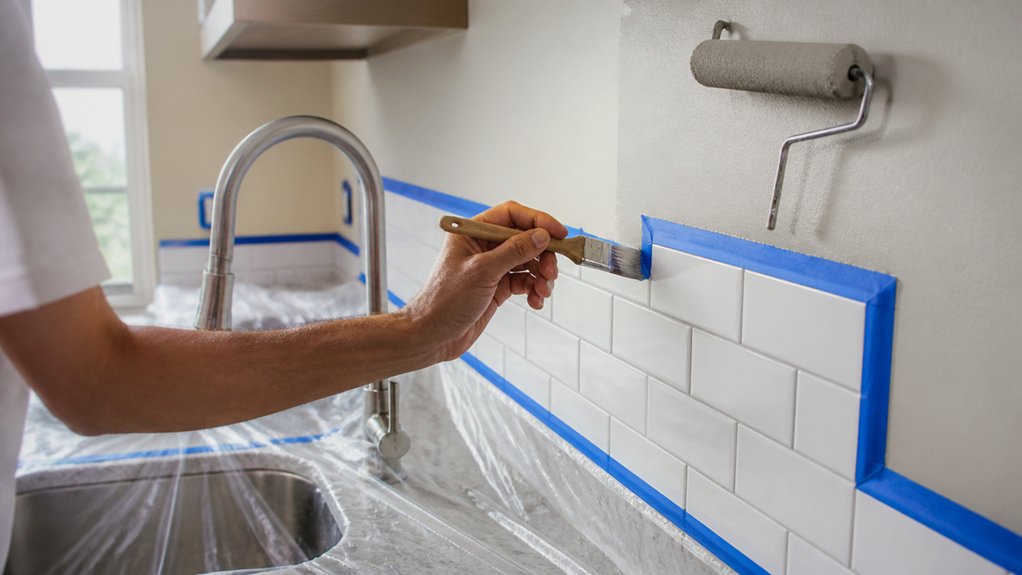
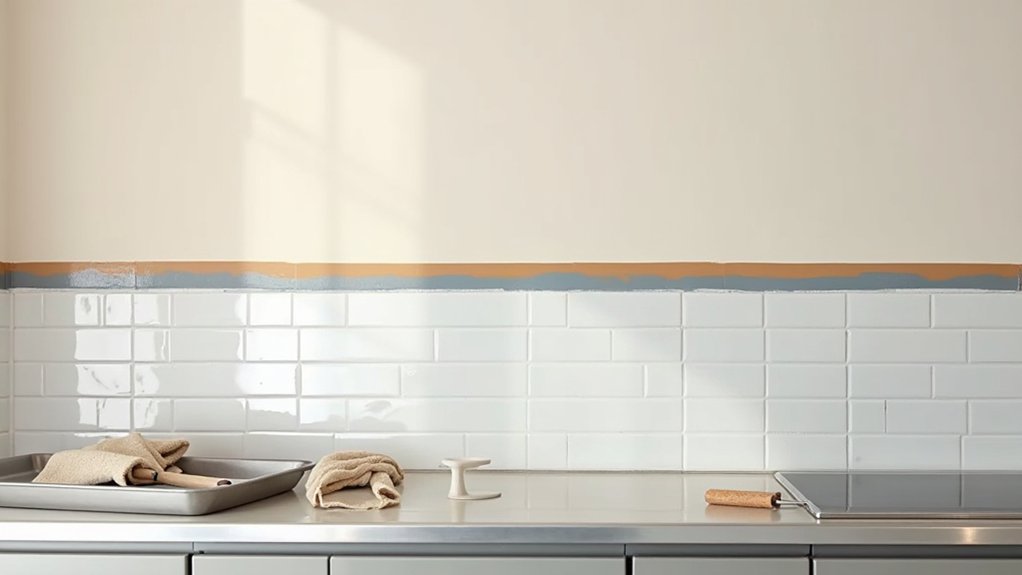
Choose a decent low‑tack painter’s tape (FrogTape or a good own‑brand) that’ll stick to grout and glossy splashbacks without pulling paint off when you peel it.
Run it tight along the tile edge, press it down with a plastic scraper or old bank card, and overlap short lengths rather than stretching one long strip.
This small spend saves you from touch‑ups and gives you sharp, professional lines.
Choose Proper Masking Tape
Before you crack open the paint tin, get the right masking tape for the job because it’s what gives you sharp lines where the wall meets tile, grout, or a glossy splashback. Cheap tape can bleed paint, tear, or leave glue behind, so spend a few quid wisely. Pick masking tape rated for delicate surfaces if you’ve got polished tiles, glass, or fresh paint nearby, and check the pack for clean-removal days.
- Choose low-tack tape for shiny splashbacks to protect finishes and prevent residue.
- For textured grout edges, use a slightly thicker tape that won’t stretch.
- Prioritise strong tape adhesion on steamy kitchen walls with damp-resistant options.
- Buy a 25mm roll for control; wider tape wastes money and bunches in corners.
Apply Tape For Sharp Edges
Although it’s tempting to rush straight into painting, you’ll get the crispest line by taking a few minutes to apply your masking tape properly along the tile edge and splashback.
Start with a dry, dust-free surface; wipe with a damp cloth and let it fully dry, so the adhesive grips.
Run the tape in short lengths, overlapping slightly, and press it down with a plastic card or old bank card for edge precision.
Keep the tape just on the tile, not the grout, to stop paint bleeding through.
Around sockets and corners, snip the tape with scissors rather than stretching it, which can lift later.
After painting, don’t wait overnight: do tape removal while paint’s still slightly tacky, pulling back on itself at 45°.
Pick Washable Paint for Heat and Steam
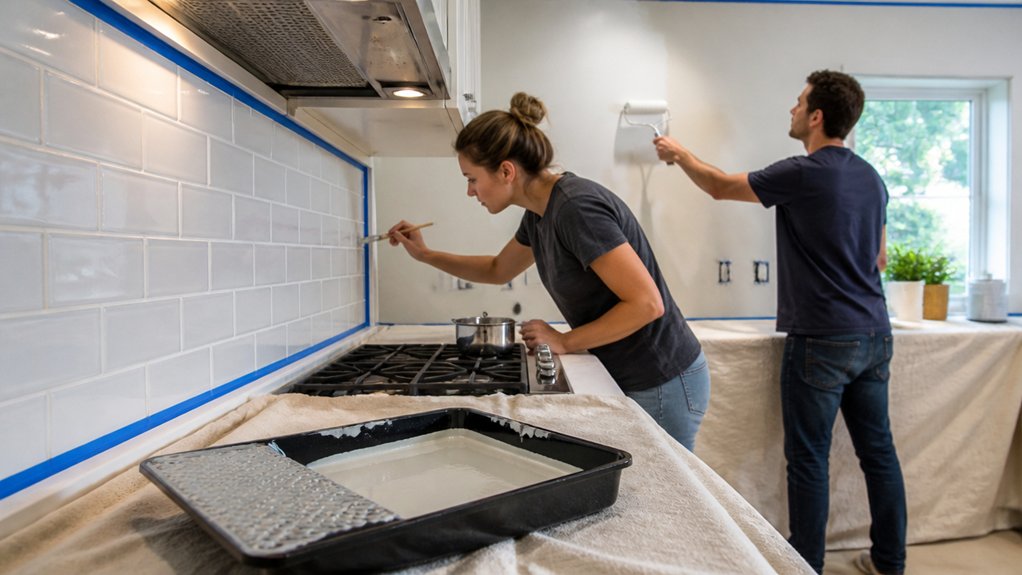
You’ll get longer-lasting results if you choose a kitchen-grade, scrubbable finish (typically durable matt, eggshell, or satin) rather than standard emulsion.
Prioritise paints labelled washable with strong resistance to steam, grease, and food splashes, so you can wipe marks off without burnishing the sheen.
If you’re painting near the hob or kettle zone, pick a heat-tolerant formula to stop softening, staining, and peeling—often worth the small extra cost in UK DIY shops.
Choose Kitchen-Grade Finish
Because cooking throws heat, grease and steam straight onto your walls, you’ll get a longer-lasting result if you choose a kitchen‑grade, washable finish rather than standard matt.
For better kitchen paint durability, check the tin for “scrubbable” or “wipeable” and a tougher resin content; it’s usually worth the small step-up in price at B&Q, Wickes, or Dulux Trade.
Your finish sheen options matter, especially around splashbacks where light shows every mark. Aim for something that cleans well without looking plastic.
- Soft sheen/eggshell: balanced look, easy wipe-down
- Satin: brighter, tougher, shows more wall flaws
- Semi-gloss: most reflective, best on trim not broad walls
- Anti-scuff formulas: handy near bins, chairs, and doorways
Prioritize Steam And Stain Resistance
A kitchen‑grade sheen sets you up for easier cleaning, but you’ll still want a paint that can cope with steam, grease and the odd sauce splatter without going patchy. Look for labels like “kitchen & bathroom” or “wipeable” on UK tins; they’re formulated for better steam resistance and stain resistance in busy cooking zones.
Choose a scrubbable water‑based paint so you can spot‑clean without lifting colour, especially above splashbacks and along grout lines. Check the manufacturer’s washability rating and drying/curing times, then keep a small tester pot for a quick wipe test once cured.
To save money, buy the best washable paint for the splash zone and use standard durable matt elsewhere nearby.
Select Heat-Tolerant Formulas
When paint sits close to a hob, kettle or oven housing, heat and constant steam can soften cheap emulsions and leave a tacky finish that grabs grime. Choose a kitchen-rated, washable finish (usually mid-sheen or satin) and pair it with heat resistant coatings where splashbacks meet plaster.
If you’re painting near a cooker hood or range, use high temperature primers on stained or previously glossed areas, then topcoat with a durable acrylic that won’t yellow.
- Check the tin for “kitchen/bathroom” and scrub ratings (Class 1 is best)
- Pick a water-based satin for easy wipe-downs and lower fumes
- Spot-prime heat-marked patches to stop bleed-through
- Buy tester pots first to avoid wasting £40+ on the wrong sheen
Cut In Cleanly Along Tile Edges and Corners
Although tiles and splashbacks give you a handy hard edge to work up to, the finish only looks professional if you cut in tightly along every grout line, corner, and trim. Start by running low‑tack decorator’s tape just onto the tile face (not the grout), then burnish it with an old bank card for edge precision without pricey kit.
Use a 1–1.5 inch angled sash brush; load it lightly, tap off, and pull steady strokes towards the tape line. Work in short sections, keeping a damp cloth handy to wipe slips off glazed tiles before they skin.
For corner detailing, flick the brush tip into internal corners, then feather out 2–3 cm so you won’t leave ridges. Check under LED task lights for misses.
Roll Walls Fast Without Bumping the Splashback
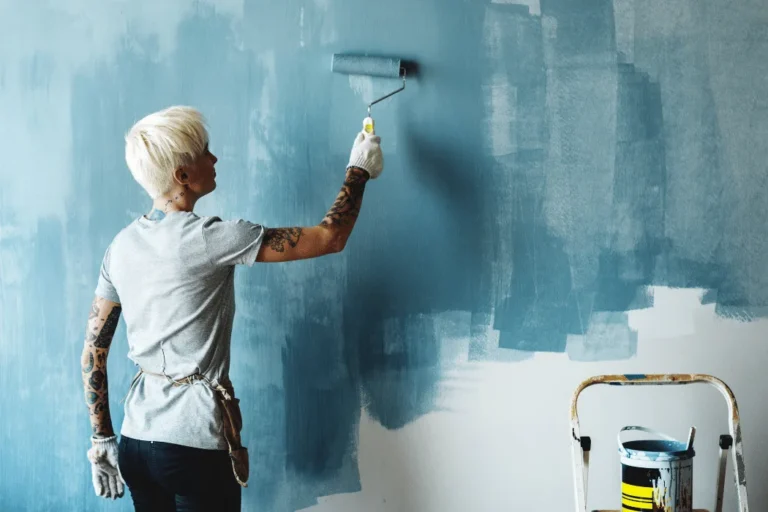
Once you’ve cut in around the tiles, you can roll the main wall areas quickly without scuffing the splashback by switching to a 4‑inch mini‑roller and a short‑pile sleeve, then keeping the frame’s metal arm facing away from the tiled edge.
Load lightly, roll a paint tray’s ridges, and use steady up‑and‑down passes that stop 5–10mm short, then feather back towards your cut line. This keeps your brush techniques crisp and saves paint.
For paint color selection, test your chosen shade beside the splashback under kitchen LEDs before committing.
- Fit a roller guard or cardboard shield along the tiles
- Use an extension pole for control, not speed
- Roll “W” patterns, then lay off in one direction
- Keep a damp cloth handy for fresh splatters
Pull Tape, Fix Bleed, and Let Paint Cure
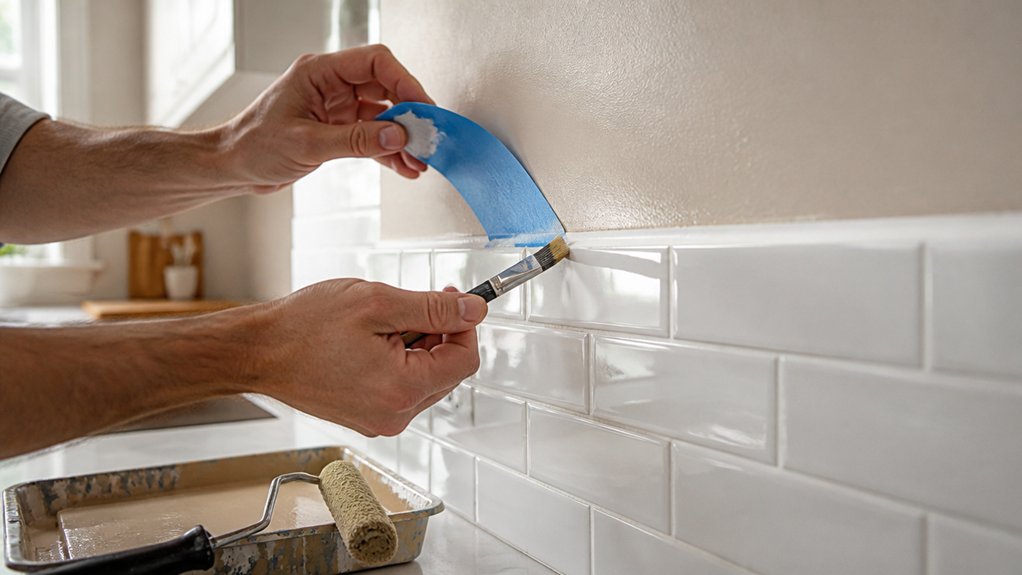
After the final coat has gone on and feels touch‑dry, pull your masking tape back on itself at a 45° angle, working in short lengths so you don’t lift fresh paint or leave a jagged edge along the tiles. For removing painter’s tape cleanly, keep light, even tension and don’t rush corners; if it snags, score the line with a sharp snap‑off blade.
Check the tile edge straight away for any seepage. When addressing paint bleed, wait until the paint’s dry, then shave the ridge gently with the blade and touch in with a small artist’s brush, keeping paint off the grout.
If you’ve used matte, avoid scrubbing. Let the wall cure 7–14 days before wiping or fitting splashback trims, saving you costly repainting later.
Conclusion
You’ve prepped, masked, cut in, and rolled—now it’s the finish that makes it look fitted, not DIY. Peel the low‑tack tape while the paint’s still tacky, then run a damp cloth or small brush over any bleed before it sets. Let it cure fully before splashing water or scrubbing. With a washable, steam‑ready paint, your kitchen walls stay sharp. Like a good cuppa: smooth, tidy, satisfying.
About the Author