
Like a tailor fitting a suit, you’ll want your timber feature wall planned to the millimetre before a single board goes up. You’ll choose a look that suits your space, set a realistic budget, and line up the right kit—laser level, stud finder, saw, fixings. In UK homes, you can’t ignore hidden services or damp-prone walls. Get the prep right now, and the install becomes straightforward—but there’s one layout decision that can make or break the finish…
Key Takeaways
- Choose a wall style, set a realistic UK budget, and measure the wall precisely, including sockets, radiators, skirting, and corners.
- Select suitable timber, thickness, spacing, and finish early, considering room conditions, lead times, and FSC certification where possible.
- Acclimate boards indoors for 48–72 hours, then cut, label, and dry-fit to confirm layout, reveals, and clean scribed corner/skirting fits.
- Mark studs and level datum lines, scan for pipes/cables, and fix boards accurately using adhesive plus nails/screws while maintaining consistent gaps.
- Sand and seal with tested stain and durable topcoat, denib between coats, cure fully, then inspect alignment and maintain with compatible cleaning.
Plan Your Timber Feature Wall (Style, Budget, Tools)
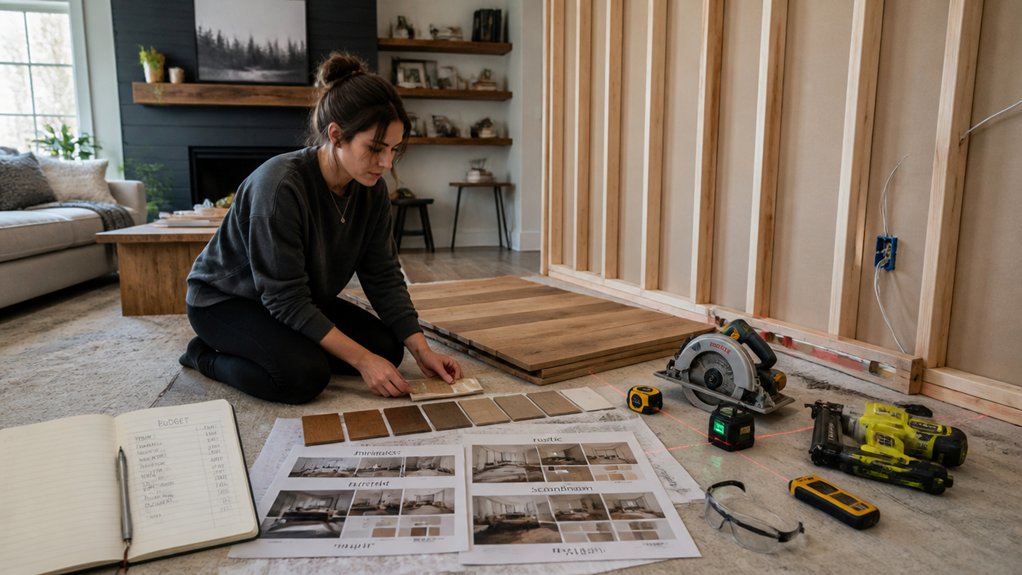
Before you buy a single plank, decide what kind of timber feature wall you’re aiming for—Scandi slatted, rustic reclaimed boards, or a sleek painted tongue-and-groove—and set a realistic UK budget around it (including fixings, adhesive, stain/varnish and delivery).
Gather design inspiration from UK interiors shops, Pinterest, and showrooms. Then measure your wall precisely, noting sockets, radiators, and skirting lines.
Check for damp, uneven plaster, or loose paint so you don’t trap problems behind timber.
Plan access to power and dust control, especially in a lived-in flat.
List tools you’ll need: tape measure, spirit level, stud/pipe detector, mitre saw, drill/driver, countersink bit, caulk gun, and PPE.
Finalise your material selection by availability, lead times, and FSC certification.
Choose Timber Boards, Spacing, and Finish
Once you’ve nailed the look, choose boards that match both your room’s conditions and the finish you want: budget-friendly PAR softwood (pine/spruce) takes stain well but dents more easily.
While oak, ash or sapele give a sharper, higher-end grain at a higher UK per‑metre cost.
Match board thickness to the vibe: 18–21mm feels premium and hides minor wall undulations; 12–15mm keeps weight and price down.
For spacing, 10–15mm gaps read modern (Scandi slats), while tighter 3–6mm looks more bespoke.
Use consistent spacers so lines stay crisp.
Decide your finish early: whitewash lifts north-facing rooms; hardwax oil keeps timber grain tactile; matte lacquer suits family homes.
In bathrooms, pick sealed hardwood or primed, painted softwood.
Find Studs, Check Services, and Mark Level
Before you fix anything, you’ll locate the studs with a stud finder, confirm centres, and mark them clearly in pencil so your fixings hit solid timber.
Next, you’ll check for hidden services—use a cable/pipe detector and look for obvious clues around sockets and radiators—so you don’t drill into wiring or pipework.
Finally, you’ll set a clean reference level line with a laser or spirit level, giving you a straight, modern finish that won’t shout DIY.
Locate And Mark Studs
Where should your studs sit for a wall that’s straight, strong, and compliant? Start by running a stud finder across the wall, moving slowly to confirm each centre. UK timber feature walls typically work best with studs at 400mm or 600mm centres, matching common plasterboard and battens. Mark each location with light pencil ticks, then join them into clear wall marking lines using a straightedge.
Next, set your datum: use a laser level (or a long spirit level) to strike a perfectly level reference line where your first batten or rail will sit. Transfer stud centres up and down from that line, so fixings always land true.
Finally, label each stud line, so you don’t lose them once dust sheets and battens go up.
Check Pipes And Wiring
Next, you need to confirm what’s hiding in the wall—because a neat stud layout means nothing if you drive a screw into a cable or pipe. Scan the area with a decent multi‑sensor detector (common on UK DIY aisles) and run it slowly across each marked stud bay, checking for live AC, metal, and water routes.
Pay extra attention near radiators, boilers, and bathrooms, where pipe runs and Pipe insulation can sit tight to plasterboard. Flip the ring main off at the consumer unit, then lift sockets or switches slightly to see cable direction and likely zones; that’s where wiring concealment usually happens.
Mark “no‑fix” corridors in pencil and keep your fixings clear of them. If in doubt, reroute your battens or shorten screws.
Set Reference Level Line
Once you’ve mapped the studs and marked any “no‑fix” service zones, set a single reference level line you can build everything off.
In most UK homes, floors and ceilings are rarely dead level, so trust your line, not the skirting. Use a laser level if you’ve got one; otherwise snap a chalk line across the wall at your chosen datum, typically 900–1,100mm from the finished floor for balanced proportions.
Mark it lightly in pencil, then reinforce key points with small tape flags so you don’t lose them under dust.
Transfer the reference level around corners with the laser, and double‑check with a 1.2m spirit level.
Note stud centres and fixing points directly above the line using consistent marking techniques.
Cut, Acclimate, and Dry-Fit the Boards
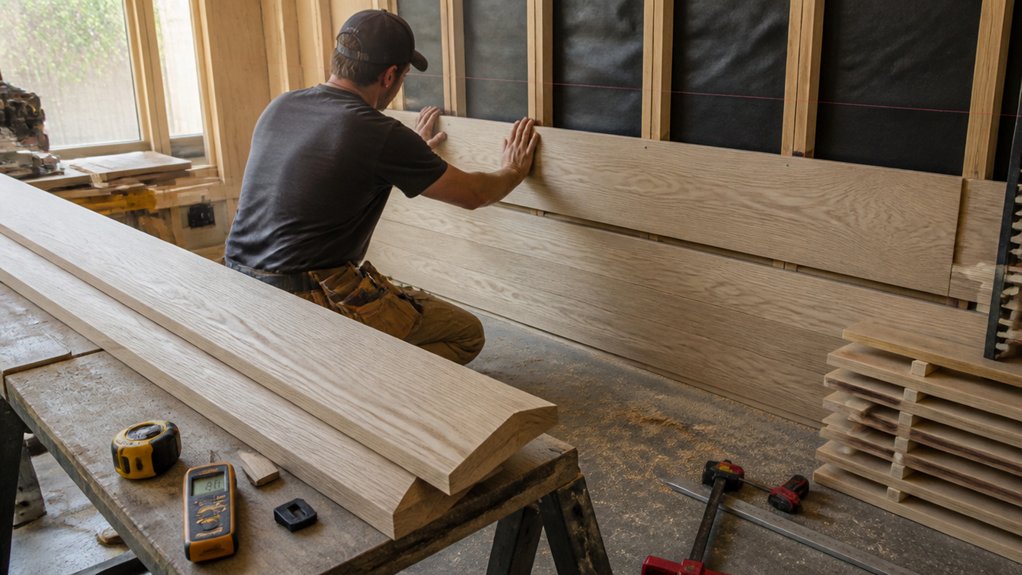
Measure each run from your level line, then cut boards cleanly and label them in order so you won’t mix lengths once you’re up the wall.
Stack them with spacers (stickers) in the room for 48–72 hours to acclimate to typical UK humidity and reduce cupping or gapping later.
Dry-fit the full layout, check your reveals and joints, and plane, shim, or recut any pieces before you commit with fixings.
Measure, Cut, And Label
Before you pick up the saw, take a beat to mark out every stud, plate, and noggin from your cutting list onto the timber itself. Then cut to length with a sharp blade and square ends.
For measuring accuracy, hook your tape consistently, measure twice from the same reference edge, and transfer marks with a knife line for crisp shoulders. Use a speed square to carry lines across the face so your mitre saw lands dead true.
Cut slightly proud if you’re unsure, then trim to final size rather than forcing a tight bay. Keep kerf waste in mind when batching repeats.
Apply smart labeling techniques: pencil each piece with its wall position, orientation arrow, and top/bottom, plus the bay number. Stack in order.
Acclimate, Dry-Fit, And Adjust
Even if you’ve cut everything to the list, let the timber acclimate on site for 48–72 hours, stickered off the slab with spacers so air can move around it and moisture can equalise. This moisture control step stops cupping and gaps once the heating’s on. Keep it in the room it’s going up, not the van or a cold garage.
Next, dry-fit each course on the floor or against battens, using your labels to keep grain and colour consistent with your material selection. Check reveal lines with a laser, then shuffle boards to avoid clusters of knots—very on-trend for clean, Scandi-style feature walls.
Scribe ends to skirtings and corners, trim 1–2 mm where needed, and re-stack in order. Adjust now, not after adhesive sets.
Attach the Timber Feature Wall Boards Straight
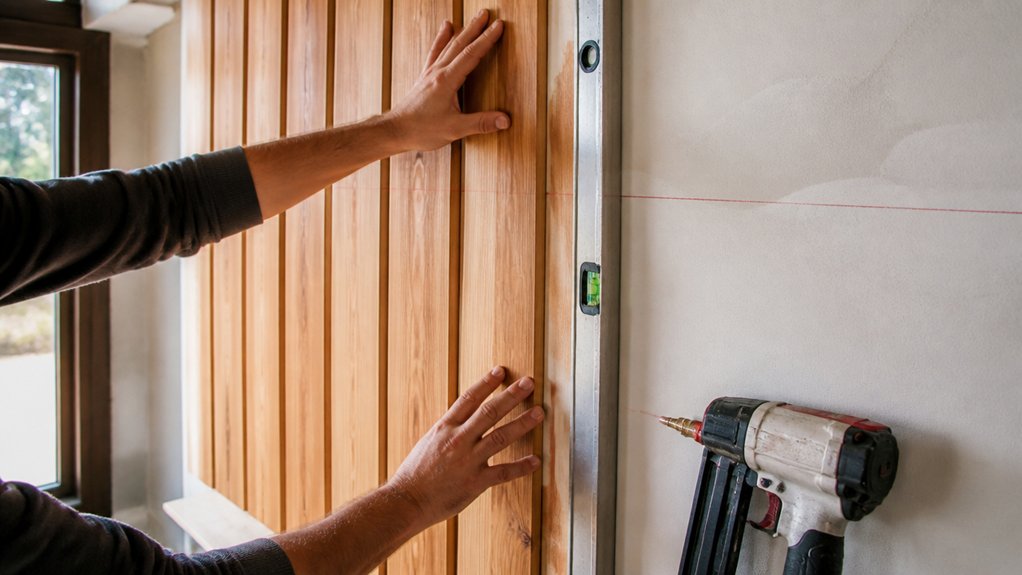
How do you keep a timber feature wall looking crisp rather than wonky? You set out clear datum lines, then fix each board to them, not to the ceiling or skirting (old UK houses rarely run true). Snap a chalk line for your first course, use a long spirit level, and check every third board for drift. Keep consistent gaps with spacers, and pre-drill near ends to prevent splitting.
- Mark studs with painter’s tape so you never miss fixings
- Use a brad nailer or countersunk screws for a sleek, Scandi finish
- Stagger joints to suit your Decorative accents plan
- Recheck wall color coordination under your room’s actual lighting
Work left to right, tap boards home with a rubber mallet, and wipe off squeeze-out immediately.
Sand, Stain, and Seal Your Timber Feature Wall
Now that your boards sit straight, you’ll lock in that crisp, Scandi look by sanding the whole wall to a consistent key, then choosing a stain (or tint) that suits your room’s light, and finishing with a hardwearing seal that can handle UK humidity swings.
Start with 120‑grit on a random-orbit sander, then 180‑grit to refine; hand-sand edges so you don’t round crisp lines. Vacuum thoroughly and wipe with a tack cloth so stain doesn’t spot.
Test stain on offcuts, follow the wood grain, and plan color matching against your flooring and skirting in daylight and warm LEDs.
For sealing, choose a low‑VOC matte polyurethane or hardwax oil; apply thin coats, denib between, and keep windows cracked for airflow. Let it cure fully.
Conclusion
Once you’ve fixed the last board, you’ll see why timber feature walls are everywhere from London flats to Leeds semis. On my last DIY, I treated the layout like laying railway sleepers: one misaligned “track” and the whole run looked off. Keep that discipline—measure twice, keep a 3–5mm gap, and let stain cure fully. With good ventilation and warm lighting, you’ll end up with a crisp, contemporary wall that lasts.
About the Author