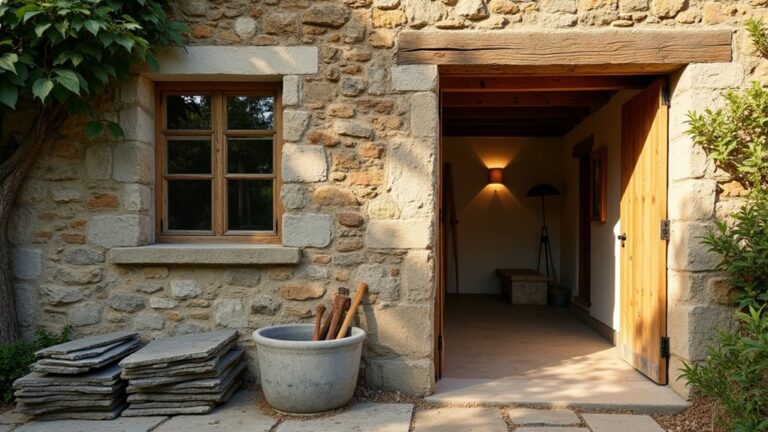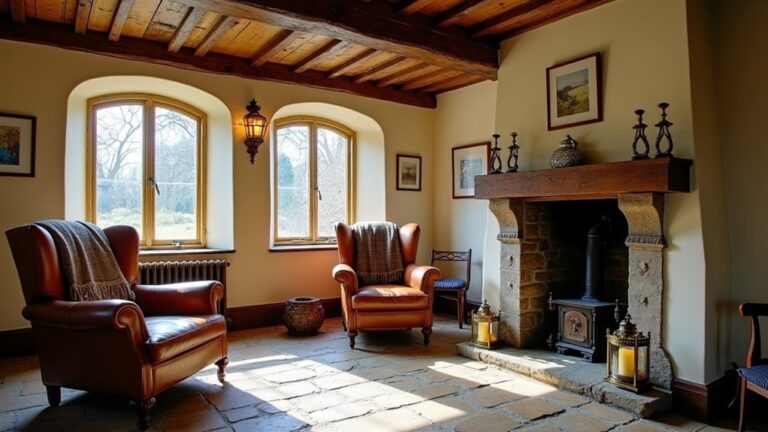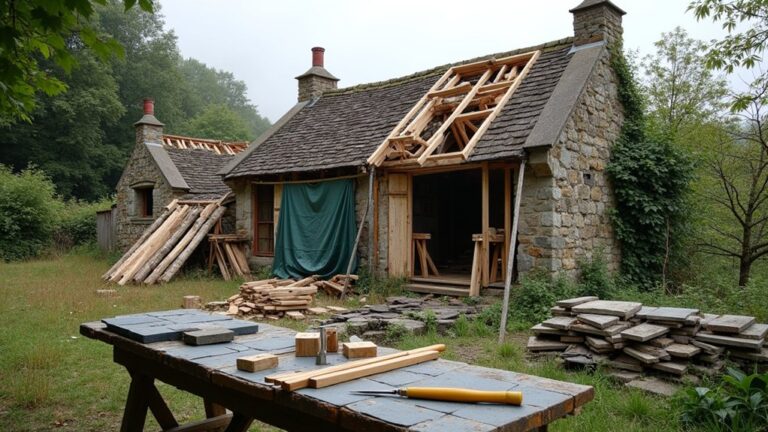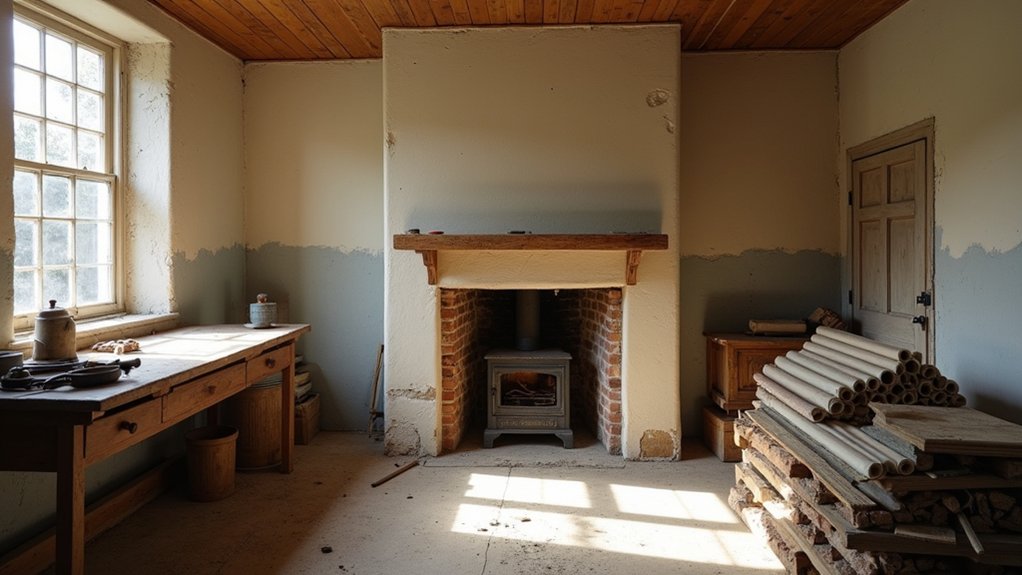
By coincidence, you’ll often find the cottage’s best clues hiding in plain sight the moment you start. You document mouldings, fireplaces, skirtings, and timber profiles before you lift a tool, then you check listing status and line up consents with a clear heritage statement. Next, you stop water at the roof, chimneys, and gutters, and you repair masonry with lime so walls can breathe. But one early mistake can lock in damp, and that’s where you need to pause…
Key Takeaways
- Survey and photograph original joinery, floors, plaster, tiles, and fireplaces; record moulding profiles and nail styles to guide accurate repairs.
- Confirm listing or conservation status early, consult the conservation officer, and secure Listed Building Consent or planning approval before starting work.
- Stop water ingress first by repairing roof slates/tiles, lead flashings, chimneys, and cast-iron gutters, ensuring downpipes discharge correctly.
- Repair masonry, lintels, and footings using matching lime mortars and like-for-like timber splices, avoiding cement that traps moisture.
- Manage damp through breathability: lower ground levels, clear airbricks, improve ventilation, and monitor humidity to distinguish condensation from penetrating damp.
Survey Your Victorian Workers’ Cottage for Originals
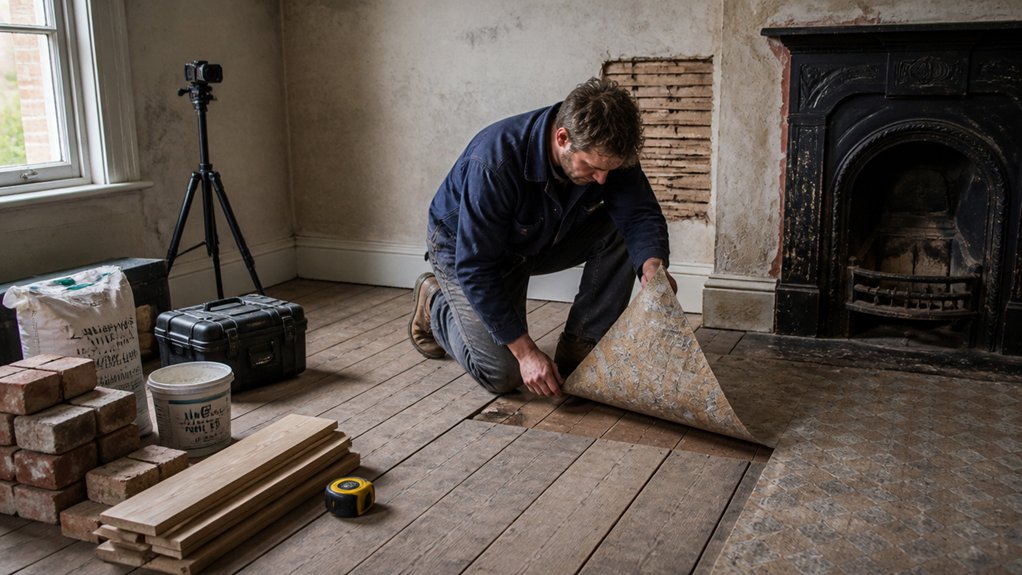
Before you strip anything back, walk through your Victorian workers’ cottage with a notebook and camera and record what’s genuinely original. Note skirtings, architraves, panel doors, sash window profiles, fireplaces, encaustic tiles, floorboards, lath-and-plaster, and any surviving limewash.
Measure mouldings with a profile gauge, sketch chimneybreast dimensions, and log ironmongery patterns and screw types.
Check loft timbers for saw marks and carpenters’ numerals, and lift a corner of carpet to confirm board widths and nail styles.
This survey underpins Historical accuracy: you’ll reinstate what belonged, not what looks “period”. It also guides Material sourcing, so you match reclaimed bricks, softwood joinery, Welsh slate, and lime mortars to what’s already there.
Mark alterations clearly.
Check Heritage Status and Get Approvals Early
Although your cottage may look modest, you should confirm its heritage status early by checking the National Heritage List for England (or the relevant register in Scotland, Wales, or Northern Ireland) and your local authority’s conservation area maps. Then speak to the council’s conservation officer to clarify what needs consent.
If it’s listed or within a conservation area, you’ll likely need Listed Building Consent, planning permission, or both, even for “like‑for‑like” repairs.
Build a clear Heritage documentation file: dated photos, measured sketches, paint scrapes, joinery profiles, and notes on materials found during your survey. Submit a brief heritage statement explaining significance and your repair philosophy, referencing SPAB principles where relevant.
Get decisions in writing and keep correspondence. Early legal compliance prevents enforcement, redesign costs, and delays to your programme.
Stop Water Ingress: Roof, Chimneys, Rainwater Goods
Once you’ve secured the right consents, tackle water ingress immediately, because a Victorian cottage can tolerate age but not persistent damp. Start at the top and keep every intervention like-for-like, favouring repair over replacement and traditional details over quick fixes.
- Inspect the roof covering: re-fix slipped Welsh slate or plain clay tiles, renew lead soakers and flashings to BS EN 12588, and keep verge and ridge sound.
- Address stacks: repoint flashings, fit a discreet cap if needed, and prioritise Chimney sealing at pots, haunching, and flaunching.
- Refresh rainwater goods: repair cast-iron gutters and downpipes, check joints, and schedule regular Gutter maintenance to stop overflow onto brickwork.
- Improve falls and drainage: clear gullies, confirm downpipes discharge properly, and add leaf guards without altering character.
Repair Walls, Lintels, and Footings With Lime
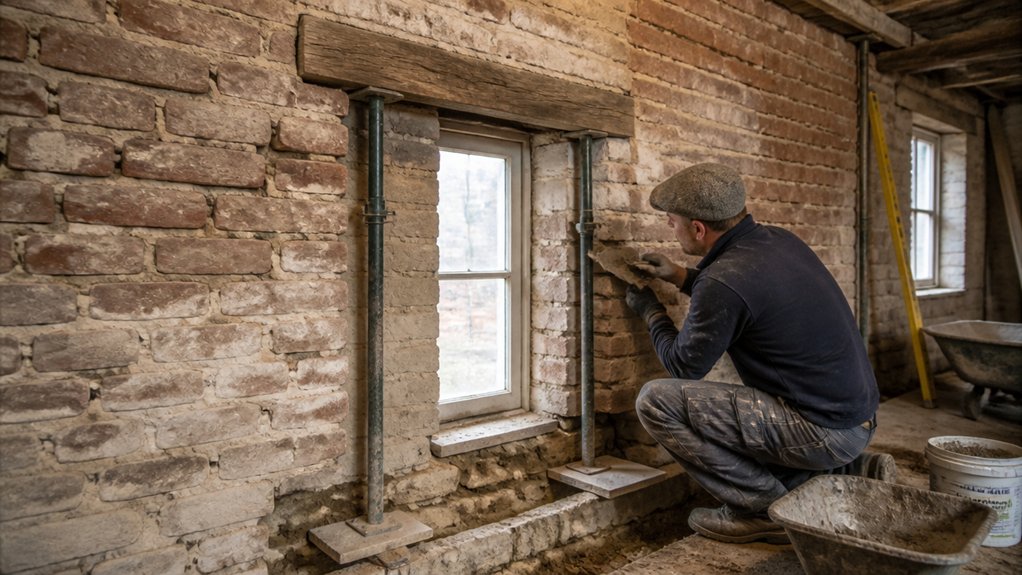
With the roof, chimneys, and rainwater goods keeping most water out, turn your attention to the fabric that’s already been wetted: walls, openings, and the ground line.
Rake out failed joints by hand to avoid scarring soft brick, then repoint with Lime mortar matched to the original in colour, aggregate, and finish. Use Heritage techniques: small hawk, tight jointing, and a stippled or brushed face that sheds rain without sealing.
Check openings for movement. Prop cautiously, then repair cracked masonry and reset loose bricks before you tackle lintels.
Keep sound timber; splice like-for-like if it’s rotten. For footings, rebuild only what’s undermined, laying bricks back on lime and consolidating voids with lime grout, not cement.
Fix Damp in a Victorian Cottage (Keep It Breathable)
Because Victorian cottages were built to breathe, you’ll fix damp fastest by managing moisture paths rather than trying to “seal” the building. Start with moisture control outside: clear gutters, check downpipes and shoes, and confirm rainwater discharges into gullies, not along the wall. Lower external ground levels where they’ve bridged the damp line, and keep airbricks clear so sub-floor ventilation actually works.
Indoors, improve steady ventilation and avoid trapping vapour with modern vinyls or tanking; use breathable barriers only where they guide moisture safely, not where they block evaporation. Then measure: log humidity, surface temperature, and salts to separate condensation from rising or penetrating damp.
- Inspect roofs, flashings, and valleys after heavy rain.
- Run a hose test on suspect elevations.
- Check for leaking plumbing and overflowing WCs.
- Track drying with a moisture meter weekly.
Restore Joinery, Floors, and Lime Plaster Details
With damp brought under control, you can turn to the fabric that gives your Victorian cottage its character: period joinery, timber floors, and lime plaster.
You’ll repair original doors, sashes, and skirtings with like-for-like timber and traditional fixings.
Then refinish your floorboards to keep their patina while securing loose boards and stopping squeaks.
You’ll patch blown or cracked lime plaster with compatible lime mixes and reinstate crisp cornices and moulded details so the rooms read as properly Victorian again.
Repair Period Joinery
Before you reach for new timber or modern fillers, take a close look at what’s already there: Victorian joinery, floorboards, and lime plaster details usually repay careful repair far better than replacement. You’ll protect period craftsmanship and keep authentic joinery doing its job. Work room by room, keeping profiles, pins, and mouldings intact, and match species where splicing is unavoidable. Use reversible methods, and keep moisture and movement in mind so repairs don’t fail next winter.
- Assess: probe for decay at sills, jamb bases, and window cills; mark sound timber.
- Stabilise: re-glue loose tenons, peg where possible, and tighten wedges in mortices.
- Splice: cut back to sound wood, scarf in matching timber, and use hide glue.
- Patch: fill small losses with lime putty/wood dust, then reprofile with chisels.
Refinish Timber Floorboards
Where do you start when a Victorian cottage floor looks tired but still feels solid underfoot? Begin by lifting rugs and threshold strips, then check for loose boards, protruding cut nails, and damp staining around hearths and external walls.
Refix with lost-head nails or screws plugged with matching timber, keeping original widths and chamfers.
Next, plan your floor sanding carefully: hire a dust-extraction sander, work with the grain, and stop before you thin the boards or erase saw marks that tell the building’s story.
Hand-sand edges and around pipes. Vacuum thoroughly and wipe with a barely damp cloth.
For wood finishing, choose breathable, repairable systems: hardwax oil or traditional shellac, not thick polyurethane.
Apply thin coats, de-nib between, and protect with felt pads.
Patch Lime Plaster Details
Once the floorboards look refreshed, rough plaster edges and missing mouldings tend to stand out, so tackle your lime plaster repairs next. You’ll get the best match by working like-for-like: vapour-open, flexible, and sympathetic to Victorian brick and lath. Keep edges sound, avoid gypsum, and let the building breathe.
- Rake back loose material to firm lime, undercut the perimeter, and mist with clean water.
- Choose the right mix: fine lime putty plaster for interiors; lime render where the patch meets masonry.
- Apply in thin coats, pressing well, then key each pass; use traditional plaster techniques for corners and beads.
- Finish gently: float, sponge, and limewash once cured; protect from draughts, sun, and frost.
Conclusion
By surveying originals, securing consents, and stopping leaks first, you’ve set your cottage up to last. Lime mortar, breathable repairs, and careful damp control let old brick and timber dry as they should. Restore joinery and plaster with a light touch, and you’ll keep tool marks, profiles, and patina intact. It’s not just repair; it’s stewardship: stitch by stitch, slate by slate, history holds. Now maintain gutters, ventilation, and pointing.
About the Author