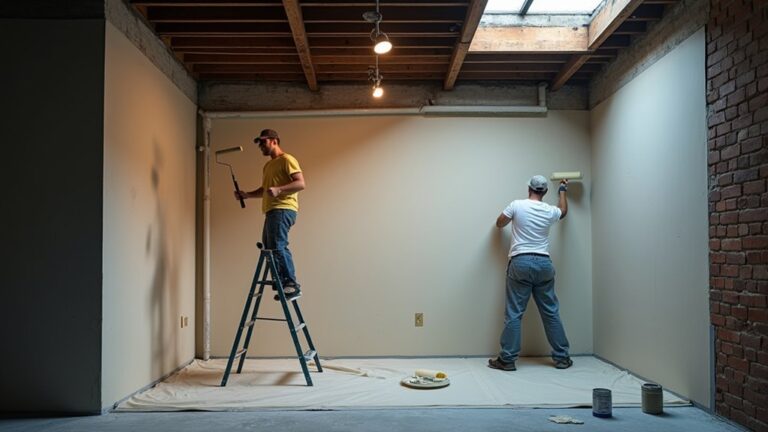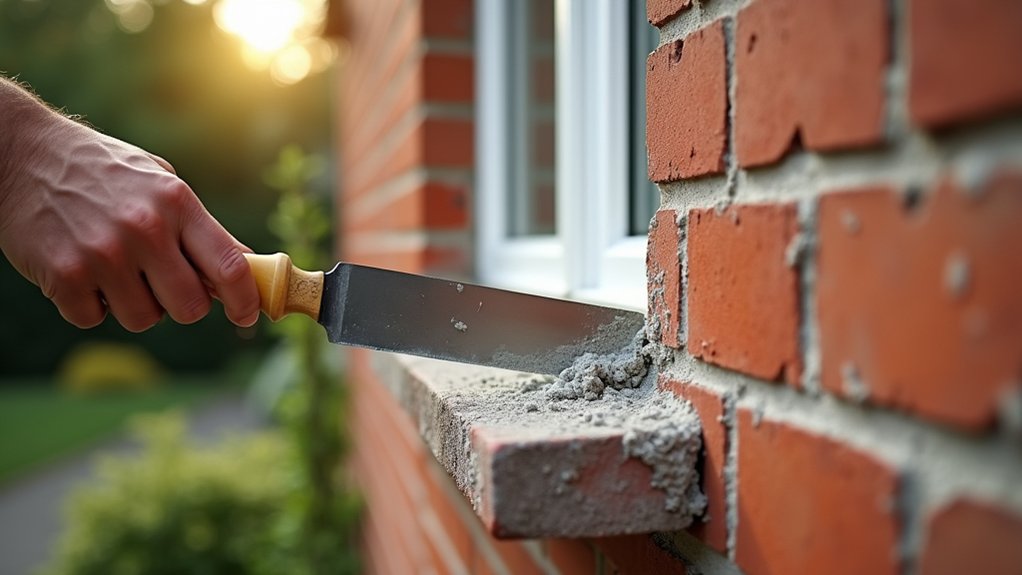
Coincidentally, the day you decide to smarten up your frontage is often the day the damp patch and flaking masonry paint look worst. You can’t just roll on a fresh coat and hope for kerb appeal; you’ve got to check moisture routes, clean brick or render with care, stabilise loose areas, and repoint tired joints. Then you choose a breathable primer and finish that suits UK weather—if you want it to last, you’ll need to start with what’s underneath…
Key Takeaways
- Inspect masonry for flaking paint, hollow render, and loose mortar; repair and let patches fully cure before repainting.
- Clean gently with dry brushing, warm water, and pH-neutral cleaner; avoid pressure washing and acids that damage brick and mortar.
- Stop damp at the source by fixing gutters, downpipes, junction seals, drainage, and bridged DPCs; repoint with breathable lime where needed.
- Choose breathable, microporous masonry paint for older brick or lime render; use elastomeric coatings only on dense, crack-prone substrates.
- Paint top-down in sections, keeping a wet edge; use a medium-pile roller and brush into details, respecting spread rates and dry weather windows.
Can You Repaint Exterior Masonry Yet?
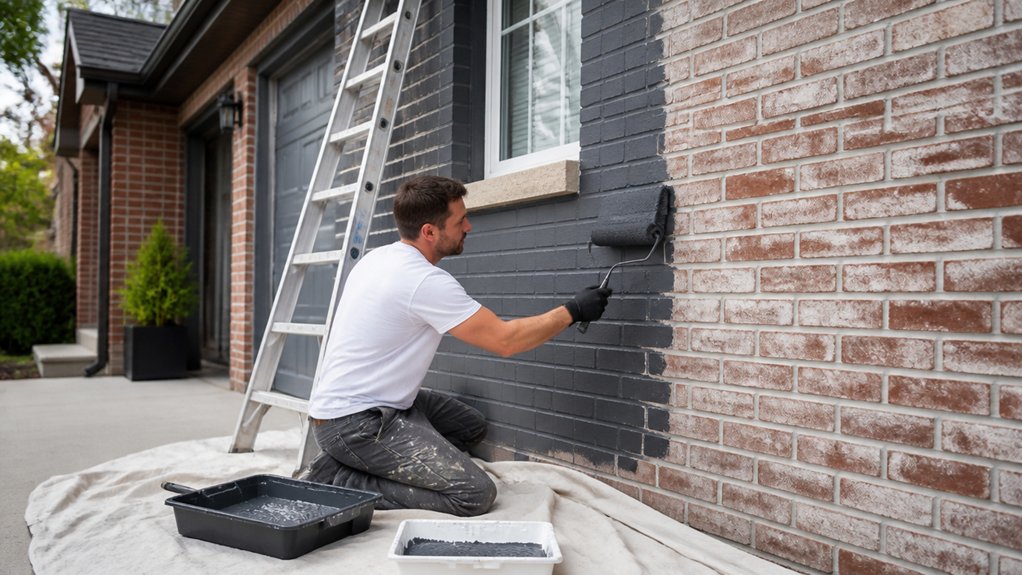
Before you reach for the masonry paint, you need to confirm the wall’s actually ready, because repainting too soon is one of the quickest ways to trap moisture and end up with blistering or peeling.
Check the existing coating: if it powders heavily, flakes, or sounds hollow when tapped, you’ll need more prep before you repaint. On older UK brickwork, make sure any previous paint isn’t failing in sheets, and confirm any repairs have fully cured to the manufacturer’s timeline.
Aim for a stable, clean, dust-free surface and a consistent finish after sanding and patching.
Then choose Color options that suit your street and planning context; if you’re on a period terrace, prioritise historical accuracy over passing trends.
Test patches in changing light.
Stop Water and Damp Before Repainting
Before you repaint, you’ve got to stop water and damp at the source by tracking every moisture entry point—cracked pointing, failed render, gaps around sills and vents, leaking gutters, and bridged DPCs.
Check how rainwater actually sheds on a wet day, then fix the causes fast: repoint, seal junctions, replace slipped tiles, clear and realign gutters, and sort downpipes and gullies so drainage runs free.
Once leaks and drainage are put right, your new masonry paint won’t blister or peel at the first spell of British weather.
Identify Moisture Entry Points
Where’s the damp actually getting in? Before you repaint, you need a clear map of moisture paths, or you’ll trap water behind fresh masonry paint and watch it blister through a British winter. Walk the elevation after rain, then again on a dry, windy day, and note patterns.
- Track tide marks and fluffy salts; they signal water moving through pores and leaving a chalky, worrying trail.
- Check window reveals, sills, and cracked render; tiny gaps can feel like a betrayal when staining returns.
- Look for ventilation issues in air bricks and subfloor voids; musty smells mean moisture’s lingering.
- Spot structural weaknesses: stepped cracks, failing pointing, and bowed brickwork that let damp creep in silently.
Repair Leaks And Drainage
Once you’ve pinpointed the moisture routes, you need to stop the source with basic leak and drainage fixes, or your new masonry paint will fail fast.
Start at roofline level: clear gutters, re-seat loose brackets, and check for backfall that dumps water onto brickwork. Replace cracked downpipes, add proper shoes, and extend outlets into gullies. Seal gaps around penetrations with exterior-grade mastic, and repoint open joints using a breathable lime mix where appropriate.
For leak prevention, fix dripping overflow pipes, isolate faulty valves, and check window sills for failed sealant.
Move to ground level: tidy soil lines below DPC, add gravel strips, and improve falls away from walls. These drainage improvements reduce splashback, algae, and efflorescence.
Clean Brick, Render, and Stone Safely
Although it’s tempting to reach for a pressure washer, you’ll get a longer-lasting finish by cleaning brick, render, and stone with the gentlest method that still shifts grime.
In the UK’s damp, algae-prone climate, start dry: brush down with a stiff (not wire) brush, then use warm water and a pH-neutral cleaner. Rinse lightly and let walls dry fully between passes to avoid trapping moisture.
- Test a small patch first, so you don’t get that sinking feeling from etched brick faces.
- Work top-down, protecting plants and air bricks, and you’ll feel in control, not rushed.
- For Brick cleaning, use a mild detergent; avoid acids that can scar mortar.
- Finish with breathable stone sealing on porous stone, so rain beads off and kerb appeal lifts.
Remove Peeling Masonry Paint and Loose Render
Before you even think about primer, strip back anything that’s flaking, hollow-sounding, or powdery, because new masonry paint only bonds as well as the surface beneath it.
Start with a stiff scraper and wire brush, working methodically top-down to avoid tracking debris over sound areas.
Tap render lightly; if it drums, it’s loose—chisel it back to a firm edge and feather the changeover so patches won’t telegraph through modern matt finishes.
For stubborn paint, use a masonry paint remover rated for UK substrates or a low-pressure steam system rather than aggressive grinding that scars brick faces.
Your surface preparation isn’t complete until you’ve vacuumed dust and brushed off salts.
Build in weather considerations: choose a dry spell, 5–25°C, and protect from sudden showers.
Rake Out and Repoint Damaged Mortar Joints
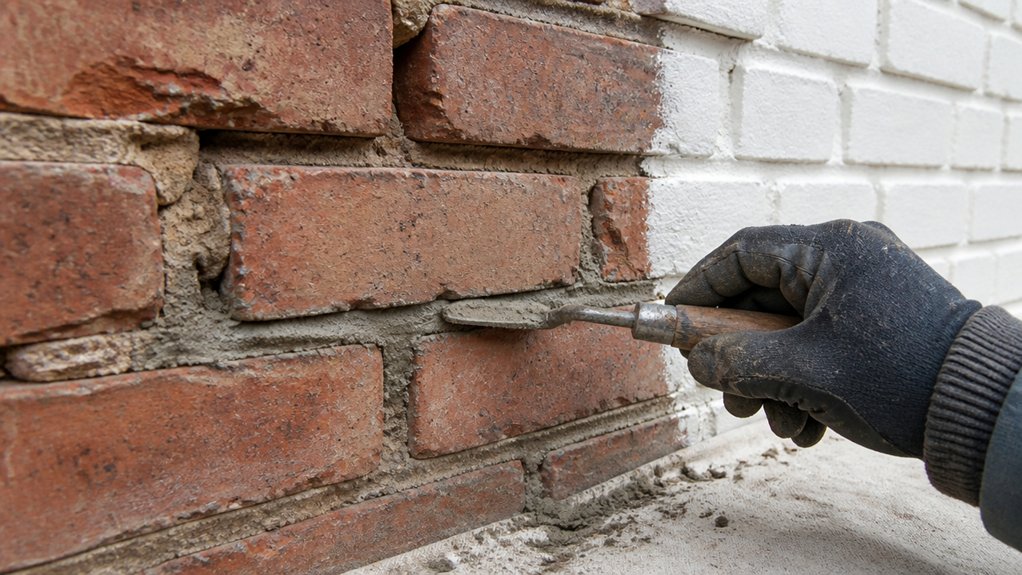
Because failed joints let water track behind paint and blow the finish in a single winter, you should rake out any cracked, friable mortar to a sound depth (typically 15–20mm or until you hit firm material) using a plugging chisel, a mortar rake, or an SDS with a joint raker—taking extra care around soft Victorian brick.
Brush and vacuum dust, then mist the joints so new mortar cures, not powders.
Match Mortar composition to the era: lime-rich for older solid walls, cement-lime for modern cavities.
Use Repointing tools—a hawk, pointing trowel, jointer, and churn brush—to press mortar in firmly and finish to the original profile.
- Stop that creeping damp smell.
- Keep crisp brick lines, not crumbling gaps.
- Protect your fresh paint investment.
- Feel proud when the façade looks “sorted”.
Fill Small Cracks and Patch Failed Render
Once you’ve stabilised the mortar joints, tackle hairline cracks and blown or hollow-sounding render straight away, otherwise rain will keep getting in behind your coating and you’ll chase stains, bubbling, and frost damage every winter.
Start with Surface preparation: wire-brush loose grit, rake cracks into a shallow “V”, then vacuum dust so fillers bond, not skate.
For Tool selection, use a filling knife for fine cracks and a pointing trowel for wider breaks; a tapping hammer helps you find hollow areas.
Cut back failed render to a firm edge, undercut slightly, and dampen the background to reduce suction.
Apply a compatible exterior filler or repair mortar in thin passes, pressing hard to compact.
Feather edges flush, then lightly rub back for a seamless repaint line.
Let Repairs Dry: Timing and Weather Rules
Although it’s tempting to crack on with primer the same day, you’ll get a longer-lasting finish if you let fillers and repair mortars cure fully in the right weather window.
In the UK, climate considerations matter: cool, damp air can double drying times, while bright sun can skin repairs and trap moisture underneath. Aim for a mild, dry spell (about 10–20°C), low wind, and no rain forecast for at least 24–48 hours after patching—longer for deeper repairs.
Touch-dry isn’t cured; wait until the patch feels firm, uniform in colour, and no longer cool or tacky.
- Check Met Office hourly rain radar so you don’t lose a weekend’s work.
- Avoid frost nights; freeze-thaw can ruin fresh mortar.
- Shade hot walls to prevent premature surface drying.
- Recheck joints next day—peace of mind beats peeling later.
Choose a Breathable Exterior Masonry Primer
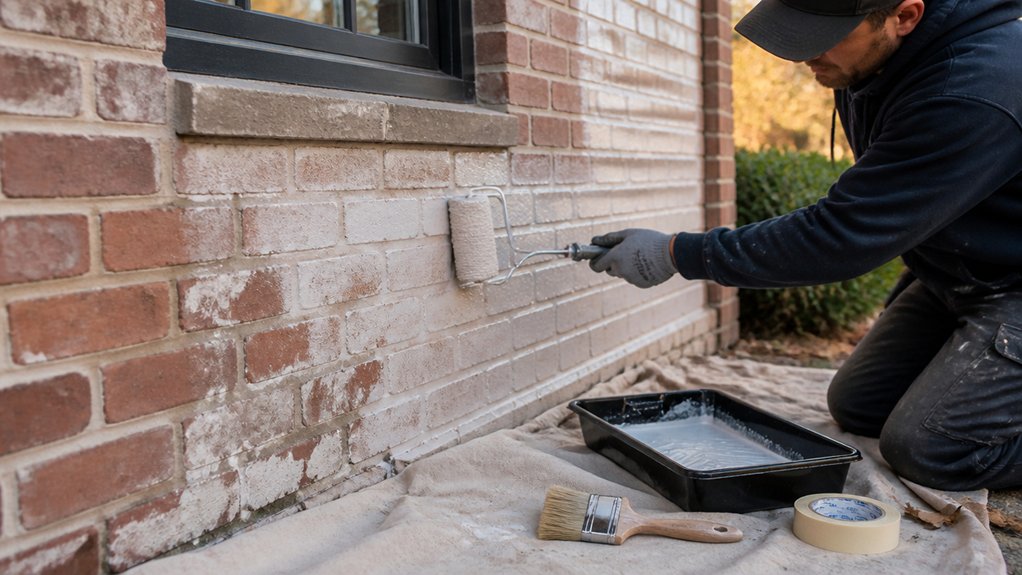
When you’re repainting exterior brick, render, or stone, you’ll get a tougher, longer-lasting finish by choosing a breathable masonry primer that lets trapped moisture escape instead of sealing it in. In the UK’s changeable damp, that permeability matters, especially on older Victorian brickwork and lime-based renders.
Pick Breathable primers rated for exterior use and compatible with your substrate: mineral primers for porous, chalky surfaces; stabilising primers where powdery old coatings won’t hold. Avoid heavy-duty Masonry sealing products unless you’re solving specific salt or staining issues, as they can lock moisture behind the coating and trigger blistering.
Check the datasheet for vapour permeability, alkali resistance, and coverage rates. Prime only on clean, sound masonry, and work it well into joints and textured areas.
Choose Exterior Masonry Paint: Finish and Durability
Because the UK’s mix of driving rain, frost snaps, and summer UV punishes exterior walls, you’ll get better results by matching your masonry paint’s finish and durability to the substrate and exposure.
On older brick or lime-render, pick a breathable, microporous acrylic that sheds water yet lets vapour escape. For dense concrete or previously painted blockwork, a tougher elastomeric option helps bridge hairline cracks.
Choose sheen carefully: matt hides patchy repairs; soft-sheen wipes cleaner near paths; avoid high gloss, which can look plasticky on period homes.
Explore modern Color options—muted sages, warm greiges, charcoal trims—then test in daylight.
- Stop rain streaks ruining your frontage.
- Beat flaking after winter freezes.
- Keep colour from chalking in sun.
- Get finish textures that feel “new-build sharp” or “heritage calm”.
Paint Exterior Masonry Evenly (and Avoid Mistakes)
If you want your freshly chosen colour to look crisp rather than blotchy, you need a repeatable system that keeps paint wet-edge to wet-edge across the whole elevation.
Work top-down, one bay at a time, and don’t “cut in” miles ahead.
On UK brick and render, a 9-inch masonry roller with a medium pile loads enough paint to bridge texture; back-roll after spraying to even out sheen.
Keep a brush for reveals, sills, and pointing, feathering into the rolled field while it’s still wet.
Stick to the manufacturer’s spread rate, and decant into a scuttle so you’re not dipping inconsistently.
Check drying times in changeable British weather; stop if rain’s due.
For Color coordination, paint trim last.
Match paint finish across coats.
Conclusion
Once you’ve checked the masonry’s sound, stopped damp, cleaned gently, and repointed properly, you’re ready to paint with confidence. Let repairs cure, then use a breathable primer and a quality UK masonry paint that suits your finish—modern matt for a crisp look or a subtle sheen for extra washability. Work top-down, keep a wet edge, and dodge sudden showers. Do it right and, like you’ve borrowed a Victorian lamplighter’s patience, your kerb appeal will last.
About the Author