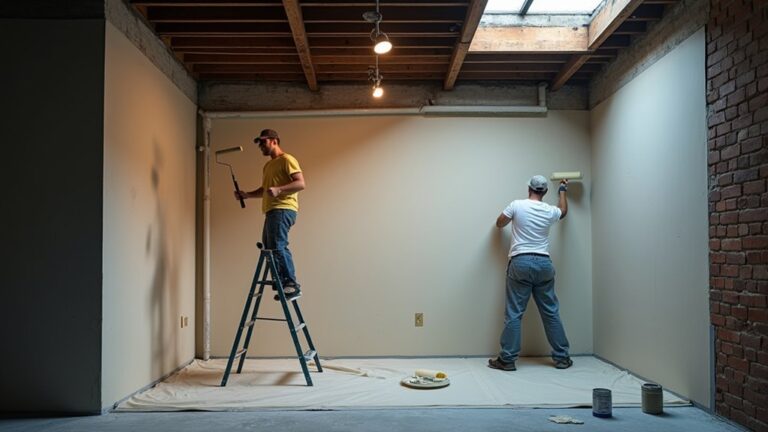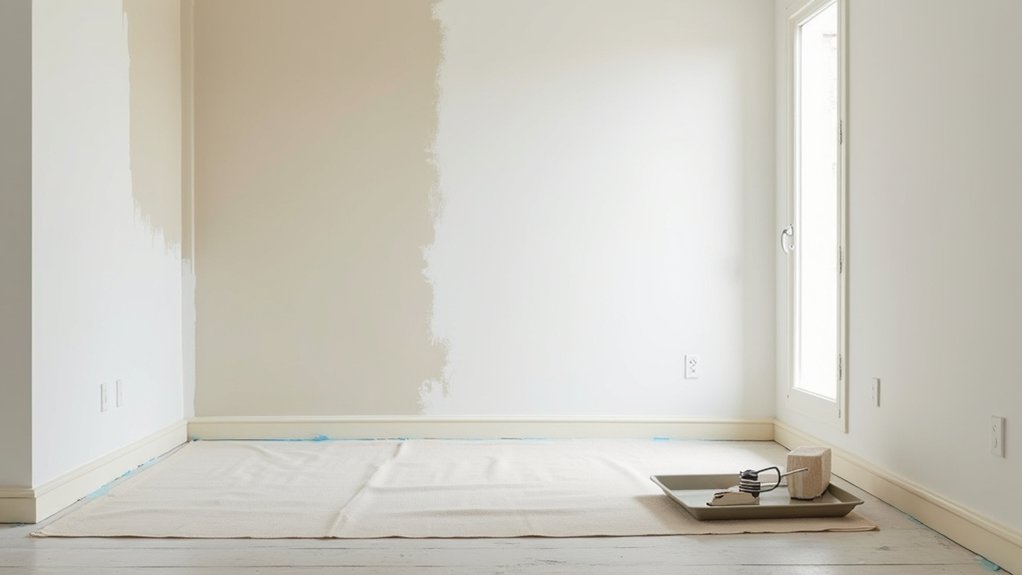
Your hallway gets more abuse than most rooms, so the wrong paint can start showing scuffs within weeks. You’ll want a wipeable, scuff-resistant finish (usually eggshell or satin) and you’ll need to prep properly with sugar soap, filler, and a quick sand. From there, you’ll spot-prime only where it matters and keep a wet edge to avoid lap marks. The part that catches most people out comes next…
Key Takeaways
- Choose a durable, scrub-resistant paint (Class 1 wet scrub) in eggshell or satin for easy cleaning in busy hallways.
- Wash walls with sugar soap, repair dents and cracks with filler, then sand smooth and remove all dust before painting.
- Spot-prime fresh filler, bare plaster, stains, and glossy patches; use stain-blocking primer around switches and scuff-prone areas.
- Cut in edges first, paint top-to-bottom, and keep a wet edge to prevent lap marks and picture-framing in tight corridor runs.
- Let paint cure 2–4 weeks, ventilate well, clean gently with mild soapy water, and touch up chips with leftover paint.
Pick Scuff-Resistant Hallway Paint and Sheen
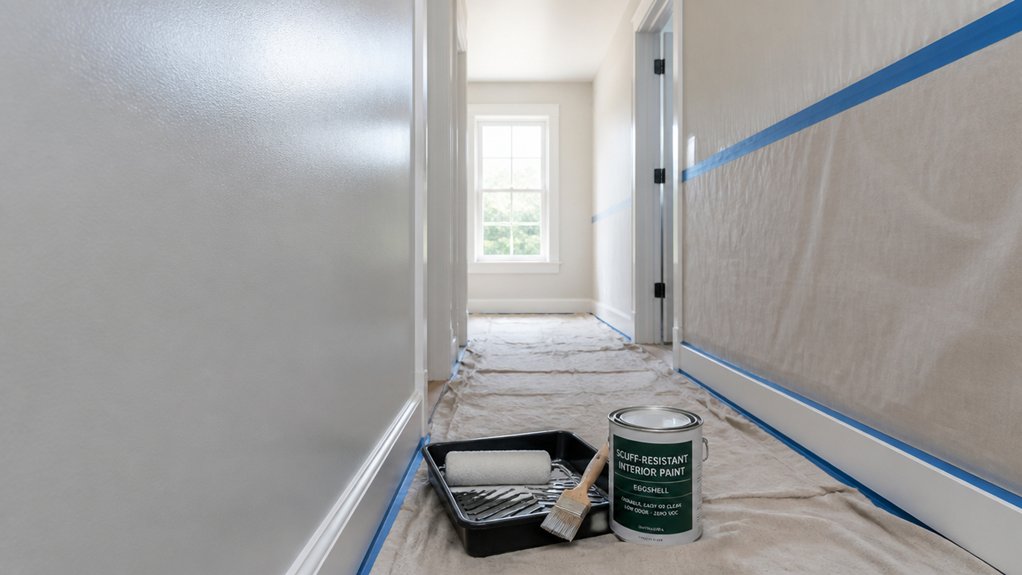
Because hallways take the brunt of muddy shoes, prams, and constant shoulder-rubs, you’ll get better results by choosing a durable, wipeable paint rather than a standard matt emulsion.
Go for a UK “scrubbable” acrylic eggshell or durable matt labelled Class 1 wet scrub (EN 13300) for easy mark removal. For durability testing, check the manufacturer’s scrub cycles and whether it’s suitable for busy corridors and stairwells.
Use Finish comparison to match sheen to your space: matt hides bumps but marks sooner; eggshell balances touch-up and wipeability; satin adds toughness but shows flaws and flashing.
If your hallway’s narrow or dark, a slightly higher sheen bounces light and cleans faster.
Choose low-VOC options for indoors.
Prep High-Traffic Hallway Walls (Clean, Patch, Sand)
Before you even open a tin, get your hallway walls properly prepped—clean off grease and grime (sugar soap works well on UK-painted surfaces). Rake out any loose or cracked filler, then patch dents and chips with a ready-mix or fine surface filler and let it cure fully.
Next, check for nail pops and hairline cracks around door frames, then skim and feather edges so repairs disappear.
Sand with 120–180 grit on a sanding block, keeping pressure even to preserve the wall texture while knocking back ridges and old drips. Vacuum dust, then wipe with a barely damp microfibre cloth and let it dry.
Run your hand over the surface under raking light; any bumps will telegraph through your paint colors. Mask sockets and switches.
Prime Only Where Hallways Need It Most
Once the walls feel smooth, clean, and bone-dry, focus your primer where it actually earns its keep rather than coating the whole hallway. Spot-prime fresh filler, bare plaster, water marks, and any glossy patches you’ve dulled with a quick sand.
In UK homes, a stain-blocking primer is worth it near radiators, shoe-scuff zones by the front door, and around light switches where oils build up. Use a small roller or brush and feather the edges so you don’t leave ridges.
If you’re changing to a lighter shade, prime darker areas to help with wall color coordination and reduce coats. Think about furniture placement too: prime behind consoles and coat hooks now, before they go back up.
Let it fully cure.
Paint Hallways Fast: Edges, Trim, Tight Runs
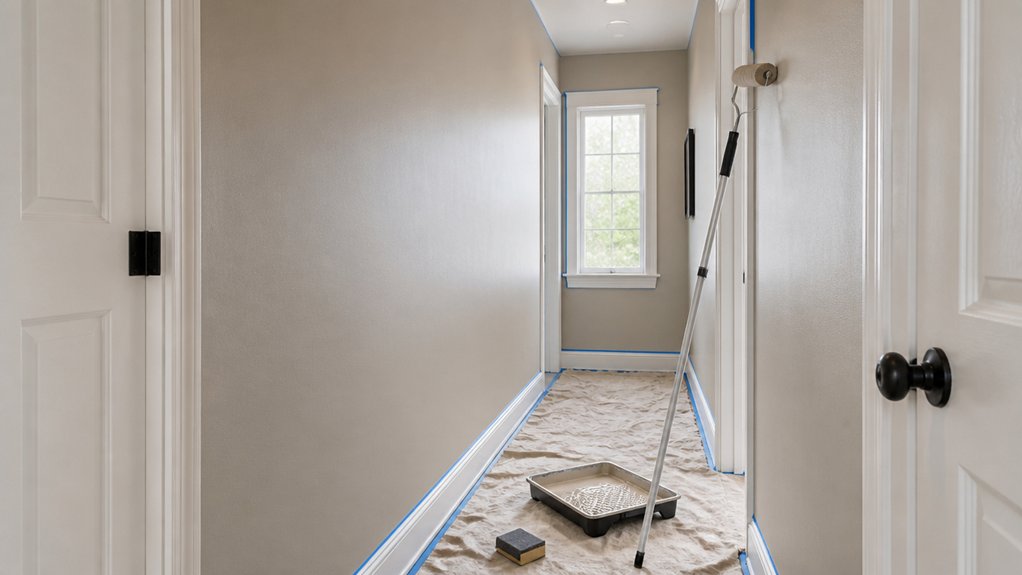
When you want a hallway painted quickly without messy touch-ups, start by “cutting in” all the edges and tight runs where a roller can’t reach. Use a 1.5–2 inch angled sash brush, load it lightly, then pull a steady line along ceilings, corners, and around sockets (power off at the consumer unit).
Tackle skirtings, architraves, and door frames next: mask hinges, run low-tack tape on finished trim, and keep a damp cloth handy for slips.
Work top to bottom and keep a wet edge so you don’t leave picture-framing. Once edges are done, you’ll roll faster with fewer stops.
Plan color coordination now, and pick decorative accents for trim for definition.
Let Hallway Paint Cure, Then Clean and Touch Up
Although the paint may feel dry to the touch within a few hours, give it proper curing time before you start cleaning or fixing scuffs, especially in a high-traffic hallway. Check the tin for drying time and full cure; many modern emulsions need 2–4 weeks to harden properly.
Keep foot traffic light, avoid washing the walls, and don’t stick up hooks or Command strips until curing’s done.
Use simple ventilation tips: crack windows, keep internal doors ajar, and run the extractor if your hallway links to a kitchen or utility.
Once cured, clean with a microfibre cloth and warm water with a drop of washing-up liquid. For marks, dab, don’t scrub.
Touch up chips with leftover paint using a small artist’s brush, then feather the edges.
Conclusion
Choose a scuff-resistant eggshell or satin, low‑VOC paint, and you’ll set yourself up for fewer marks. Clean with sugar soap, fill knocks, and sand smooth, then spot-prime only where stains or bare patches show through. Cut in neatly and roll in steady sections, keeping a wet edge. Now, like you’ve nicked a tip from a 90s Teletext page, give it proper curing time, keep footfall light, then wipe and touch up as needed.
About the Author