You’re updating a modern kitchen, but you’ve got period features worth keeping, so you need a plan that respects both. Start by deciding what stays—sash windows, chimney breast, original boards—then check condition and compliance before you touch finishes. Next, you’ll match cabinetry profiles, colours, metals, and lighting so nothing looks bolted on. Get these early calls wrong and the whole scheme fights you, so begin with the first decision: what’s doing the heavy lifting?
Key Takeaways
- Survey and document original features (windows, trim, floors, alcoves), then address safety checks like lead paint, damp, and electrical or gas compliance.
- Restore period details by repairing trimwork, removing later add-ons, squaring edges, and repainting in calm, durable colours that highlight original craftsmanship.
- Introduce modern Shaker-style cabinetry with modest profiles, consistent rail and stile widths, and traditional hardware to suit existing skirting and architraves.
- Harmonize materials and colours using a tight heritage palette, period-echoing worktops, and one dominant metal finish repeated across taps, handles, and accessories.
- Layer lighting with warm ambient, focused task, and subtle accent LEDs on separate switches, using dimmers and high-CRI bulbs for accurate, flattering light.
Choose Which Period Features to Keep (and Why)
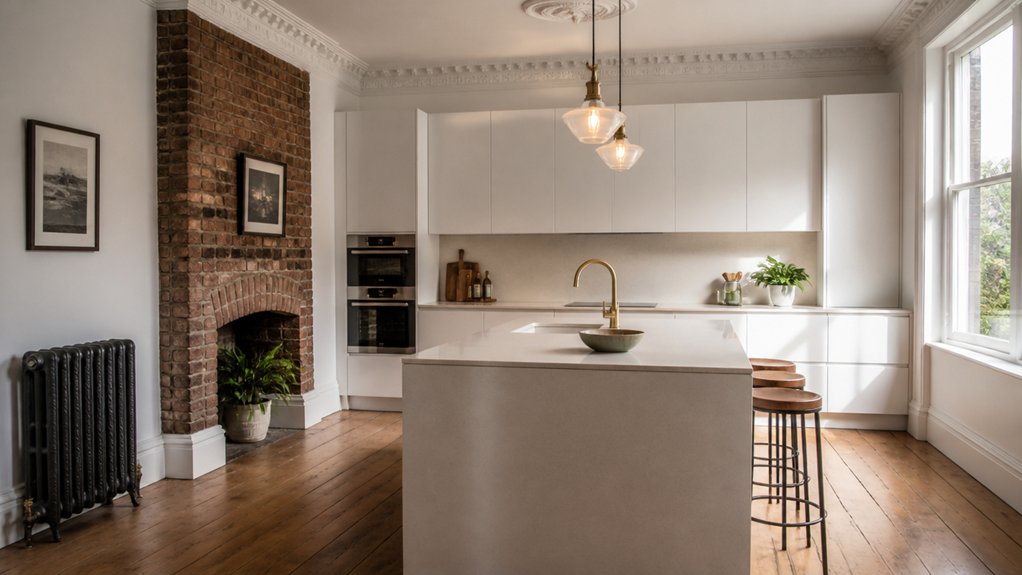
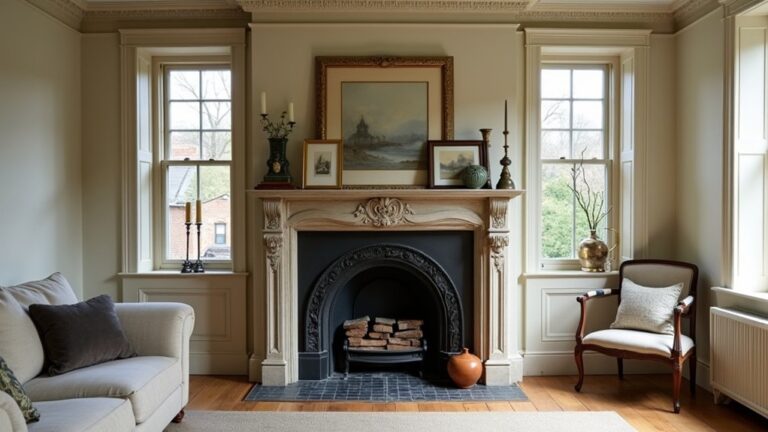
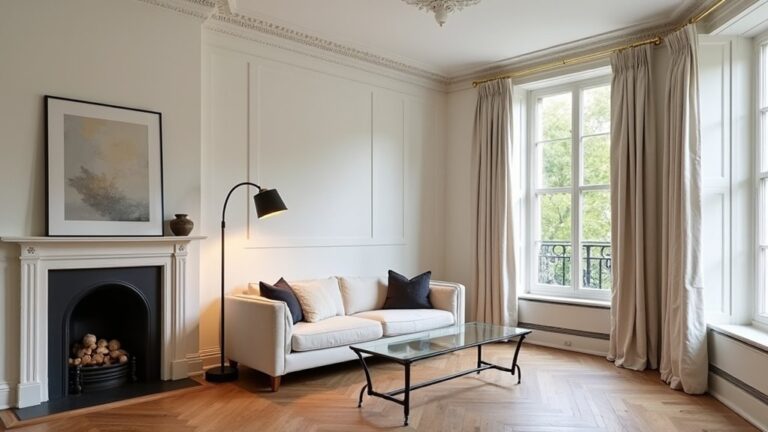
Before you start ripping out cabinets or ordering new worktops, decide which period features are genuinely worth keeping because they’ll shape every later choice and save you money on rework. Walk the room and list what’s original: sash-style window proportions, chimney breast, ceiling height, floorboards, or an old pantry recess.
Check condition and compliance—lead paint risk, damp staining, and whether any gas or electrics need a qualified engineer.
Keep elements that anchor the layout: a range alcove, a traditional door opening, or intact skirting that dictates cabinet heights. Choose Antique fixtures only if they’re serviceable and safe; otherwise, plan sympathetic replacements.
Prioritise Vintage hardware you can reuse across new fronts, so knobs and latches set the tone without forcing bespoke joinery.
Restore Period Details: Repair, Simplify, Repaint
Start by repairing any original trimwork you’re keeping—re-glue loose mouldings, fill splits with a suitable wood filler, and replace missing sections with like-for-like profiles.
Next, simplify fussy details by removing later add-ons and squaring up uneven edges so the lines read clean against modern units.
Finish by sanding, priming properly, and repainting in a hard-wearing finish that suits UK kitchens, keeping colour choices calm so the period work looks intentional rather than busy.
Repair Original Trimwork
Although modern cabinets and worktops get the attention, your kitchen’s original trimwork—skirting boards, architraves, picture rails, and any built‑in mouldings—does most of the heavy lifting in keeping period character intact.
Start by checking for damp damage near sinks and external walls, then probe soft spots with a bradawl so you don’t miss rot.
Lift loose sections carefully, label lengths, and save any decorative mouldings you can. Scrape back failed filler, re‑fix with lost‑head nails or trim screws, and glue splits with exterior‑grade wood glue plus clamps.
For missing runs, take a clean offcut to a local timber yard or joinery shop for a match. Re-seat antique hardware on cupboards only after frames sit square and gaps close tight.
Simplify And Repaint Details
A light hand with kitchen details keeps the period feel without trapping grime or adding visual noise. Strip back over‑fussy rails, corbels, and beading that were added later, then square off edges with filler and a sharp scraper. If you’re keeping original mouldings, sand lightly and re‑pin loose sections before caulking gaps.
Repaint with a durable, wipeable finish: water‑based eggshell on trim, and scrubbable matt on walls. Prime knots and stained patches with shellac, then lay off with a quality synthetic brush for crisp lines.
Choose one heritage shade and repeat it across skirting, architraves, and cupboard frames so Vintage accessories stand out. Let Modern appliances sit quietly in neutral tones, not competing with the restored details.
Pick Modern Cabinetry That Suits Period Homes
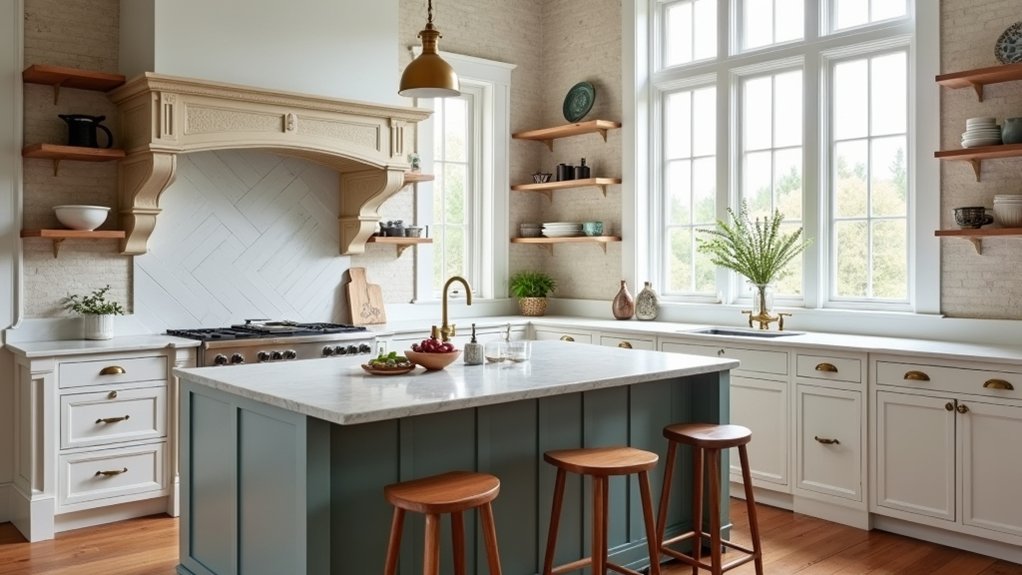
You’ll get a period‑friendly look by choosing modern cabinetry with Shaker doors, simple rails, and clean proportions that sit comfortably in older rooms.
Keep the detailing modest—narrow frames, minimal profiling, and traditional knobs or cup pulls—so it doesn’t fight original skirtings, coving, or sash windows.
Then set a colour palette that harmonises with your home’s tones, using muted heritage shades or warm neutrals and matching them to existing paintwork, tiles, and timber.
Shaker Doors And Rails
When you’re upgrading a period kitchen, Shaker doors and rails give you a clean, modern look without fighting the house’s original joinery.
Choose a narrow frame if your property’s Victorian or Edwardian; go slightly wider in a Georgian terrace for more weight and symmetry.
Keep the panel flat rather than raised so it reads contemporary while still nodding to traditional craftsmanship.
For durability, specify painted MDF for stable, crisp lines, or oak-veneered doors if you want visible grain.
Match your Rails design to existing details: align rail widths with skirting or architraves, and keep stile widths consistent across tall units and base runs.
Add discreet finger pulls or simple knobs, and use quality soft-close hinges for a refined finish daily.
Color Palettes For Harmony
Although modern cabinetry can look sharp in a period home, the colour palette makes or breaks the join between old plasterwork, original floors, and new fronts. Start by sampling existing tones: honeyed pine, oak, encaustic tiles, or slate.
Then choose one dominant cabinet colour and one accent, keeping undertones consistent for true color cohesion. If your rooms run cool, favour chalky greys, blue‑greens, or off‑black; if warm, pick putty, mushroom, or cream rather than bright white.
Use Historic contrasts deliberately: pair deep inky bases with lighter uppers, or match island cabinetry to a painted skirting board. Finish with brass or aged nickel, and test swatches in north light before ordering.
Choose Colours and Materials to Unify Old and New
To make old features and new fittings sit comfortably together, start by locking in a tight palette and a consistent set of finishes. Pick one warm neutral (chalky white, putty, stone) and one darker anchor (inuk grey, deep green, soft black), then repeat them across walls, cabinetry, and splashback grout.
Next, bridge eras with materials that echo the building: oak or walnut worktops suit Victorian joinery, while honed quartz or soapstone reads modern without shouting. Use aged brass or blackened steel for taps and handles, and match them to your ironmongery if you’ve got it.
Add contrasting textures—gloss metro tiles against matte paint, ribbed glass beside smooth fronts. Finish with Vintage accessories in the chosen metals so everything feels intentional.
Layer Period and Modern Kitchen Lighting
Because kitchens need both atmosphere and task‑ready brightness, you’ll get the best result by layering three types of light: a period‑leaning ambient fitting (think opal glass pendant or a simple schoolhouse shade), focused task lighting under wall units or on the underside of shelves, and a modern accent layer such as discreet LED strips in plinths or along open cabinetry.
Keep colour temperature consistent: aim for warm white (around 2700–3000K) so reclaimed timber and painted joinery don’t look cold.
Put Vintage fixtures on a dimmer for evening ambient lighting, but choose LED lamps with a high CRI (90+) for true food colour.
Use slim under‑cabinet bars to stop shadows on worktops, and wire accent LEDs to a separate switch so you can highlight shelves without glare.
Finish With Handles, Taps, and Trims That Connect Eras
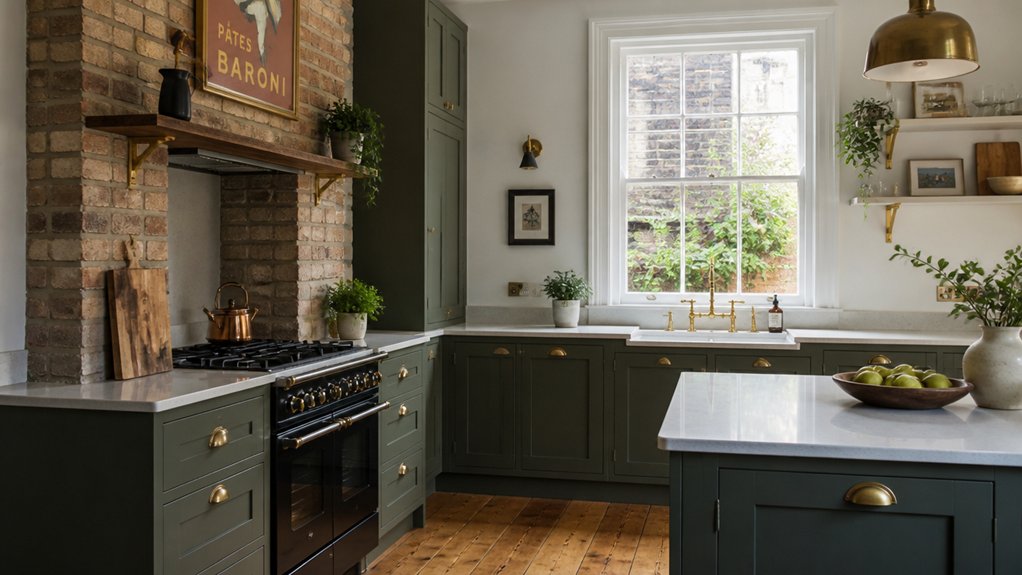
Once you’ve sorted the lighting layers, the small metalwork choices are what make a restored kitchen feel coherent rather than “old bits plus new bits”. Start by choosing one dominant finish and stick to it across cabinet handles, tap, sink waste, and visible screws.
In Victorian or Edwardian rooms, aged brass or nickel suits vintage fixtures, but keep the profile simple so it doesn’t fight modern doors. If you’ve got Shaker fronts, try cup pulls in an antique finish, then echo that tone in the tap lever and appliance trim.
For contemporary accents, use matt black on handles and pair with a brushed stainless tap, but repeat black in kickplates or window furniture. Check spacing: 96mm and 128mm are common UK centres.
Conclusion
You’ve kept the right period features, restored them with care, and paired them with modern cabinetry that respects the house. Now unify everything with heritage colours, honest materials, and warm, dimmable lighting that flatters both old plaster and new fronts. Choose aged brass or nickel hardware, fit trims neatly, and check taps and electrics meet UK regs. It’s not old versus new; it’s old and new, working together—every day.
About the Author