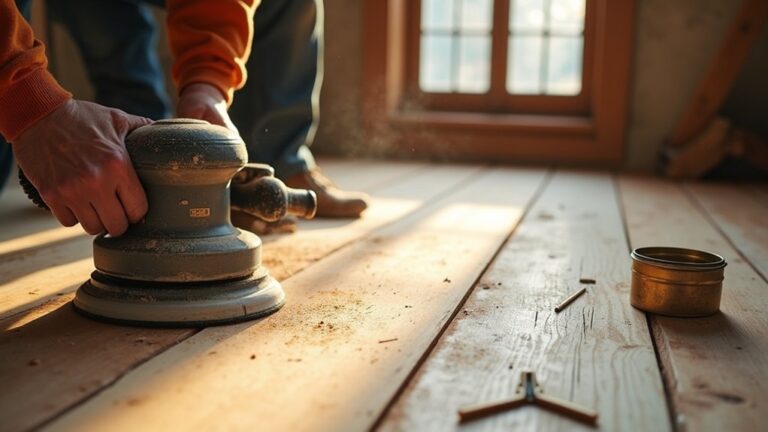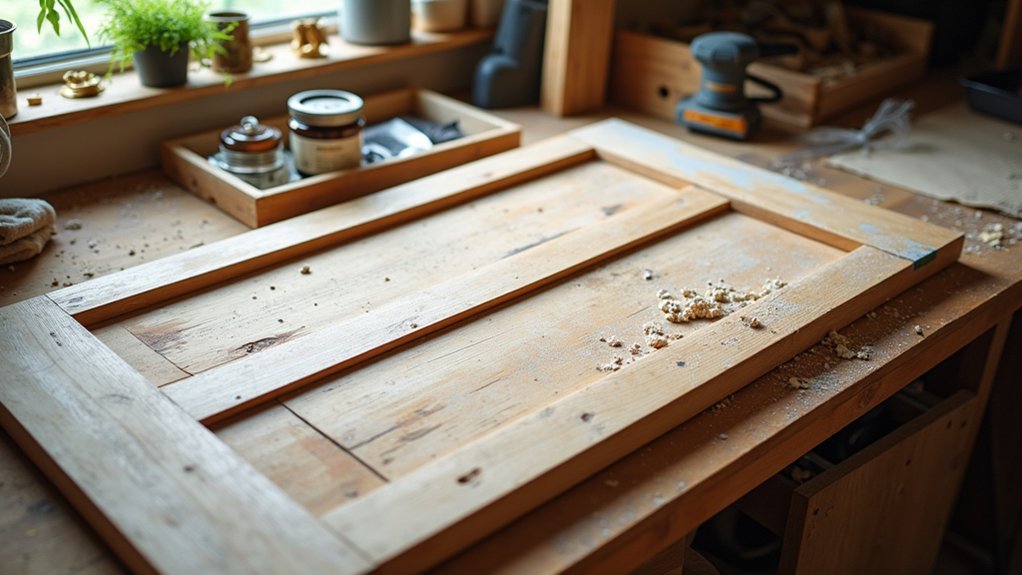
When you lift a Victorian door off its hinges and feel the weight, it’s like holding a slice of your home’s history—often 30kg of seasoned timber and decades of paint. You’ll start by judging what’s salvageable, then photograph and bag every hinge and latch, and test for lead before you strip anything back. Fix the splits, tighten the joints, and seal the end grain properly… because the finish you choose next can make or break it.
Key Takeaways
- Inspect the door for rot, loose joints, warping, and paint buildup to decide whether to repair, restore, or replace.
- Remove, photograph, label, and bag all hardware and screws, then clean and lightly oil fittings for safe refitting.
- Prepare the workspace with dust sheets and ventilation, and test paint for lead before sanding, scraping, or heating.
- Strip paint using heat, chemical stripper, or controlled sanding, avoiding glass and over-sanding, then vacuum dust thoroughly.
- Repair cracks, dents, joints, and gaps, then seal end grain and apply primer, undercoat, and two durable topcoats.
Assess the Door: Restore, Repair, or Replace?
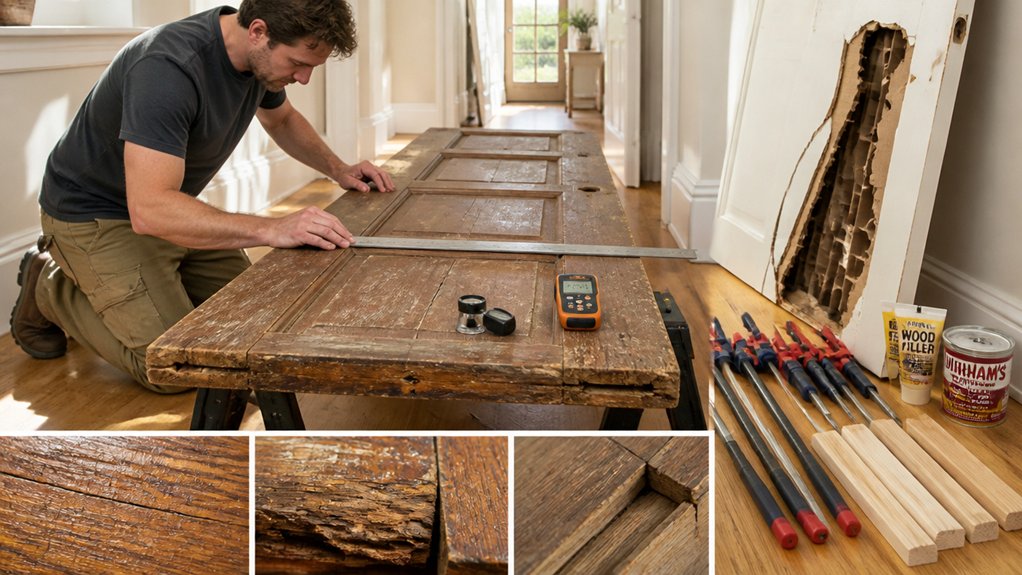
Before you reach for the paint stripper or start pricing up a new slab at Wickes, take ten minutes to assess what you’re actually dealing with: check the timber for soft, spongy patches (especially along the bottom rail), probe suspect areas with a screwdriver for hidden rot, and look for movement at the joints that suggests the frame’s gone out of true.
Next, confirm Doorframe stability: shut the door and watch the gaps—pinching at the latch side or a rubbing head often points to settlement, not a “bad” door.
Note how many coats of paint are clogging profiles, a common Victorian/Edwardian issue. If defects are local (end-grain rot, loose tenons), you’ll repair; if the core’s sound, you’ll restore for historic accuracy. Replace only when warping and decay compromise structure.
Remove, Label, and Clean Door Hardware
Once you’re confident the door’s worth saving, take the hardware off methodically so nothing gets lost or refitted in the wrong place. Start with Hardware removal: back out screws with a well‑fitting driver, support the weight of knobs, and bag tiny springs and spindles. Photograph each stage on your phone, especially if you’ve got period rim locks or quirky Victorian escutcheons.
- Use sharp Labeling techniques: write “front/inside/top” on masking tape, and match screws to plates in separate grip‑seal bags.
- Degrease metal in warm, soapy water, then use a soft brass brush; avoid over‑polishing patina that’s on‑trend in UK renovations.
- Dry everything fully, oil moving parts lightly, and store parts in a lidded tub until refit.
Prep the Area and Test for Lead Paint
With the hardware cleaned, labelled, and safely boxed, you can focus on protecting your home and checking what you’re actually sanding: older UK doors often carry layers of paint that may include lead. Lay dust sheets, tape down edges, and seal doorways with polythene to limit spread, especially in Victorian terraces and flats. Open windows for cross‑ventilation and switch off forced‑air heating nearby.
Before any abrasion, take Safety precautions: wear an FFP3 mask, nitrile gloves, and safety specs. Use a UK‑available lead test kit on several layers and edges, following instructions and timing exactly; photograph results for your records.
If you get positives, keep pets and kids out, bag wipes and debris, and plan environmental considerations like double‑bagging waste for your council’s hazardous disposal route.
Strip Paint or Varnish (Heat vs Chemical vs Sanding)
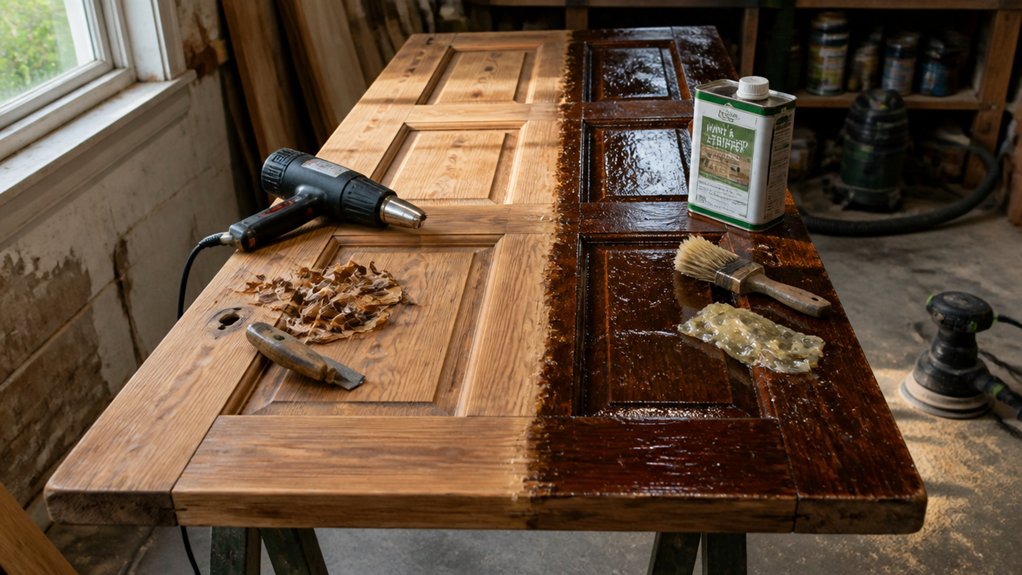
Although sanding feels like the quick DIY route, you’ll usually get a cleaner, safer result on UK timber doors by choosing the right stripping method for the finish and the setting: heat for thick, brittle paint on flat runs, chemical stripper for mouldings and multiple layers (including modern low‑odour gels that comply with current UK restrictions), and sanding mainly for keying bare wood or flattening after stripping rather than blasting through old coatings. Work door-flat, label hardware, and ventilate.
- Heat guns: Keep moving, use a scraper with a sharp edge, and catch flakes on a sheet; avoid scorching and stay away from glass and beading.
- Chemical strippers: Brush on thick, cover with film, then lift with a shavehook; rinse/neutralise per label before drying.
- Sanding: Use 120–180 grit to smooth residue and feather edges, then vacuum thoroughly.
Repair Splits, Dents, and Drafty Gaps
If you tackle splits, dents, and draughty gaps before priming, you’ll lock the door back into shape and stop cold air sneaking past the stile and meeting rail.
Start by checking moisture control: fix leaks, let the timber dry, then work in a ventilated space.
For splits along the wood grain, open the crack slightly, brush out dust, inject exterior-grade wood glue, and clamp with cauls so you don’t bruise the face.
For missing fibres or deep dents, steam them up with a damp cloth and iron, then fill what remains with a two-part epoxy filler, shaped to the profile.
Re-cut loose joints, pin with concealed screws if needed.
Finally, fit brush pile or a slim timber lipping to close stubborn gaps.
Choose and Apply a Durable Finish (Paint, Stain, Varnish)
Once the timber’s sound and the gaps are tamed, you need a finish that suits both the door’s exposure and the look you’re after: opaque paint for maximum weather protection, a microporous stain to keep the grain visible while letting moisture escape, or an exterior varnish when you want a crisp, high-gloss film (and you’re prepared for more upkeep).
Before you commit, do a small test patch for color matching, especially on Victorian pine versus hardwood.
For finish durability in the UK’s wet-dry swings, follow the system, not shortcuts:
- Prime bare areas (knotting solution for resin), then undercoat; lightly de-nib between coats.
- Apply 2 topcoats with a quality synthetic brush, working with the grain and keeping a wet edge.
- Seal end grain and panel edges; that’s where water gets in first.
Conclusion
By now, you’ve sized up the door, bagged and labelled every hinge and knob, checked for lead, stripped back the layers, and tightened joints and gaps. Take your time with sanding, then prime, undercoat, and finish with a hard-wearing exterior topcoat or heritage stain, sealing end grain for British weather. Do it right and your door becomes the home’s handshake—quietly solid, draught-free, and ready for years of daily use.
About the Author