If you’re fitting a 3m solid oak worktop in a Victorian terrace kitchen in Leeds, you’ll quickly find the walls aren’t square and the units aren’t perfectly level. You’ve got to plan for seasonal movement, set consistent overhangs, and decide where joints and cut-outs will sit before you pick up a saw. Get those early steps wrong and you’ll chase gaps, splits, and swelling later—so start with the checks that matter most…
Key Takeaways
- Acclimatise the worktop 48–72 hours in the kitchen, stored flat on spacers, and plan 2–3mm perimeter expansion gaps.
- Confirm cabinets are level and coplanar, shimming low spots before fixing, so the worktop isn’t forced to bend.
- Measure twice, mark the underside, and cut supported on trestles using sharp fine-tooth blades, taping and scoring to prevent tear-out.
- Scribe to uneven walls, trim gradually, then sand and seal exposed edges and end grain to protect against moisture.
- Dry-fit, rout bolt recesses, glue and tighten connectors evenly, then fix with elongated screw slots and washers for seasonal movement.
Gather Tools and Fixings for Wood Worktops
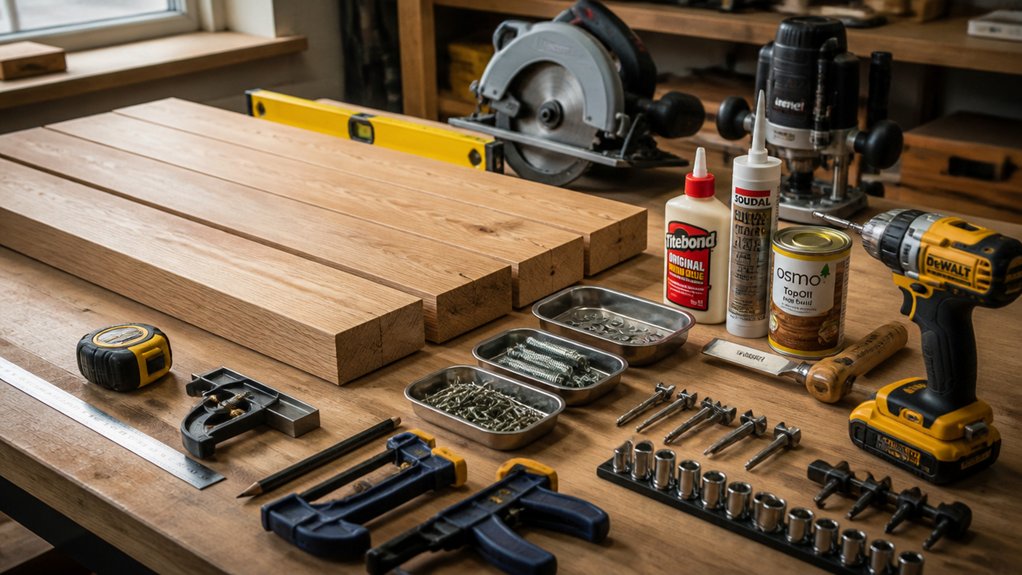
Before you lift a single length of timber onto the base units, gather the right tools and fixings for your solid wood worktop so you can work accurately and avoid costly mistakes.
You’ll need a tape measure, sharp pencil, combination square, straightedge, and clamps, plus a circular saw with a fine-tooth blade or a track saw for clean cuts across the wood grain.
Pack a router with a cutter set for edges, a jigsaw for sink and hob cut-outs, and a drill/driver with countersink and Forstner bits.
Use worktop connector bolts, biscuits or Dominos (if specified), waterproof PVA, and colour-matched sealant.
Keep 80–240 grit abrasives, tack cloths, and your chosen finish options to hand, including hardwax oil or polyurethane.
Add PPE and dust extraction too.
Acclimatise Worktops and Plan Expansion Gaps
Although you’ll be keen to start cutting, let your solid wood worktops acclimatise in the kitchen for at least 48–72 hours, laid flat on bearers with spacers so air can circulate and the boards don’t bow. Keep them in their wrapping but slit it open to avoid trapping moisture, and don’t store them in a garage or against a radiator.
Aim for steady humidity adjustment and temperature regulation: run the heating as you normally would and use extraction when cooking.
Now plan movement. Leave 2–3mm expansion gaps at walls, tall units and upstands, and allow 5mm around sinks, hobs and appliance cut-outs.
Use flexible sealant at perimeter gaps, not rigid grout, and drill oversized fixing holes so the timber can expand and contract.
Check Cabinets Are Level (Shim If Needed)
Before you fit the solid wood worktop, you’ll need to confirm every cabinet run is level and in plane using a long spirit level or straightedge.
Where you find low spots, you should shim them accurately—at the feet or along the cabinet base rails—so the support is continuous and secure.
Once you’ve adjusted, recheck the full run front-to-back and end-to-end to make sure nothing’s shifted.
Verify Cabinet Levelness
Once you’ve fixed your cabinet run in place, check that every unit sits dead level and in line, because a solid wood worktop will mirror any twist or dip beneath it.
Start with cabinet alignment: lay a 1.8m straightedge across front rails, then along the back, and confirm you’ve got a continuous plane with no gaps.
Use a long spirit level (or laser level) to check left‑to‑right across each cabinet and front‑to‑back from wall to door edge.
Recheck at joins, end panels, and around appliance housings, where small errors stack up.
Apply consistent leveling techniques by measuring from the finished floor to the top edge at multiple points and comparing readings.
Tighten fixings only once levels stay true.
Shim Low Spots Precisely
Because even a few millimetres of cabinet drop will telegraph through a solid wood worktop, take the time to shim low spots accurately rather than forcing the top flat with screws.
Mark the low cabinet rails with a pencil, then lift the run slightly and insert packers or plastic shims directly above the cabinet sides and front/back rails, not mid-span.
Build height in thin layers so you can dial it in, and keep each shim fully supported to avoid point loading. Fix shims with a dab of grab adhesive or staples so they can’t creep during fitting.
Maintain consistent bearing along the length, especially across joints, and keep grain orientation in mind so the top can move naturally.
Good moisture control means leaving a tiny breathing gap, not crushing it tight.
Recheck After Adjustments
Where should you check again after you’ve packed out low rails and corrected the run? Go straight back to the cabinet tops and confirm they’re still level, square, and consistent front-to-back. Use a long spirit level or straightedge across multiple units, then recheck each carcass with a smaller level.
If you spot a twist, don’t force the worktop down; shim the cabinet, not the timber, so your material selection and future finishing techniques aren’t compromised by stress or gaps. Re-tighten fixings once the line is true, and re-measure before you cut.
- Check level along the full run and across corners
- Confirm end panels and service voids haven’t shifted
- Verify shim packs are solid, flush, and won’t compress
Plan Overhangs, Cut List, and Joint Positions
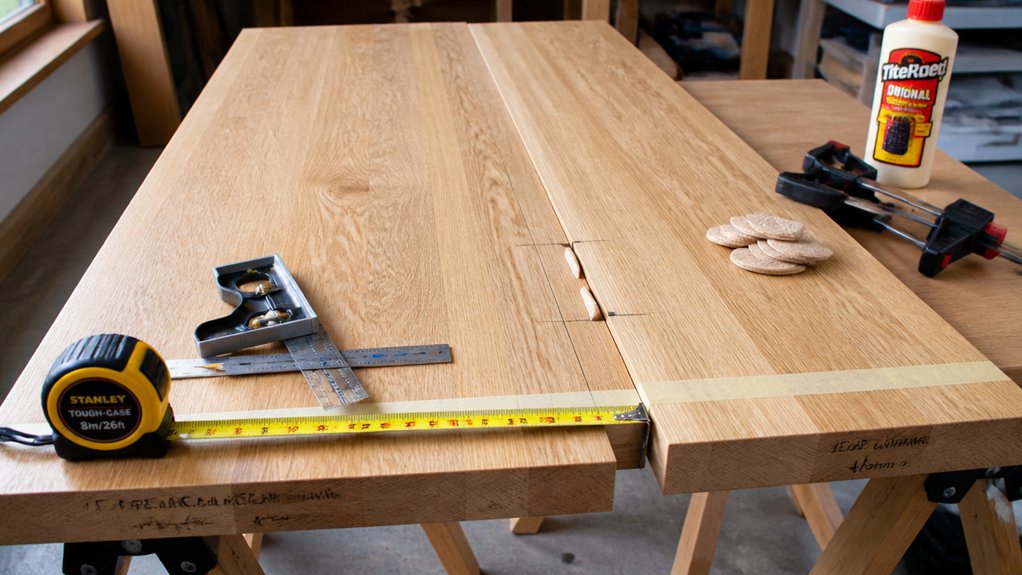
Now you’ll plan the front and end overhangs and map any scribing to walls so the worktop sits tight without fouling doors and appliances.
You’ll then produce a cut list with exact finished lengths, appliance cut-outs, and end treatments, allowing for blade kerf and any trim you’ll take after scribing.
Finally, you’ll set joint positions (e.g., mason’s mitres or butt joints) away from sink/hob openings where possible, aligning staves and leaving room for bolts and biscuits/dowels.
Overhang And Scribing Plan
Before you lift a saw, map out your overhangs, scribe lines, cut list, and joint positions so every worktop run lands exactly where it should. Set your front overhang to suit drawers and handles, typically 20–30mm, and confirm any breakfast bar projection meets bracket spacing and Building Regs expectations. Mark end overhangs against panels and appliance clearances, then note where Decorative finishes and edge profiles will sit so you don’t expose raw timber at returns.
- Offer up each section and pencil scribe lines to walls, allowing for out-of-square corners.
- Mark service penetrations (sink, hob, taps) and maintain manufacturer setbacks.
- Dry-fit corners and walkways, checking doors open fully and radiator pipes clear.
Record dimensions in a single sketch, date it, and keep it at the bench.
Cut List And Joints
Once you’ve confirmed the overhang and scribe plan, turn that sketch into a cut list and joint layout that matches your stock lengths and leaves clean, supported seams. Note each run’s finished length, depth, end returns, and any appliance gaps, then add trimming allowance (typically 5–10mm) for final fitting.
Choose joint positions so they land on cabinet sides or rails, not over voids, and keep them clear of sink and hob cut-outs. Mark grain orientation on every piece; aim for continuous grain at the front edge and avoid flipping boards that’ll telegraph colour change.
Decide joint types early—masons mitre for L-shapes, butt joint for straight runs, or an end cap for short returns. Allow room for worktop bolts and biscuits, and confirm you’ve got access for tightening.
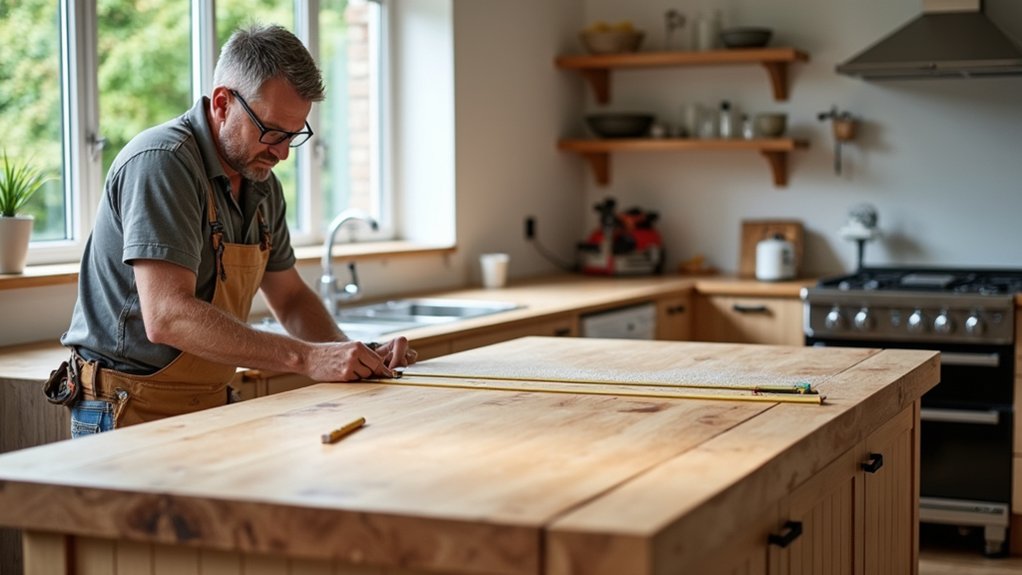
Measure and Mark Cuts With a Straightedge
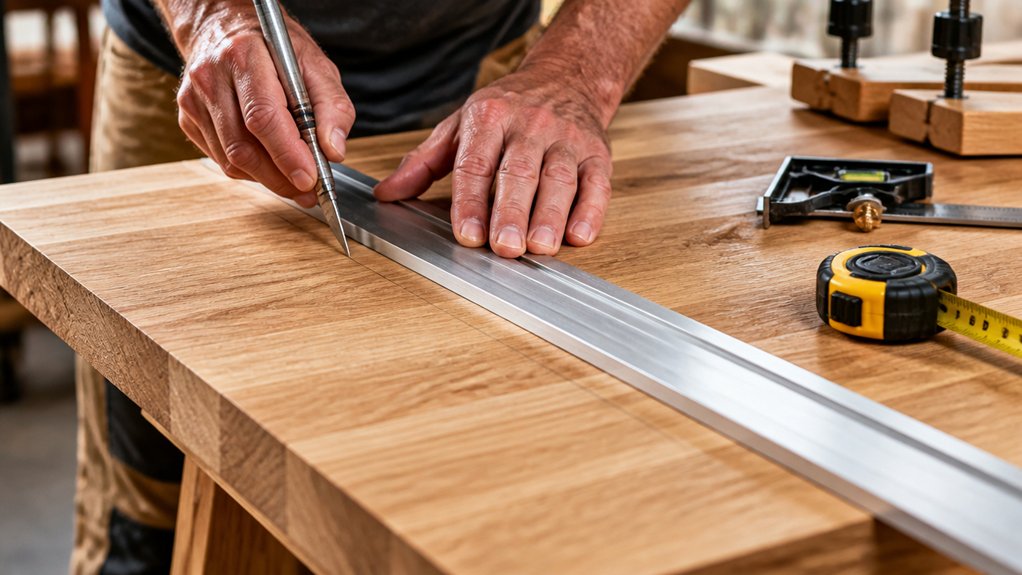
Although you might be tempted to mark freehand, use a straightedge to lay out every cut line precisely and keep the worktop looking sharp.
Start by confirming your finished dimensions against the room: measure twice from fixed points like walls and cabinet carcasses, then transfer those numbers to the timber. Mark on the underside where possible to protect Decorative finishes, and always note the direction of wood grain patterns so joints and run-offs stay visually consistent.
- Use a long spirit level or aluminium straightedge, not a short ruler.
- Strike lines with a sharp pencil or marking knife, then label waste clearly.
- Square every end line with a combination square before you commit.
Check diagonals for out-of-square corners, and allow the required expansion gaps at walls.
Cut Worktops Cleanly (and Support the Grain)
To cut solid wood worktops cleanly, you’ll need the right tool for the job—typically a track saw or a fine‑tooth circular saw blade set for hardwood.
You can prevent tear‑out and chipping by taping the cut line, scoring the surface, and keeping the good face oriented correctly for your saw’s cut direction.
Support the grain and edges with firm, level trestles and sacrificial backing so the worktop can’t flex, splinter, or break out at the end of the cut.
Choose Proper Cutting Tools
How do you get a crisp, splinter‑free edge on a solid wood worktop? You start with choosing appropriate saws and selecting cutting blades that match hardwood density and thickness.
For straight runs, you’ll get the best control from a plunge saw on a guide rail; for shorter cuts, a well‑set circular saw is fine if you keep it stable.
- Use a track/plunge saw for long, visible edges; it stays true and repeatable.
- Fit a sharp, fine‑tooth, carbide blade rated for hardwood; avoid general‑purpose blades.
- Add a jigsaw only for sink cut‑outs, using a hardwood blade and steady feed rate.
Set blade depth to just clear the underside, check your tool’s base is square, and test on offcuts first.
Prevent Tear-Out And Chipping
Because solid wood worktops have long, open fibres that lift and splinter as a blade exits the cut, you need to support the grain and control breakout before you touch a saw.
Check grain orientation and plan your cut so the blade teeth meet the fibres in the most stable direction for that run. Mask the cut line with low‑tack painter’s tape, then mark on the tape with a sharp pencil and knife the line lightly to sever surface fibres.
Keep the factory face up or down to suit your saw’s cutting action, and always test on an offcut first. Feed the saw steadily—don’t force it—and let the teeth do the work.
Remove tape carefully for finish protection, then ease the arris with fine abrasive.
Support Grain And Edges
Even with a sharp blade and a clean cut line, the worktop will chip if you don’t physically support the fibres at the edge. Before you cut, check grain orientation and plan so the blade exits into a sacrificial backer, not into open grain.
Clamp the worktop firmly on trestles, keep it fully supported, and stop vibration that can bruise the edge.
- Clamp a straight batten and a sacrificial board tight to the cut line, flush to the underside.
- Apply low‑tack masking tape and score the top face with a sharp knife along your line.
- Reduce breakout on end grain by cutting 1–2mm proud, then trim to final size.
After cutting, do edge finishing immediately: sand through the grits, ease corners, then seal exposed end grain to resist moisture.
Scribe to Uneven Walls for a Tight Fit
Once your solid wood worktop is dry-fitted, you’ll need to scribe it to the wall so it follows any bumps, bows or out-of-plumb plaster for a tight, tidy finish. Set the rear edge to your best straight reference, then use packers to hold a consistent gap.
Run a scribing compass (or offcut with a pencil) along the wall to transfer wall irregularities onto the worktop. Keep the compass set to the widest gap so you don’t undercut.
Remove the top and plane or belt-sand to the line, working gradually and checking for square. Offer it back up, repeat if needed, and aim for a uniform contact line without forcing the timber against uneven surfaces.
Finish with a light arris to prevent chipping.
Join Worktop Lengths With Bolts (Tight, Flush Joints)
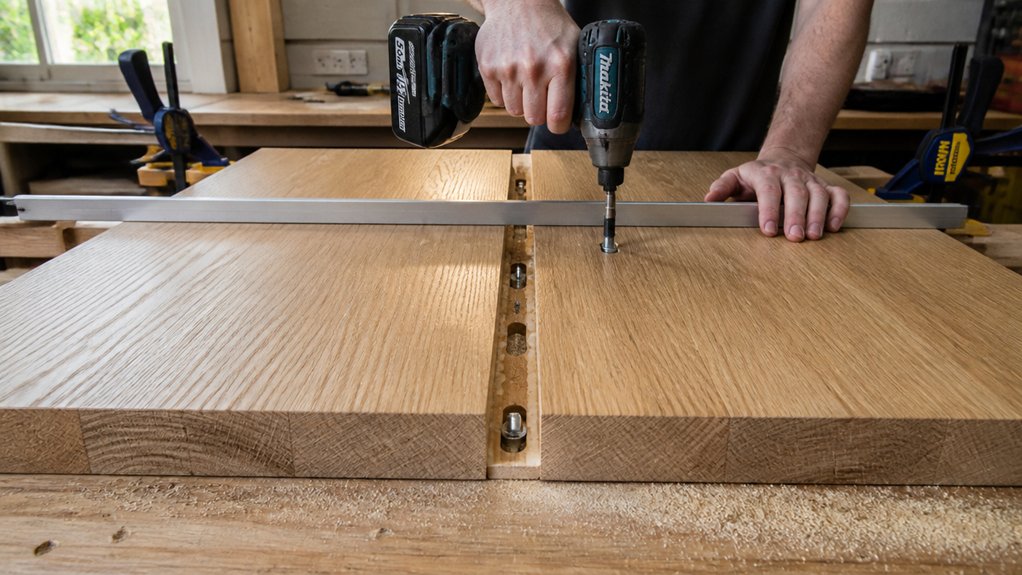
After you’ve scribed and dry-fitted both runs, clamp the worktops in their final position and mark out the joint so the top faces pull up dead flush.
Flip them and rout the dog-bone recesses for the worktop connector bolts, keeping depth consistent so the bolt heads sit below the underside.
Dry assemble and check the show face for light gaps; you’re aiming for flush seams along the full length.
Apply a thin bead of colour-matched jointing compound or D4 wood glue, then tighten the bolts from the centre out, alternating to draw the joint evenly.
- Use 3 connectors for a 600mm depth, 4 for 900mm.
- Wax the bolt threads so you can snug them without binding.
- Mask the top, then wipe squeeze-out immediately.
Fix Worktops to Cabinets Without Splitting (Slots)
Although you might feel tempted to screw straight up into the timber, solid wood worktops need room to move, so fix them through cabinet stretchers using slotted holes and washers to prevent splitting.
Mark stretcher centres, then drill 5mm pilot holes and elongate them across the cabinet width with a small file or 6–8mm bit to create 10–15mm slots.
Use 4.5–5mm cabinet screws with penny washers so the head can slide as the top expands and contracts.
Keep fixings 150–200mm from corners and around sink or hob rails.
Pull the top snug, not forced, and check the front overhang stays consistent for worktop aesthetics.
Align slots so movement follows the wood grain patterns.
Recheck after fitting appliances.
Oil and Seal: Edges, Cut-Outs, Coats, and Care
Before you drop in a sink or start using the kitchen, oil and seal the worktop thoroughly—especially the end grain, edges, and every raw surface inside cut-outs—because solid timber will drink in moisture wherever it’s exposed.
Sand lightly with 180–240 grit, wipe off dust, then flood oil along the wood grain and leave it to soak. Recoat until it stops absorbing, then buff dry to avoid tackiness.
Around taps, hobs, and sink cut-outs, add a thin bead of clear silicone once the final coat cures.
Choose finish options to suit use: hardwax oil for faster turnaround, traditional Danish oil for deeper build, or a lacquered top if you want minimal upkeep.
- End grain: double-coat and leave longer.
- Cut-outs: seal underside too.
Care: wipe spills, re-oil quarterly.
Conclusion
You’ve measured twice and cut once, leaving neat expansion gaps where timber will quietly move while your cabinets stay square. You’ve scribed tight to a wavy wall, yet kept overhangs crisp and intentional. Your bolts pull joints flush—no lip, no daylight—while slotted fixings hold fast without splitting. Then you oil and seal: thirsty end grain, sink cut-outs, every edge. The result is warm grain against cool tiles—built for daily life.
About the Author