Around 20% of UK housing stock was built before 1919, and plenty of those plots still have outbuildings that are sounder than they look. You start by surveying what’s worth keeping, then you plan the annexe around everyday use so you don’t waste money on awkward rooms. You stabilise brickwork, repair slate, tackle rot, and add breathable insulation plus discreet services. The tricky bit is making it comfortable without smothering the fabric…
Key Takeaways
- Survey and retain sound brickwork, Welsh slate, and original joinery; replace cement pointing with lime mortar and salvage reusable timber.
- Stabilize cracks using lime repairs, stainless helical stitching, and tell-tales, while fixing moisture sources from gutters and ground levels.
- Rebuild the roof structure first, match reclaimed slates, keep original pitch, and rehang gutters with correct falls and effective drainage.
- Lock the annexe layout early, stacking plumbing efficiently and hiding services in joinery to preserve Georgian proportions and character.
- Use breathable finishes—lime plaster and claypaint—plus discreet modern upgrades like UFH, compact hot water, and Part P-compliant rewiring.
Survey Results: What We Kept (and Binned)
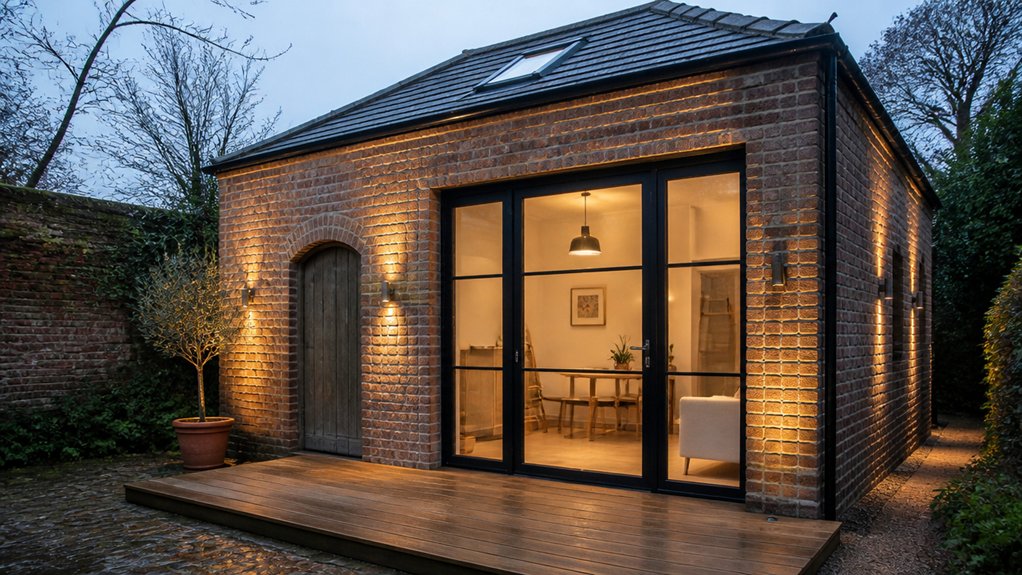
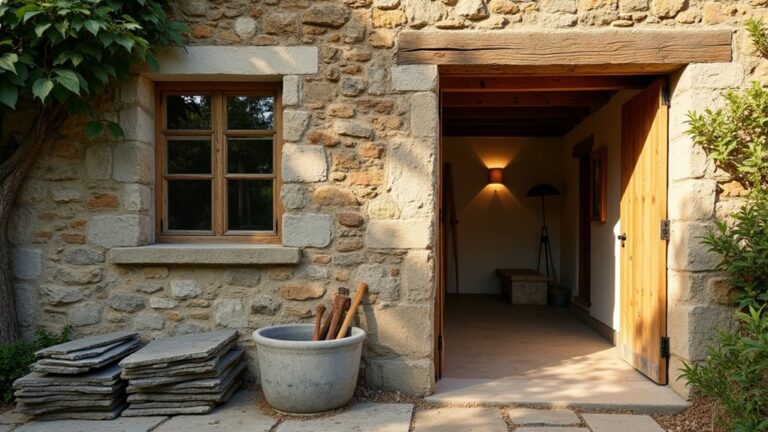
Although the outbuilding looked sound enough from the lane, the survey quickly separated what was worth saving from what would only drain your budget. You keep the brick shell where it’s hard and true, and you retain the oak wall plate that’s dry, straight, and properly bedded. You bin cement pointing that’s trapping moisture, swap in lime, and you replace the spalled headers before frost takes more.
You salvage the Welsh slate where it still rings, but you ditch cracked battens and any felt that’s perished. Inside, you keep the original plank door for character in your interior decor, yet you scrap wormy skirting and make good with reclaimed timber.
Outside, you cut back roots, regrade for drainage, and protect the garden landscape.
Planning and Building Regs for an Annexe
Once you’ve decided what stays and what goes, you need to lock down whether the outbuilding can legally become an annexe, because the rules you fall under will dictate your drawings, your costs, and even how you can use the space later.
Start by checking if it’s within curtilage of a listed building or in a conservation area; you may need listed building consent and full planning, not permitted development. Ask your council early, and get a written pre-app response to avoid redesign fees.
Building Regs will still bite: structure, Part B fire escape, Part L energy, Part G drainage, and Part P electrics.
Specify Historical accuracy and Preservation techniques (lime mortar, breathable insulation) so inspectors accept performance without damaging fabric.
Budget for surveys, fees, and contingency.
Set the Annexe Layout Around How You’ll Use It
Before you draw a single wall on the plan, decide exactly how you’ll use the annexe day to day, because function drives layout far more than what “fits” neatly inside an old Georgian shell.
If it’s for guests, prioritise a proper shower room, a quiet sleeping zone, and luggage storage.
If it’s for a relative, plan for level thresholds, wider doorways, and a kitchenette you can actually cook in.
Working from home? Build in desk depth, sockets, and a zoom-friendly backdrop.
Keep plumbing runs short by stacking kitchen and bathroom back-to-back to save on labour and materials.
Respect Historical preservation by keeping openings where they read best, then use modern integration with freestanding joinery and pocket doors that don’t fight the proportions.
Price every move.
Fixing the Shell: Walls, Roof, Timber Rot
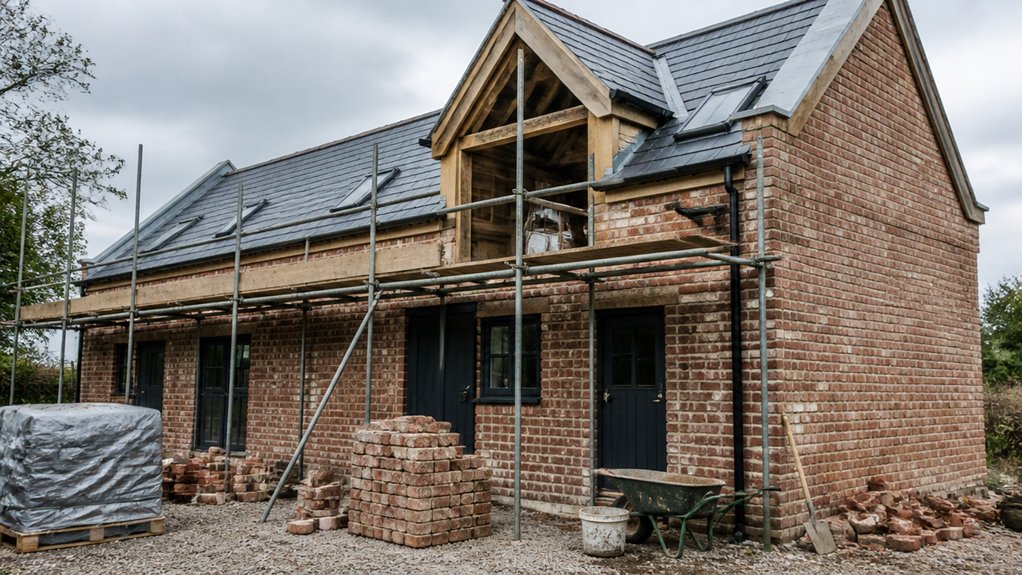
Before you spend on interiors, you’ll stabilise cracked masonry walls with the right lime mortar, careful stitching, and temporary propping where needed.
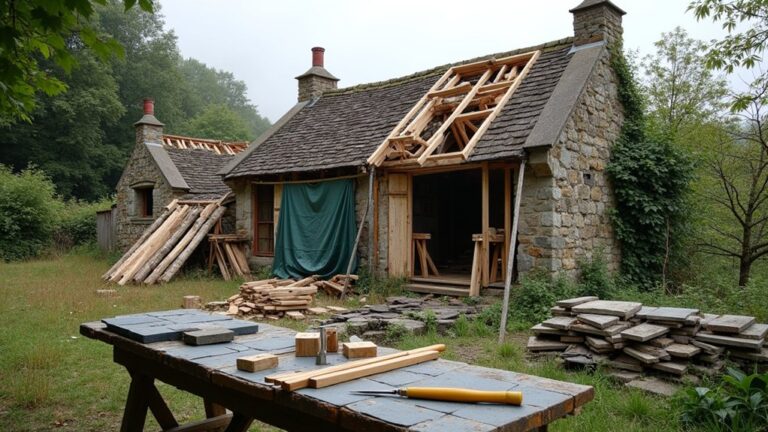
You’ll rebuild the failing roof by fixing the structure first, then sourcing like-for-like reclaimed slates or tiles to keep costs sensible and planners happy.
You’ll tackle timber rot by stopping the moisture source, then treating sound sections and replacing only what’s beyond saving with properly graded, pressure-treated timber.
Stabilizing Cracked Masonry Walls
Although the outbuilding’s cracks might look cosmetic at first glance, you’ll need to treat them as a stability issue and lock the masonry back into one working unit. Start with crack assessment: map widths, directions, and whether they step through joints, then fit simple tell-tales and photograph weekly.
Check for bulging with a long straightedge and confirm moisture routes from blocked gutters or high ground levels.
For masonry stabilization, rake out failed lime joints by hand and repoint with a compatible lime mortar, not hard cement. Where cracks run through brickwork, stitch across them with stainless helical bars set in grout, keeping courses aligned.
If the wall’s separating, add discreet resin-anchored ties or pattress plates internally. You’ll control costs by fixing causes first.
Rebuilding The Failing Roof
Once you’ve stopped the walls moving, turn to the roof, because a tired covering and soft timbers will keep feeding moisture back into the masonry. You start with a scaffold inspection, checking ridge lines, slipped slates, failed flashings, and blocked gutters that dump water onto limework.
For Historic preservation, you keep the original pitch and details, and you photograph everything before stripping back.
Material selection makes or breaks your budget: you salvage sound slates, then top up with reclaimed Welsh or matching new slate, rather than replacing the lot. You re-bed ridges in lime mortar, fit lead soakers and step flashings to chimneys, and add discreet eaves ventilation.
Finally, you rehang gutters with correct falls and leaf guards, so rainwater goes where it should, not into the walls.
Treating And Replacing Rot
When you’ve made the roof watertight, you can finally chase down rot without it coming straight back. Start by probing every sill, joist end, and lintel with a bradawl; if it sinks, mark the cut line and work back to sound timber.
You’ll save money by keeping as much original fabric as possible for historic preservation, but you can’t gamble with structural integrity.
- Treat: boron gel on damp areas, then allow proper drying and ventilation.
- Replace: splice in like-for-like seasoned softwood or oak, using scarf joints and stainless fixings.
- Protect: prime end grain, fit lead or EPDM flashings, and keep ground levels below timbers.
Bag up debris, and photograph repairs for Building Control or listed consent queries.
Georgian Details Worth Saving (Without Pastiche)
If you’re reviving a Georgian outbuilding on a sensible budget, you’ll get the best results by saving the quiet details that give the place its authority, rather than bolting on period “features” that read as pastiche.
Keep original joinery wherever it’s sound: boxings, architraves, skirtings, even rough lath edges that help the room read honest. Gently strip paint from one test patch before committing; you can often repair profiles with off-the-shelf timber and a router bit, not bespoke milling.
Preserve Decorative cornices if they exist, but patch with lime plaster and fine scrim, not crisp new coving.
Choose Period appropriate fixtures that feel understated—simple rim locks, brass sash lifts, porcelain toggles—then spend on good screws and neat alignment.
Breathable Insulation for Old Outbuildings
Keeping Georgian details honest only works if the building fabric stays dry, so your insulation choice matters as much as your joinery repairs.
In old brick, stone, or lime-built outbuildings, you’ll trap moisture if you “upgrade” with foil-backed boards and cementitious layers. Instead, choose breathable, eco-friendly materials that buffer humidity and let walls purge damp.
- Use woodfibre boards or hemp-lime internally with lime plaster; they’re forgiving and widely available in the UK.
- For rafters, fit sheep’s wool or cellulose between and over, keeping a clear ventilation path at the eaves.
- Seal draughts with hemp fibre, paper tape, and lime-based parging rather than silicone.
Price it by m², and prioritise the coldest elevations first. These insulation techniques protect fabric and comfort.
Heating, Plumbing, Electrics, Drainage in the Annexe
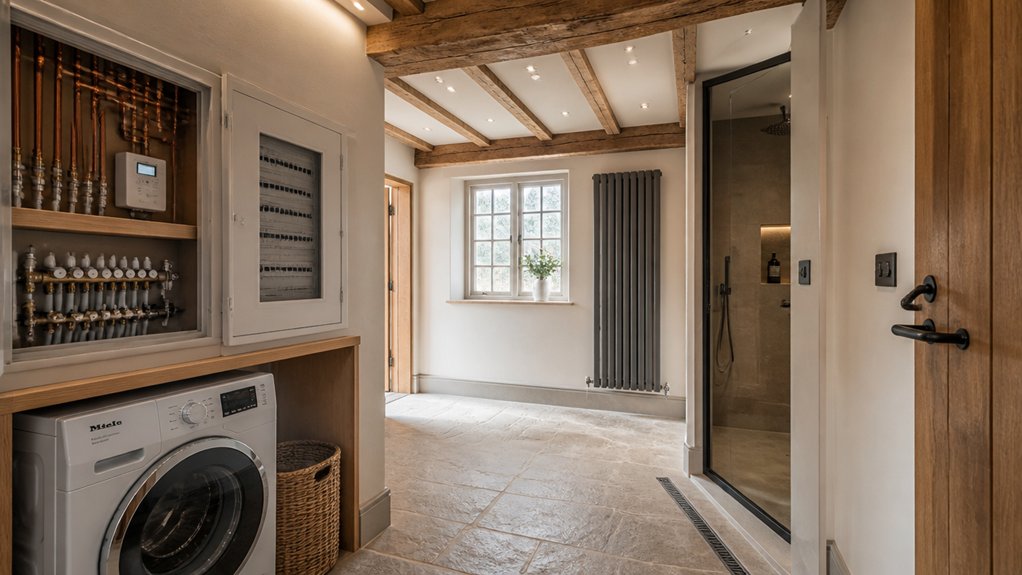
Next you’ll need to thread heating, plumbing, electrics, and drainage into the annexe without spoiling Georgian proportions or blowing the budget.
You can keep warmth discreet with slimline radiators, underfloor zones where floors are coming up anyway, or a small air-to-air unit. Then run pipes and cables through existing voids and surface conduits you can box in neatly.
You’ll also want a clear drainage plan—soil runs, falls, and a practical tie-in to the main system—so everything meets UK regs and stays easy to maintain.
Discreet Heating Solutions
Although the annexe feels self-contained, you’ll get the best results by planning heating, plumbing, electrics and drainage as one coordinated package, because every decision affects floor build-ups, wall thicknesses and where you can hide services without ruining the Georgian proportions.
To keep things discreet, you’ll prioritise low-profile emitters and neat routes, then lock layouts early so you’re not chasing pipes through lime plaster later.
Underfloor heating works brilliantly in compact rooms, but check insulation depth and door thresholds to avoid awkward steps.
If you go for radiators, smart radiator placement matters: tuck them under sash-style windows or on internal partitions to preserve symmetry and reduce pipe runs.
- Use thin UFH boards to limit screed depth and cost
- Box-in risers behind joinery, not ornate cornices
- Choose TRVs and zones for economical, room-by-room control
Modern Plumbing And Electrics
Because the annexe’s fabric is old and its footprint is tight, you’ll save money and avoid ugly patch-ups by designing plumbing, electrics and drainage together before you close up floors and walls. Map every run, then keep pipework short: stack kitchen and shower back-to-back, use insulated PEX in service voids, and fit isolation valves you can reach.
For hot water, a compact unvented cylinder or point-of-use heater stops long dead legs and meets Part G. Renew drainage with proper falls, rodding eyes, and an AAV where venting’s awkward; budget for a small pump only if levels force it.
Rewire to Part P with RCD/RCBO protection, plenty of sockets, and low-energy LED lighting. Choose Victorian aesthetics for switches, but specify sustainable materials and reputable UK fittings.
Heritage-Friendly Finishes and Lighting That Brighten
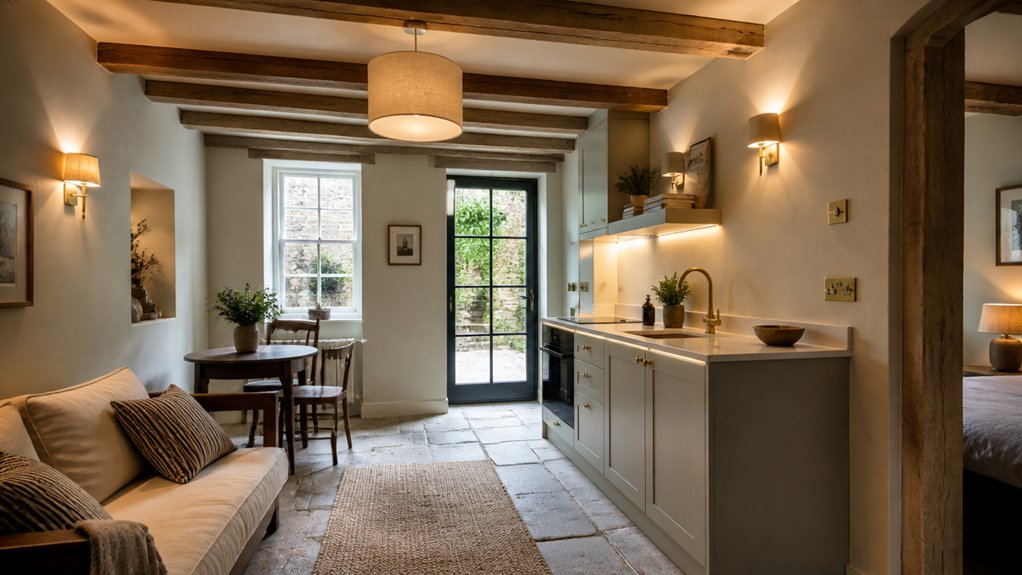
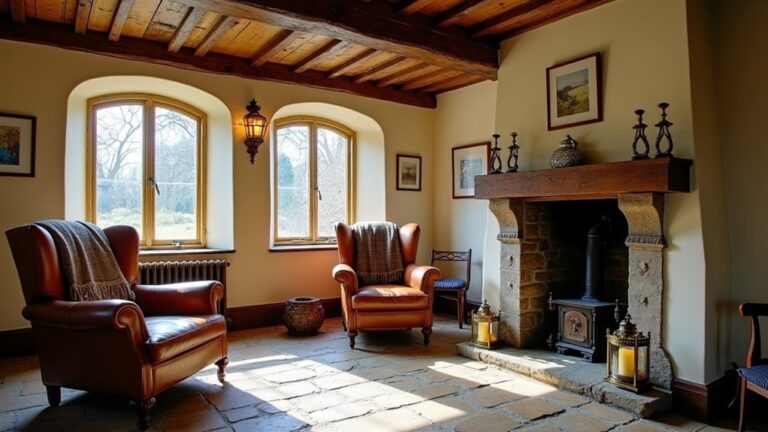
When you’re reviving a Georgian outbuilding, the finishes and lighting you choose can lift gloomy corners without stripping out the character you’re trying to keep. Keep Heritage preservation front and centre: patch lime plaster rather than skim with gypsum, and use breathable claypaint in off-whites to bounce daylight and let masonry dry.
For interior lighting, layer warm LEDs (2700K) so you don’t rely on one harsh fitting. Reuse what you can and spend where it shows.
- Reclaimed wide boards, oiled, over a thin acoustic underlay to soften footsteps
- A simple picture rail and period-style skirtings in MDF only where walls are true
- Dimmable wall lights plus discreet uplighters to wash beams and reveal texture
Choose brushed brass or aged bronze to echo existing ironmongery, and you’ll brighten the annexe on a sensible budget.
Conclusion
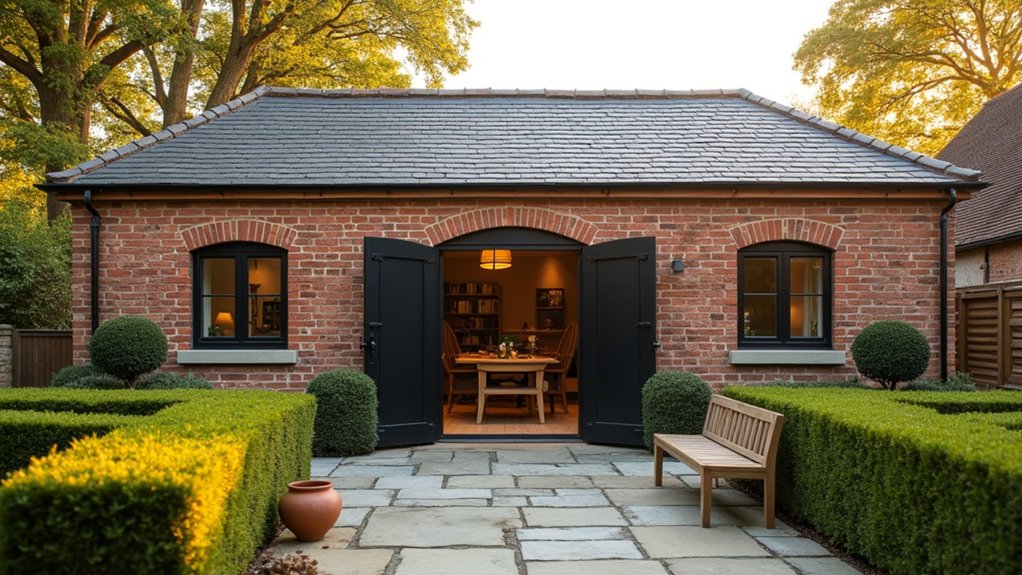
You’ve proved a Georgian outbuilding doesn’t need gutting to work hard: you kept the sound brick shell, repaired the slate, and hid modern services where they won’t shout. Choose lime plaster, reclaimed timber, and breathable insulation, and you’ll cut damp risk without blowing the budget. Here’s the kicker: in UK homes, space heating accounts for roughly 55% of energy use—so underfloor heat and good controls really pay off. Now it’s characterful, compliant, and genuinely liveable.
About the Author