You start by surveying what’s worth saving, because the barn’s character lives in hand‑cut quoins, oak pegs, and soot‑dark lintels. Then you stabilise foundations, walls, and roof with careful underpinning, lime‑based consolidation, and on‑site reclaimed stone that matches by eye, not guesswork. You tackle damp first—regrading, airflow, breathable lime finishes—before you commit to layout, glazing, and heating. But one early decision will shape everything that follows…
Key Takeaways
- We documented every bay and kept original touchstones—hand-cut quoins, worn thresholds, soot-dark lintels—while removing cement skins and bad repairs.
- We stabilized foundations in short bays, stitched cracks with stainless helical bars, and rebuilt walls with reset stone and matching lime mortar.
- We solved damp by regrading for drainage, adding French drains and gutters to soakaways, and restoring breathability with lime plaster and limewash.
- We planned the layout around existing bays, placed services on external walls, and added slim-framed glazing in deep reveals with solar-control glass.
- We finished quietly with limewash, oiled oak, honed stone, and layered warm lighting, using purposeful reclaimed pieces like workbenches and pitch-pine doors.
Stone Barn Survey: What We Saved and Why
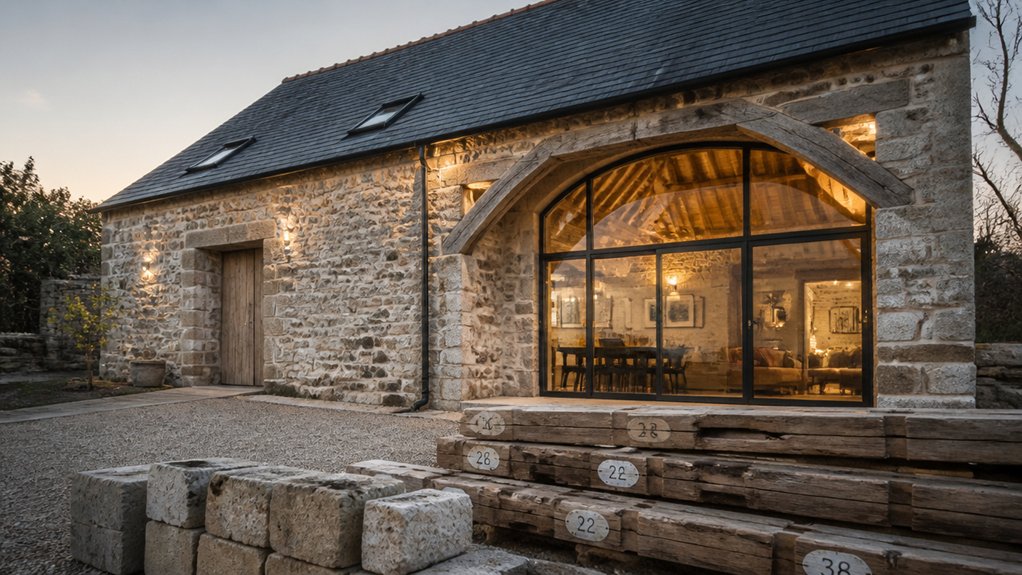
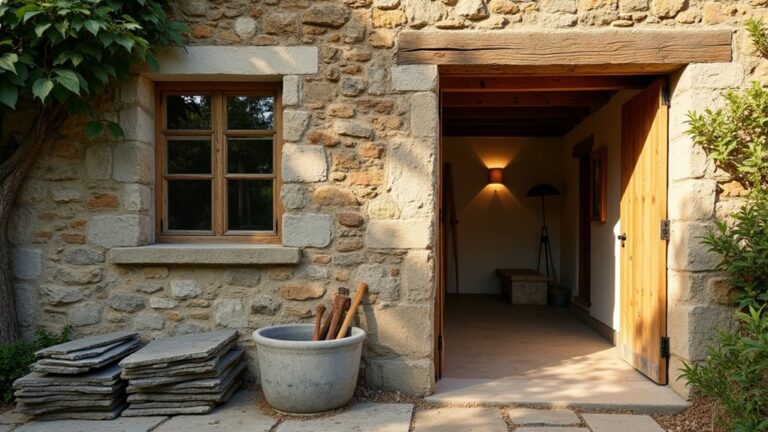
Before we drew a single new line, we surveyed the barn the way you’d assess a family heirloom—by separating what’s structurally sound and historically irreplaceable from what’s merely old. You photograph every bay, map settlement cracks, and tag stones with original tool marks. You keep the hand-cut quoins, the worn threshold slab, and the soot-dark lintel because Historical preservation lives in touch points, not perfection.
Inside, you save the hay-track hardware, the oak pegs, and the limewashed wall patches that tell how the building breathed. You discard cement skins that trapped moisture and mismatched repairs that read as noise.
Material sourcing follows the same logic: you reclaim sound stones on-site first, then match local geology, color, and grain so new work disappears.
Stabilize Foundations, Walls, and the Roof
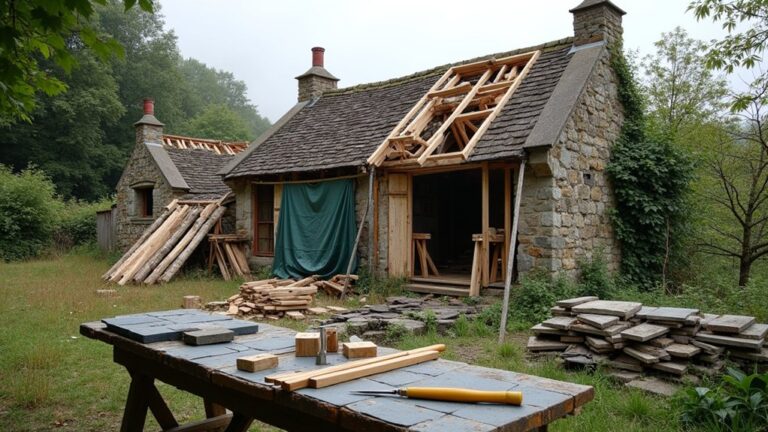
Once you’ve decided what deserves saving, you stabilize the barn like you’d shore up a dry-stone wall: patiently, from the ground up, and with materials that let it move and breathe. You start with Foundation reinforcement: pin failed corners, stitch cracks with stainless helical bars, and pour limecrete only where voids demand it. You keep original footings whenever they’re sound, and you underpin in short bays so loads never shift suddenly.
Next, you tackle Wall restoration. You rake out cement, reset bulged stones, and repoint with a fat lime mortar matched to the original aggregate. You add discreet through-stones and lime grouting to reunite the leafs.
Up top, you straighten the roof line, replace rotten purlins with seasoned oak, and tie plates with concealed straps, preserving the old rafters’ tool marks.
Stop Damp First: Drainage, Airflow, Insulation
With the structure pinned, stitched, and tied, you can turn to the thing that ruins stone barns fastest: trapped moisture.
Start outside: regrade ground to fall away, add French drains where springs run, and keep gutters oversized with generous downpipes into soakaways. Keep splashback off the walls with gravel margins, not impermeable paving, so the base can breathe.
Inside, treat Moisture control as a system. You’ll lime-plaster and limewash rather than cement, and you’ll repair pointing with softer lime so evaporation happens through the joints, not the stone.
Choose breathable insulation—wood fibre or cork—kept off the wall with a capillary break.
Build Ventilation strategies in early: discreet air paths, vented voids, and humidity-led extract, so comfort never traps damp.
Plan the Layout, Glazing, and Heating
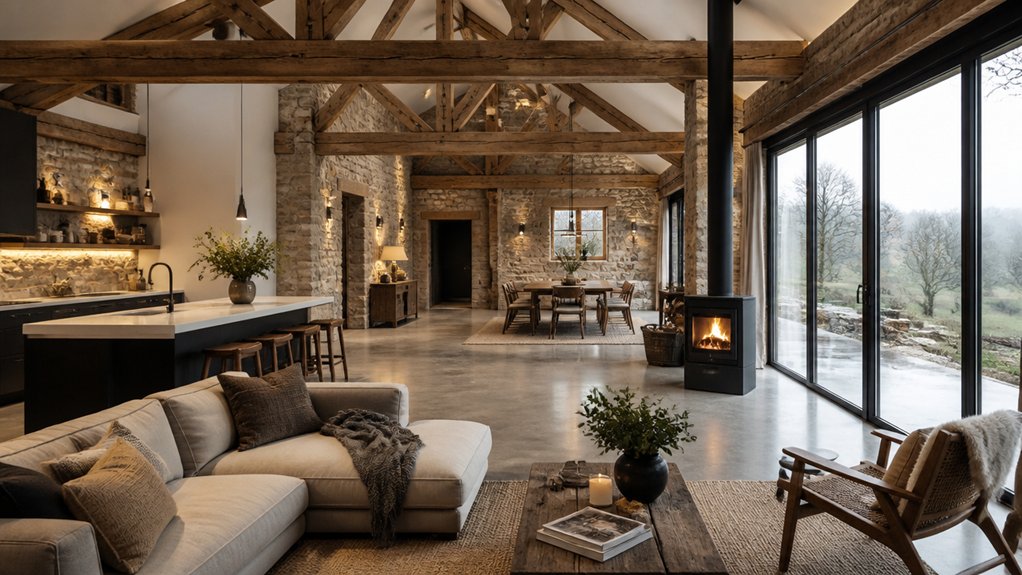
Although the barn’s thick walls and small openings tempt you to “make it open-plan,” you’ll get a better home by letting the structure dictate the layout, the glazing, and the heat. Use existing bays to zone living, sleeping, and utility spaces, and keep circulation where former threshing routes already work.
Place the kitchen and bath along external walls to simplify services and protect historic masonry elsewhere.
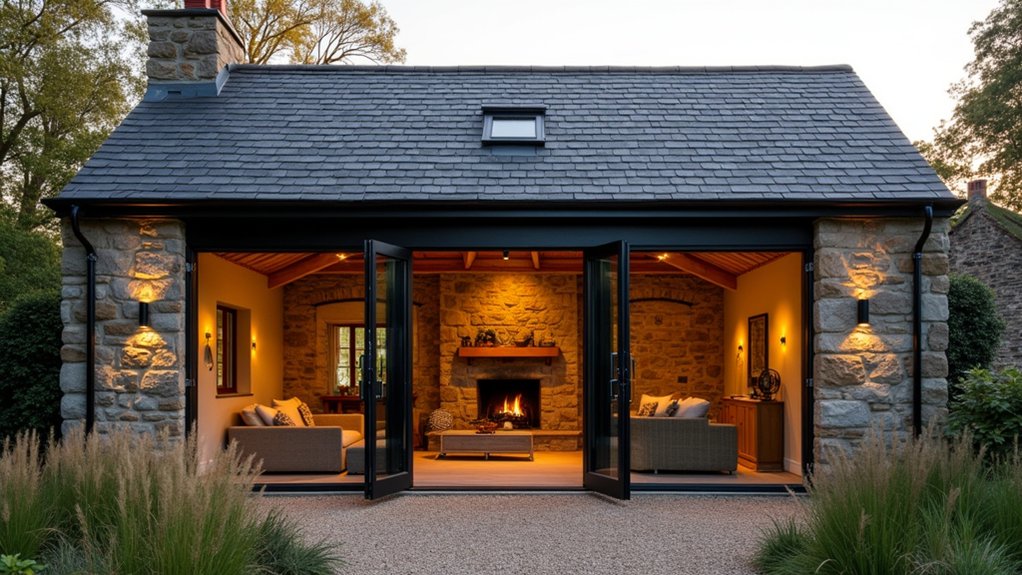
Treat glazing as surgery, not decoration: upgrade original openings first, then add one disciplined, landscape-facing aperture where it won’t weaken corners or lintels. Specify slim-profile frames, deep reveals, and solar-control glass to prevent glare on interior decor.
For heating, pair underfloor zones in new slabs with low-temp radiators upstairs, then anchor it all with a stove and balanced ventilation. Align outputs with landscaping design views.
Character Details: Finishes, Lighting, Reclaimed Pieces
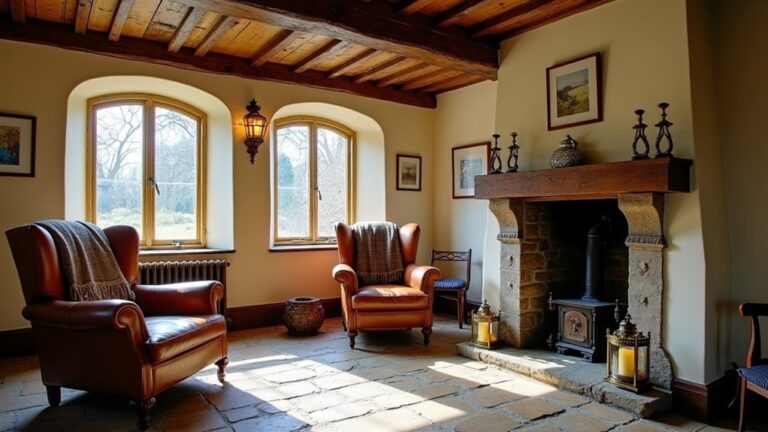
Because the stone shell already carries so much history, you’ll get the most character by keeping finishes quiet, lighting intentional, and reclaimed pieces genuinely hard-working rather than staged. Choose interior finishes that sit back: limewash or clay paint, oiled oak, honed stone, and matte black ironmongery that won’t glare against rough walls. Keep junctions crisp with shadow gaps so the old masonry reads as sculpture, not mess.
Build lighting ambiance in layers. Hang a few warm pendants low over the table and island, then add concealed LED grazers to skim the stone and highlight tool marks. Use dimmable wall lights on stair runs for safe, soft glow.
Reclaim with purpose: a worn elm workbench becomes the utility counter, salvaged pitch-pine doors become wardrobes, and old troughs turn into planters.
Conclusion
You step back and watch evening light catch the hand-cut quoins, warming soot-dark lintels and oak pegs that still hold their story. Because you stabilized with reclaimed stone and lime, the walls breathe; because you regraded and drained, the floor stays dry under wool socks. Inside, the layout follows the barn’s bones, glazing frames the field, and gentle heat settles in. Reclaimed timber, quiet brass, and layered lamps give you practical luxury—honest, enduring, alive.
About the Author