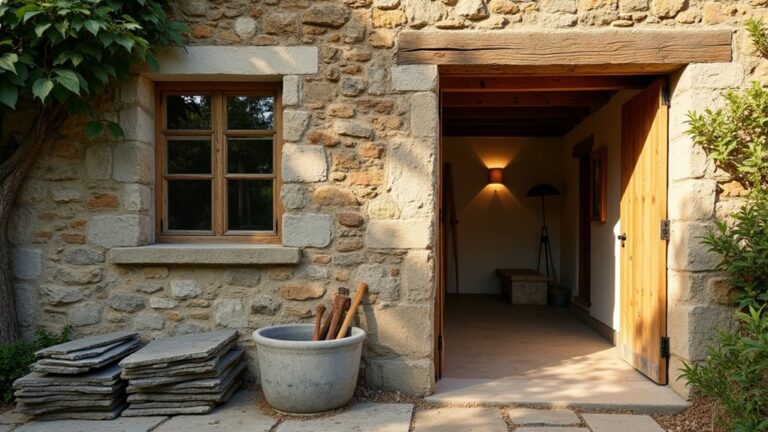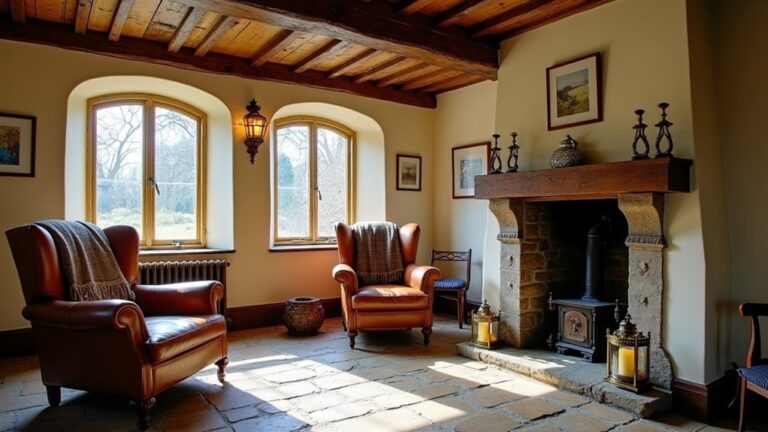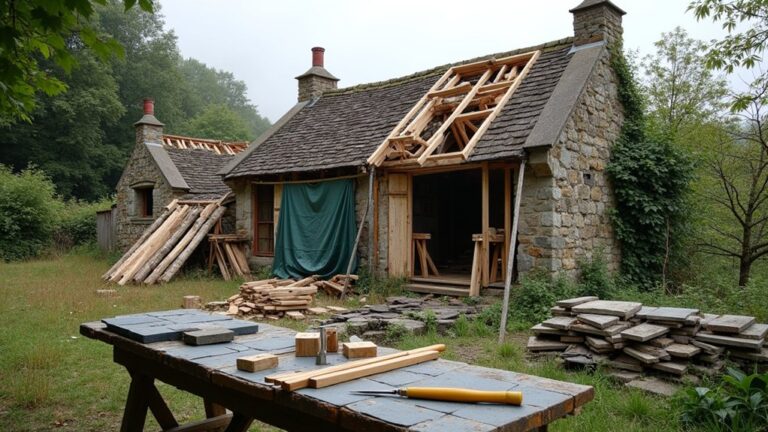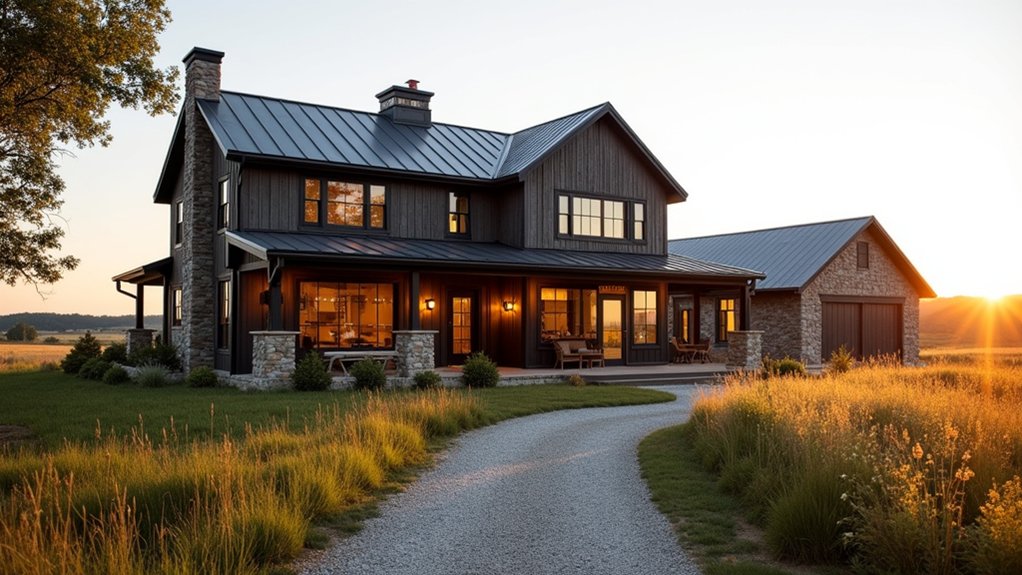
Like Theseus rebuilding the ship plank by plank, you turn a failing farmhouse into a modern rural retreat by choosing priorities, not panicking. You start with UK permissions, a tight budget, and a clear order of works: survey first, then rotten joists, a shifting foundation, and a roof repointed in lime mortar. You factor in mould and lead paint before finishes, and you keep wall damage minimal when updating wiring and plumbing—but the real cost shock comes when you open up the floors…
Key Takeaways
- We planned a phased renovation roadmap, secured required permissions, and kept a 15–20% contingency for hidden structural and services costs.
- We tackled safety first: damp, mould, roof spread, rotten joists, and chimney stability, guided by a structural engineer’s report.
- We modernised the layout for rural living with a mudroom, better circulation, and smarter door swings to reduce daily mess and collisions.
- We upgraded services early, routing electrics and plumbing through voids, and pre-wired outdoor power and lighting using wet-rated fittings.
- We boosted comfort efficiently with airtightness sealing, breathable insulation, draught-proofed timber windows, and durable low-VOC finishes for quick re-occupation.
Farmhouse Renovation Roadmap: Budget, Permits, Priorities
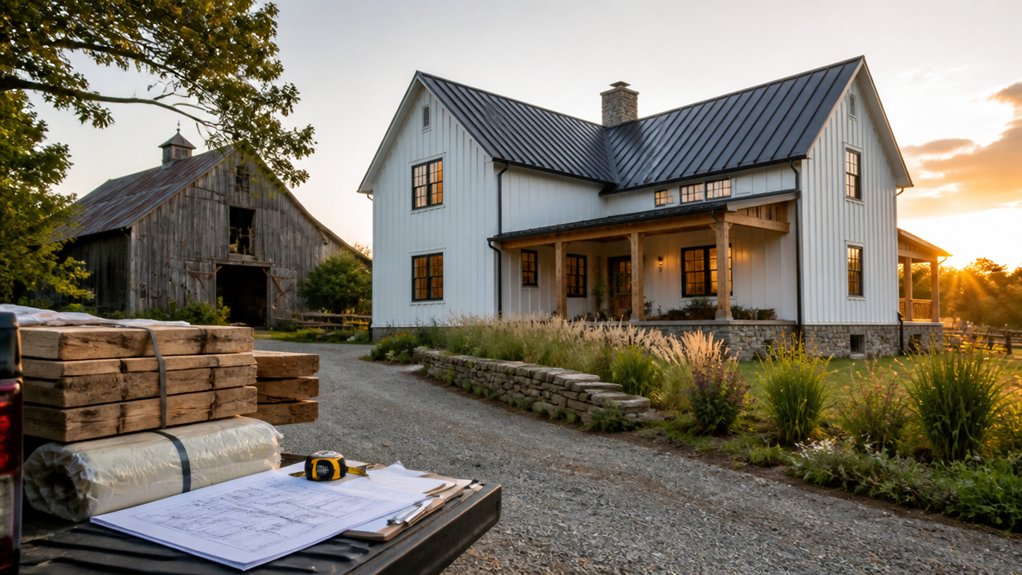
Before you fall for paint charts and Pinterest boards, map out a renovation roadmap that matches your budget, your building’s condition, and UK rules. Start with a measured survey and a schedule of works, then split costs into essentials, upgrades, and finishes, keeping a 15–20% contingency for surprises.
Check whether you’re in a Conservation Area or dealing with a listed building; historic preservation may require Listed Building Consent alongside planning permission. Speak early to your local planning officer and building control, and line up structural engineer input for major alterations.
Prioritise weather-tightness, services, and insulation before kitchens. Specify eco-friendly materials that meet Part L and suit solid walls—like woodfibre, lime, and reclaimed timber.
Price like-for-like quotes and lock delivery lead times.
Safety First: Mold, Lead Paint, and Structural Red Flags
Before you splash cash on finishes, you check the farmhouse for mold hotspots—damp cellars, cold external corners, leaking gutters, and any musty loft insulation.
If the place dates pre-1992, you assume lead paint could be present, so you budget for test kits or a licensed survey before you sand or strip anything.
You also watch for structural red flags like stepped cracks, sagging ridgelines, bouncy joists, and rotten lintels.
Then price up a structural engineer’s visit early to avoid nasty surprises.
Identifying Mold Hotspots
Although a musty smell can feel like “just old-house character”, you should treat it as a budget-critical warning sign and track down likely mold hotspots straight away.
Start in the dampest zones: behind wardrobes on external walls, under stairs, around chimney breasts, and inside built-in cupboards where air doesn’t move.
Check cold corners for black speckling, bubbled paint, soft plaster, and salt-like efflorescence.
In the kitchen and bathroom, inspect silicone lines, extractor ducts, and the back of units for hidden leaks.
Lift a few floorboards near the sink and by the back door to spot wet joists before you price up mold remediation.
Log humidity with a cheap hygrometer and plan moisture control: fix gutters, boost ventilation, and dry the fabric of the house fast.
Lead Paint And Structure
Once you’ve chased down damp and started drying the place out, turn your attention to two hazards that can quietly blow the budget: lead paint and structural movement.
If the farmhouse predates 1978, assume Lead hazards on skirting boards, windows, and stair strings. Don’t sand; you’ll aerosolise dust. Use a UKAS-accredited tester or send flakes to a lab, then budget for encapsulation or controlled removal by a licensed contractor, plus waste disposal.
Next, read the building: stepped cracks, bulging stonework, and doors that suddenly bind point to settlement. Get a Chartered Structural Engineer early; their fee can save thousands in guesswork.
Prioritise roof spread, rotten joist ends, and chimney stability, then plan structural reinforcement that respects lime mortar.
Foundation, Floors, and Roof: The First Repairs
If you tackle the unglamorous structure first, you’ll stop a crumbling farmhouse from swallowing your budget later. Start with a structural engineer’s report, then fix movement before chasing finishes.
You’ll often find shallow footings, damp-trapped walls, and joists softened by decades of leaks. Prioritise Historical preservation by repairing, not replacing, where possible, and keep your landscaping design from worsening drainage by grading falls away from the house.
- Repoint lime mortar, not cement, to let walls breathe
- Add discreet French drains and gulley maintenance for damp control
- Sister or replace rotten joists; keep airflow with vented voids
- Patch roof felt, re-lath, and salvage slates to cut costs
- Fit temporary tarps and scaffold alarms; UK storms don’t wait
Layout Fixes: Traffic Flow, Entry Mudroom, Bedrooms
Where do you actually drop muddy boots, hang coats, and get from the back door to the kitchen without trekking through the “best room”? You fix the flow first: you steal a metre from the oversized parlour, frame a compact mudroom, and add a hardwearing tiled threshold that’s cheap to clean.
You line one wall with closed shoe storage, hooks, and a slim bench built from offcuts, then position Interior lighting so you’re not fumbling at 6pm in January.
You widen one internal doorway (keeping the old lintel) and create a straight shot to the cooker, cutting daily grime and arguments.
Upstairs, you swap door swings to stop collisions, pinch a landing cupboard for a small ensuite, and use Landscaping design to guide guests to the right entrance.
Wiring and Plumbing Upgrades With Minimal Wall Demo
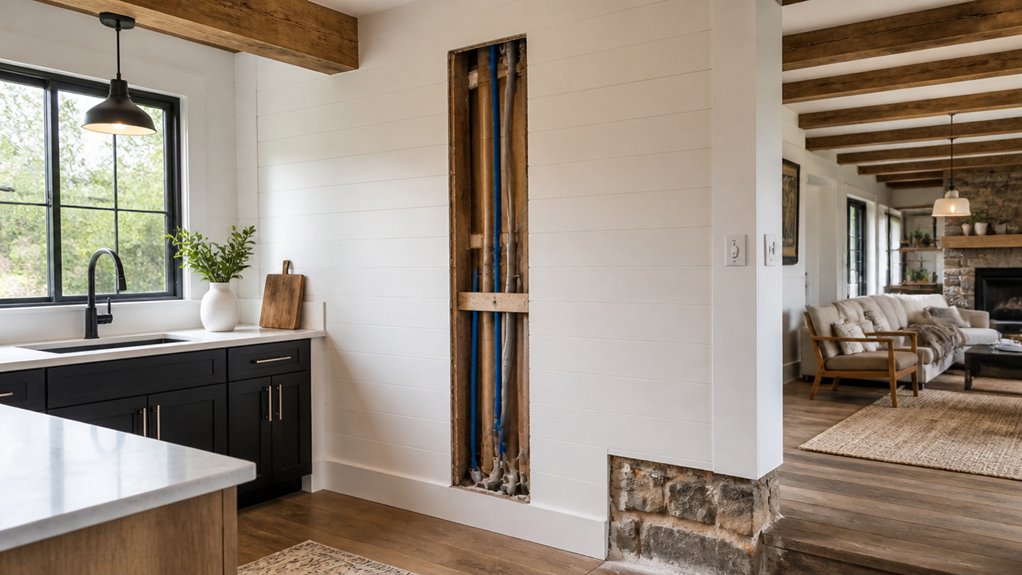
With the new mudroom-to-kitchen route sorted, you can tackle the hidden services that make an old farmhouse feel modern—without ripping every lath-and-plaster wall apart. You’ll chase cables through lofts, cupboards, and floor voids, then patch only access points. Keep costs tight by planning circuits and pipe runs before your electrician and plumber arrive.
- Upgrade to a new consumer unit with RCD/RCBO protection and clear labelling
- Run data and power in surface trunking behind skirting where walls must stay intact
- Fit IP-rated outdoor lighting on separate circuits with PIRs to cut bills
- Repipe with plastic barrier pipe through joist bays, keeping stopcocks accessible
- Add mesh to service penetrations for pest control and draught reduction
You’ll protect period plaster, minimise redecoration, and still meet UK regs.
Insulation and Window Choices for Harsh Winters
Because harsh winters punish every draughty gap in an old farmhouse, you’ll get the biggest comfort-per-pound by tightening the thermal envelope first, then upgrading glazing where it genuinely pays back.
Start with a blower-door-style smoke test and seal joist ends, loft hatches, and skirtings using tapes and mastic.
In the loft, fit 300mm mineral wool; for rafters, use woodfibre or PIR where headroom’s tight.
On solid walls, choose breathable insulation materials like woodfibre boards plus lime plaster to avoid damp, especially in exposed UK valleys.
Under suspended floors, net in sheep’s wool or mineral wool and add a windtight membrane.
For windows, retain sound timber frames, add draught proofing, and specify double or slimline glazing during careful window installation.
Avoid cold bridges around reveals.
Durable Finishes: Flooring, Trim, Paint, and Hardware
You’ll make the farmhouse feel finished—and stay that way—by choosing hardwearing floors and trim that cope with muddy boots, dog claws, and damp air without constant upkeep.
Keep costs sensible with durable options like LVT or engineered oak, sturdy MDF or timber skirting, and a scrubbable matt emulsion where walls take a beating.
Finish it off with decent hardware—solid hinges, latches, and handles that won’t loosen or rust—so doors and cupboards still feel tight after years of daily use.
Hardwearing Floors And Trim
Even if the farmhouse is rough round the edges, your floors and trim need to take daily knocks without draining the budget. You’ll keep rustic charm by choosing finishes that hide scuffs, clean fast, and suit muddy boots, dogs, and log baskets.
In the UK, shop reclaimed yards and builders’ merchants, and specify trims that can be patched, not replaced.
- Pick engineered oak or good LVT in kitchens: stable over old subfloors, cheaper than solid.
- Use reclaimed pine boards upstairs; sand lightly, seal with hardwax oil.
- Fit beefy MDF skirting in wet-prone rooms; it stays straight and is easy to caulk.
- Add oak thresholds to protect doorways and frame decorative accents.
- Put coconut mat wells at entries to save floors.
Washable Paint And Hardware
Hardwearing floors and beefy skirting handle the worst of farmhouse life, but scuffed walls and tired ironmongery can still make the place feel worn-out fast. You’ll notice it most in halls, utility rooms, and by the back door.
Choose a scrubbable, matt paint rated for high-traffic areas; UK brands now do wipe-clean formulas that don’t look plasticky. Keep costs down by using one durable colour through connecting spaces, then spend on better primer for old plaster and stained patches.
Look for low-VOC, Eco friendly finishes to cut odour and speed re-occupation. Replace flimsy knobs with Vintage hardware: reclaimed brass latches, rim locks, and chunky coat hooks. You’ll unify mismatched doors, and the patina hides fingerprints far better than chrome.
Kitchen and Bath Upgrades That Add Daily Comfort
While the bones of a farmhouse kitchen and bathroom often look serviceable, small, targeted upgrades can make them feel warmer, brighter, and far easier to live with without blowing the budget. You’ll notice the biggest lift comes from lighting, storage, and surfaces you touch every day. Keep fittings simple, buy in batches, and prioritise durable finishes that suit muddy boots and hard water.
- Swap tired taps for WRAS-approved mixers with ceramic cartridges
- Add LED under-cabinet strips and a brighter IP-rated bathroom mirror
- Fit soft-close hinges and slim pull-out larders in awkward base units
- Choose wipeable quartz-effect laminate worktops over pricey stone
- Install a thermostatic shower valve and a quieter extractor fan
When you’re doing garden planning, run a spare fused spur for outdoor lighting, too.
What It Cost Us: Surprises, Trade-Offs, and Lessons
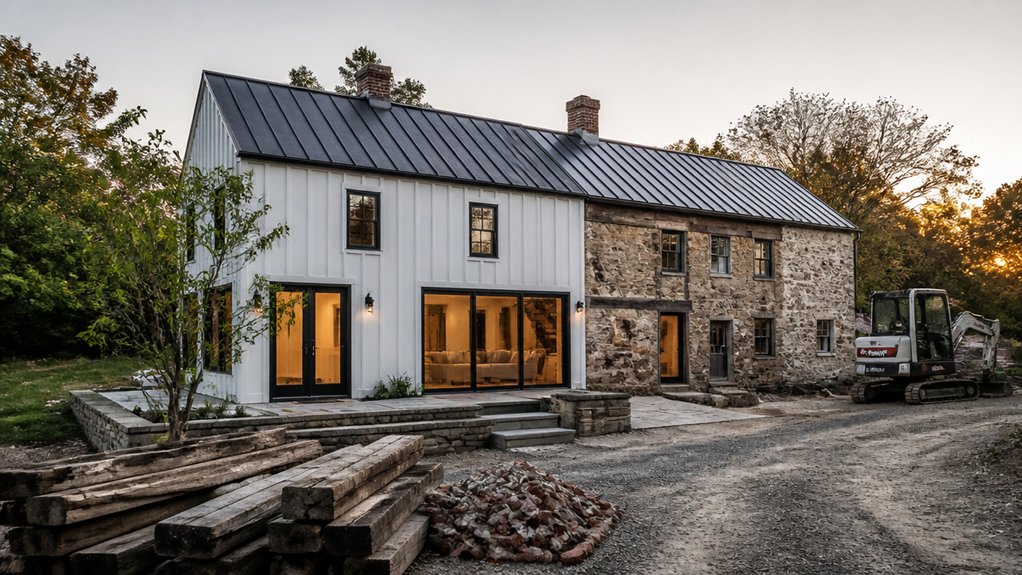
Those kitchen and bathroom upgrades felt like quick wins, but the real story showed up in the spreadsheet: totals crept higher once we priced in the unglamorous bits—extra plumbing fittings, IP-rated electrics, decent extraction, and the labour to make old walls and wonky floors behave.
You’ll save money by choosing where to splurge: keep the existing soil stack, but pay for a proper membrane and tanking kit. Reuse radiators, yet upgrade valves and balance the system. Budget flexibility matters when you hit rotten joists, failed drains, or a cracked lintel behind plasterboard.
Factor in unexpected delays too: Building Control queries, lead times on heritage-style tiles, and a wet week that stops plaster drying. You learn fast: price by scope, not optimism, and ring-fence 15% contingency.
Conclusion
You’ve dragged that farmhouse back from the brink—like you’ve wrestled a century of rot, damp, and dodgy wiring into submission. By prioritising structure, then services, then finishes, you’ve kept the budget from exploding into the stratosphere. Your lime-mortar roof, warmer insulation, and tighter windows make winter feel almost optional. With hard-wearing floors, low-VOC paint, and a mudroom that swallows boots whole, you’ve built modern comfort without losing rural soul.
About the Author