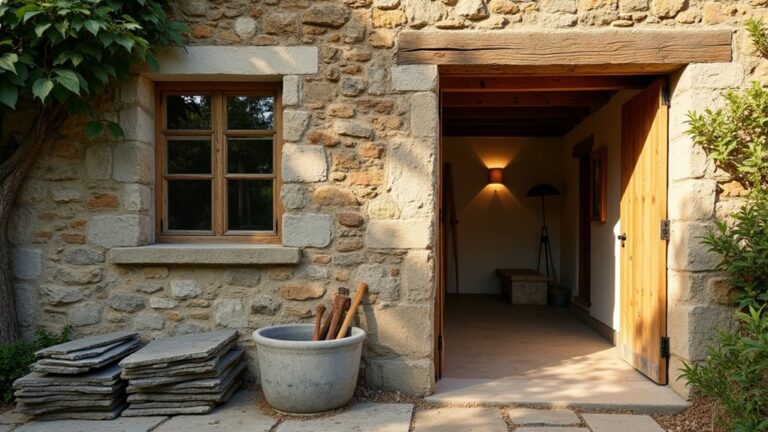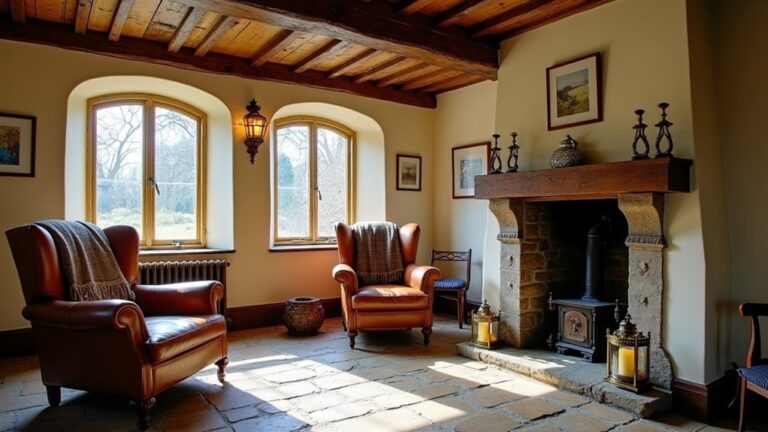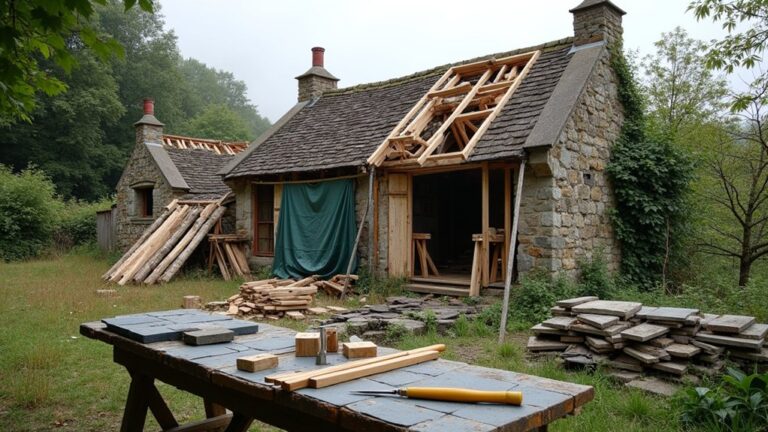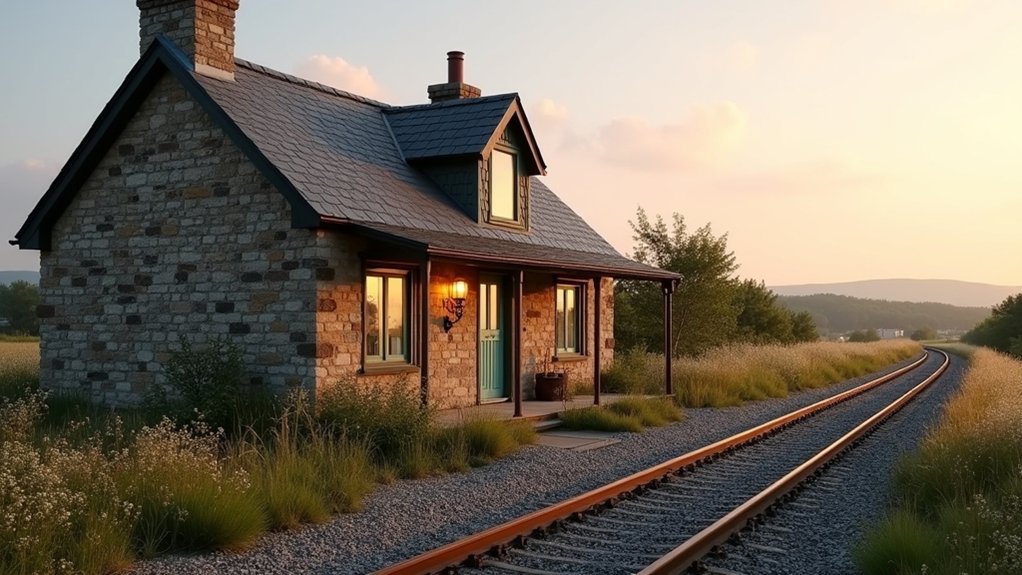
By coincidence, you spot the abandoned railway cottage the same week the heritage officer updates the local register. You start with a measured survey, price up structural fixes, and map every constraint from rail setbacks to protected joinery. You make it safe fast—temporary bracing, roof patches, and staged waste removal—so money goes to repairs that keep original fabric. Then you face the tricky part: fitting modern electrics, plumbing, and insulation without leaving a trace…
Key Takeaways
- We documented defects room-by-room, took moisture readings, and photographed elevations to separate condensation from true rising damp.
- We secured heritage approvals and rail-corridor permissions, ensuring like-for-like repairs to roofing, joinery, chimney details, paint, and glazing.
- We made the structure safe first by bracing weak areas, testing for asbestos and lead, and disposing of hazardous waste through approved channels.
- We rebuilt only failed elements, salvaged original timber with scarf-joint splices, and restored the roof and chimney to stop water ingress.
- We discreetly upgraded services and comfort with safe rewiring, modern plumbing, breathable insulation, draft sealing, and accessible valves for future maintenance.
Abandoned Railway Cottage Inspection and Survey Results
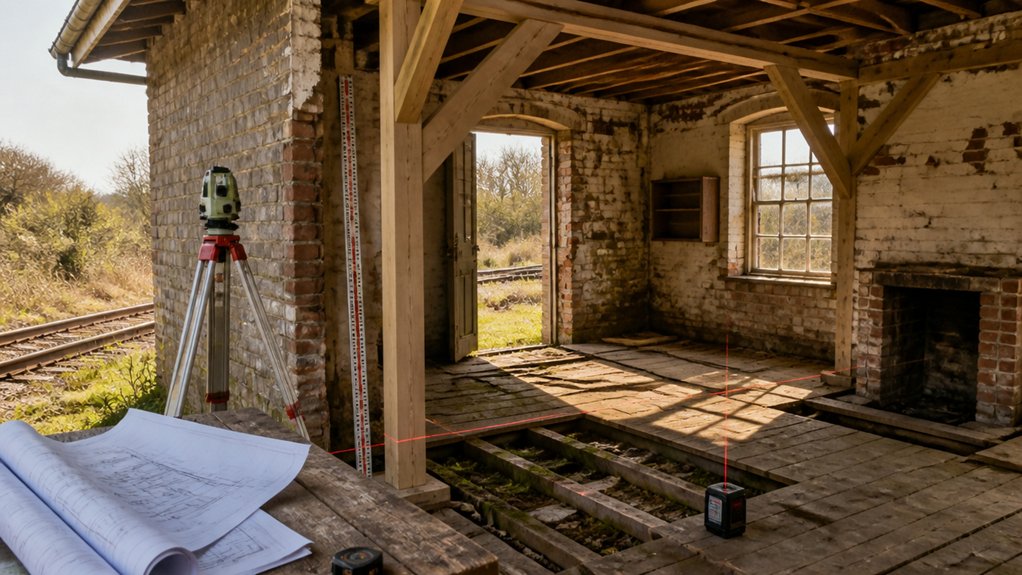
Although the cottage looked sound from the trackside, our inspection and survey told a more complicated story: you’ve got a tired slate roof with slipped courses, soft timber lintels over two openings, and rising damp tracking up the original brickwork where the ground level’s crept above the old slate DPC.
Inside, you’re dealing with salt-blown plaster, a musty underfloor void, and joist ends that have started to crumble where ventilation’s been blocked.
You can’t ignore the chimney either: open joints and spalled bricks risk water ingress.
You map defects room by room, photograph every elevation, and take moisture readings to separate condensation from true damp.
That evidence lets you cost repairs tightly while protecting Railway heritage through careful Cottage preservation choices.
Permissions, Heritage Rules, and Rail-Side Constraints
Before you price a single repair, you need written clarity on what you’re allowed to touch and when. Start by confirming title boundaries, access rights, and who controls the rail corridor.
Get the cottage’s listing status, then request the heritage officer’s constraints in writing: original joinery profiles, roofing type, chimney treatment, paint colours, and window glazing rules.
For heritage preservation, photograph every elevation, label significant fabric, and log proposed like-for-like substitutions.
Lock in legal compliance early: permits for demolition, asbestos handling, and any change to footprint or drainage.
Rail-side constraints add another layer—work windows, vibration limits, exclusion zones, and contractor rail-safety inductions.
Also check utility easements, flood overlays, and vegetation controls near the track.
Railway Cottage Renovation Budget and Timeline Breakdown
Once you’ve pinned down what heritage and rail authorities will let you do, you can build a budget and timeline that won’t collapse under surprises. Start with measured drawings and a room-by-room scope, then price like-for-like materials so the cottage keeps its period rhythm. Allocate 10–15% contingency for hidden defects, but protect it by locking specs before you seek quotes.
Sequence works to minimise rework: weatherproofing, services, finishes, then external tidying. Plan procurement around lead times for reclaimed bricks, sash hardware, and compliant glazing, and book trades early.
- Survey, documentation, and approvals: 3–6 weeks
- Building envelope and drainage: 4–8 weeks
- Services rough-in and Interior lighting: 2–4 weeks
- Joinery, plaster, paint, flooring: 4–10 weeks
- Garden landscaping and final snagging: 1–3 weeks
Making the Abandoned Railway Cottage Safe to Work In
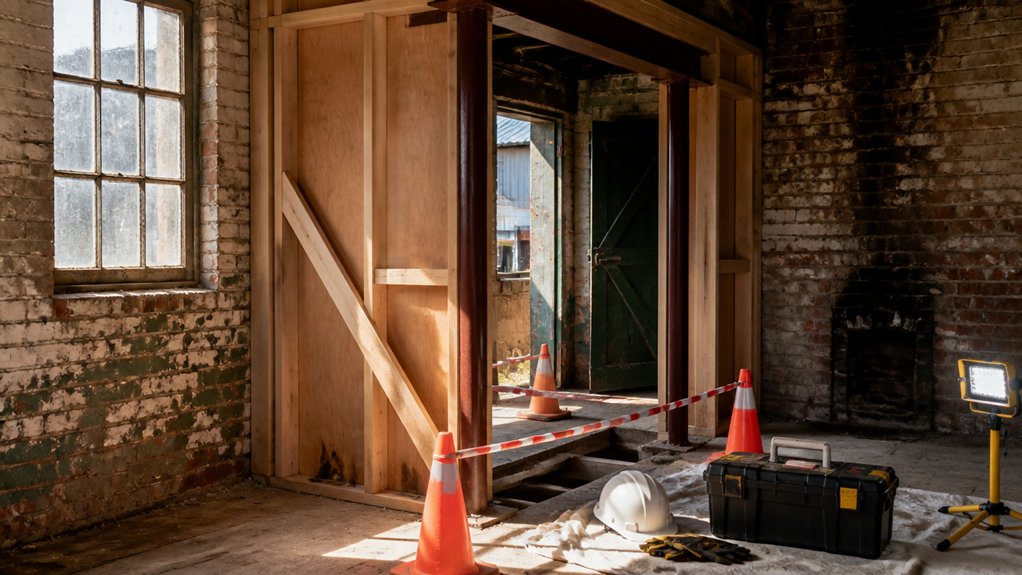
Before you swing a hammer, you’ll walk the cottage with a torch and notebook, checking stumps, joists, roof lines, and brickwork for movement so you can brace what matters and keep original fabric intact.
You’ll tag any urgent risks—loose lintels, rotten floorboards, sagging rafters—and spend first on temporary props and safe access rather than cosmetic fixes.
Then you’ll clear hazards fast and cheap: bag rubbish, pull nails, isolate power, and treat mould, vermin, and asbestos-suspect materials with the right precautions before proper repairs begin.
Structural Safety Assessment
A derelict railway cottage can look charming in photos, but you’ve got to prove it’s stable before you swing a hammer. Start with a measured walk-around, noting lean, sag, and water paths, then map every crack so you can tell movement from age. You’ll spend less by paying for one targeted engineer visit than by guessing and overbuilding, and you’ll protect original fabric by fixing only what’s failing.
Check foundation stability at piers and sleepers, and confirm structural integrity in the roof frame, wall studs, and lintels before you plan any repairs.
- Sight level floors with a laser
- Probe timber ends at bearers
- Inspect brickwork for stepped cracks
- Test roof trusses for spread
- Photograph and label each defect
Hazard Removal And Cleanup
Because derelict cottages hide more than peeling paint, you’ll save money—and protect irreplaceable heritage fabric—by treating hazard removal and cleanup like a controlled job site setup, not a weekend tidy-up. You’ll start by isolating rooms with poly sheeting, laying sacrificial floor protection, and setting a single entry to keep grit off original boards.
You’ll log hazards before touching anything: friable asbestos lagging, lead paint dust, rodent droppings, needles, and unstable chimneys. Bring in licensed testing where required; it’s cheaper than rework or fines.
For hazard removal, you’ll bag contaminated waste to spec, label it, and book approved disposal. Then you’ll run staged debris clearance: salvageable timber and fittings first, metals next, rubbish last, so you don’t smash heritage details.
Rebuilding the Railway Cottage Frame and Roof
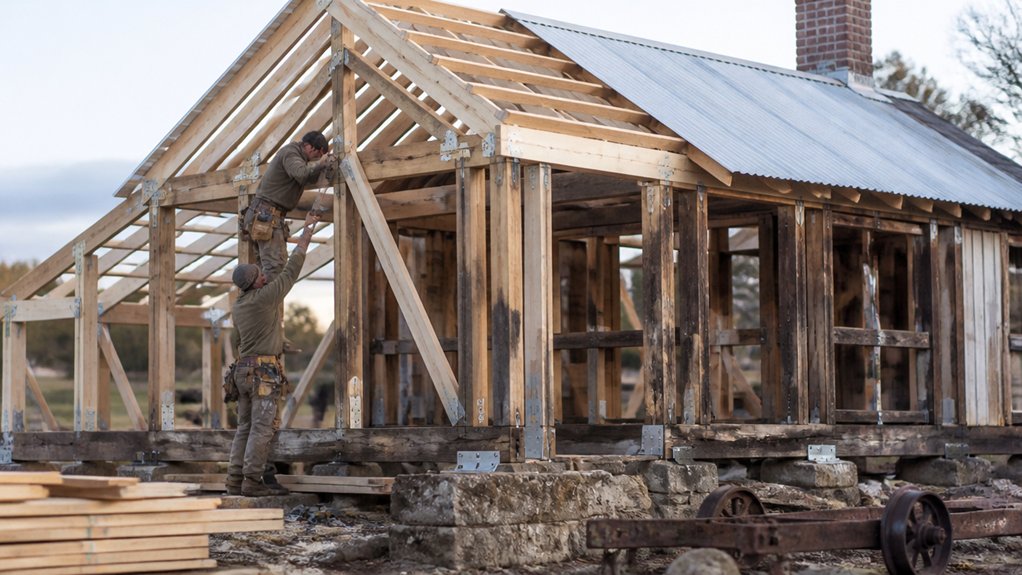
Once the ivy came down and the rot showed itself, we stopped guessing and started rebuilding the frame and roof with the cottage’s heritage lines—and our budget—front of mind.
You brace first, then replace only what’s failed, keeping as much original timber as Historical preservation demands. You map every member, salvage sound studs, and splice in new lengths with scarf joints so repairs read like the old work.
Material selection stays practical: local hardwood where it counts, treated softwood where it won’t be seen, and reclaimed corrugated sheets to match profiles.
- Set temporary props before you touch load paths
- Swap rotten plates, not whole walls
- Sister rafters to keep original pitch
- Reuse ridge iron and strap ties
- Prime, seal, and ventilate to slow future decay
Modern Services: Electrics, Plumbing, Insulation
Once the frame and roof are sound, you can’t risk old, brittle wiring, so you rewire to current safety standards while keeping conduits and fittings discreet to protect the cottage’s character and your budget.
You run fresh plumbing for a proper kitchen and bathroom, choosing simple, serviceable routes that don’t hack up original studs and boards.
Then you lock in comfort with high-performance insulation—tight where it counts, breathable where it must—so the place stays warm without trapping moisture in a heritage shell.
Rewiring For Safety
Although the cottage still had its original timber lining and cast-iron hardware, the wiring behind it belonged to another era. So we treated electrics as a safety project first and a comfort upgrade second. You pull every switch plate, map each run, and compare what you find to Wiring guidelines and electrical codes before you touch insulation or finishes.
You keep heritage walls intact by fishing new cable through existing cavities and reusing period-appropriate fittings where they’re safe.
- Install a modern switchboard with RCDs and labeled circuits
- Replace brittle rubber cabling with TPS in conduit where needed
- Add extra outlets to stop power-board daisy chains
- Bond and earth all metalwork, especially the old iron stove surround
- Test, tag, and document results for future owners and inspectors
Plumbing For Modern Living
Before you hang new plaster or lay flooring, you’ve got to treat plumbing like an access-and-risk puzzle in a tiny heritage shell: keep the original lining boards where you can, but bring water pressure, drainage, and hot water up to modern expectations without blowing the budget.
Start by mapping every run and fitting, then group the kitchen, bath, and laundry back-to-back so you shorten pipework and avoid cutting historic studs.
Swap brittle galvanised lines for PEX, and add proper isolation valves so future repairs don’t mean ripping walls.
Re-sleeve penetrations, fit mini access panels in cupboards, and reuse existing floor voids for waste falls.
Choose a heat-pump or instantaneous unit and add leak sensors tied into your Smart home for shutoff alerts.
Prioritise eco friendly systems.
High Performance Insulation
With your new pipe runs pressure-tested and isolation valves in, you can close the walls with confidence—provided you treat insulation as performance gear, not filler, in a tiny heritage cottage. You’ll cut heat loss without trapping moisture or erasing original fabric, which keeps Historic preservation goals intact and bills low.
- Install breathable wood-fibre or sheep’s wool batts between studs.
- Add smart vapour control where kitchens and baths raise humidity.
- Seal gaps at floorboards, window reveals, and service penetrations.
- Use recycled PIR only where depth is tight, then tape every joint.
- Leave inspection hatches and document layers for future repairs.
You’ll protect old weatherboards by maintaining a drainage plane and avoiding foams that glue boards together. Share product choices and results at open days for community engagement, and you’ll build trust while improving comfort year-round.
Interior Layout and Period-Style Finishes
Once we’d stabilised the shell, we planned the interior around how a railway worker’s cottage actually functioned: a tight central passage, rooms that do double duty, and sightlines that pull you from the front door to the rear yard. You keep the original room widths, but steal storage into wall cavities so circulation stays clear and furniture fits.
You chase heritage value without boutique spend. You repair rather than replace: splice floorboards, patch lath-and-plaster, and skim where cracks telegraph. For period finishes, you choose limewash tones, oil-based enamel on joinery, and simple architraves milled to match surviving profiles. You hang salvaged rim locks, fit reproduction switch plates, and light the corridor with opal shades.
Vintage decor lands last: lean timber tables, rail-era prints, and hardwearing wool runners.
Landscaping, Drainage, and Exterior Finishing Details
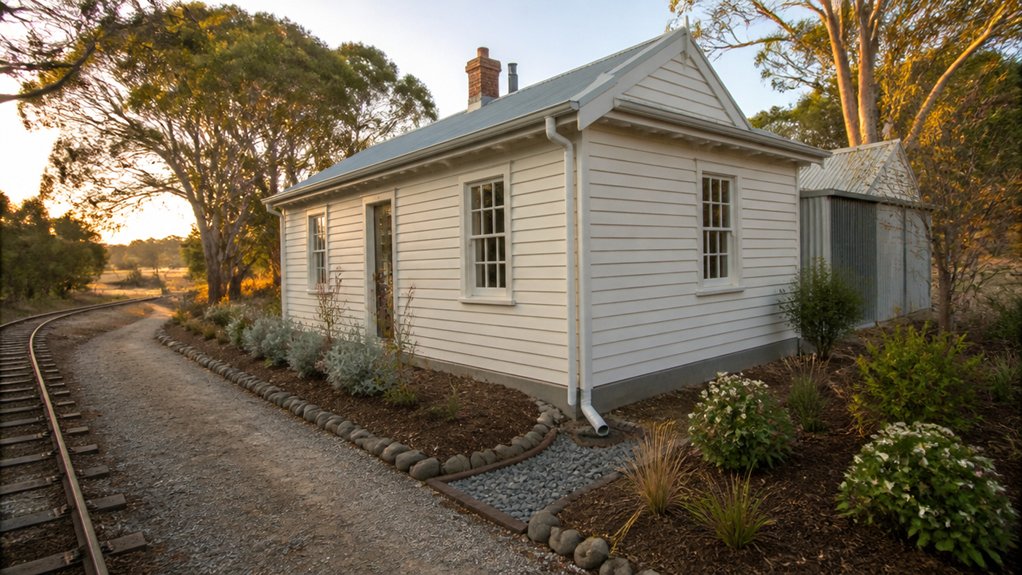
Period finishes only hold up if the outside stops feeding the cottage moisture, so we took the same repair-first mindset into the yard. You start by regrading with site-won spoil, tipping fall away from the stone footings and into a shallow swale.
You replace failed clay drains with perforated pipe wrapped in geotextile, then run gutters to a rain barrel so nothing splashes back onto the walls.
You keep heritage character by choosing breathable limewash, repairing bargeboards, and matching sash putty instead of swapping joinery.
- Gravel garden pathways over compacted fines for cheap, dry access
- Repoint plinth stones in lime, not cement
- Simple timber steps, oil-finished
- Outdoor lighting on low-watt warm LEDs, shielded
- Native shrubs to hold banks and reduce upkeep
Conclusion
You’ve taken a derelict rail-side cottage from survey notes and heritage clauses to a tight, livable finish by fixing the frame, sealing the roof, and keeping every repair true to the original fabric. You’ve stretched the budget with staged works, salvaged timber, and low-maintenance exterior coatings. Discreet rewiring, smart plumbing, and eco insulation deliver comfort without visual clutter. With drainage, planting, and final paint done, what else could honour history better than daily use?
About the Author