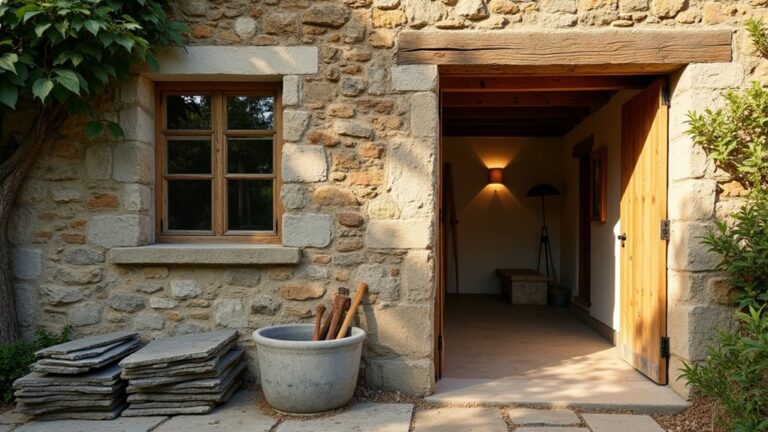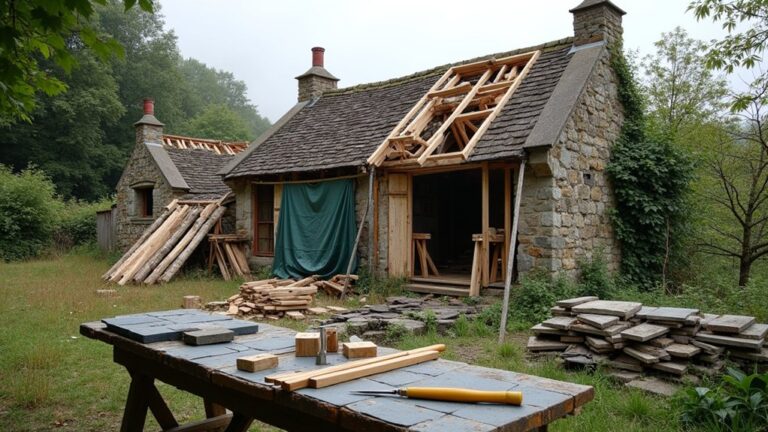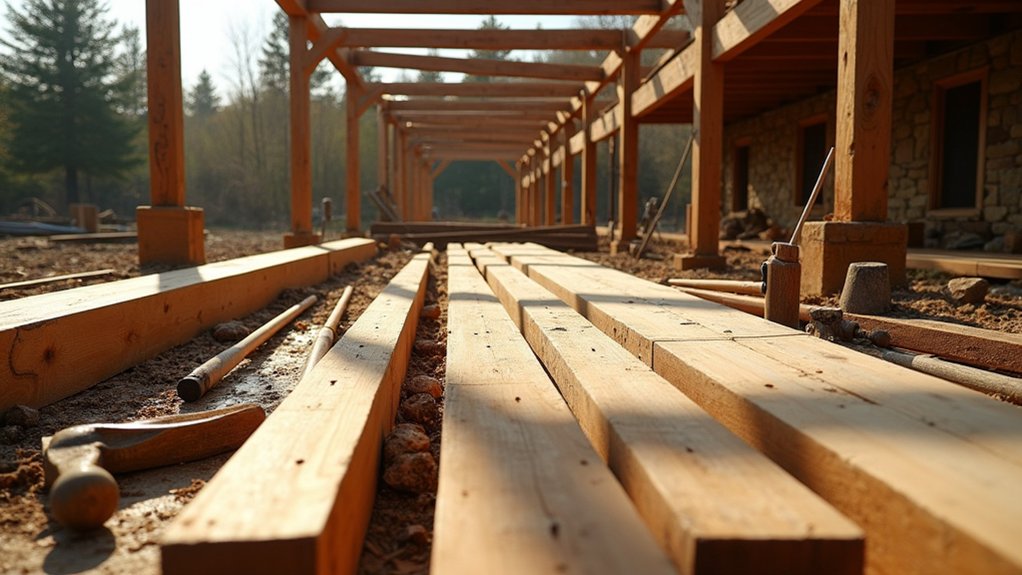
If you’re rebuilding a 19th‑century oak frame from a barn in Devon, you’ll start by tagging every member and noting split tenons, crushed shoulders, and insect holes. You’ll probe suspect areas with a bradawl, grade what’s worth keeping, and set aside timbers for splicing or replacement to meet UK structural expectations. Then you’ll move to square‑rule layout, scribed marks, and joinery prep—but one early decision will determine whether the raise goes smoothly or stalls.
Key Takeaways
- Inspect each bay, photograph joints, probe for rot and insects, and record moisture to map repairs accurately.
- Grade and tag salvageable timbers by straightness, section loss, and joint integrity, logging dimensions for reassembly.
- Plan repairs to retain original members, splicing clean wood like-for-like and using pegs or drawbore where joints have failed.
- Lay out timbers from a consistent reference face, strike Square Rule lines, and cut mortise-and-tenon joinery to scribed marks.
- Dry-fit each bay on level bearers, verify diagonals and shoulders, then raise sequentially, bracing, plumbing posts, and pinning joints.
Inspect the Timber Frame and Grade Salvageable Beams
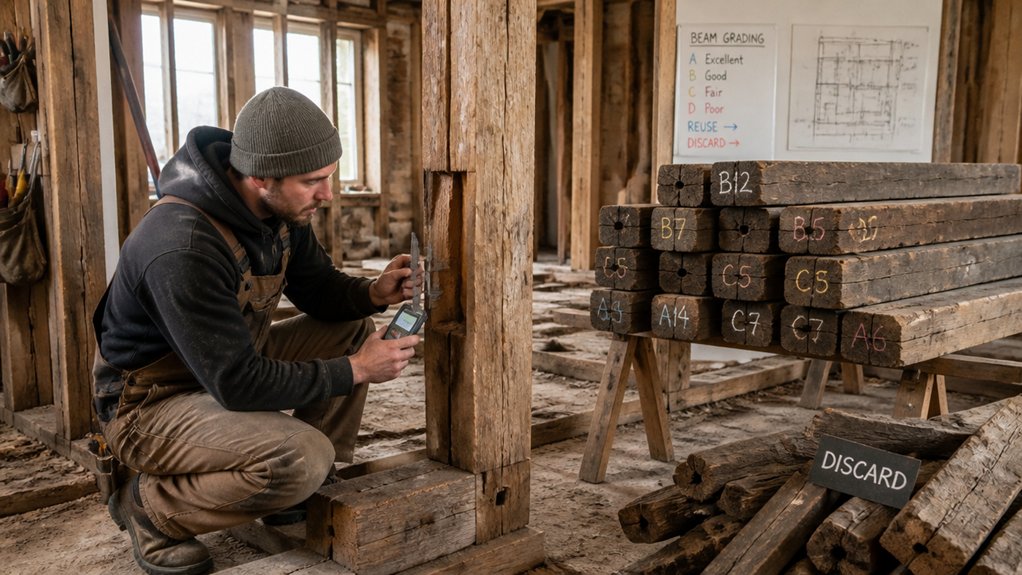
Before you commit to any repairs, inspect the entire timber frame bay by bay and record what you find. Number each bay, photograph every joint, and sketch elevations so you can track movement and missing members.
Use modern tools: a moisture meter for damp pockets, a borescope for concealed mortices, and a torch and mirror for peg holes. Probe with a bradawl to distinguish surface softening from deep decay, and note insect flight holes, frass, and staining lines.
For historical preservation, grade beams for reuse by checking straightness, section loss, joint integrity, and original carpenters’ marks. Tag timbers with washable marker, log dimensions in millimetres, and store notes with your drawings for later layout decisions.
Repair, Treat, or Replace Timbers Before Layout
Your inspection notes and beam grades now need turning into clear actions: decide which timbers you’ll repair in situ, which you’ll treat on the bench, and which you’ll replace outright, so the frame you set out later reflects what you can genuinely build with.
Keep sound, original members where possible for historical accuracy, but don’t carry forward rot, insect galleries, or failed joints.
For repairs, cut back to clean, firm wood and splice with matching grain; peg or drawbore rather than rely on adhesives alone.
For bench work, dry-brush off dirt, then apply timber preservation only after you’ve confirmed moisture is down and decay arrested; avoid sealing damp oak.
If a post is structurally compromised, replace it now, not mid-raise.
Mark every decision on the timber ends.
Choose Timber Species and Lay Out the Frame (Square Rule)
A sound timber choice and a disciplined Square Rule layout set the whole rebuild up for success. Match species to exposure and precedent: English oak for principal posts and ties, sweet chestnut where you need durability with less weight, and Douglas fir for secondary members if you’re balancing budget and stability.
For Historical accuracy, follow local vernacular and reuse like-for-like where possible.
Mark every timber from a consistent face and edge, then strike your reference lines with chalk, square, and knife. You’ll align centres, shoulders, and housing depths to a notional grid, so irregular outer faces don’t throw the frame.
This planning stage governs later Joinery techniques.
- Fresh-sawn oak scent in a draughty barn
- Chalk lines snapping across a hewn face
- A framing square gleaming under task light
- Scribed Roman numerals on end grain
- Stacked timbers stickered to season evenly
Cut Mortise-and-Tenon Joinery and Drawbore Pegs
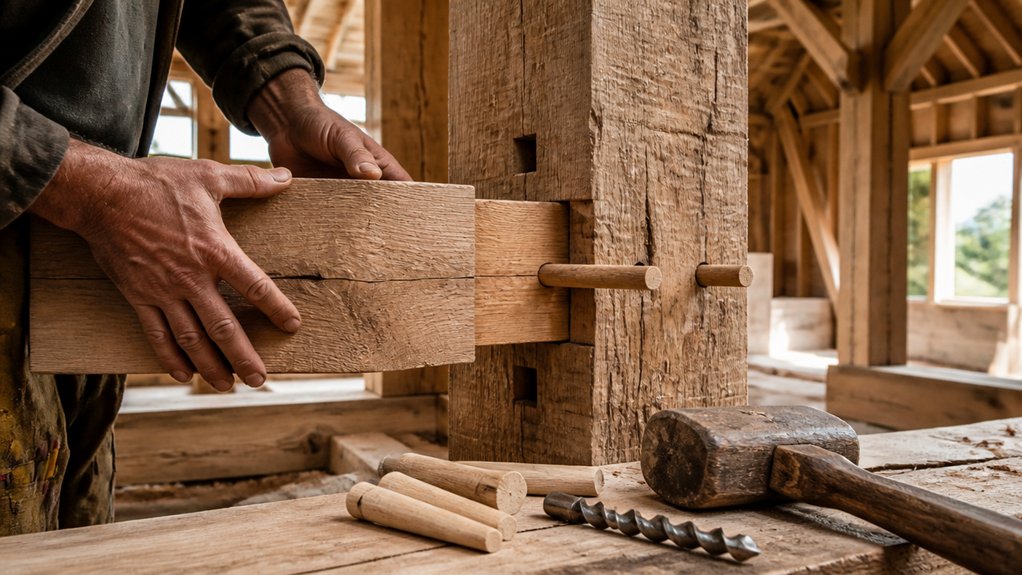
Once the Square Rule lines sit clean on every face, you can cut mortise-and-tenon joints with confidence, because the geometry now lives in your knife marks, not in the twist and waney edges of the timber.
Knife your shoulders deep, then saw to the waste side with a sharp tenon saw or chainsaw for heavy sections.
Chop mortises with a mortise chisel and mallet, working from both faces to avoid blow-out; keep the chisel registered to your scribed lines.
Pare only to fit, not to hide mistakes—Traditional craftsmanship depends on honest surfaces.
For drawbore pegs, bore the mortise first, then offset the tenon hole back about 1–2 mm so the peg pulls tight.
Rive oak pegs, taper the leading end, and drive them home.
Dry-Fit, Label, Then Raise the Timber Frame Plumb
After you’ve cut and bored every joint, dry-fit each bay on level bearers to prove the geometry before you commit to the lift. Tap the timber joinery home with a beech mallet, then check diagonals, shoulder lines, and any twist before you pull it apart again. Mark every mating face with carpenter’s marks, and label posts, girts, braces, and tie beams so nothing gets swapped on raising day.
- Chalked layout lines on bearers, sharp and square
- Pegs laid out in trays, sorted by bay
- Carpenters’ marks cut clean with a knife
- Plumb bob hanging still beside a post
- Ratchet straps ready to pull a frame true
When you raise, brace immediately, plumb each post, and pin joints in sequence to lock in structural stability.
Conclusion
You’ve taken each beam like a page from an old ledger, inspected, mended, and marked it true. With square rule lines as your compass, you’ve cut mortise and tenon, then driven drawbore pegs like quiet promises that won’t slip. You dry-fit, label, and raise the frame plumb, braced against wind and time. Now the house stands as an oak-hearted lantern: proof your hands can carry history forward, one joint at a time.
About the Author