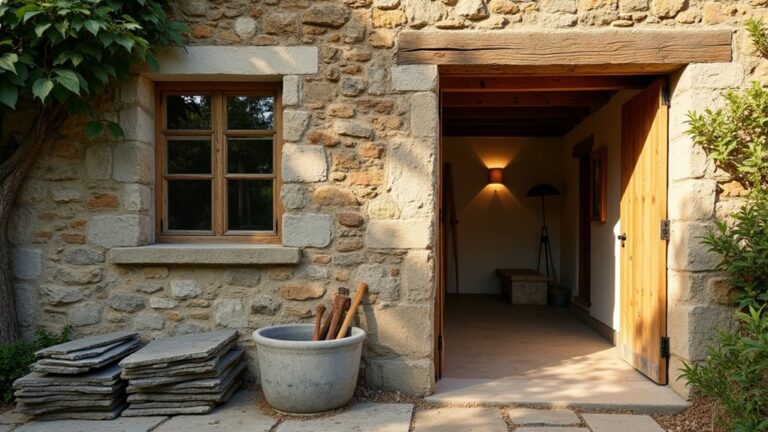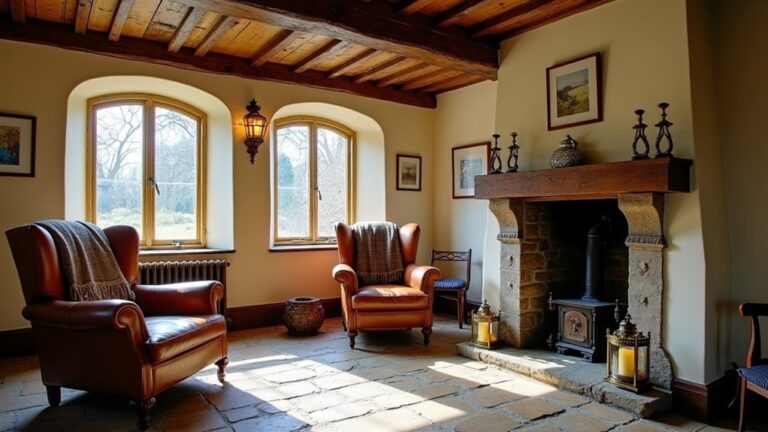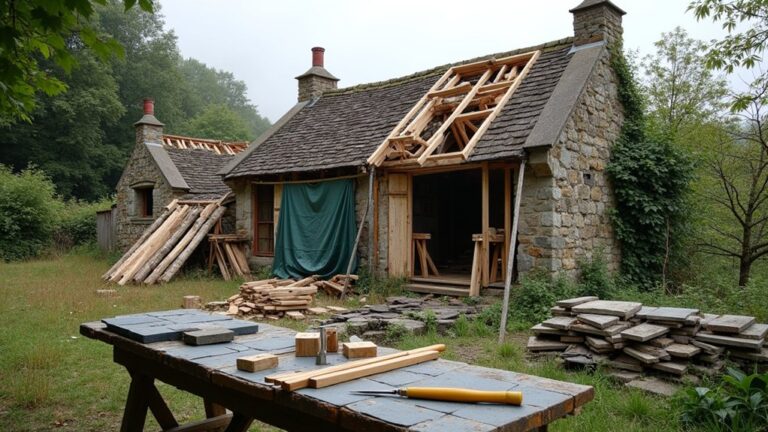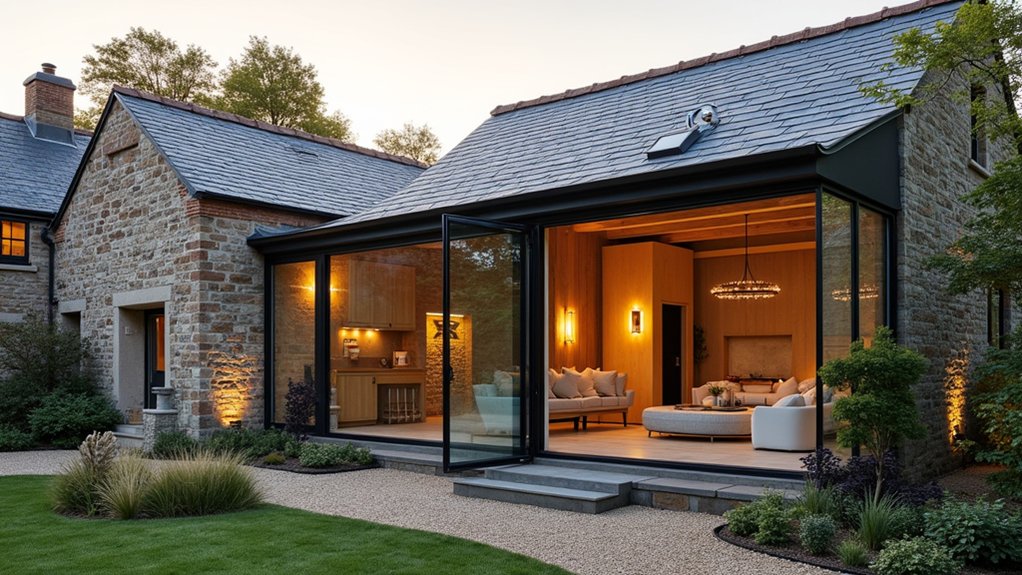
You start by surveying the mill cottage like a conservator, not a decorator, noting damp paths, roof slips, movement cracks, and any past cement repairs. You confirm its heritage status early, document what’s original, and line up permissions before you touch a stone. You plan a phased budget that tackles structure and weatherproofing first, then threads modern services and insulation in with minimal loss. Next, you’ll face the first decision that sets the whole tone…
Key Takeaways
- Survey roof, masonry, floors, damp, chimneys, and services to identify urgent defects and plan repairs.
- Confirm listing status, curtilage structures, and boundaries, then log past alterations to avoid accidental heritage breaches.
- Separate like-for-like repairs from consent-triggering changes, and engage conservation officers early with photos, surveys, and reversible proposals.
- Build a phased budget and schedule with contingencies for specialist trades, approvals, drying times, access constraints, and seasonal weather.
- Restore original fabric with lime mortars and timber repairs, then add vapour-open insulation, discreet ventilation, and minimally invasive modern services.
Survey the Mill Cottage: Defects and Dealbreakers
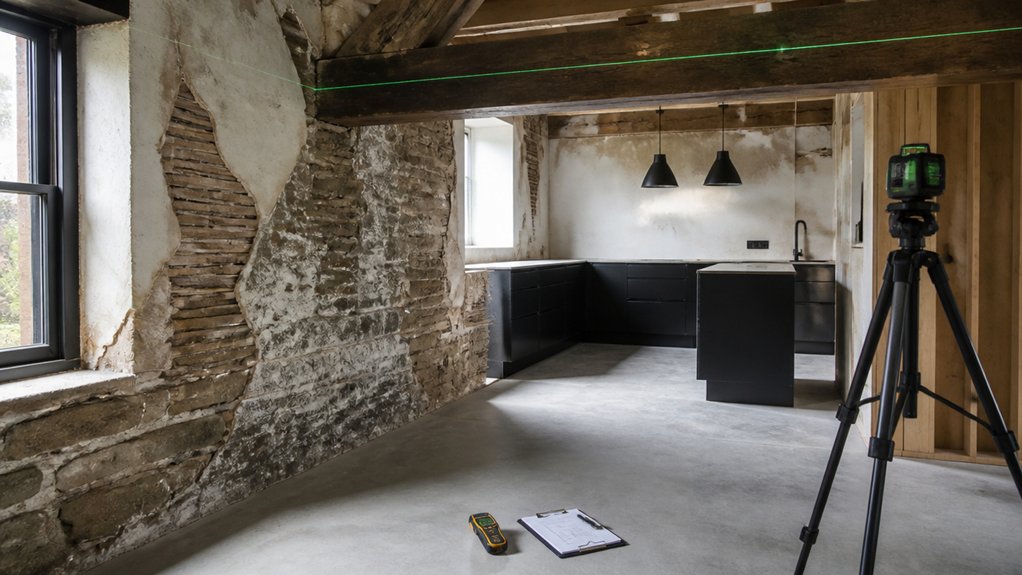
Before you fall for the mill cottage’s stonework and storybook proportions, you’ll want a hard-nosed survey that separates character from costly compromise.
Start at the roof: check missing slates, failed flashings, and sagging rafters that can drive widespread damp.
Move to walls and footings; note stepped cracking, bulging masonry, and hollow-sounding pointing that signals washout.
Track moisture with a meter, then confirm causes—bridged ground levels, cement renders trapping breathability, leaking gutters, or blocked subfloor vents.
Inspect floors for beetle, rot, and deflection, and test chimneys for instability.
Map outdated wiring, undersized services, and unvented bathrooms that complicate Modern integration.
Prioritize Historic preservation by identifying original windows, hearths, and joinery worth repairing, not replacing.
Confirm Heritage Status and Permissions Early
Before you sketch modern interiors, you’ll confirm the cottage’s heritage listing, curtilage, and exact protected boundaries so you don’t miss any controlled fabric.
You’ll secure the right planning permission and listed-building consent early, aligning your scope, materials, and timelines with statutory requirements.
You’ll also coordinate with the conservation officer from the outset to agree what can change, what must be repaired like-for-like, and how contemporary upgrades can sit quietly within the historic shell.
Verify Listing And Boundaries
Why guess at what you can verify? Start with listing confirmation through the national or local heritage register, then match the entry to your cottage’s address, historic name, and map reference.
Check whether ancillary structures—stone sheds, mill races, boundary walls, or the footbridge—sit within the listed curtilage, because they can carry the same protections as the main house.
Next, do boundary verification. Pull the title plan, compare it to measured site dimensions, and walk the perimeter to note hedgelines, fence changes, shared access tracks, and any encroachments.
Flag discrepancies early, especially around waterways, rights of way, and service easements.
When you align paperwork with what’s on the ground, you’ll restore confidently and design contemporary interiors without accidental heritage breaches.
Secure Planning And Consent
With your listing and boundaries matched to reality, you’re ready to lock in the permissions that will govern every repair, upgrade, and interior change. Confirm the cottage’s official designation, note any curtilage structures, and check whether past alterations carry approvals or unresolved breaches.
Compile a scope that separates like-for-like repairs from consent-triggering works such as window pattern changes, new rooflights, insulation builds, or reconfiguring fireplaces and flues. You’ll protect Historic significance by documenting existing fabric, referencing traditional materials, and stating why any modern insertions are reversible.
Map each task to required Planning permissions, listed-building consent, or permitted development limits, and align your timeline to statutory decision periods. Keep copies of drawings, heritage statements, and correspondence so site work can’t drift beyond consent.
Coordinate With Conservation Officers
Although you may already have a clear design direction, bring the conservation officer into the conversation early so you can confirm the mill cottage’s heritage status, curtilage extent, and which elements they’ll treat as significant.
Ask for written guidance on windows, roof coverings, masonry, floor structures, fireplaces, and any surviving mill fittings, and note what must be repaired in situ versus like‑for‑like replaced.
Share measured surveys, condition photos, and your proposed contemporary insertions so you can agree on a defensible approach to adaptive reuse.
You’ll save time by testing materials, junction details, and services routes before drawings harden.
If the site sits in a sensitive setting, align your landscape, access, and lighting strategy with community engagement expectations.
Record decisions in minutes, and let them inform consents, specifications, and contractor briefings.
Build a Restoration Budget and Realistic Schedule
Before you pick up a chisel or order bespoke joinery, you’ll want a restoration budget and schedule that respect the mill cottage’s fabric while accommodating modern comforts. Start by itemising essentials, then phase upgrades so you protect historical significance without stalling contemporary ambitions. Build contingency for unknowns, but tie every allowance to evidence from surveys, quotations, and lead times.
- Cost plan: prioritise like‑for‑like repairs, specialist trades, reclaimed materials, and compliant services; add 15–20% contingency.
- Programme: map approvals, procurement, site access, drying times, and seasonal constraints; sequence messy work before fine finishes.
- Stakeholders: align your timeline with conservation input, neighbours, and community engagement, reducing redesigns and delays.
Review monthly, update cashflow, and lock decisions early to keep craftsmanship consistent.
Stop Damp, Roof Leaks, and Structural Movement First
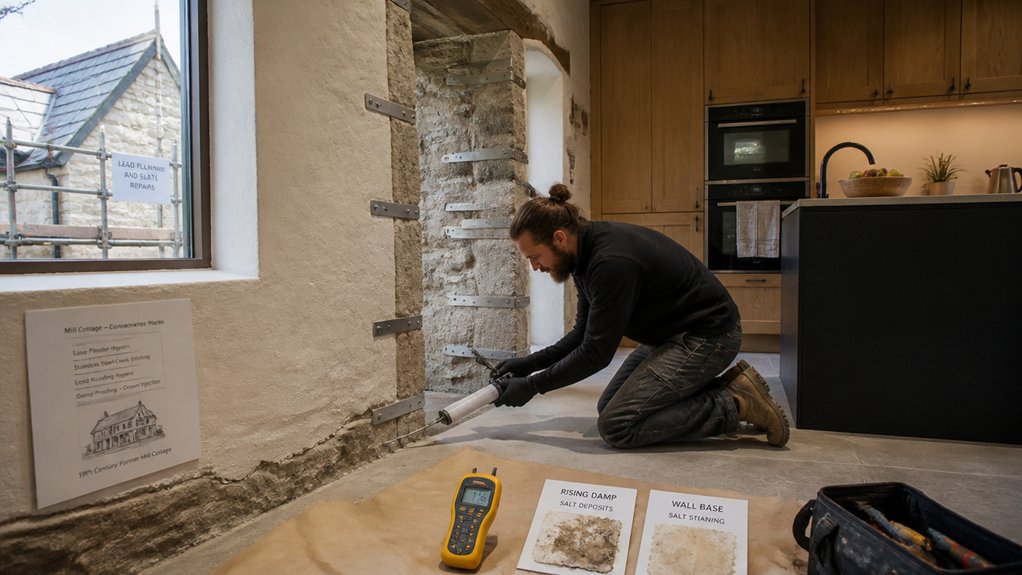
A solid budget and programme won’t hold if water and movement keep undoing your work, so tackle damp, roof leaks, and structural shift as the first on-site priorities. Start with a moisture survey, check ground levels, gutters, downpipes, and ventilation, and plan damp prevention that suits an older, breathable wall build-up.
Clear blocked drains, reinstate falls away from the cottage, and stop splashback at thresholds.
Next, get up into the roof void: trace staining, daylight gaps, and failing flashings, then sequence roof repairs before any interior finishes. Replace slipped slates, renew leadwork, and confirm chimney and valley integrity.
Finally, monitor cracking and floor levels, stitch masonry only where needed, and stabilise joists and lintels without over-tight modern fixes.
Restore Original Mill Cottage Features (Don’t Replace)
Once you’ve stabilised damp, leaks, and movement, you can protect what makes the mill cottage authentic by restoring—not replacing—its original features.
You’ll conserve original woodwork with careful repairs, repoint and patch historic masonry with compatible lime-based materials, and bring period windows back to full working order through timber splicing, glazing, and draught-proofing.
Done well, these fixes keep the patina and proportions intact while still supporting modern comfort and performance.
Preserve Original Woodwork
Even if you’re planning a sleek, modern interior, the original mill cottage woodwork deserves to stay—and to be restored, not swapped out. Keep architraves, skirting, stair parts, and panelled doors: they hold the cottage’s proportions and patina while letting contemporary finishes feel intentional, not imposed.
Treat Woodwork restoration as careful conservation, not a quick facelift, and let Heritage preservation guide each choice.
- Strip gently: use low-tox, low-heat methods, and test small areas to protect aged fibers and profiles.
- Repair, don’t replace: splice in matching species, plug old fixings, and re-pin loose joints with traditional joinery.
- Finish with restraint: choose breathable oils or heritage paints, and highlight tool marks rather than sanding them away completely.
Repair Historic Masonry
Because the cottage’s walls do more than enclose a room, you should repair historic masonry with a conservation mindset rather than “upgrading” it. Start by mapping cracks, bulges, and salt staining so you treat causes, not just symptoms.
Use gentle Masonry cleaning—soft brushes, low-pressure water, and neutral pH rinses—so you don’t scour fired faces or drive moisture inward.
Rake out failed joints by hand, keeping arrises crisp, then repoint with Historic mortar matched for lime content, aggregate size, and color. Keep joints slightly recessed and well-compacted to shed water without looking new.
Where bricks or stones have spalled, stitch and pin locally instead of wholesale replacement.
Finish by improving drainage and ventilation so your contemporary interior stays dry and the fabric endures.
Restore Period Windows
While new glazing might look like an easy win, you’ll preserve far more character—and usually better long-term performance—by restoring the cottage’s period windows. Start by documenting sash profiles, horn shapes, and historic glass, then strip paint carefully so you don’t soften crisp arrises.
Repair, don’t replace: splice in matching timber, tighten joints, and refit pulleys, cords, and weights so each sash runs true and seals evenly.
- Re-bed loose panes with linseed putty, then repaint with a fine overlap to shed water.
- Add discreet draught-proofing and staff-parting beads to lift Energy efficiency without visual change.
- Where codes allow, fit slimline Modern glazing or secondary glazing, keeping original frames and sightlines.
Finish with period-appropriate ironmongery and a breathable paint system that protects without trapping moisture.
Insulate Safely: Breathability, Ventilation, Airtightness
How do you insulate a mill cottage without trapping damp behind its historic fabric? You start by respecting how old stone and lime mortar manage moisture: they need to breathe. Choose vapour-open materials such as wood fibre, cork, or sheep’s wool, and pair them with a compatible lime plaster finish.
Keep insulation continuous at reveals, eaves, and floor junctions, but avoid hard cement and plastic membranes that block drying.
Then you balance comfort with controlled air movement. Use ventilation strategies like discreet trickle vents, humidity-led extract fans, and clear airflow paths through cupboards and voids.
Apply airtightness techniques surgically: tape junctions, seal service penetrations, and fit draught gaskets, while protecting traditional timber from condensation risks.
Update Electrics and Plumbing With Minimal Chasing
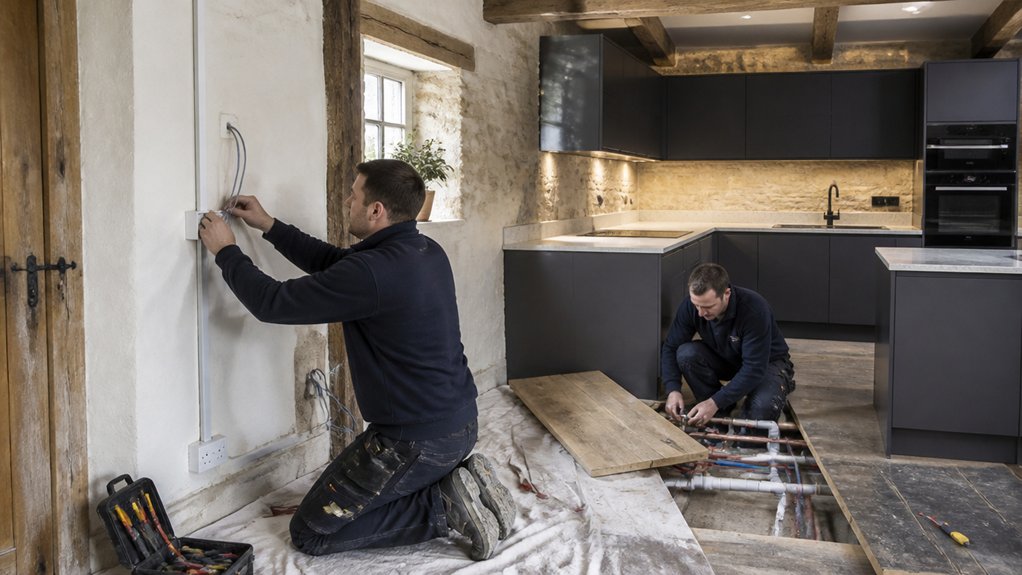
Before you lift a chisel to old stonework, map the cottage’s routes for power and water so you can run new services with the least possible chasing. Use existing voids—floorboards, skirtings, chimney breasts, and cupboard backs—so historic masonry stays intact and future repairs remain reversible. Specify slim conduit and surface-mounted heritage trunking where concealment would scar the fabric, and keep junctions accessible.
- Survey and label circuits and pipe runs, then agree safe zones with your electrician and plumber.
- Prioritise Electrical updates at consumer unit, bonding, and earthing, threading cables through joist bays.
- Stage plumbing upgrades with manifold distribution, isolators, and acoustic clips, routing along service walls and under floors.
Patch with lime-compatible fills, not cement, and photograph every run for the house file.
Design a Calm Modern Layout Around Old Bones
Even if the cottage’s plan feels fixed by thick walls and low openings, you can shape a calm modern layout by letting the original structure set the rhythm. Map the load-bearing lines, then place circulation where it already wants to run—along the spine corridor, past the hearth, toward daylight.
Keep doorways aligned to preserve sightlines, and use built-in storage to reduce visual noise without widening openings. Zone rooms by function, not size: a quiet reading nook in an alcove, a compact work zone near a window, dining where the ceiling lifts.
Choose fewer, larger pieces so furniture doesn’t fight the proportions. Extend the order outdoors with Landscaping ideas that echo original paths. Add discreet heritage signage to explain preserved quirks to visitors.
Pick Period-Friendly Finishes: Lime, Timber, Stone
Because a mill cottage needs to breathe the way it always has, you’ll get the best results by choosing finishes that work with its original fabric rather than sealing it in. Favour Vintage finishes that age quietly and support Authentic textures, then layer in contemporary restraint with crisp junctions and minimal trims.
- Lime: Use lime plaster and breathable limewash on masonry. They buffer moisture, soften light, and let hairline movement settle without cracking hard.
- Timber: Repair floorboards, then oil or soap-finish them; avoid thick polyurethane. Specify waxed or blackened ironmongery to echo workshop utility.
- Stone: Retain hearths, thresholds, and flagstones; re-point in lime, not cement. Where you add new stone, match density and tooling, not colour alone.
Conclusion
You’ll get the best mill-cottage results when you treat the old fabric as the brief: survey first, secure permissions, and spend early money on damp, roof leaks, and movement. You’ll keep character by repairing stonework, sash windows, and timber floors, then layer in breathable insulation and discreet services with minimal chasing. In one West Yorkshire mill cottage, a lime-plastered envelope and slimline radiators let a pared-back kitchen sit quietly against exposed beams.
About the Author